Your Guide to Free Flight Planning for Drones in 2026
Before your drone's propellers even think about spinning, your mission has already begun. Real success in the drone world starts on the ground, with rock-solid planning. A professional free flight planning workflow isn't just about ticking boxes on a basic app; it's a structured process that forms the backbone of any safe, compliant, and ultimately profitable drone operation.
What Professional Drone Operations Look Like
Making the jump from a hobbyist to a professional pilot is all about a shift in mindset, and that change starts long before you get to the site. Just showing up and flying might seem efficient, but it's a surefire way to introduce serious risks to people, property, and your expensive gear. Think of proper free flight planning not as red tape, but as your secret weapon for creating a repeatable system for success.
This system is what keeps you flying safely, ensures you're on the right side of regulations from bodies like the FAA or EASA, and makes your entire operation more efficient. It’s what separates the amateurs from the true unmanned aircraft professionals. And when you're flying commercially, having a documented plan to prove your due diligence isn't just a good idea—it's non-negotiable.
The Four Pillars of Every Flight Plan
Even when you're sticking to free tools, a solid plan always covers four critical areas. If you skip even one, the whole mission could be compromised.
- Airspace Intelligence: You absolutely have to know what's going on in the sky around you. This means checking for restrictions, controlled airspace, and any last-minute temporary advisories.
- Weather Analysis: This goes way beyond just checking if it’s sunny. You need to look at winds at different altitudes, the potential for gusts, and even check the geomagnetic interference (Kp-index), which can mess with your drone's compass.
- Risk Assessment: This is all about thinking ahead. What could go wrong? From a sudden dog walker appearing to a low-flying helicopter, you need to identify potential hazards and have a clear plan to mitigate them.
- Mission Logging: Keeping accurate records is crucial. It’s not just for compliance; it's essential for tracking your equipment's maintenance schedule and for planning future jobs more effectively.
This process isn't just a random checklist; it's a logical flow. You have to clear each stage before moving to the next.

As you can see, checking airspace, weather, and risks are distinct steps that all have to happen before you even think about taking off.
Why Bother with a Process?
Getting into this methodical habit isn't just about playing by the rules. It's about building a foundation of operational excellence that pays off in safety, efficiency, and, most importantly, client confidence. It’s interesting to see how many of these principles are shared with traditional aviation—for some perspective, it’s worth looking at how to file a flight plan for manned aircraft to appreciate the level of detail involved.
A documented plan instantly shows you're a professional who takes safety seriously. For clients, this is often the deciding factor. It turns your service from just "a guy with a drone" into a managed, low-risk solution they can trust.
The industry itself is booming because of this demand for professionalism. In fact, the market for drone flight planning software—which includes a ton of great free tools—was valued at over USD 510 million in 2026 and is expected to hit USD 740 million by 2032. This isn't just a trend; it's a clear signal that smart, compliant planning is what separates the successful operators from the rest.
Free Flight Planning Workflow Comparison
You'll see a lot of old-school operators still relying on paper checklists and a quick glance at a weather app. Let's be clear: that approach just doesn't cut it anymore. It’s inefficient, risky, and leaves you wide open to compliance issues. A modern, digital workflow using free tools is not only safer but also massively more efficient.
| Planning Stage | Outdated Manual Method (High Risk) | Modern Free Digital Workflow (Low Risk) |
|---|---|---|
| Airspace Checks | Relies on memory or a single, basic app. Easy to miss TFRs. | Uses layered digital maps (e.g., FAA B4UFLY, Aloft) for real-time data. |
| Weather Forecast | Checks a generic weather app for rain/wind. Misses winds aloft, gusts. | Analyzes multiple sources (UAV Forecast, Windy) for Kp-index, gusts, visibility. |
| Risk Assessment | "It'll be fine" attitude. No formal documentation of hazards. | Uses a digital checklist or spreadsheet to systematically identify and mitigate risks. |
| Logging & Records | Messy paper logbook, if one is kept at all. Difficult to track anything. | Digital logs (e.g., Google Sheets template) for flights, maintenance, and battery cycles. |
This comparison makes it pretty obvious. The old way is a gamble, relying on luck and guesswork. The modern digital workflow, even with free tools, builds a verifiable, repeatable process that protects you, your clients, and your business. It's simply the professional way to operate.
Mastering Airspace and Weather with Free Tools
Any professional pilot knows that a successful mission hinges on what you do before you even get to the site. Proper pre-flight planning, especially when you're relying on free tools, is all about digging deep into two critical areas: the airspace above you and the weather moving through it.
Simply glancing at a basic weather app won’t cut it. Effective free flight planning means you have to be a bit of a detective, piecing together information from different authoritative sources to get a complete picture of your operating environment. This isn't just about avoiding a few red zones on a map; it's about understanding the invisible infrastructure of the sky and respecting your role within it.
Decoding the Skies with Official Airspace Tools
Before you even start worrying about wind speeds, your first job is to confirm the airspace is legal for your flight. This is non-negotiable, and relying on outdated or unofficial info is a one-way ticket to trouble.
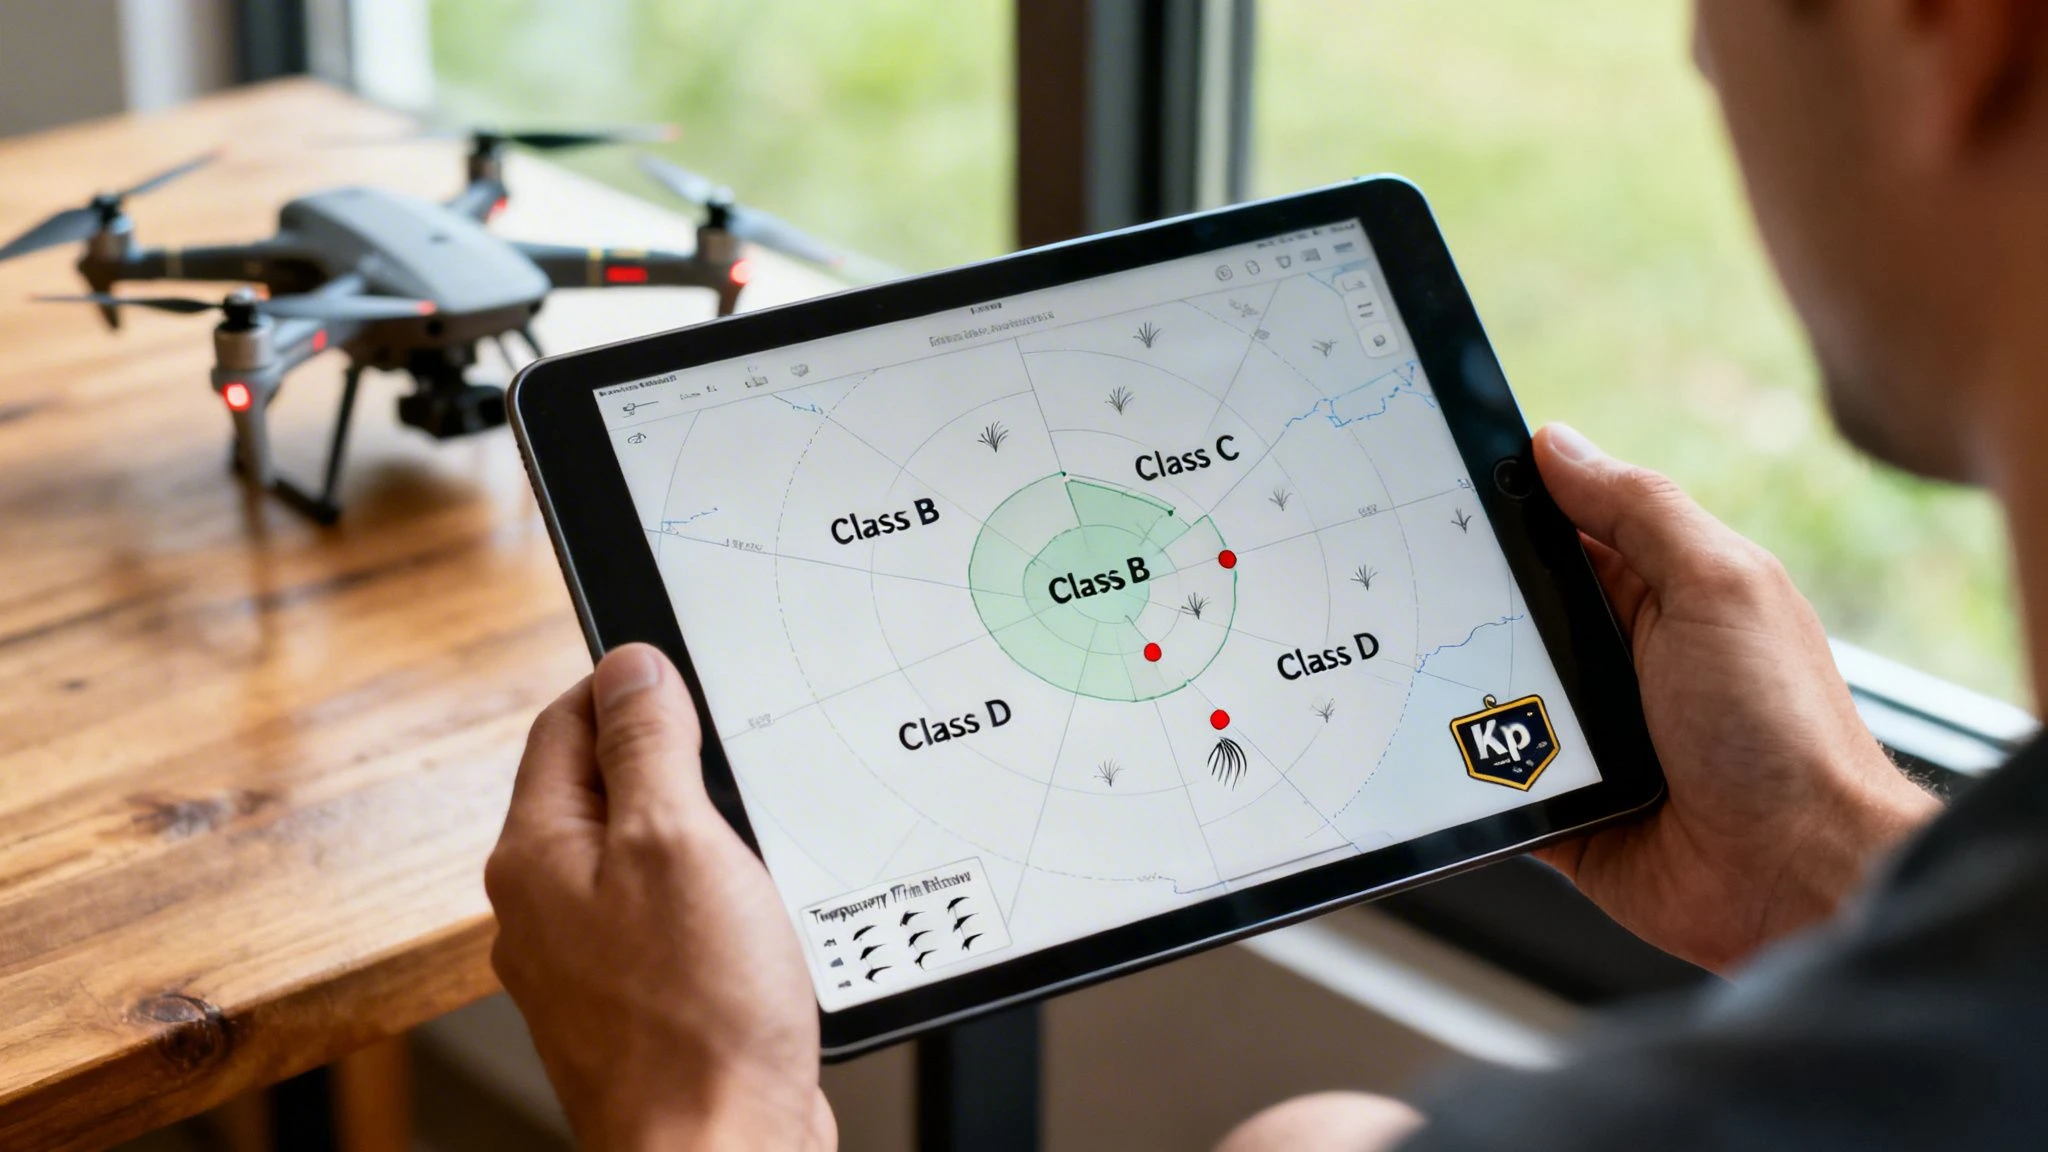
If you're flying in the United States, the FAA's B4UFLY should be your go-to. It gives you a near real-time look at airspace status, which is crucial for spotting Temporary Flight Restrictions (TFRs). These can pop up with little notice for anything from a major sporting event to a wildfire, and pleading ignorance won't fly with the FAA.
For our friends in Europe, the process is much the same, but you'll be checking with your country's National Aviation Authority (NAA). The EASA website is the best place to start, as it provides links to the official digital maps and tools for each member state.
The rule of thumb here is universal: Always use the official government-provided source as your primary reference for airspace. Third-party apps are great for a quick look, but your final go/no-go decision has to be based on data straight from the governing body.
This commitment to official data is a cornerstone of safe, compliant operations. The rise of free flight planning tools has been a game-changer, especially as regulations like the FAA's Remote ID become standard. The small drone market, a huge area for photographers and surveyors, is expected to hit USD 20.49 billion by 2026, with North America leading the charge. With micro drones (under 2kg) making up over 68% of this market, having accessible and reliable planning tools is more important than ever. You can read more about the small drone market and its growth on Research Nester.
Going Beyond a Simple Forecast
Once you've cleared the airspace, it's time to get forensic with the weather. A generic forecast that just says "sunny with light winds" is almost useless—and frankly, dangerous—for a professional pilot. The weather at ground level can be completely different from what your drone will experience a few hundred feet up.
You need to be checking a few specific data points that most consumer weather apps just don't show:
- Winds Aloft: What’s the wind speed at your flight altitude? If you're flying at 200 or 400 feet, the wind can easily be double what you feel on the ground.
- Gust Spread: A steady 10 mph wind is one thing. Gusts hitting 25 mph are another entirely. You have to know the gap between the baseline wind speed and the potential gusts.
- Kp-Index: This is a measure of geomagnetic activity. If you see a Kp-index of 5 or higher, it’s a major warning sign. This can mess with your drone's GPS and compass, causing it to fly erratically even on a perfectly clear day.
Fantastic free resources like UAV Forecast or Windy are built for this. They let you check wind speeds at different altitudes and see the Kp-index, giving you the detail you need to make a genuinely informed decision.
Real-World Scenario: Roof Inspection Near an Airport
Let's put this all together. Say you've got a job to inspect a commercial roof just two miles from a regional airport.
Your first move is to open B4UFLY. The map confirms you're just outside the airport's Class D controlled airspace, but you're cutting it close. You also spot an advisory for frequent helicopter traffic in the area. This tells you that while you don't need LAANC authorization, your head needs to be on a swivel.
Next, you pull up UAV Forecast. The ground-level wind looks perfect at a gentle 5 mph. But at your inspection altitude of 150 feet, it's a different story: 18 mph winds with gusts to 28 mph. That’s a huge red flag. The Kp-index, however, is a low 2, so GPS interference shouldn't be an issue.
Armed with this free flight planning data, you make the professional call. You contact the client, explain that the wind gusts are above safe operational limits, and reschedule for the next morning when the forecast shows calmer winds aloft. This is what separates a pro who manages risk from an amateur who "gives it a go." For a better sense of how to interpret different airspace classifications, our guide on the drone restrictions map is a great resource.
Building Your Flight Path and Managing Power
Alright, you've confirmed the airspace is clear and you've got a good weather window. Now for the fun part: bringing the mission to life. This is where you shift from checking boxes to plotting the exact route your drone will fly and, crucially, making sure it has enough juice to get the job done safely. This stage of free flight planning is about creating a detailed operational script, not just scribbling a few lines on a map.
The great thing is, you don't need a pricey software subscription to pull this off like a pro. A smart combination of free tools can get you there. Google Earth Pro, for instance, is an absolute game-changer. It lets you drop right into a 3D street-level view of your area, giving you an unparalleled perspective on ground-level gotchas like power lines, sneaky tall trees, or new construction that a simple satellite map might miss.
Pre-Visualizing Your Mission Route
Before you even think about setting waypoints, fire up Google Earth Pro and do a virtual site survey. Pan around your proposed launch spot, the target area, and a few potential emergency landing zones. This “boots on the ground” view helps you spot hazards you’d otherwise only discover when you’re already on-site and the clock is ticking.
Another fantastic free tool is the flight simulator that’s probably baked right into your drone’s control app, like the one in DJI Fly. Use it to actually "fly" your route. This is perfect for getting a real feel for the flight's complexity, figuring out the camera angles you’ll need, and seeing how the drone might handle in the conditions you’re expecting.
Think of this as a dress rehearsal. By simulating the flight from your desk, you can iron out tricky maneuvers or awkward camera positions, saving you precious battery life and time in the field.
This pre-visualization is a cornerstone of an efficient workflow. And in an industry that's projected to blast past USD 90 billion by 2036, efficiency is everything. With commercial drone use expected to hit USD 116.81 billion by 2026, being able to plan jobs up to 70% faster gives you a massive edge.
Battery-Aware Mission Planning
A drone battery isn't just a power pack; it's a countdown timer. The single most common mistake I see pilots make is blindly trusting the manufacturer's advertised flight time. That number is pure fantasy—achieved in a sterile lab with zero wind and no payload. Your real-world flight times will always be shorter.
Every part of your plan needs to be "battery-aware," which means every waypoint and maneuver is decided with your power limits front and centre. The goal isn't to push your battery to 1%; it's to land with a comfortable safety margin every single time.
A solid rule of thumb is the 30% Rule: never let your battery dip below 30% before you hit the Return-to-Home (RTH) button. That buffer is your lifeline, accounting for:
- Unexpected Headwinds: Flying back into a stiff breeze can drain a battery at an alarming rate.
- Obstacle Avoidance: Weaving around a last-minute obstacle takes extra power you didn't budget for.
- Contingencies: Having enough juice to handle a pesky bird encounter or divert to an alternate landing spot if your primary one is suddenly blocked.
To really get a handle on how wind, temperature, and payload hammer your battery life, it’s worth digging into how to calculate your drone's real flight time. This knowledge is non-negotiable for accurate planning.
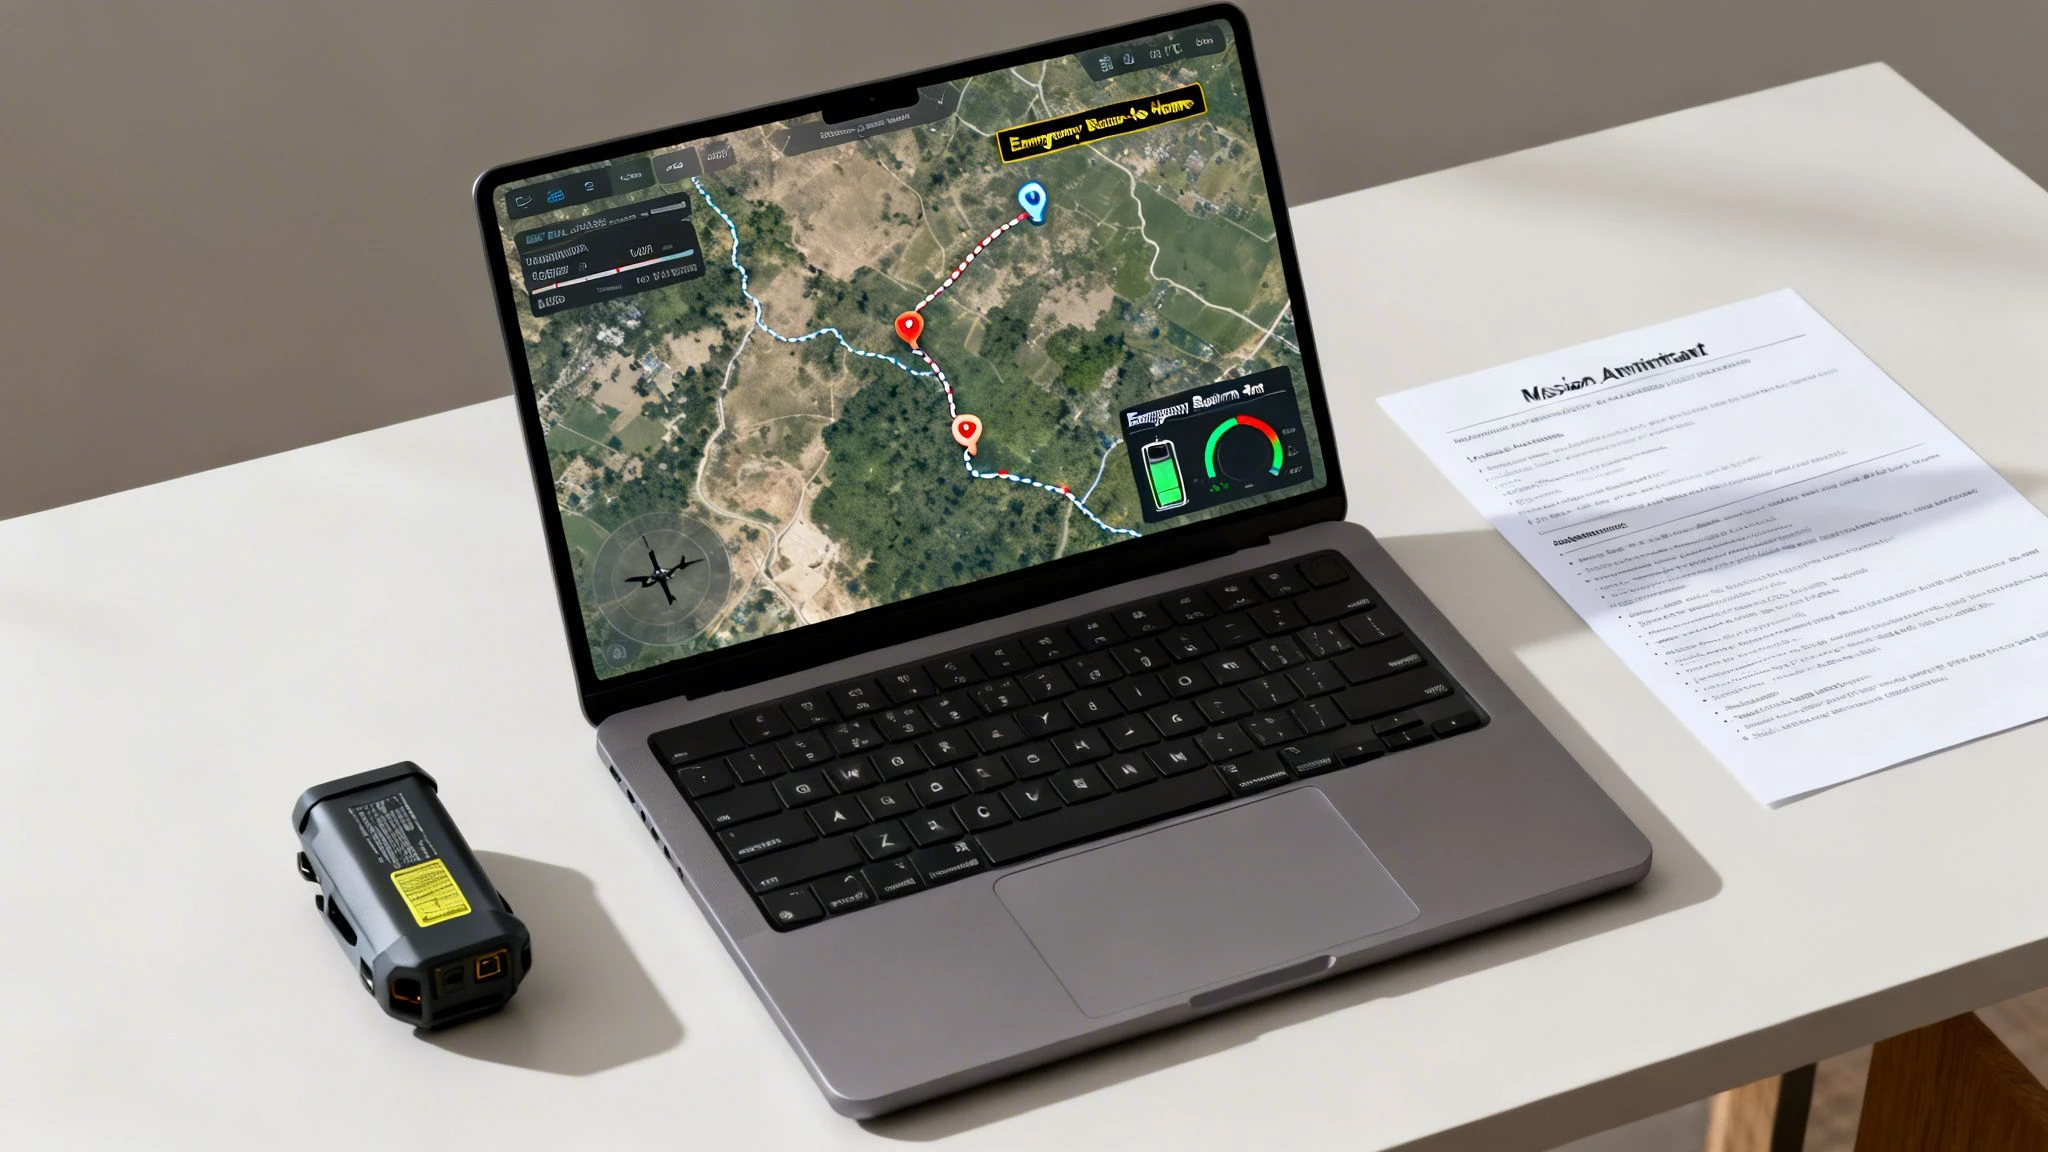
Creating Your Mission Manifest
Finally, all this meticulous planning needs a home. A simple mission manifest is your flight’s master document, and it doesn't need to be fancy. A basic template in Google Docs or a spreadsheet is perfect.
Your Manifest Should Always Include:
- Start/End Points: Precise GPS coordinates or clear visual descriptions.
- Flight Path: A screenshot of your map with the route, waypoints, and altitudes clearly marked.
- Primary Landing Zone (LZ): Your planned spot for takeoff and landing.
- Contingency LZs: At least two pre-vetted, safe alternate landing spots if your main LZ becomes a no-go.
- Emergency Procedures: A clear plan for what happens if you lose connection (e.g., "RTH at 200 feet") and your response to a flyaway.
This document becomes the single source of truth for the operation. It proves you've done your homework and gives you a clear plan of action. By combining virtual scouting, realistic battery maths, and a simple manifest, you can execute complex missions safely and professionally using entirely free resources.
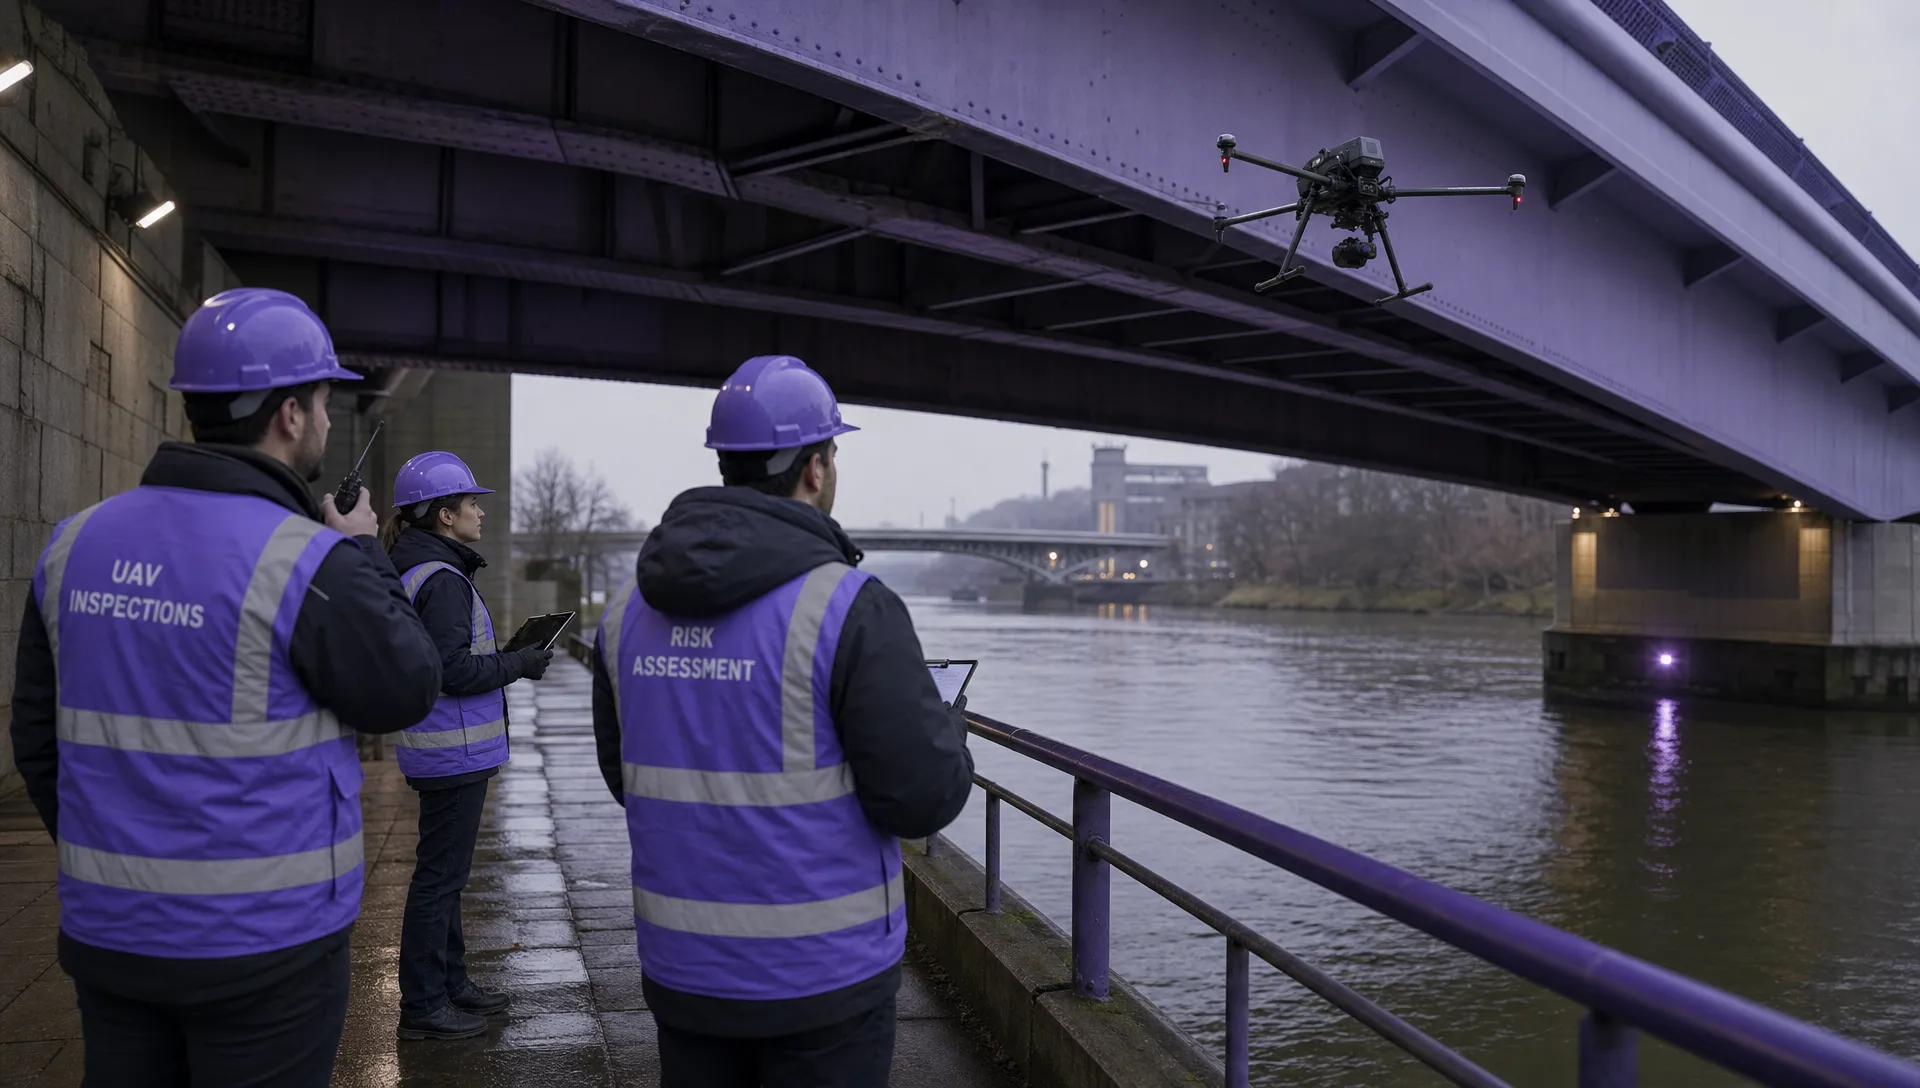
Creating Actionable Risk Assessments and Checklists
Okay, so you’ve checked the airspace, the weather looks good, and you have a rough idea of your flight path. Now for the part of your free flight planning that truly separates the professionals from the hobbyists: thinking through what could actually go wrong. This isn't about creating a mountain of paperwork for the sake of it. It’s a practical, on-the-ground exercise to spot potential problems and solve them before they ever have a chance to ruin your day.
Getting this right is what builds your reputation. It shows clients you’re serious about safety and gives you documented proof that you’ve done your homework, which is gold dust for both compliance and your own peace of mind.
Identifying Hazards With a Risk Matrix
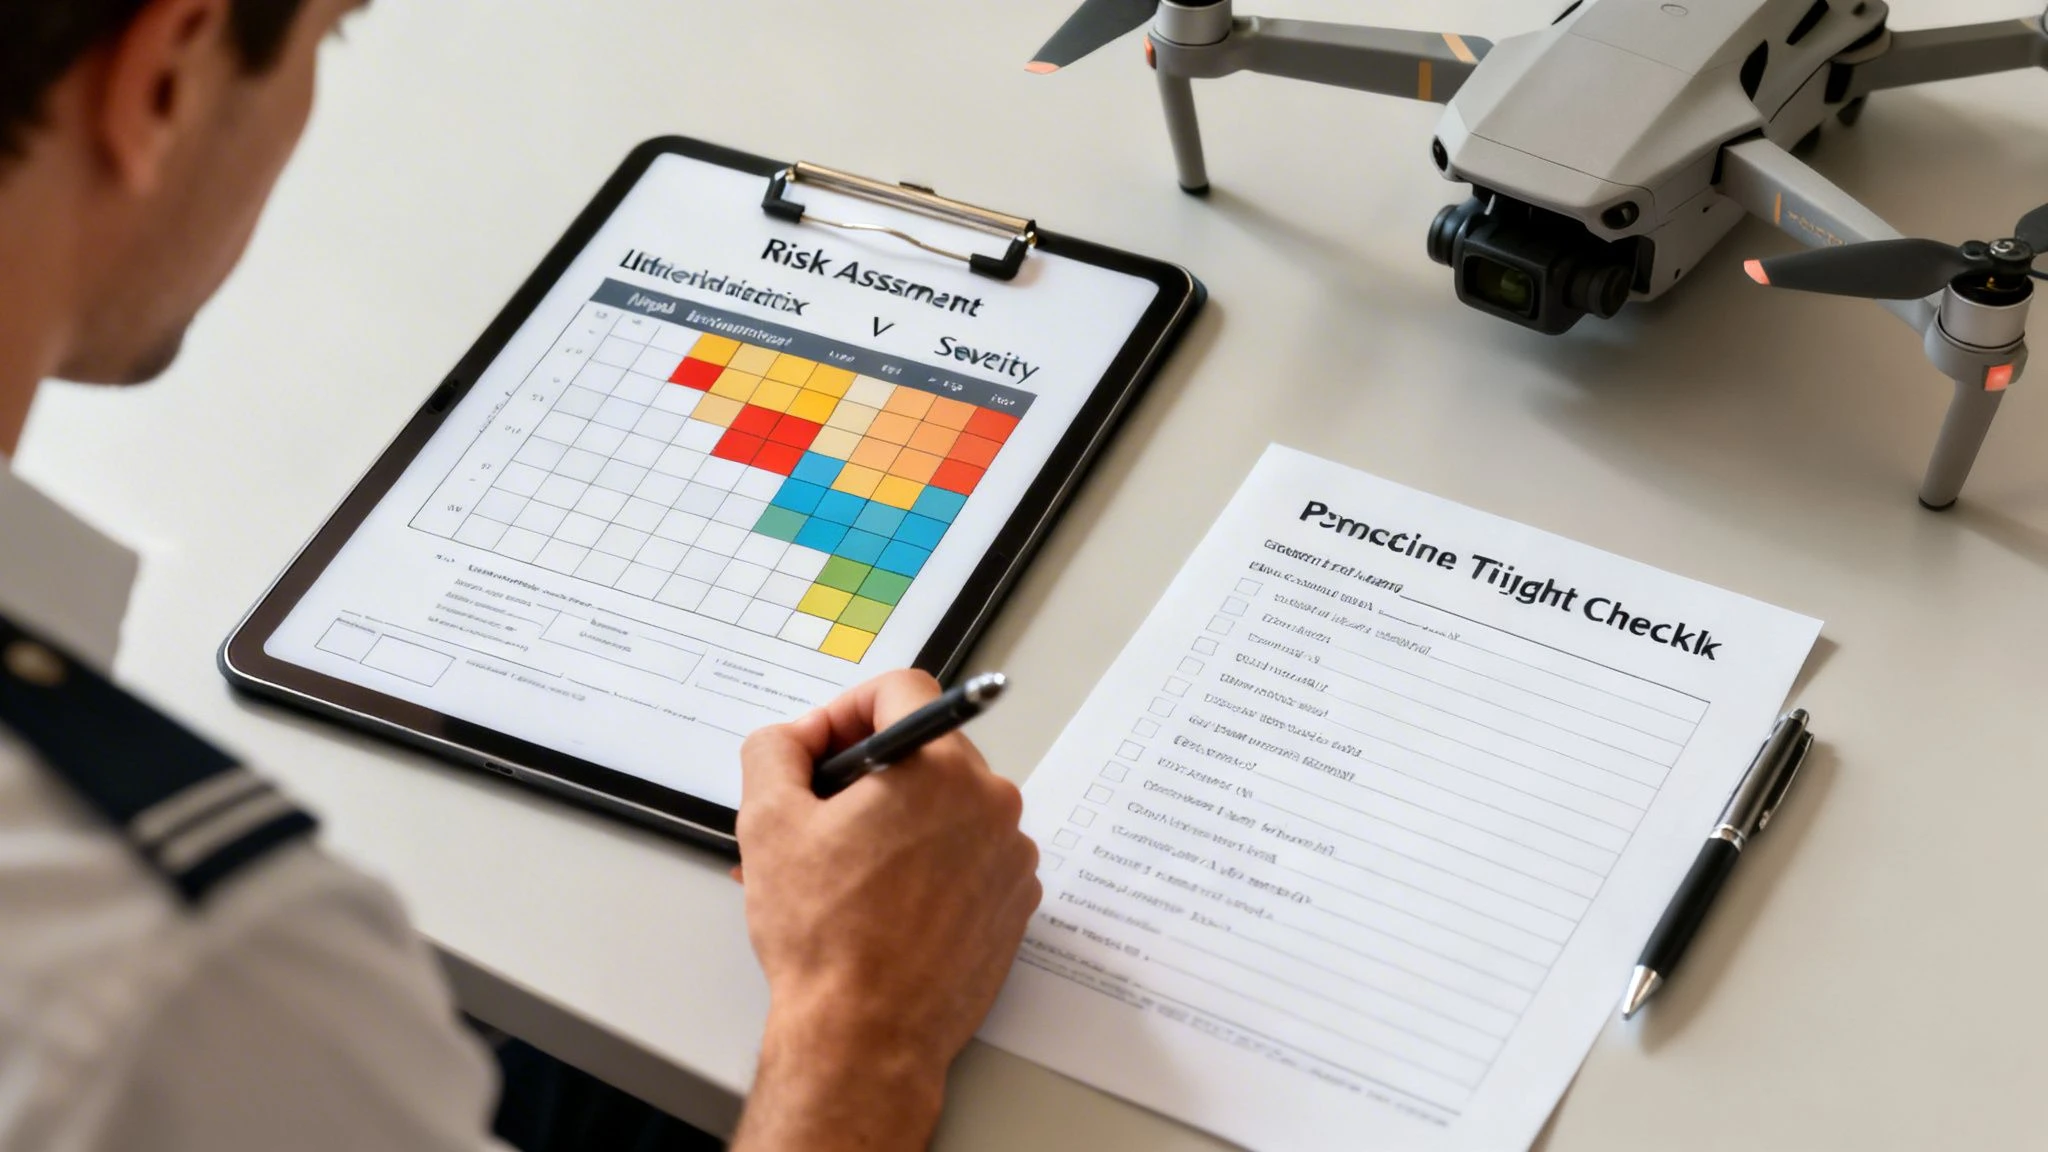
At the heart of any solid risk assessment is a simple risk matrix. You don't need fancy software; a basic spreadsheet will do the job perfectly. The whole point is to help you visualize and prioritize hazards by scoring them on two simple things: the likelihood of something happening, and the severity of the outcome if it does.
Think about it this way: a low-battery warning during a flight over an empty field is probably "Unlikely" with "Minor" consequences. You just land and swap it out. No big deal. But what about losing your signal while flying over a busy high street? That might be "Remote," but the consequences are absolutely "Catastrophic."
A documented risk assessment isn't just for you. It’s a professional deliverable that shows a client you’ve thoroughly considered the safety of their property and the public, elevating your service far above the competition.
Your job is to spot any risk that scores in the medium-to-high range and then brainstorm practical ways (mitigations) to lower either its likelihood or severity, nudging it down into the acceptable, low-risk zone. If you want to go deeper on this, we've got a comprehensive guide to drone risk assessments and checklists you can check out.
Risk Assessment in Action: A Suburban Real Estate Shoot
Let's make this real. Imagine you're booked for a real estate shoot in a standard suburban neighborhood. It’s a bread-and-butter job, but it's full of little things that can trip you up. Here’s how I’d break down the risks.
-
Hazard: People walking their dogs or kids on bikes wandering into your flight area.
- Initial Risk: Likely / Severe
- Mitigation: I’d schedule the flight for early on a weekday morning when it's quietest. I’d also bring a few small, hi-vis cones to place on the pavement and ask a friend or assistant to act as a spotter, just to keep an eye on things.
- Final Risk: Remote / Severe (we’ve slashed the likelihood)
-
Hazard: Signal dropout from all the competing home Wi-Fi networks.
- Initial Risk: Possible / Major
- Mitigation: Before the main event, I'd do a quick test flight, just hovering a few feet up to check the signal strength. Critically, I’d double-check the drone’s failsafe is set to "Return-to-Home" at a safe altitude like 150 feet—high enough to clear every house and tree in the area.
- Final Risk: Unlikely / Major (again, we've lowered the chances)
-
Hazard: An unexpected low-flying aircraft, like a medical helicopter.
- Initial Risk: Remote / Catastrophic
- Mitigation: This one is all about staying vigilant. It means maintaining a strict visual line of sight (VLOS) with my head up, scanning the sky, not just staring down at the controller. I need to be ready to descend or land immediately if I see or hear anything.
- Final Risk: Remote / Catastrophic (the risk itself doesn't change, but having a solid response plan is everything)
See? This process turns vague worries into a concrete, actionable safety plan.
The Power of Standardized Checklists
Your memory is a terrible safety tool. Seriously. A pilot’s best friend is a solid checklist that gets used every single time, without fail. It's what stops you from making those simple, face-palm mistakes like forgetting to format an SD card or taking off with an uncalibrated compass.
For your free flight planning kit, you should have three core checklists. You can easily build these in a basic notes app, a Google Doc, or whatever works for you.
Pre-Flight Checklist (On-Site)
- Physical check of the aircraft: props, arms, and body.
- Battery levels for both the drone and the controller.
- Compass calibration if it's a new location.
- SD card is formatted and has plenty of space.
- "Return-to-Home" altitude and failsafe behavior confirmed.
In-Flight Checklist (Mental Reminders)
- Periodically scan the sky for other aircraft.
- Keep one eye on the battery percentage and flight time.
- Watch for any sudden changes in wind or weather.
Post-Flight Checklist
- Power down the drone and controller in the correct sequence.
- Inspect the drone for any new damage sustained during the flight.
- Back up all your footage. Immediately.
- Log the flight details—duration, location, and any notes.
Using checklists isn't a sign you're a rookie; it's the absolute hallmark of a seasoned pro. They guarantee nothing gets missed and are the final piece of a robust, safe, and completely free flight planning system.
When to Upgrade from Free Planning Tools
The free drone planning tools out there today are genuinely brilliant. You can absolutely piece together a safe, compliant, and professional workflow without spending a penny. But as your operations grow, you’ll hit a wall. The time you sink into juggling all those different apps will start costing you more than a paid subscription.
This isn't a knock on the free model—it's just a natural part of growing your business. The DIY approach is perfect when you're starting out, but you’ll eventually feel the growing pains. Recognizing them is the first step to making a smart call on when to upgrade.
The Problem of Disconnected Data
The biggest headache with a purely free workflow is that your tools don’t talk to each other. Your airspace app has no clue what your weather app is saying, and neither of them knows a thing about your flight logs sitting in a spreadsheet. This creates what we call data silos.
You end up being the "human API," manually copying and pasting information from one screen to another. It might only be a few minutes here and there, but believe me, that time adds up fast. Think about this all-too-common scenario:
- You check airspace on B4UFLY.
- Then you analyse winds aloft on UAV Forecast.
- You map out a route on Google Earth.
- You type up a risk assessment in a Word doc.
- After the flight, you manually punch the details into a Google Sheet.
Every single one of those steps is a chance for something to go wrong. Forgetting to log a flight or misreading a weather metric is far more likely when your data is scattered across five different platforms.
An integrated platform like Dronedesk brings all these elements under one roof. Your airspace, weather, risk assessment, and flight logs are all part of the same job record. This isn't just about convenience; it's about creating a single source of truth for every mission, which drastically cuts down your admin time and the risk of mistakes.
Scaling Pains That Signal It's Time for a Change
When you're a solo operator doing a handful of jobs a month, the DIY method is manageable. But what happens when you get busier, hire your first pilot, or land that big corporate client? This is where the free system really starts to crack.
Common Growing Pains:
- Team Collaboration Becomes Impossible: How do you assign a job to another pilot? Email them a bunch of links and documents and hope for the best? A paid platform gives you a central dashboard to assign jobs, share risk assessments, and review flight logs. It ensures everyone is working from the same, up-to-date information.
- Manual Fleet Management Is a Liability: Are you tracking battery cycles and maintenance schedules on a whiteboard or a spreadsheet? As your fleet grows, this manual tracking becomes a huge risk. An integrated solution automates this, alerting you when maintenance is due and giving you a complete history for every piece of gear.
- Client Reporting Is a Time-Sink: Professional clients often want detailed reports, including risk assessments and flight logs. Manually pulling all this together for every invoice is a massive time-drain. A good management platform can generate these slick, client-ready reports in just a couple of clicks.
Investing in Efficiency and Professionalism
At the end of the day, moving from a free to a paid solution isn't an expense; it's an investment in your business. You're investing in efficiency, scalability, and looking like the pro you are. The cost of a monthly subscription is often far less than the value of the admin hours you get back.
Think of it this way: if a platform like Dronedesk saves you just three or four hours of admin work a month, it has likely already paid for itself. That’s time you can now spend on what really matters—finding new clients, honing your flying skills, and actually growing your business, rather than being buried in paperwork.
Answering Your Free Flight Planning Questions
Even with a solid DIY workflow, questions are bound to pop up. This is where a lot of pilots, both new and experienced, can get stuck, sometimes leading to confusion or even risky shortcuts. Let's dig into some of the most common hurdles you'll likely face and get you some clear, practical answers.
Think of this as your troubleshooting guide for piecing together a flight plan with free tools. Getting these details right is what separates the pros from the cowboys and keeps your operations safe and compliant.
What Are the Best Free Apps for Checking Drone Airspace?
When it comes to airspace, there’s zero room for error. Your absolute go-to source should always be the one provided by the aviation authority in the country you're flying in.
For pilots in the United States, the FAA's own B4UFLY app is the official and most authoritative tool. It's your single source of truth for real-time airspace rules and, crucially, those pop-up Temporary Flight Restrictions (TFRs). If you're operating in Europe, your first port of call should be the EASA 'drones' page, which will point you to the right app or website for each member country.
While third-party apps like AirMap and UAV Forecast are fantastic for getting a quick global overview, always, always cross-reference with the official source before you make a final go/no-go call. This is the only way to be sure you have the most current and legally binding information for your flight.
Can I Create a Compliant Flight Plan with Only Free Tools?
Yes, you absolutely can. Putting together a fully compliant, professional flight plan without spending a penny is totally achievable. It just means you're the one doing the legwork, pulling together data from different authoritative sources to build your mission package.
A typical free workflow usually involves a few key steps:
- Airspace Check: Using B4UFLY (US) or your national aviation authority’s recommended tool (EU).
- Weather Deep Dive: Pulling detailed reports from a service like UAV Forecast to look at winds aloft, gusts, and the Kp-index.
- Virtual Site Survey: Using Google Earth Pro to scout the location for ground-level hazards you might not see on an aviation chart.
- Paperwork: Creating your own standardised risk assessments, pre-flight checklists, and flight logs using Google Docs or Sheets.
The main trade-off here is your time. You are the one manually gathering, checking, and compiling all this information. This is where paid platforms really shine, as they automate the whole process, saving you a ton of admin time and cutting down the risk of human error.
The key takeaway is that compliance isn't tied to a price tag; it's tied to the quality of your process. A meticulous pilot with free tools is far safer than a lazy pilot with an expensive subscription.
Why Was My Drone Unstable in Seemingly Good Weather?
I see this question all the time, and it points to an incredibly common and dangerous situation. It almost always comes down to a pilot only checking the wind speed on the ground. The weather 200 feet up can be a completely different beast.
Two hidden factors are usually the culprit:
- Winds Aloft: It's not unusual for wind speeds to double or even triple at your flight altitude. That gentle 5 mph breeze you feel on the ground could easily be a turbulent 25 mph wind at 200 feet, pushing your drone’s motors to their absolute limit.
- Geomagnetic Interference: Always check the Kp-index. A reading of 5 or higher means a geomagnetic storm is happening. This can play havoc with your drone's GPS and compass, leading to that dreaded "toilet-bowl effect," erratic flight, or even a full-blown flyaway on what looks like a perfectly clear day.
Make it a habit to use a specialised app like UAV Forecast that shows you these crucial metrics. Flying without checking them is a massive gamble.
How Do I Log My Flights for Free to Stay Compliant?
Keeping accurate flight logs isn't just good practice; it's a legal requirement in most parts of the world. The simplest and most compliant free method is to use a basic spreadsheet program like Google Sheets or Microsoft Excel.
Just create a sheet with columns for all the essential data points:
- Date and Time
- Location (Coordinates or Address)
- Drone Model & Serial Number
- Pilot in Command
- Total Flight Duration
- Notes (e.g., mission purpose, weather, any incidents)
After each flight, you just need to manually transfer the data from your controller's flight records (like the logs in the DJI Fly app). It's a manual chore, for sure, but a well-maintained spreadsheet is a perfectly valid and compliant logbook.
Ready to ditch the spreadsheets and manual data entry? Dronedesk automates your entire workflow, from client intake to post-flight logging, cutting your admin time by up to 90%. See how much time you could save by trying Dronedesk today.
 Atypical Airspace Explained for UK Drone Operators →
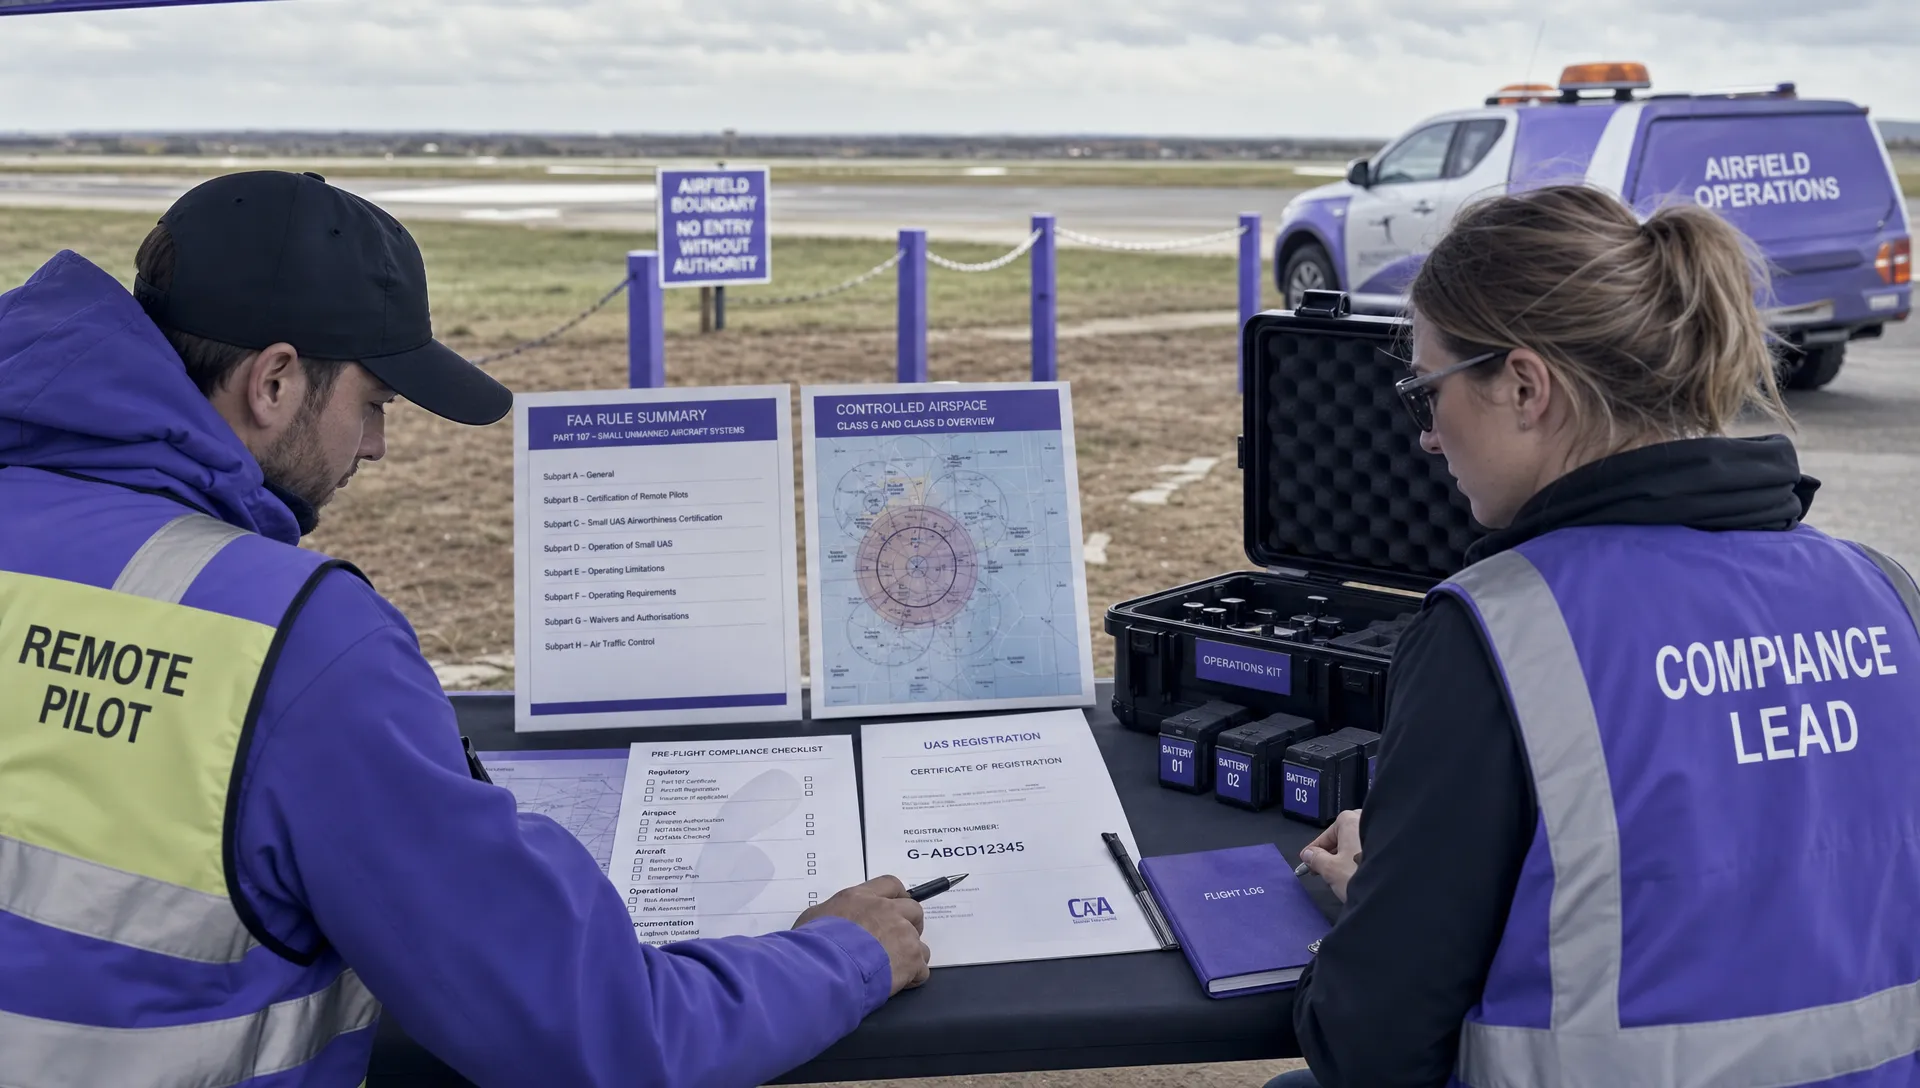 FAA Unmanned Aircraft Regulations Made Simple →
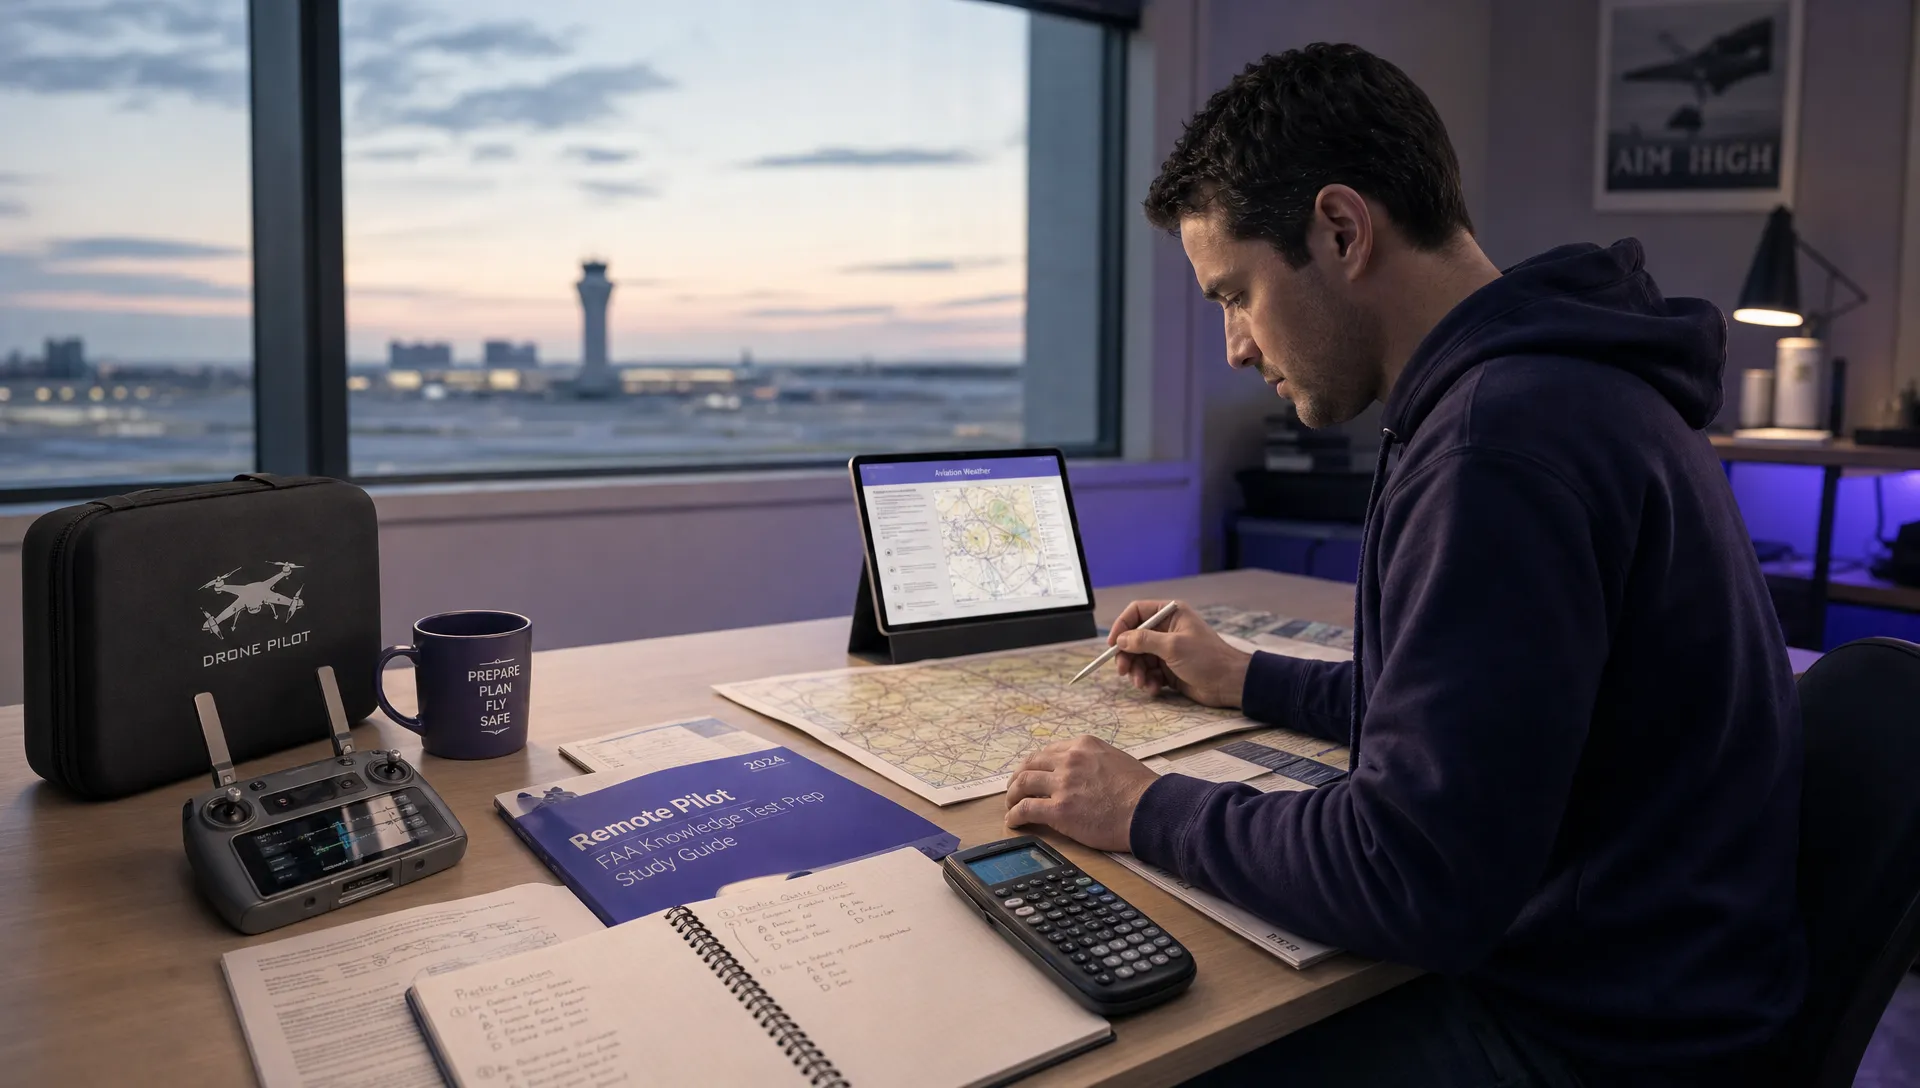 Part 107 Test Tips to Pass With Confidence →
 How to Pass the FAA Drone Written Test First Time →
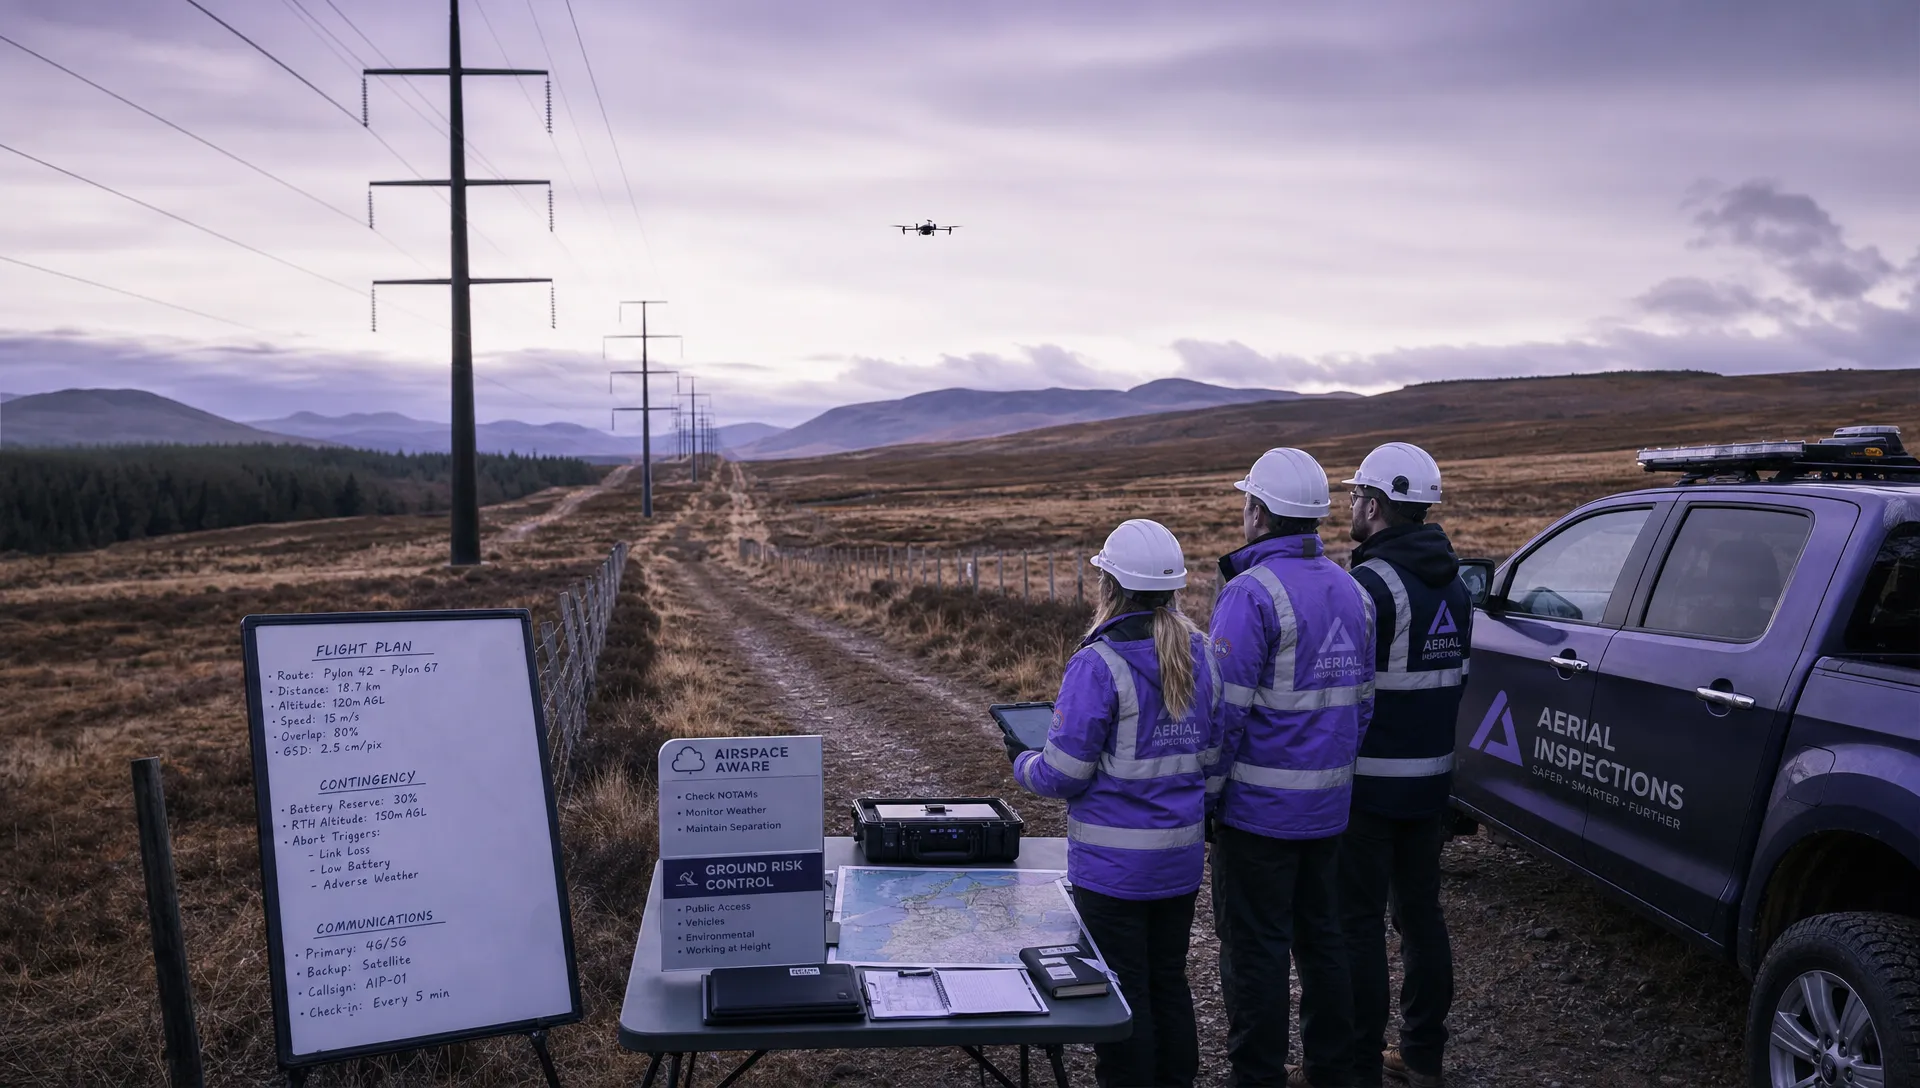 What a BVLOS Flight Means for Risk and Compliance →
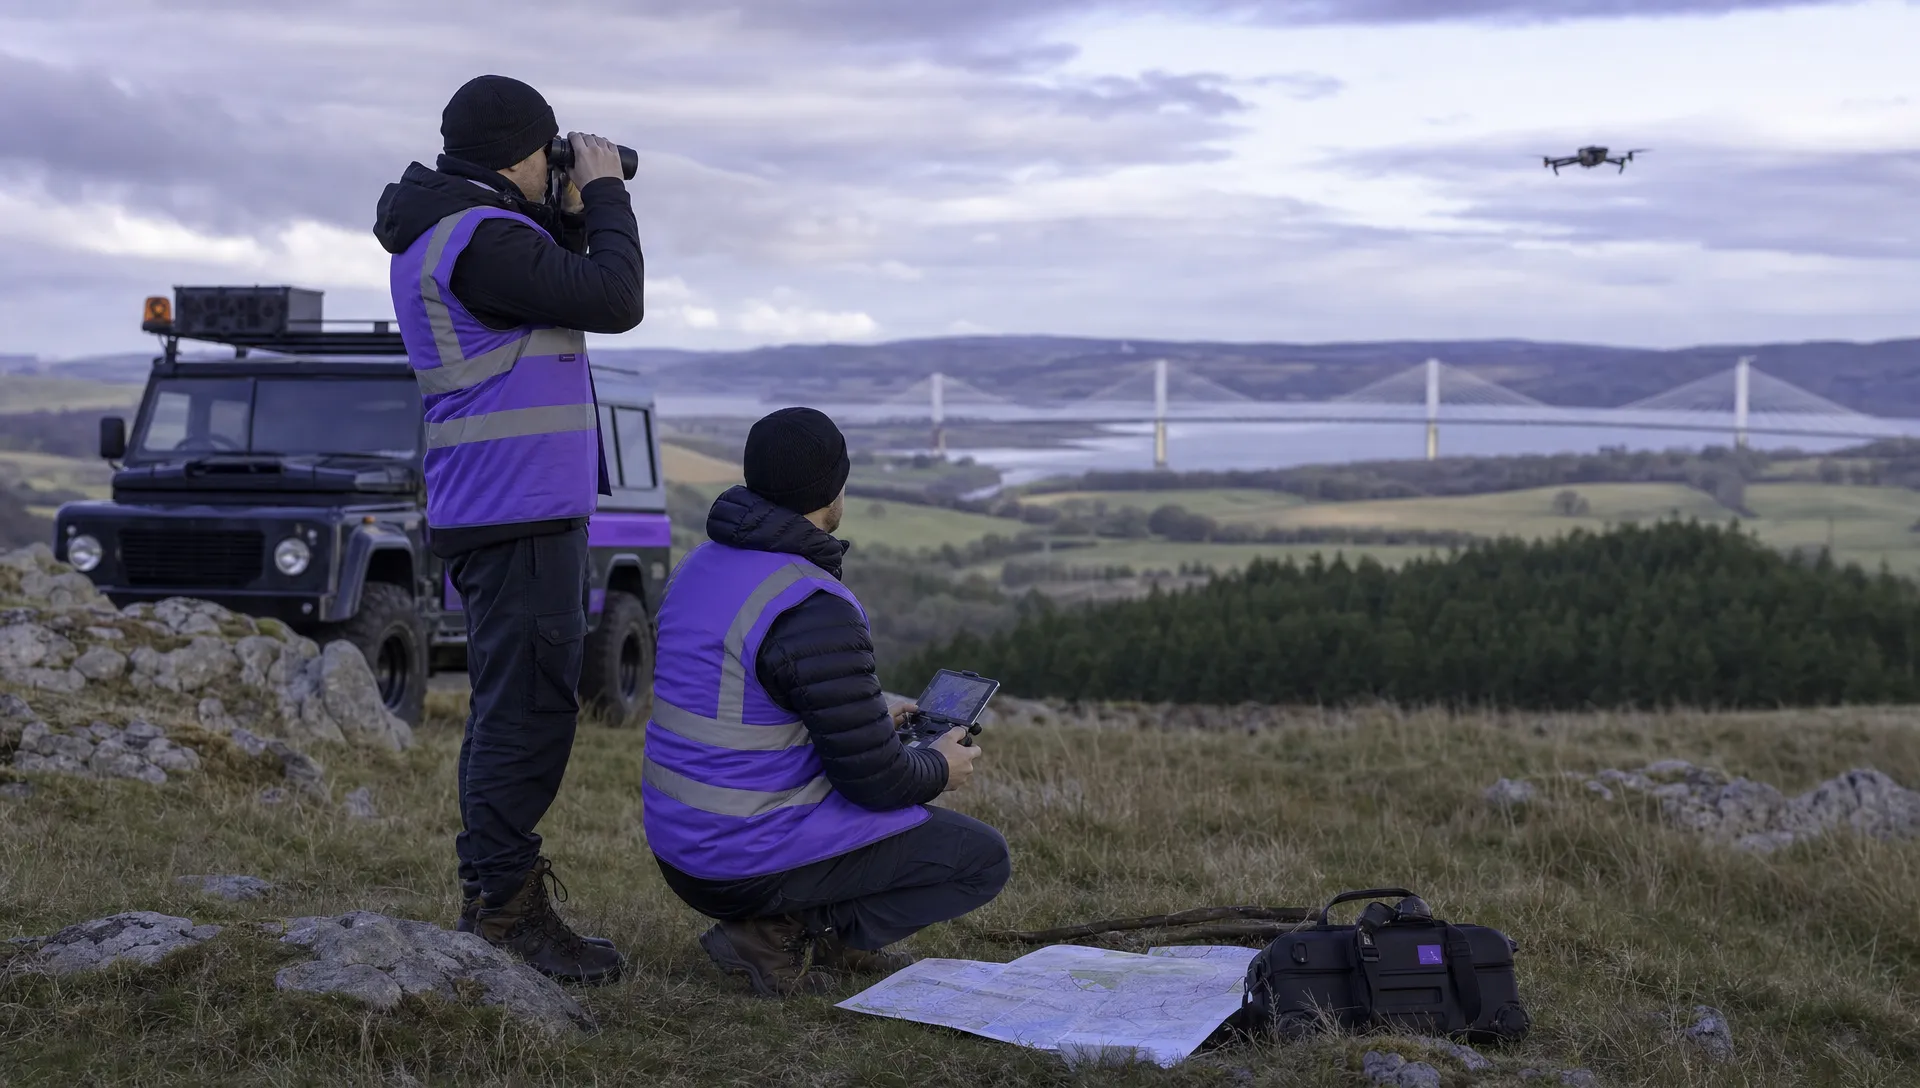 Drone VLOS Rules Explained for Commercial Teams →
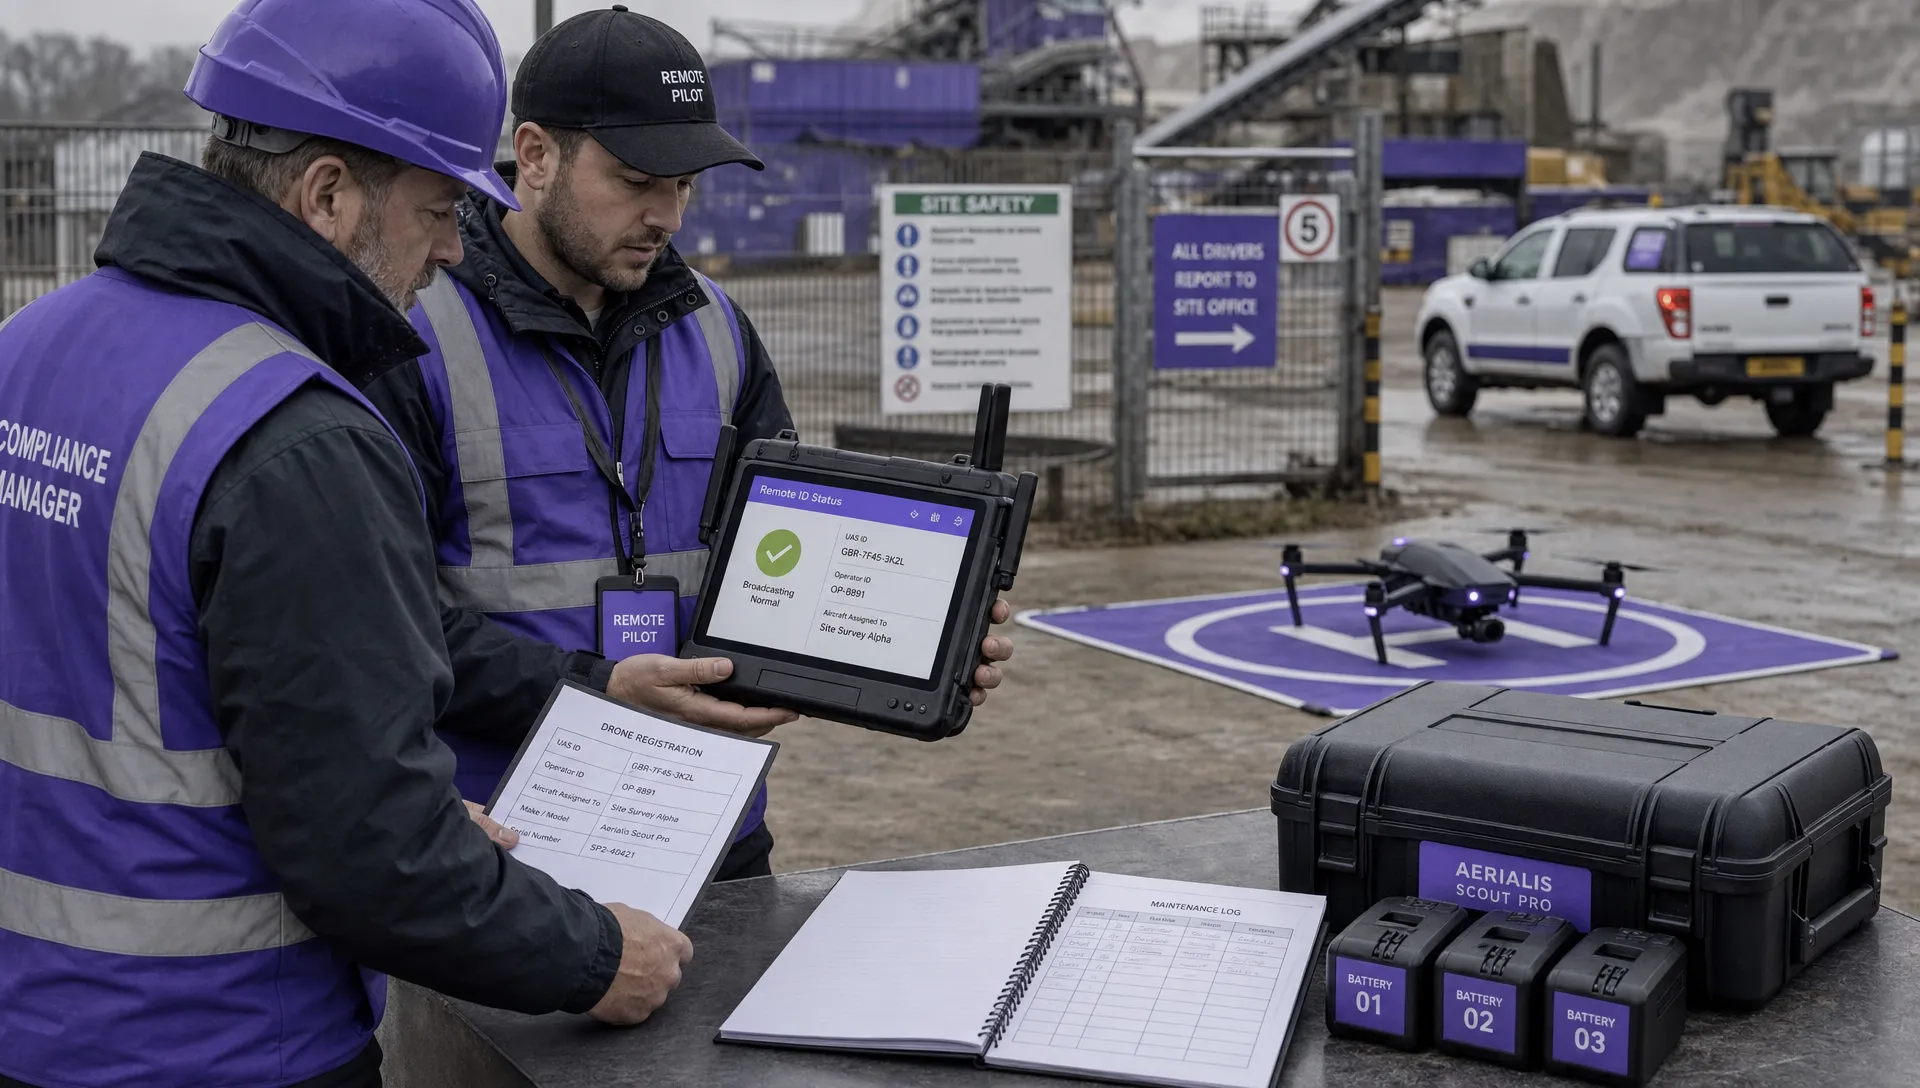 FAA Remote ID Rule Explained for Commercial Pilots →
 Drone Legal Requirements for Commercial Operations →
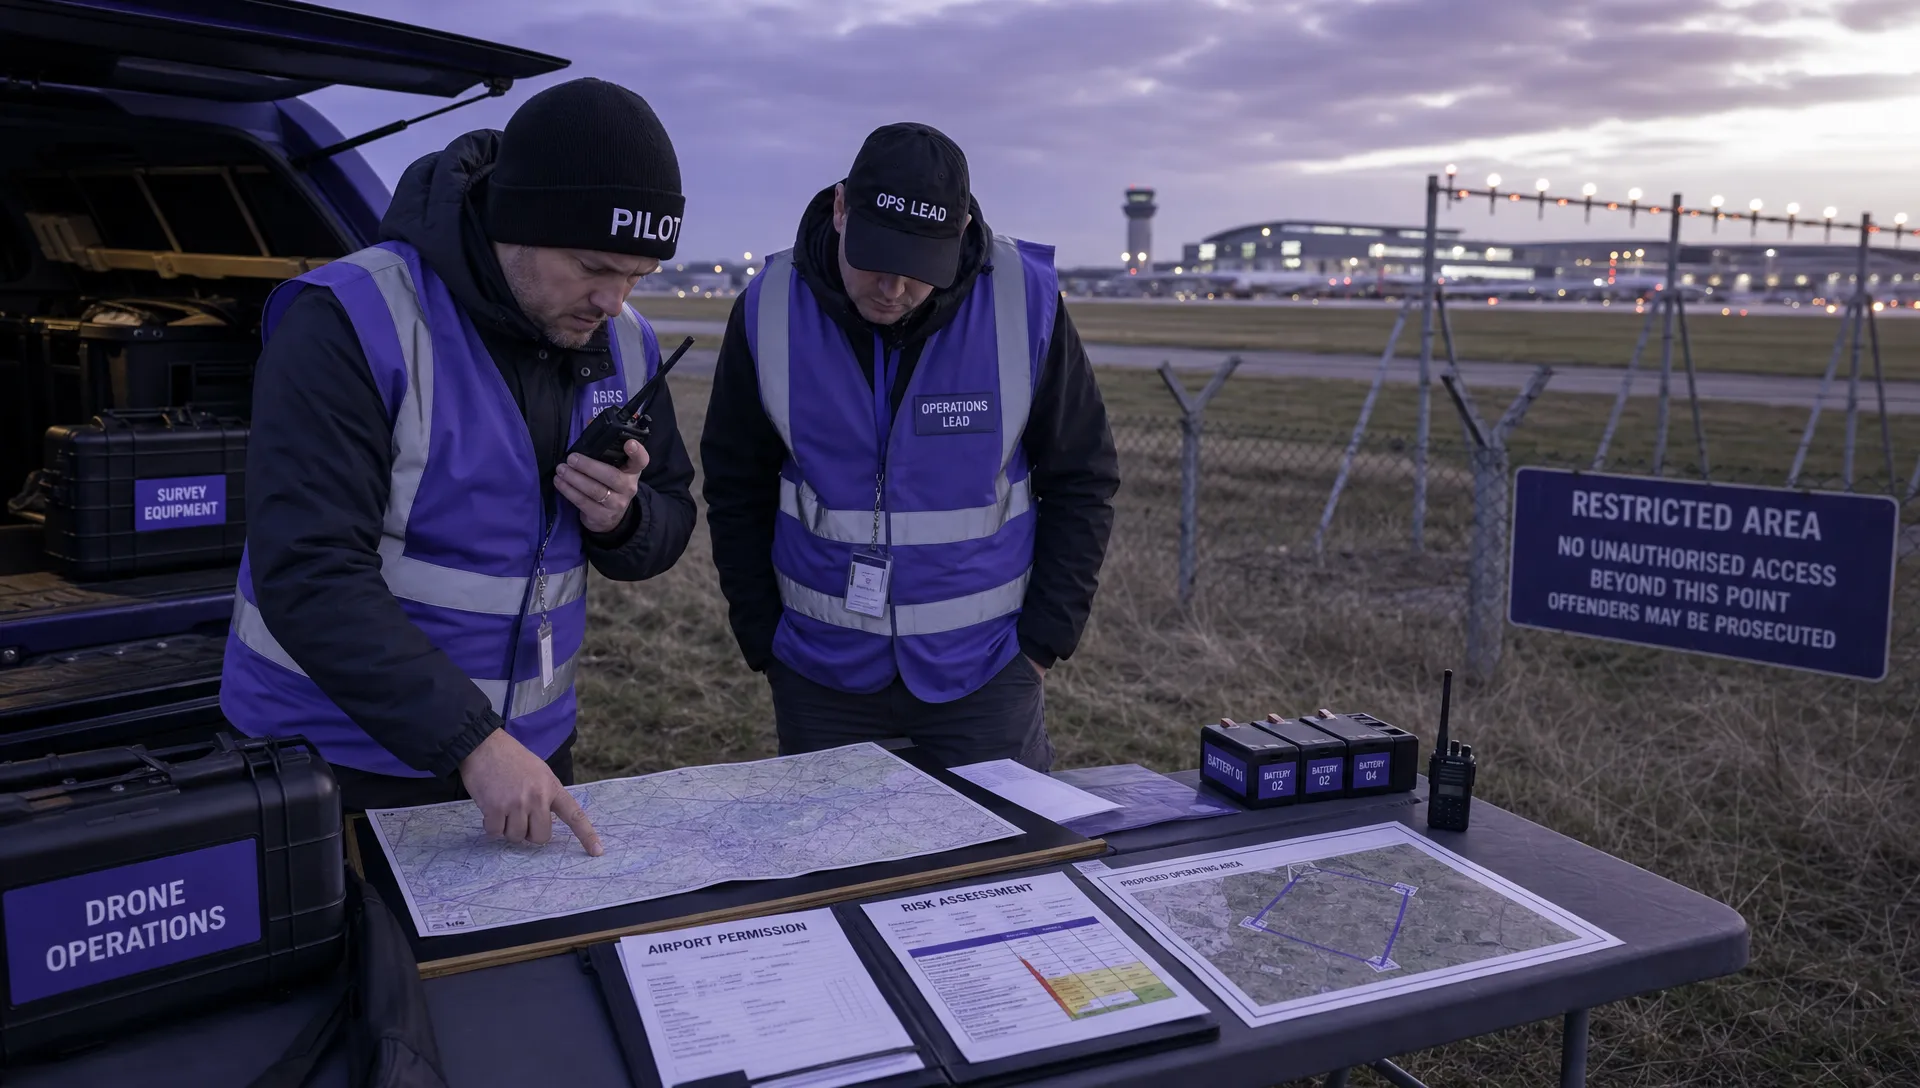 Drone Near Airport Rules Explained for Safer Planning →
 International Drone Regulations Every Global Team Should Know →