Risk Assessment Checklists - Essential Guide for Safety Success
Let's be clear: a risk assessment checklist is not just another to-do list you breeze through before a flight. It's a foundational tool for proactive safety and operational excellence. Think of it as your structured, evidence-based system for preventing accidents, ensuring compliance, and protecting your gear—especially in a field as complex as commercial drone operations.
Why Modern Risk Assessment Checklists Actually Work

The idea of using a checklist to manage complicated tasks isn't new, but its application in formal risk management has a rich history, born from some incredibly high-stakes industries. Early adopters in aviation and medicine quickly proved that a systematic approach could drastically cut down on human error.
The real evolution, however, began when industries had to stare down the barrel of truly catastrophic threats.
Learning from High-Stakes Industries
The nuclear sector, in particular, was the crucible where these advanced safety tools were forged. The immense potential for disaster forced a complete shift—moving from simple procedural checks to deep, analytical evaluations of what could possibly go wrong. This is what laid the groundwork for the checklists we rely on today.
The development was heavily influenced by these safety-critical fields. For instance, the landmark 1975 Reactor Safety Study (NUREG-75/014) introduced probabilistic risk methodologies and fault tree analyses, which are still essential for mapping out complex failure paths. Later, the US Nuclear Regulatory Commission published the “Fault Tree Handbook” in 1981 and the “PRA Procedures Guide,” which standardized these advanced risk assessments.
This structured, analytical thinking is precisely what makes modern checklists so effective. They aren't just about ticking boxes; they're about forcing a deliberate, thoughtful consideration of what could go wrong before it does.
A well-designed risk assessment checklist serves as a cognitive net, catching potential human errors and oversights before they escalate into incidents. It institutionalizes diligence.
The Power of Proactive Prevention
At its core, a modern checklist is all about being proactive. Instead of just reacting to incidents after they happen, it helps you get ahead of them. This forward-thinking approach is invaluable. A great example of this is a resource like this ultimate emergency preparedness checklist, which shows how a modern, structured method makes all the difference when preparing for the unexpected.
For drone pilots, this proactive mindset translates directly into safer, more successful missions. It means thinking about variables that are all too easy to forget when you're under pressure on-site.
- Environmental Factors: Are there sudden wind gusts forecasted? Will unexpected cloud cover mess with the flight path or drain the battery faster than planned?
- Technical Issues: Has all the firmware been updated? Is the GPS lock strong and stable, or is there a risk of signal interference from that new building nearby?
- Human Elements: Is the pilot well-rested and fully briefed on the mission's objectives and potential hazards? Is a visual observer needed for this specific flight area?
By systematically running through these points before takeoff, a checklist transforms risk management from an abstract idea into a concrete, repeatable action. It builds a culture of safety and professionalism, protecting not just your expensive drone but also your reputation and the public. This is why they work.
Building Your Custom Risk Assessment Checklist

Alright, let's move from theory to practice. A generic, off-the-shelf checklist is a decent start, but it’s never going to cut it for serious, professional operations. The best risk assessment checklists are living documents, tailored specifically to your team, your drones, and the kind of sites you work on every day.
This isn't a task for one person sitting alone in an office. The first thing you need to do is get the right people in a room. I’m talking about your pilots, visual observers, the crew who handle maintenance, and even the admin staff who book the jobs. Everyone sees risk from a different angle. A pilot might be laser-focused on how the drone feels in the air, while a VO is scanning for a dog off its leash or a curious kid wandering too close.
Uncovering All Potential Risks
With your team together, it’s time to brainstorm. The only rule here is that there are no bad ideas. The goal is to get every single potential hazard out on the table, no matter how wild or unlikely it might seem.
Grab a whiteboard or open a shared document and just start listing. A great way to get the ball rolling is to walk through a recent mission from start to finish. What were the annoying little things that happened? What were the "what if" moments? This keeps the discussion grounded in real-world experience, not just abstract possibilities.
You'll find that most risks fall into one of three buckets:
-
Environmental Hazards: This is everything outside of your control that you still have to plan for. And I mean everything—not just the weather forecast. Think about sudden wind gusts that whip between tall buildings, solar flares messing with your GPS, or even the local bird nesting season. Yes, that's a real thing.
-
Technical Failures: This bucket covers anything and everything that can go wrong with your gear. It could be a sudden loss of GPS signal mid-flight, a battery that gives a bogus reading, a gimbal that starts twitching, or the controller disconnecting. Get specific to your aircraft models here.
-
Human Factors: This is often the most critical and most ignored category. It covers pilot fatigue, pressure from a client to "just get it done," miscommunication between team members, or just plain inexperience. Being brutally honest here is what builds a real safety culture.
Organizing Your Checklist for Practical Use
A massive, unorganized list of hazards is useless in the field. The next step is to give it some structure, turning that brain-dump into a tool you can actually use on a job site.
For drone ops, the most practical way to organize your checklist is by mission phase. This creates a natural, logical flow that helps ensure the right things are checked at the right time. It prevents that pre-flight scramble where you might forget something crucial.
The real power of a custom checklist is its flow. By organizing risks into phases like Pre-Flight, In-Flight, and Post-Flight, you create a repeatable process that builds safety into your muscle memory. It stops being a chore and becomes second nature.
For some inspiration on structuring operational procedures, it can be helpful to look at a comprehensive business continuity plan checklist. The context is different, of course, but the core principle of breaking down complex processes into manageable, categorized steps is exactly the same.
Detailing the Checklist Categories
Let's dig into what should go into each of those phases to make your checklist truly effective.
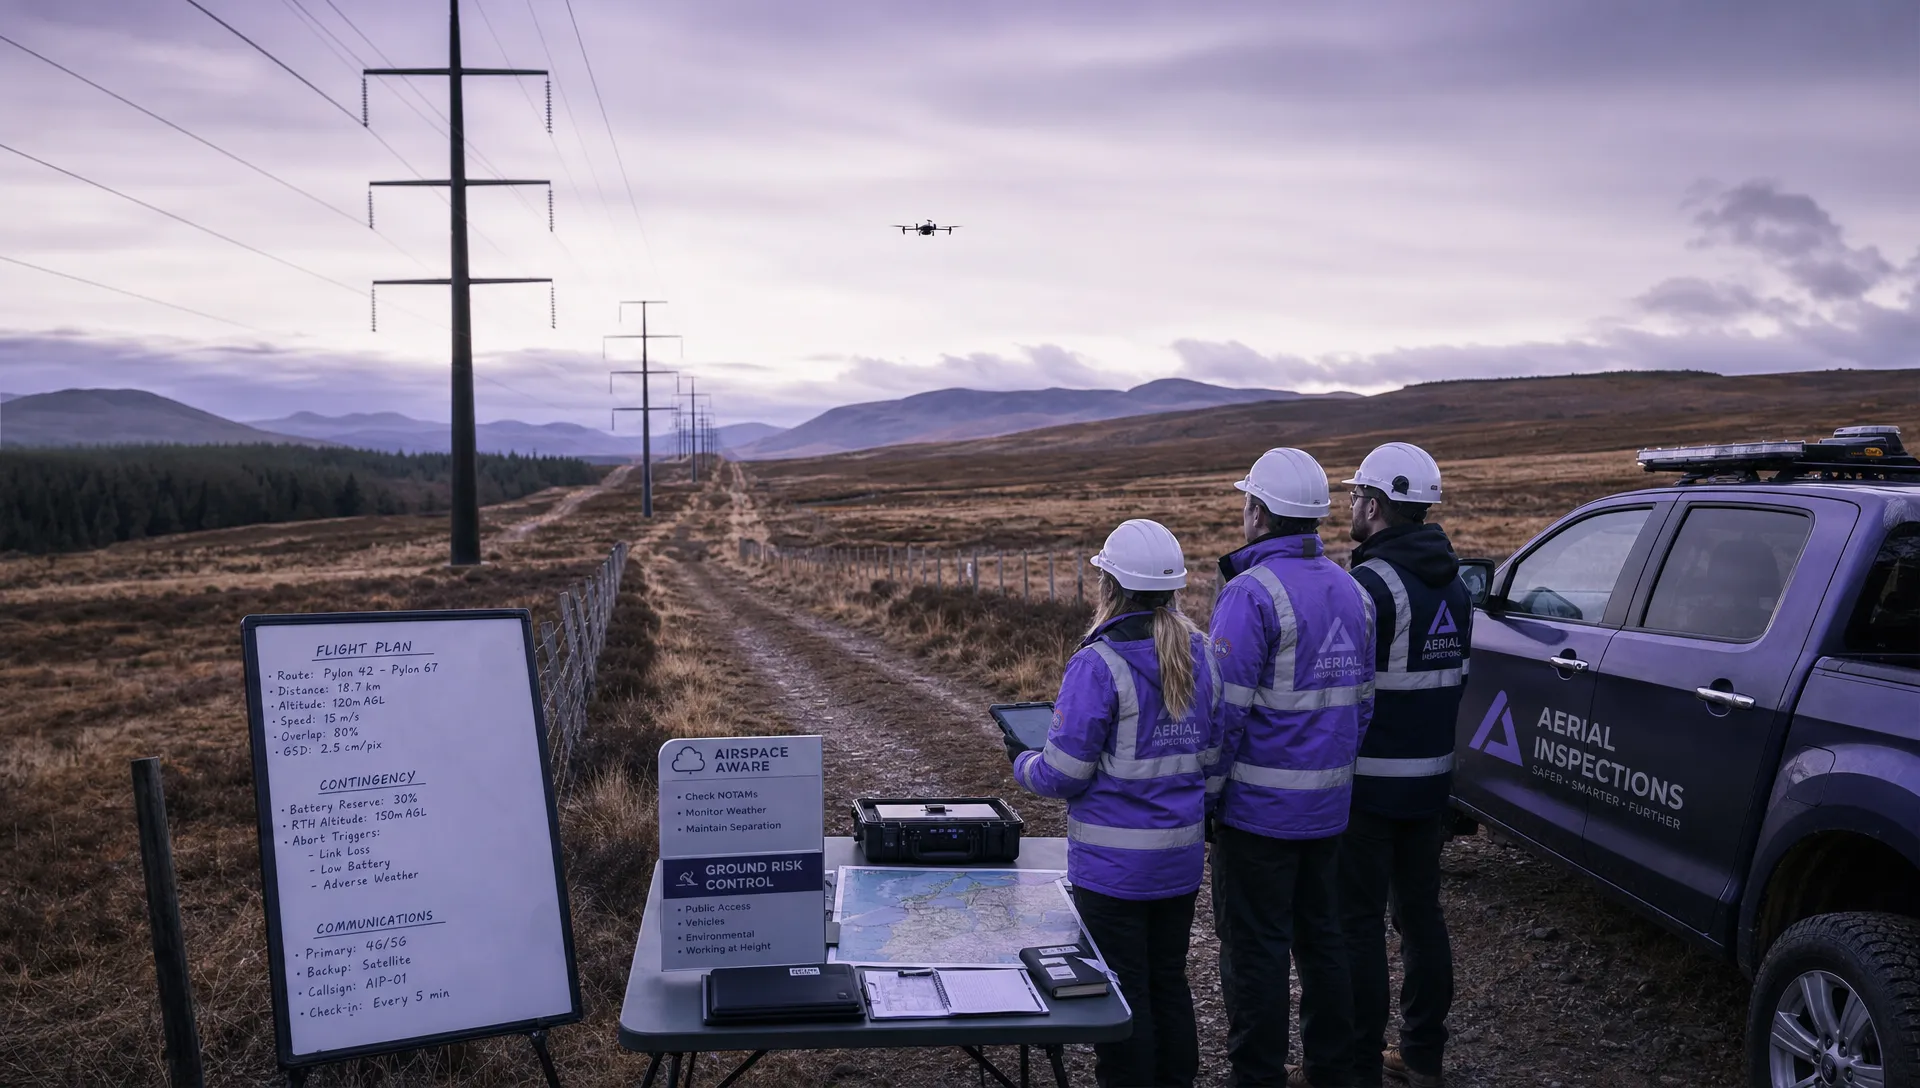
1. Pre-Flight Checks This will be your longest and most detailed section. It's everything you need to confirm before the props start spinning.
- Site Survey: Checking for overhead power lines, cell towers, nearby airports or helipads, and any obstacles on the ground.
- Weather Analysis: Not just checking the forecast, but confirming on-site conditions. Is the wind speed what you expected? Is visibility clear?
- Equipment Inspection: Physically checking props for nicks, verifying battery levels are at 100%, and confirming all firmware is up-to-date.
- Team Briefing: Making sure every single person on site knows the flight plan, their specific role, and what to do in an emergency.
2. In-Flight Checks These are the quick mental and physical checks you're doing while the drone is in the air. This is all about maintaining situational awareness.
- System Monitoring: Regularly glancing at your controller's telemetry data—battery voltage, GPS satellite count, and signal strength.
- Visual Line of Sight (VLOS): Constantly confirming you can see the drone with your own eyes, without assistance.
- Environmental Scanning: Actively looking for changes. Is that weather system moving in faster than predicted? Has a crowd started to gather?
3. Post-Flight Checks The mission isn't over just because the drone has landed. These final steps are absolutely vital for long-term safety and maintenance.
- Equipment Inspection: A thorough post-flight look for any new damage, cracks, or signs of stress on the airframe and propellers.
- Data Management: Securely transferring and backing up your flight logs and all the data you just captured. Don't risk losing a whole day's work.
- Debrief: A quick chat with the team about what went right, what went wrong, and any new hazards you encountered. This is how your checklist evolves and gets better with every single flight.
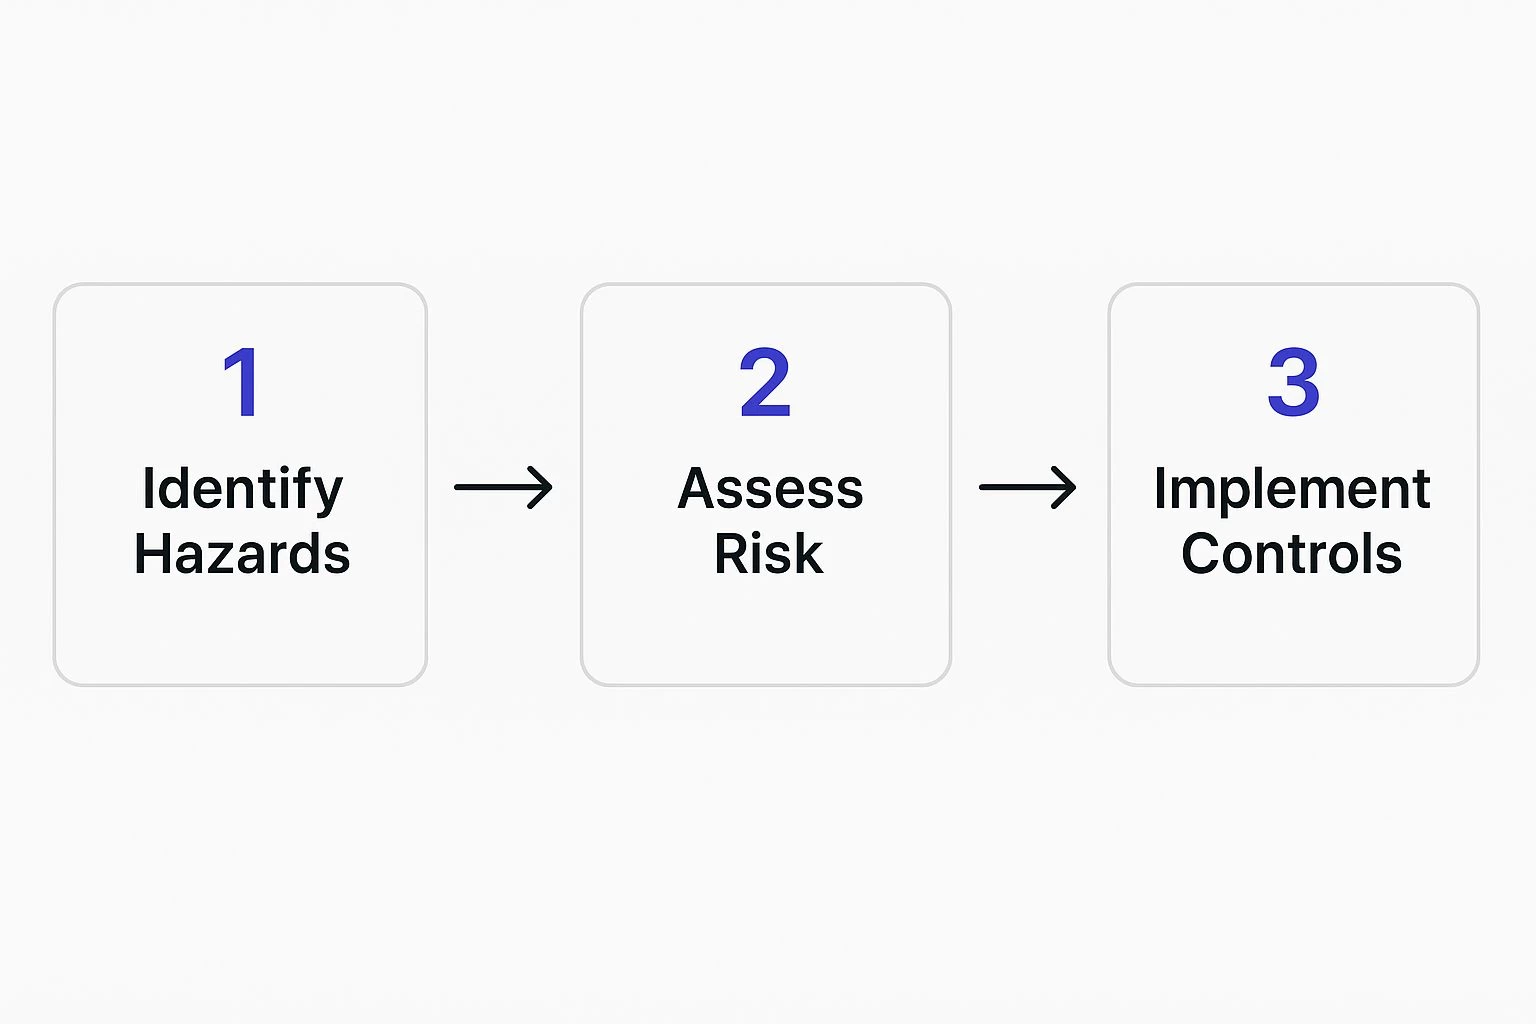
How to Analyze and Prioritize Risks
Once you've brainstormed every possible thing that could go wrong on a job, you're often left with a long, jumbled list of hazards. In the field, that's overwhelming and not particularly useful. The real work isn't just listing problems—it's figuring out which ones demand your immediate attention and which are just background noise.
The trick is to turn that raw data into a strategic tool. You need a simple, visual way to cut through the chaos and focus your energy where it actually matters.
Introducing the Risk Matrix
This is where a risk matrix comes in. It's the most effective tool for the job, hands down. A risk matrix is a simple grid that helps you score and rank each hazard based on two critical factors: its likelihood (how likely it is to happen) and its impact (how bad it will be if it does).
By giving each factor a number, you can calculate a risk score that instantly tells you what to worry about first. This simple process elevates your pre-flight check from a basic hazard list to a genuine risk assessment checklist that drives smart, proactive decisions on-site.
This is the crucial middle step that connects identifying a problem with actually doing something about it, as you can see below.
How to Score Likelihood and Impact
For the matrix to work, you need a consistent scoring system. A simple 1-to-5 scale is perfect. It’s detailed enough to be meaningful but simple enough to use quickly when you're under pressure.
Likelihood (Probability)
- 1 (Rare): So unlikely it's barely worth mentioning.
- 2 (Unlikely): Could happen, but you'd be surprised if it did.
- 3 (Possible): A reasonable chance of occurring.
- 4 (Likely): Very well might happen; you've seen it before.
- 5 (Almost Certain): It's almost guaranteed to happen at some point.
Impact (Severity)
- 1 (Negligible): A minor inconvenience, but no real damage or injury.
- 2 (Minor): Small dings to equipment, no injuries, minimal mission disruption.
- 3 (Moderate): Significant equipment damage, potential for minor injury, and the mission is definitely scrubbed.
- 4 (Major): Total loss of the drone, with potential for serious injury to your crew or the public.
- 5 (Catastrophic): Multiple serious injuries or fatalities, major damage to third-party property.
After scoring both likelihood and impact, you just multiply them together to get a Risk Score. A higher score obviously means a higher priority. If you want to dive deeper, you can explore different risk management framework examples that build on these core principles.
The goal isn't just to list what could go wrong. It's to quantify it. Scoring turns vague worries into concrete priorities. This allows you to focus your most valuable resource—your attention—on the biggest threats.
A Real-World Drone Mission Example
Let's put this into practice. Imagine you're planning a drone survey near a coastal area known for its gusty, unpredictable weather. You've identified a dozen or so hazards, but two really stick out: 'sudden high winds' and 'brief signal interference.'
Here’s a quick table showing how a risk matrix helps you prioritize these two issues.
Sample Drone Operation Risk Matrix
This table shows how to score and prioritize potential risks for a drone surveying mission using a likelihood and impact matrix.
| Risk Item | Likelihood (1-5) | Impact (1-5) | Risk Score (Likelihood x Impact) | Priority Level |
|---|---|---|---|---|
| Sudden High Winds | 4 (Likely) | 4 (Major) | 16 | HIGH |
| Brief Signal Interference | 2 (Unlikely) | 3 (Moderate) | 6 | LOW |
This simple analysis gives you immediate clarity.
Sudden high winds score a 16. It's likely to happen (a score of 4) and could easily lead to a total loss of the aircraft (an impact of 4), making it a high-priority risk. This demands a specific mitigation plan, like setting a lower maximum wind speed for the operation or ensuring a more experienced pilot is at the controls.
On the other hand, brief signal interference only scores a 6. While a moderate problem if it happens (3), it’s considered unlikely for this specific area and equipment (2). It’s a low-priority risk. You still need to be aware of it, but it doesn't require the same level of pre-emptive action as the wind.
This simple act of scoring and prioritizing transforms your checklist from a passive document into an active, strategic tool that keeps you focused on the right things at the right time.
Developing Smart Mitigation Strategies

Spotting potential problems is only half the job. You can have a perfectly prioritized list of what could go wrong, but without a solid plan to deal with those risks, it's just a list of anxieties. This next step—crafting smart mitigation strategies—is what transforms your risk assessment checklists from a simple warning system into a powerful, proactive playbook.
Forget vague advice like "be careful." For every single high-priority risk you've identified, you need a specific, actionable control measure ready to go. The goal here is to build a library of concrete tactics your team can use without a second thought. This is the heart and soul of real-world drone risk management.
Think of it this way: your risk matrix tells you a fire is likely and dangerous. Your mitigation strategy is the fire extinguisher on the wall, the sprinkler system, and the clearly marked exits. It’s the pre-planned response that turns a potential disaster into a manageable situation.
Crafting Concrete Control Measures
So, let's get practical. How do you actually counter the common, high-stakes hazards you'll face? The trick is to move beyond just acknowledging a risk and start defining the exact actions that will knock down its likelihood or severity.
Take a high-priority risk like a mid-flight battery failure. Your mitigation plan shouldn't just say "check the battery." That’s not nearly enough. It needs to be a multi-layered defense.
- Set a Conservative Return-to-Home (RTH) Threshold: Don't push your luck. Instead of the default 10%, set your RTH to trigger at 30% battery. This gives you a massive safety buffer for unexpected headwinds or other delays.
- Mandate Smart Battery Health Checks: Before any flight, your pilot must review the battery's vital signs. This means checking for cell deviation, total charge cycles, and any logged errors. A battery showing any sign of weakness stays on the ground. Simple as that.
- Run a Mandatory Pre-Flight Load Test: Just before the main mission, hover the drone for 30 seconds at a low altitude. This puts a real-world load on the battery and can expose problems that a simple voltage check would miss.
See the difference? This level of detail turns a fuzzy concern into a clear, repeatable procedure.
Addressing Environmental and Human Factors
Of course, technical gremlins are only one part of the equation. Your mitigation strategies also have to account for environmental and human factors, which are often far less predictable.
Let's look at the risk of losing visual line of sight (VLOS)—a huge safety and compliance headache. A weak mitigation is "keep an eye on the drone." A strong one is much more robust.
A robust mitigation strategy doesn't just solve one problem; it builds resilience into your entire operation. By assigning a dedicated visual observer, you not only maintain VLOS but also enhance overall situational awareness, catching other potential hazards faster.
To properly counter the risk of losing VLOS, you could implement these controls:
- Assign a Dedicated Visual Observer (VO): For any complex flight path or one that pushes the boundaries of your visual range, assign a team member whose only job is to maintain unaided sight of the drone and stay in constant communication with the pilot.
- Use Pre-Mapped Flight Paths: Plan your mission in your flight software to ensure the drone stays within clear sightlines from a single pilot position. If the mission is too large, plan for multiple, pre-agreed takeoff and landing points.
This kind of systematic approach really works. Studies have shown that organizations using structured risk assessment checklists and matrices cut their incident rates and financial losses by around 20-30%.
By developing these smart, specific responses, you're building a truly professional and safe operation. Integrating these controls directly into your pre-flight checklist ensures they become a non-negotiable part of your routine. It's how you turn risk into a managed, predictable outcome, flight after flight.
For a deeper dive, check out our complete guide to successful drone risk management.
Putting Your Checklist into Practice
Let's be honest. Creating a detailed checklist is a big step, but a document sitting on your hard drive has never made a flight safer. Your risk assessment checklist is a living tool, not a file-and-forget task. Its real value comes from making it a non-negotiable part of every single operation and committing to making it better over time. This is where you move beyond paper and make safety part of your operational DNA.
It all starts with training. Every member of your team, from the pilot in command to the visual observer, needs to understand not just what is on the checklist, but why it’s there. A check item carries a lot more weight when the team knows it was added after a real-world near-miss, rather than just being a generic instruction.
Making the Checklist a Habit
The goal is simple: make using the checklist as routine as charging your batteries. It needs to be woven directly into your standard operating procedures (SOPs). No checklist, no flight. This isn't about adding red tape; it's about building professional discipline.
The best checklists are the ones that are easiest to access when you're out in the field. If a pilot has to dig through folders on a laptop to find it, it's not going to get used.
Think about how you can deploy it practically:
- Digital Integration: Using an app on a tablet or phone is often the slickest method. Many drone management platforms have this built right in.
- Laminated Field Cards: A low-tech but bulletproof solution. Print the checklist on durable, laminated cards and attach them directly to your drone case.
- Team Accountability: Make the checklist review a core part of the pre-flight briefing. The pilot can run through it aloud with the crew, reinforcing each point and ensuring nothing gets missed.
Remember, the critical role checklists play in every flight can't be overstated; it's the very foundation of a proactive safety culture. This isn't a new idea, either. Other safety-critical fields have been doing this for decades, from aviation to site safety, which often involves tasks like managing evacuation checklists.
Creating a Powerful Feedback Loop
What separates a good checklist from a great one? Its ability to evolve. You’ll buy new drones, fly in new environments, and encounter hazards you never expected. Your checklist has to keep up. The only way that happens is with a solid feedback loop.
This loop should kick in the moment a mission is complete. A mandatory post-flight debrief is essential. This doesn't need to be a long, formal meeting—a quick five-minute chat on-site works perfectly.
Just focus on three simple questions:
- What went according to plan?
- What didn't?
- Did we run into any new or unforeseen risks?
The post-mission debrief is where your checklist gets smarter. It’s the mechanism that captures on-the-ground reality and feeds it back into your safety planning, preventing the same near-miss from happening twice.
This idea of formalizing safety checks has deep roots. One of the earliest formal applications can be traced to the Environmental Protection Agency (EPA). The publication of their 'Red Book' in 1983 laid out a framework that the EPA adopted to ensure every assessment was transparent and thorough.
Beyond the daily debriefs, schedule a full review of your checklist at regular intervals—every quarter is a good starting point. You should also trigger a full review automatically after any incident (no matter how minor) or whenever you introduce new drones or major software updates. This disciplined cycle of use, feedback, and refinement is what turns your checklist from a simple document into your most effective safety tool.
Got Questions About Risk Checklists? Let's Clear Them Up.
Even with a solid plan, putting theory into practice always brings up a few questions. And when we're talking about something as critical as safety, you need clear, straightforward answers.
Let's tackle some of the most common questions I hear from teams who are building and using their risk assessment checklists for the first time. Getting these details right is what turns a piece of paper into a tool you can actually trust on every job.
How Often Should I Update My Risk Assessment Checklist?
Think of your checklist as a living document. It's not something you create once and file away; it needs to evolve right along with your operations to be of any real use.
A good rule of thumb is to do a full, top-to-bottom review at regular intervals—quarterly is a great place to start. But some situations demand an immediate update.
You absolutely need to revisit your checklist:
- After any incident or near-miss. These are your most valuable, if painful, learning opportunities. Don't waste them.
- When you get new gear, like a new drone model or a different kind of payload.
- Before flying in a totally new environment, like going from open rural fields to a dense urban center.
- Whenever the regulations change.
Your post-flight debriefs are the perfect time to make these small, ongoing tweaks. This keeps your checklist sharp and perfectly aligned with the reality of your day-to-day work.
What's the Difference Between a Hazard and a Risk?
This is a big one. It trips people up all the time, but understanding the distinction is the foundation of a good risk assessment. Nailing this makes your whole safety process click into place.
A hazard is anything with the potential to cause harm. For a drone pilot, that could be a low battery, high winds, a flock of birds, or an unlit crane on a construction site. It’s the "thing."
A risk is the likelihood of that hazard actually causing harm, combined with how severe that harm could be. The hazard is "high winds"; the risk is the "high probability of losing control of the drone, leading to a crash with severe equipment damage and potential injury to people on the ground."
Your checklist is primarily for spotting hazards. Your risk matrix is for evaluating the associated risk. It’s a two-step process: first you identify, then you quantify. That's how you know what to worry about most.
Getting this right moves your team from just listing potential problems to strategically thinking about and neutralizing threats.
Can I Just Use a Generic Template I Found Online?
You can, but only as a starting point. And I can't stress this enough: never rely on a generic template as-is for an actual mission. It’s a surefire way to miss dangers that are specific to your operation.
Think about it—every job has a unique mix of variables:
- Your Gear: A checklist for a little Mavic is dangerously inadequate for a heavy-lift survey drone.
- Your Team: A crew of seasoned pilots has very different human-factor risks compared to a team of fresh-faced operators.
- The Environment: Flying over a remote farm is a world away from flying over a crowded city park or a busy industrial site.
- The Mission: A simple real estate shoot and a high-stakes inspection of critical infrastructure are in completely different leagues of risk.
By all means, look at online templates for inspiration on structure. But then, you have to sit down with your team, brainstorm your own hazards, and build a checklist that truly reflects the specific challenges you face. It’s the only way to have a safety tool that's both compliant and genuinely effective.
How Do I Get My Team to Actually Use the Checklist?
This is often the biggest hurdle. You can craft the most brilliant checklist in the world, but it's worthless if it just sits in the truck. Getting your team to buy in is everything.
First, get them involved in creating it. When your pilots and crew members help brainstorm hazards and map out solutions, they take ownership of it. It becomes their checklist, not just another rule handed down from the boss.
Second, make it a non-negotiable part of your Standard Operating Procedures (SOPs). The rule should be simple and absolute: no completed checklist, no flight. Period.
Third, make it easy to use. Integrate it into your workflow with a digital app, a dedicated tablet in the field kit, or even just durable, laminated cards attached to the drone cases. The less friction there is, the more likely it is to get done.
Finally, you have to lead from the front. When leadership consistently uses the checklist and treats it as a priority, that attitude filters down through the whole team. That's how you build a real safety culture that sticks.
Ready to stop juggling paperwork and start flying safer, more efficient missions? Dronedesk is the all-in-one drone operations management platform that integrates risk assessments, flight planning, team management, and compliance into a single, intuitive system. Join thousands of pilots who have cut their admin time by up to 85%.
Discover how much time you can save and how much safer your operations can be by visiting https://dronedesk.io.
 What a BVLOS Flight Means for Risk and Compliance →
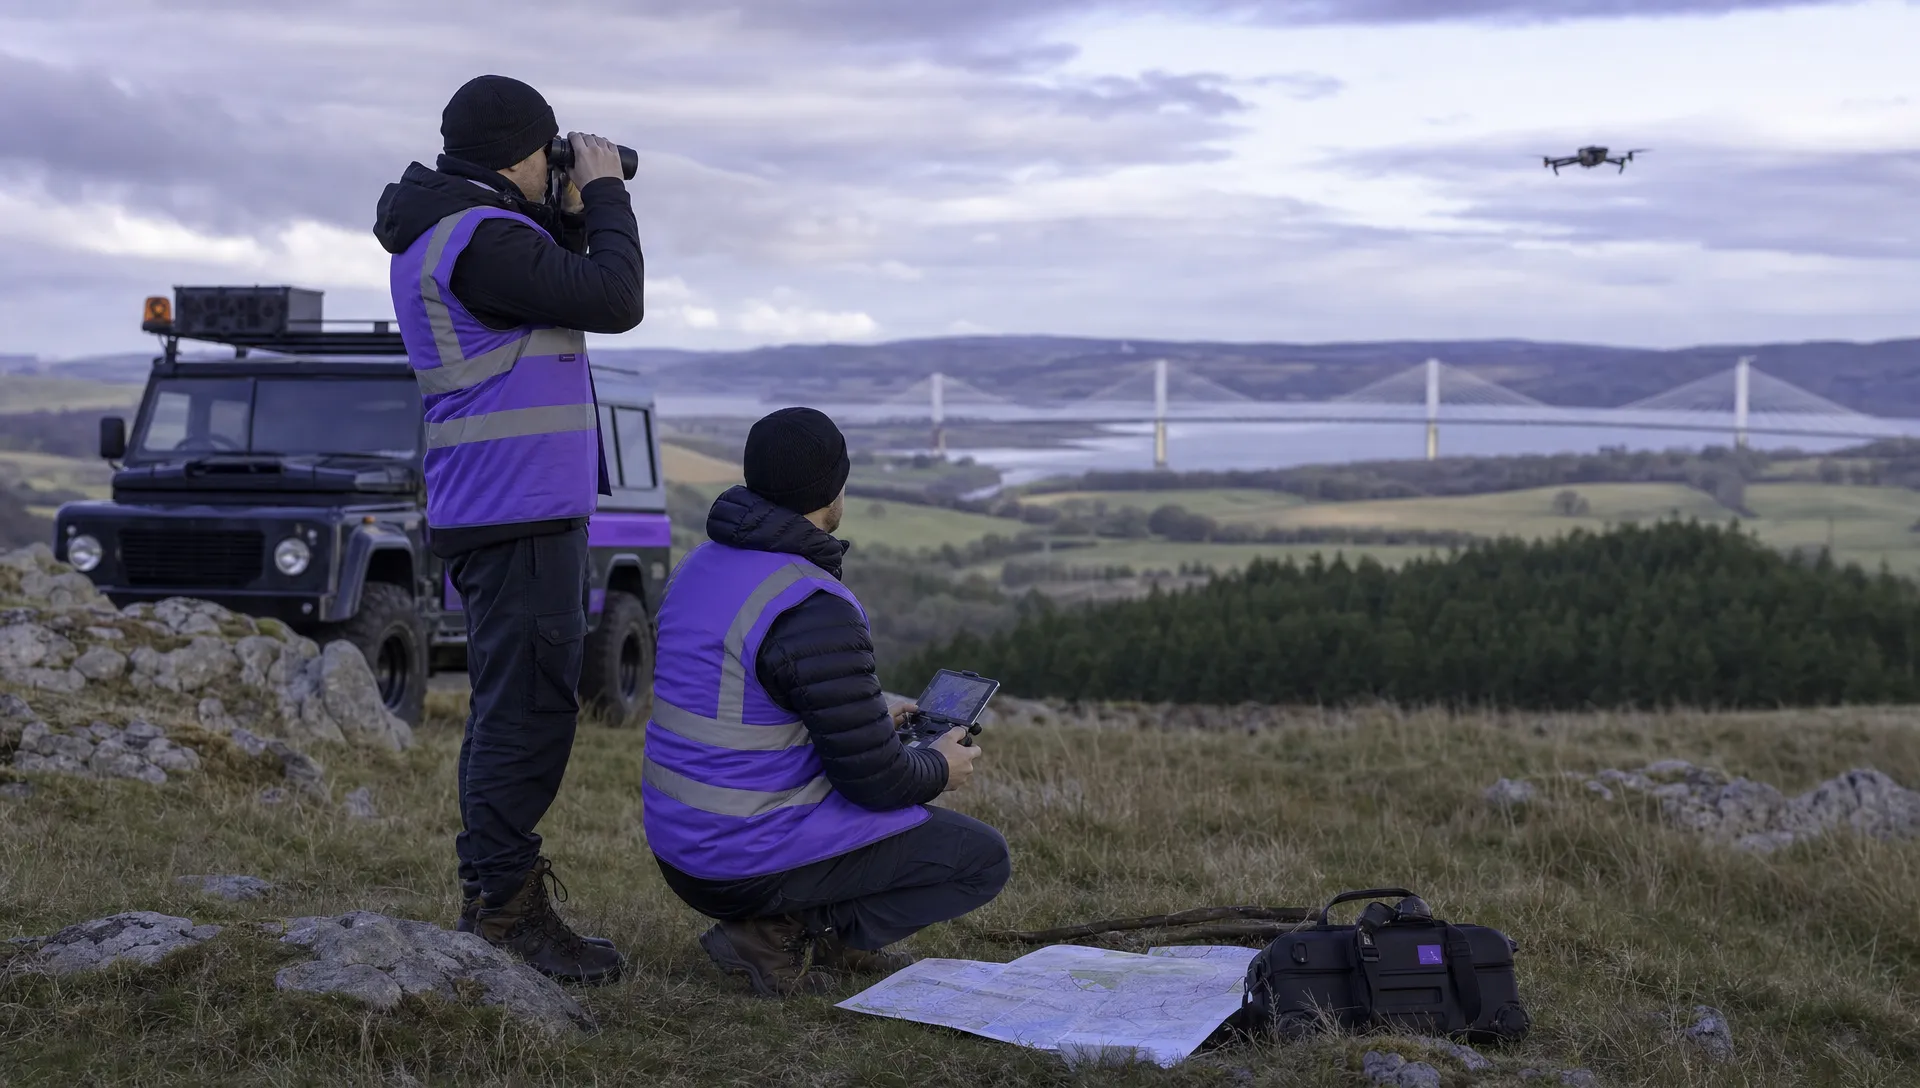 Drone VLOS Rules Explained for Commercial Teams →
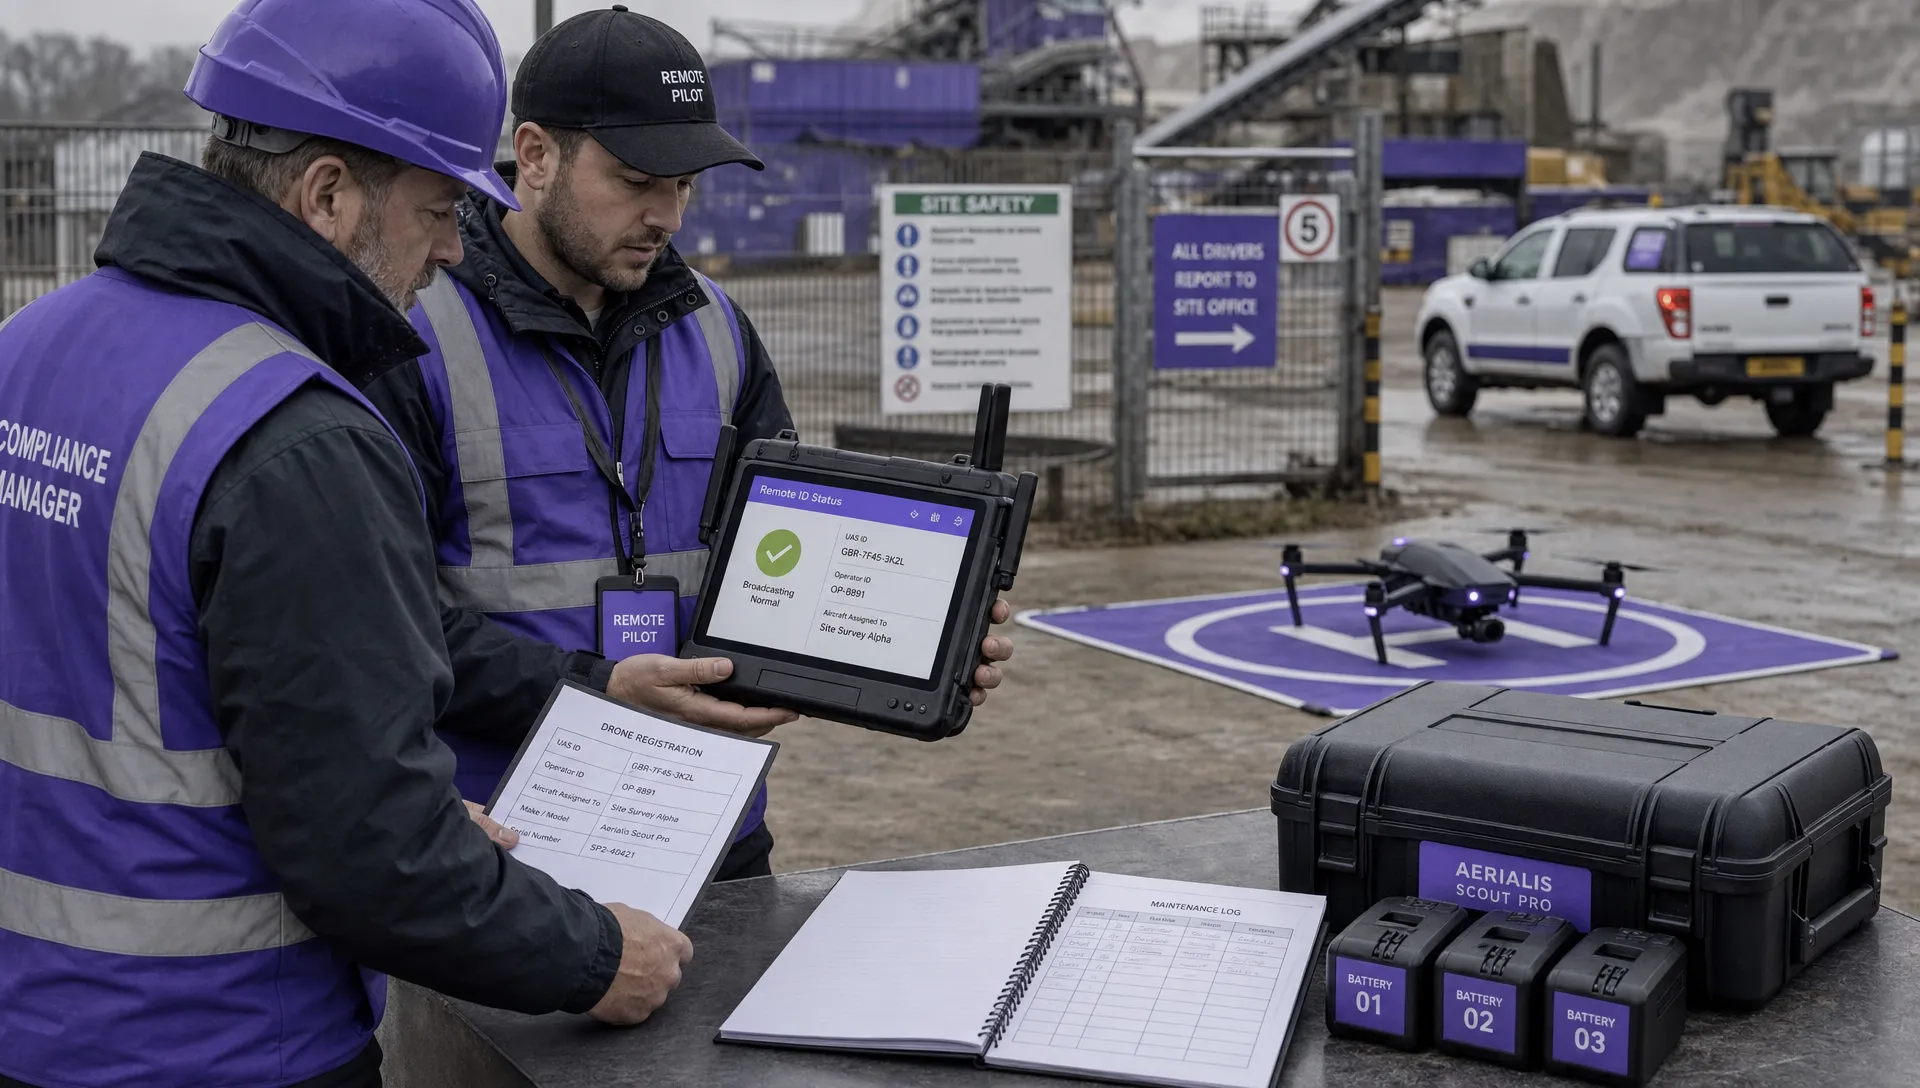 FAA Remote ID Rule Explained for Commercial Pilots →
 Drone Legal Requirements for Commercial Operations →
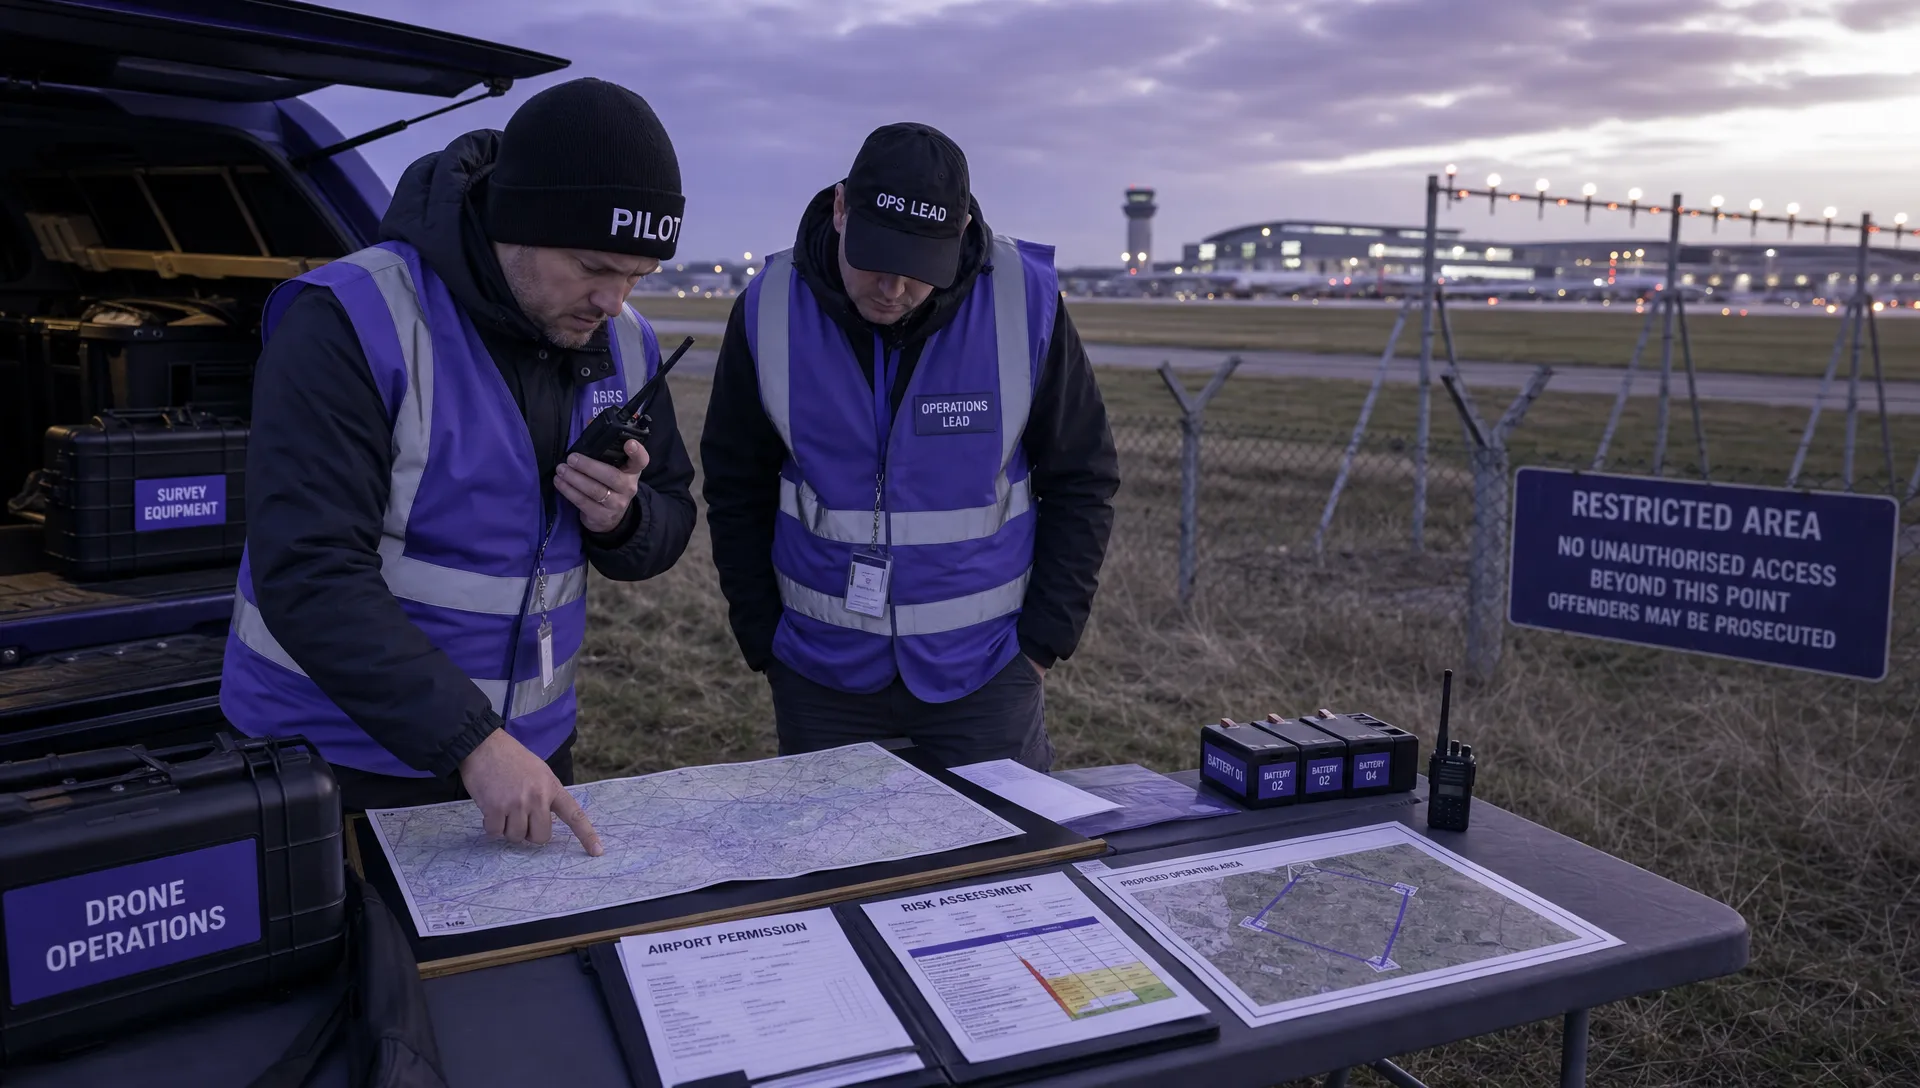 Drone Near Airport Rules Explained for Safer Planning →
 International Drone Regulations Every Global Team Should Know →
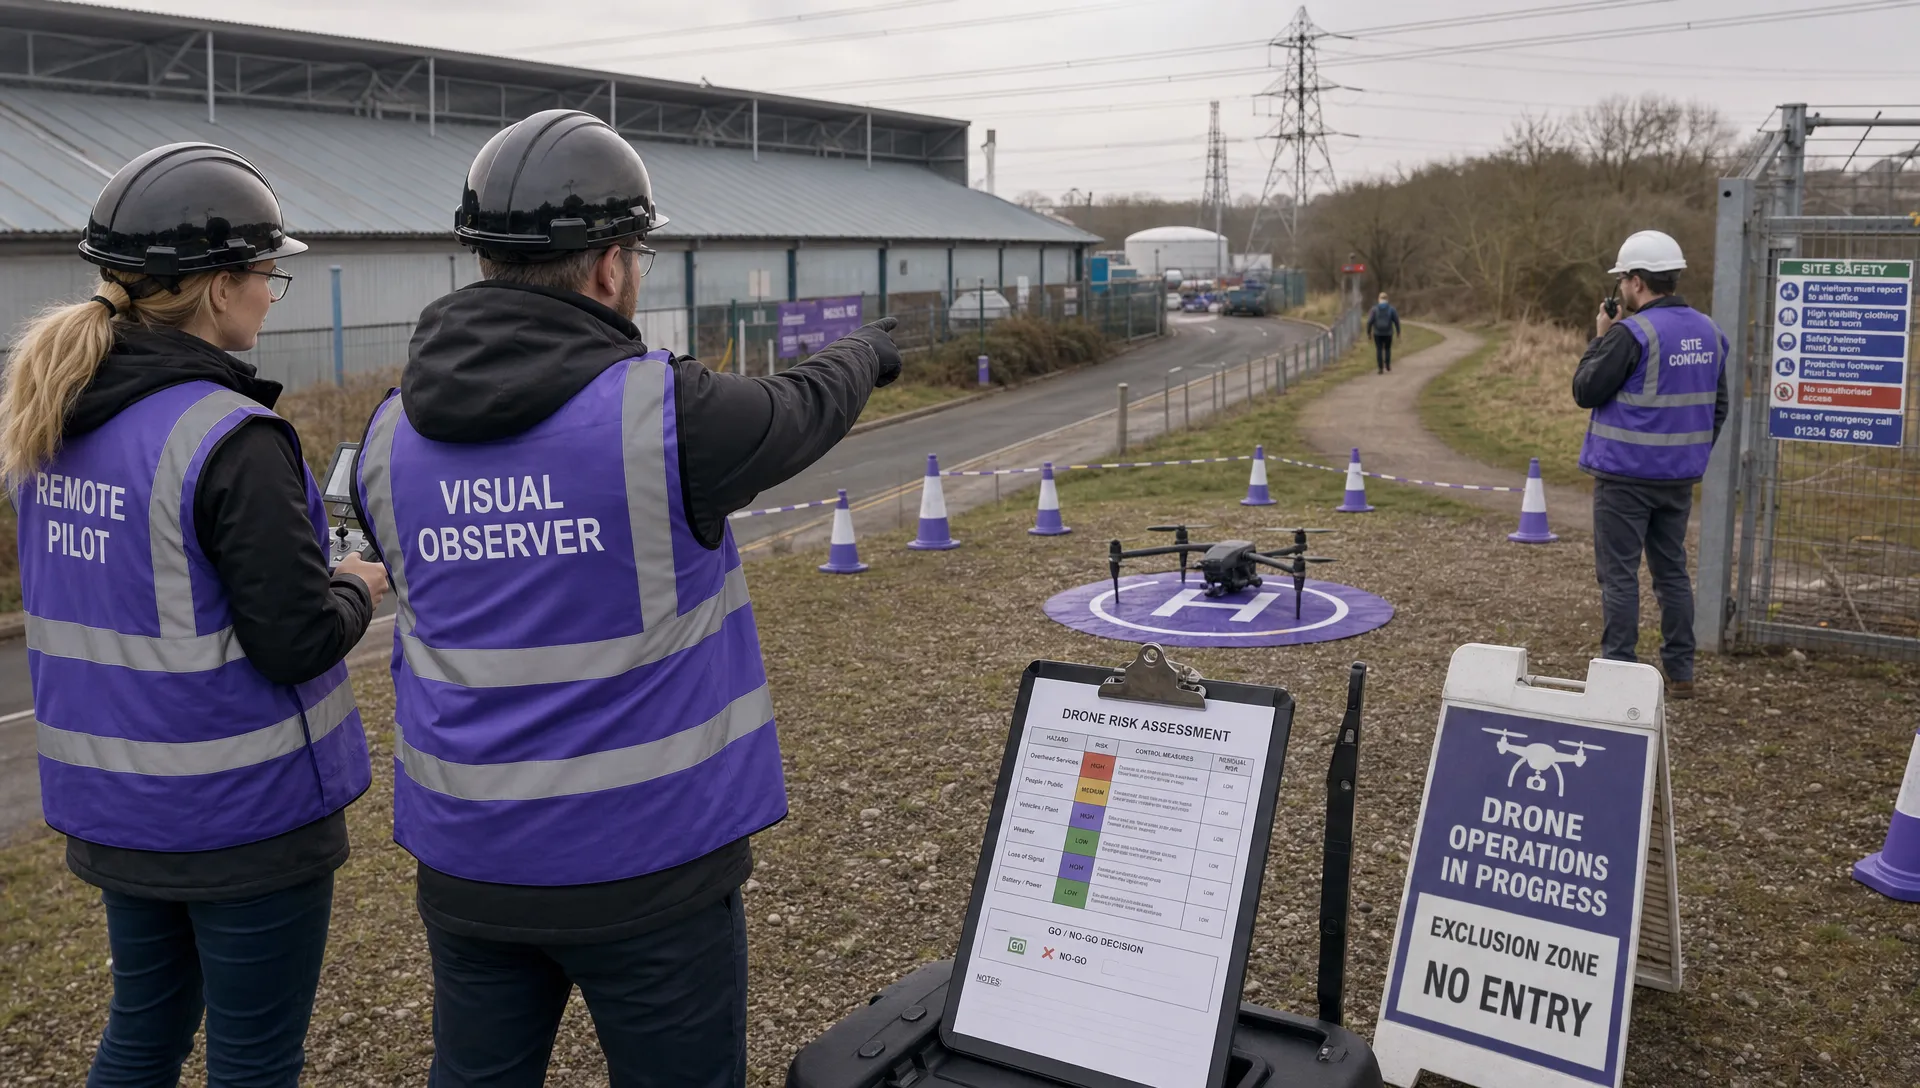 Drone Flight Risk Assessment Example for Safer Missions →
 Beyond Visual Line of Sight Explained for Operators →
 How BVLOS Drone Operations Change Commercial Workflows →
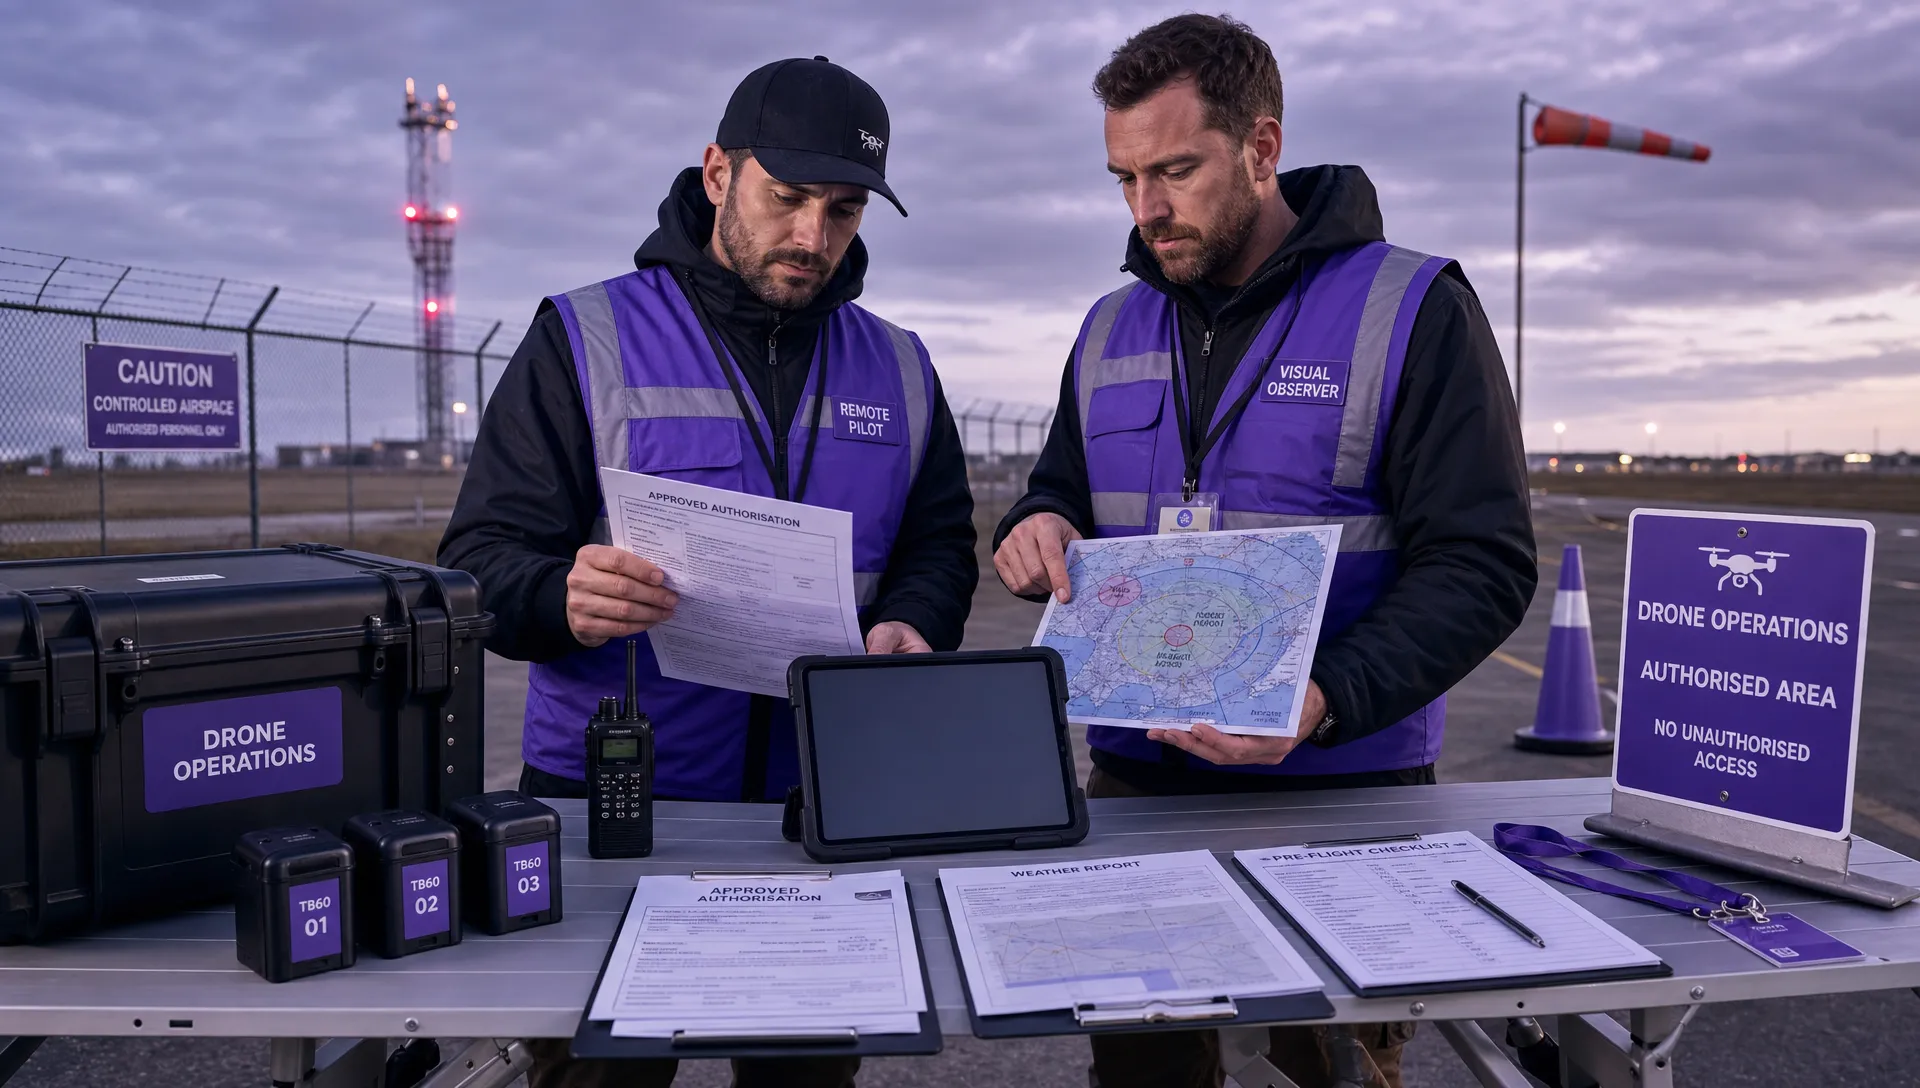 FAA Drone Rules Every Commercial Pilot Should Know →