3D Printer for Drones: The Pro Operator's Guide
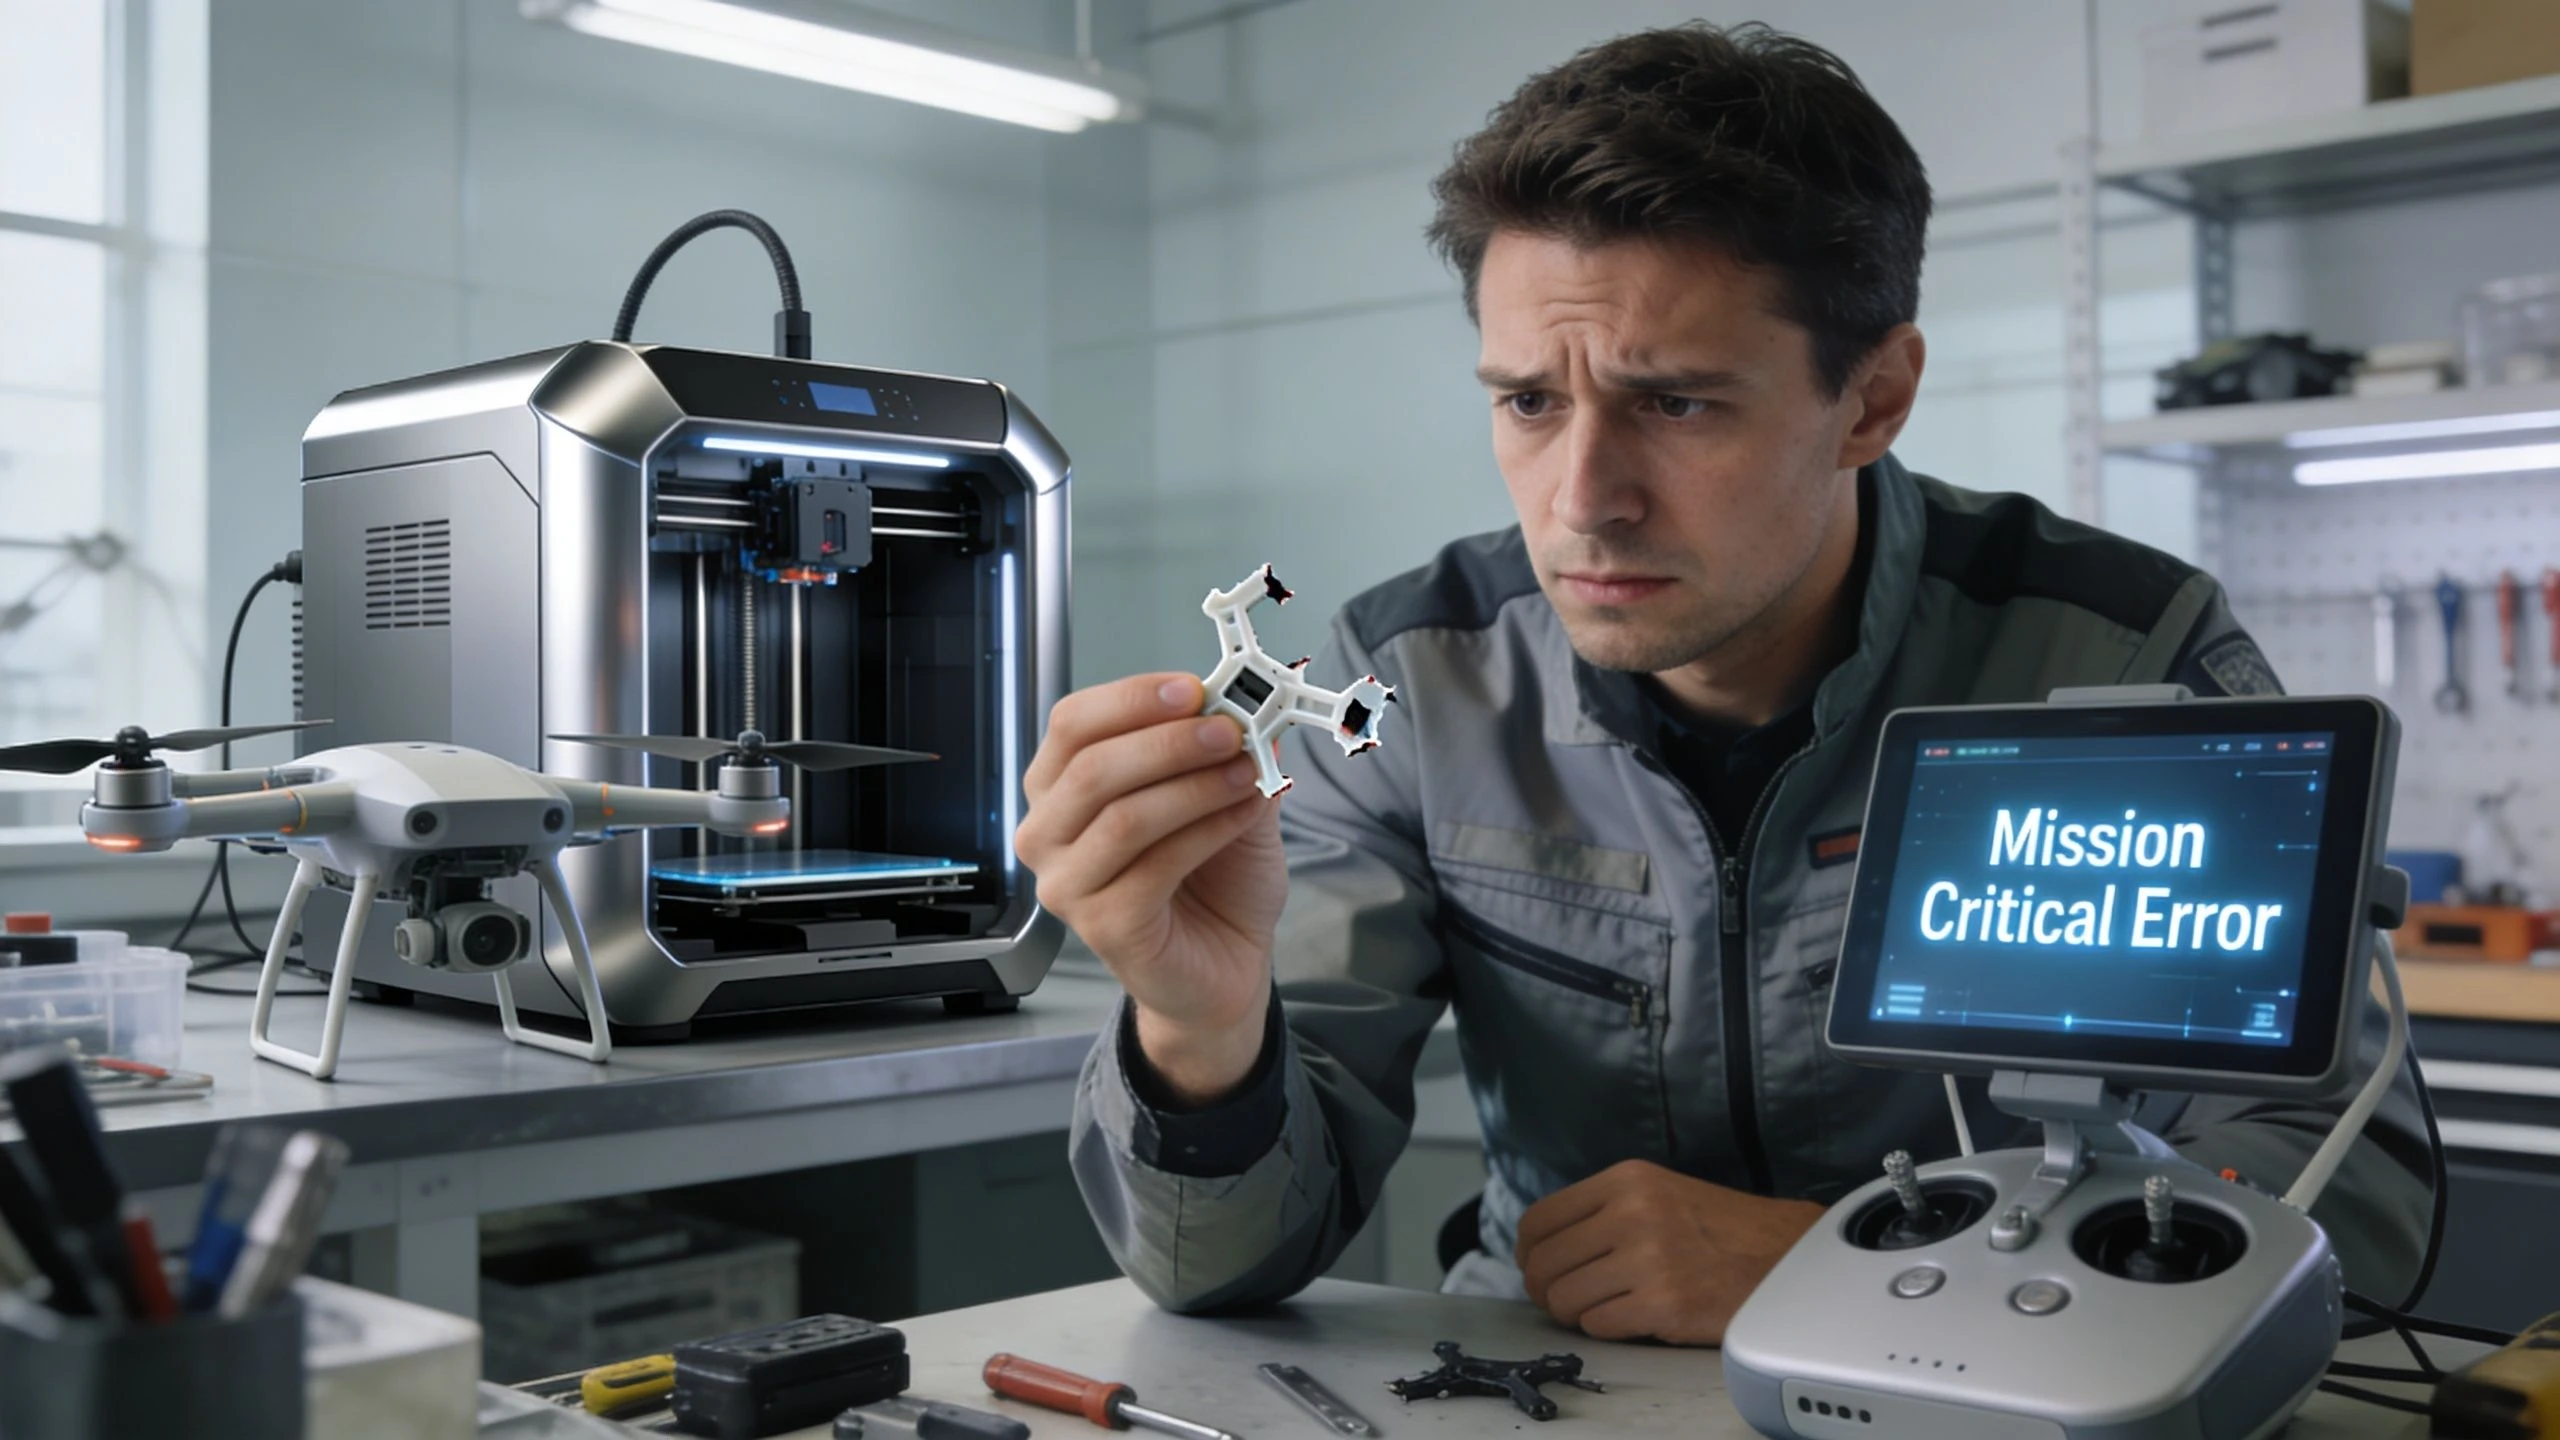
A survey booking is on the calendar. The batteries are charged, airspace is checked, and the client expects data by the end of the day. Then a small plastic bracket cracks during setup. Not a motor. Not a flight controller. A cheap part that should be easy to replace, except the OEM lead time doesn't care how urgent your job is.
That's where a 3d printer for drones stops being a workshop toy and becomes an operational tool. For professional operators, the value isn't novelty. It's keeping aircraft flying, building mounts that specifically fit your payload, and reducing how often your schedule depends on someone else's stock level.
Why Every Drone Pro Needs a 3D Printer
A grounded drone rarely fails in the most dramatic way. Usually, a mission slips because of something small. A damaged landing pad foot. A cracked antenna mount. A payload bracket that worked loose after transport. The part itself might be simple, but the downtime it causes is expensive.
That's why serious operators start looking at additive manufacturing differently. You're not buying a printer because printing is fun. You're buying time back. You're buying the ability to solve low-volume hardware problems without waiting for a supplier to answer an email.
When downtime costs more than parts
In a professional operation, the part price is often the least important number. Actual costs are found elsewhere:
- Lost flying time: The team misses a booked site visit or has to return later.
- Admin overhead: Someone has to source the replacement, chase shipping, and reschedule the work.
- Client confidence: Repeated delays make even a strong operator look disorganized.
- Fleet inefficiency: One broken aircraft can force you to reshuffle jobs across the rest of the fleet.
That's the business case in plain language. A printer helps you shrink the gap between failure and recovery. If you're actively reviewing ways to reduce operational costs in drone work, this is one of the few purchases that affects maintenance, logistics, and service delivery at the same time.
Practical rule: If a part breaks often, gets modified often, or is awkward to source, it's a strong candidate for in-house printing.
What changes once you have one
The first real win usually isn't a complete airframe. It's the boring stuff. Cable guides. GPS stands. Battery spacers. Lens caps. Transport clips. Mounts for strobes, trackers, or custom sensors.
Then the mindset shifts. Instead of asking, “Can we order this?” you start asking, “Should we just make it?” That's a big operational step, because it gives your team more control over uptime and less dependence on fragile supply chains.
How 3D Printing Transforms Drone Operations
The strongest case for a 3d printer for drones comes down to three things. Speed, customization, and control. Those matter far more to a commercial operator than the novelty of producing plastic parts in-house.
The wider aerospace world hit an early milestone in 2011, when engineers designed and built the world's first 3D-printed unmanned aircraft for under $7,000. That mattered because it showed additive manufacturing could move beyond prototypes and into practical aircraft development.
Speed in repairs and iteration
A printer shortens the path from problem to part. If a field-tested mount vibrates too much, you can adjust the model and reprint. If a landing gear foot wears faster than expected, you can revise thickness or geometry without opening a tooling project.
That speed matters in two places:
- Maintenance: You replace common wear items and minor brackets on your schedule.
- Development: You test payload placement, cable routing, and sensor protection quickly.
Fast iteration changes engineering behavior. Teams test more ideas when the cost of being wrong is low.
Operators who don't print often overprotect a bad design because each revision feels expensive or slow. Printing removes some of that friction.
Customization that supports real missions
Commercial drone work is full of awkward payload combinations. Off-the-shelf mounts don't always fit thermal modules, RTK antennas, loudspeakers, drop mechanisms, or custom inspection sensors cleanly. A printer lets you build around the actual mission rather than forcing the mission around available accessories.
Typical high-value custom parts include:
- Payload brackets: For sensors, lights, speakers, and test rigs.
- Protective housings: For exposed electronics or connectors.
- Bench tools: Alignment jigs, charging docks, or transport inserts.
- Pilot accessories: Tablet mounts, sunshade clips, controller brackets.
These aren't glamorous parts. They're useful parts. That's what makes them valuable.
Control over supply and response time
A professional operation runs better when it depends on fewer single points of failure. OEM parts still matter, and some components should always stay OEM. But many non-flight-critical parts don't need to be.
The real operational gain isn't just making parts. It's deciding which parts no longer need to come from elsewhere.
That shift gives teams more resilience. If you manage multiple sites, multiple pilots, or mixed aircraft, that resilience compounds quickly. You keep a digital file library instead of a shelf full of low-turnover stock, and you print what you need when you need it.
Choosing Your First Professional Drone Printer
Most operators don't need the “best” printer in the abstract. They need the right one for the parts they use. That decision usually comes down to FDM, SLA, or SLS.
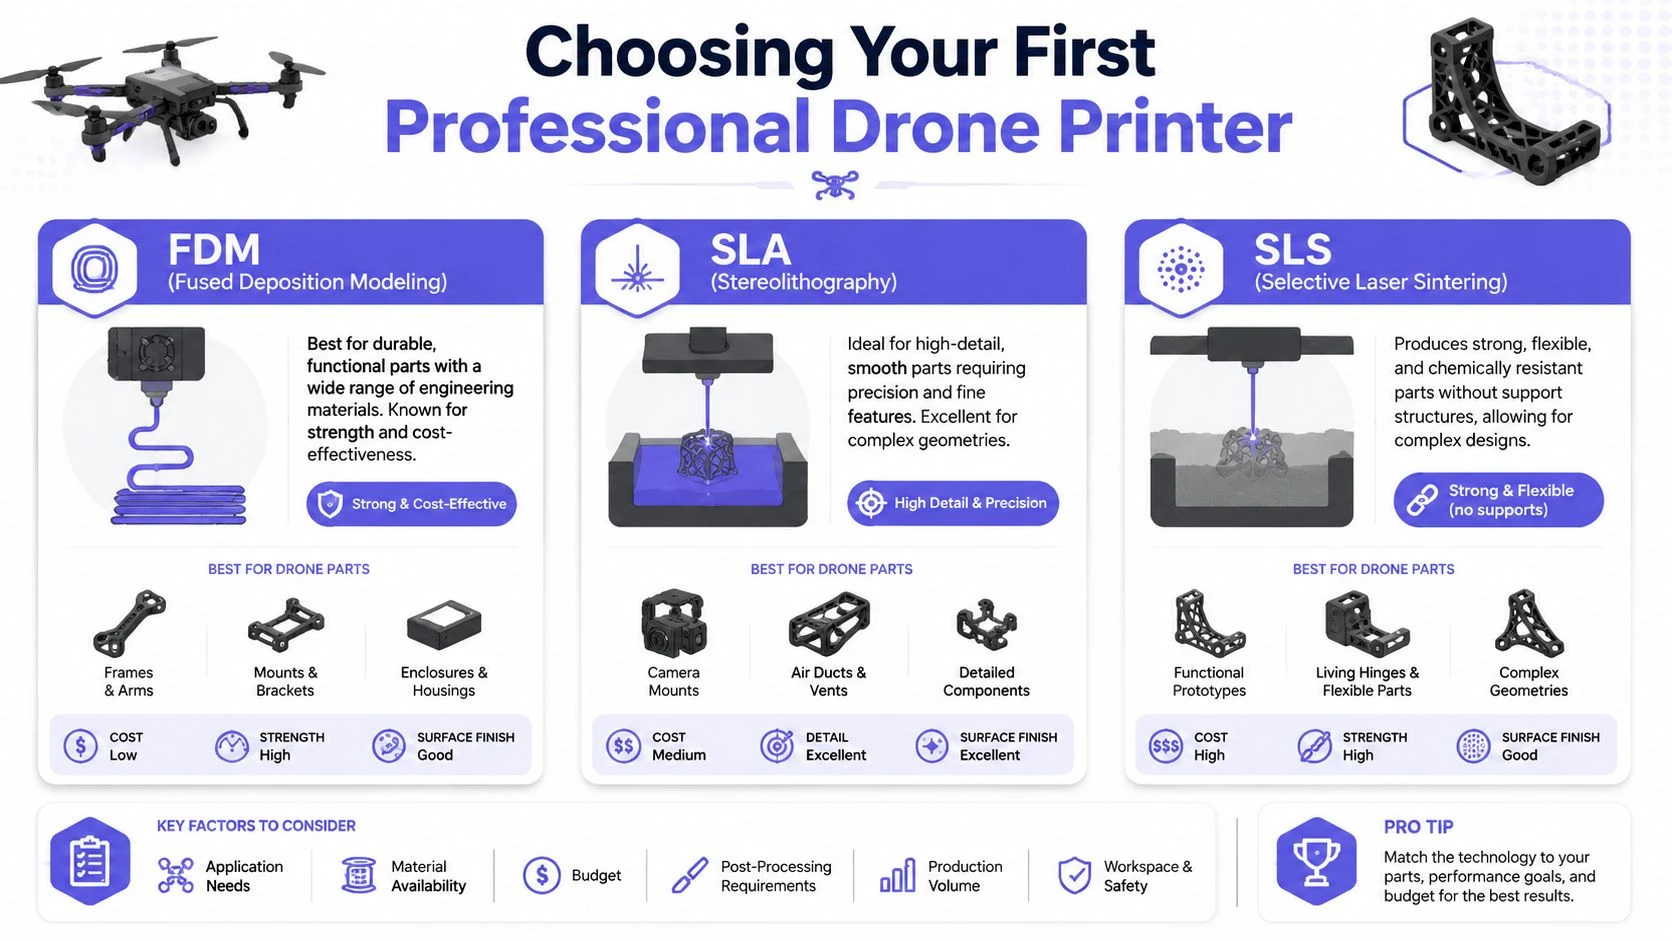
The practical comparison
| Technology | Best fit in drone work | Main strength | Main limitation |
|---|---|---|---|
| FDM | General workshop parts, guards, brackets, field repairs | Durable, familiar, broad material access | Surface finish and dimensional consistency can need more work |
| SLA | High-detail housings, smooth covers, precise small parts | Fine detail and clean finish | More post-processing and support management |
| SLS | End-use nylon parts, complex geometry, production batches | Strong lightweight parts without supports | Higher system cost |
If you're still learning the resin side of the market, it's worth taking a look at this guide to explore mini resin printers with PledgeBox. Even if your eventual fleet workflow leans toward FDM or SLS, understanding what resin systems do well helps when you need highly detailed housings or tight-fitting small parts.
When FDM makes the most sense
FDM is where many operations start. It's practical, material choices are broad, and the workflow is easy to understand. For drone teams, FDM is good for workshop accessories, test fixtures, transport aids, and selected aircraft parts where finish matters less than function.
It also fits field-service thinking. If your operation wants a printer that can live close to maintenance rather than in a lab, FDM is usually the easiest technology to support.
FDM works well for:
- Protective accessories: Antenna guards, transport clips, battery organizers
- Utility parts: Bench jigs, drill guides, charging mounts
- Revision-heavy components: Brackets you expect to modify several times
Where SLA earns its place
SLA shines when part geometry or finish matters. If you need a precise enclosure, a smooth aerodynamic cover, or a compact bracket with tight details, resin printing can produce cleaner results than a typical filament machine.
The trade-off is workflow. Supports, washing, curing, and resin handling add labor. That's manageable in a controlled workshop, but less appealing if your main goal is quick repairs.
Why SLS is the professional benchmark
For operators who want production-grade polymer parts, SLS is usually the target technology. Selective Laser Sintering with Nylon 12 delivers superior strength-to-weight ratios for drone components and creates complex geometries without support structures. That matters because support-free geometry gives you more freedom to design interlocking parts, internal channels, and shapes that would be awkward on other systems.
SLS is especially strong when you need:
- Low-weight structural parts
- Complex shapes with fewer assembly steps
- Repeatable batches of end-use components
- Vibration-aware designs that benefit from nylon behavior
Buy the printer that matches the majority of your parts, not the most ambitious part you might print once.
For many teams, that means starting with FDM and moving to SLS when printed parts become part of the actual operational workflow rather than occasional workshop fixes.
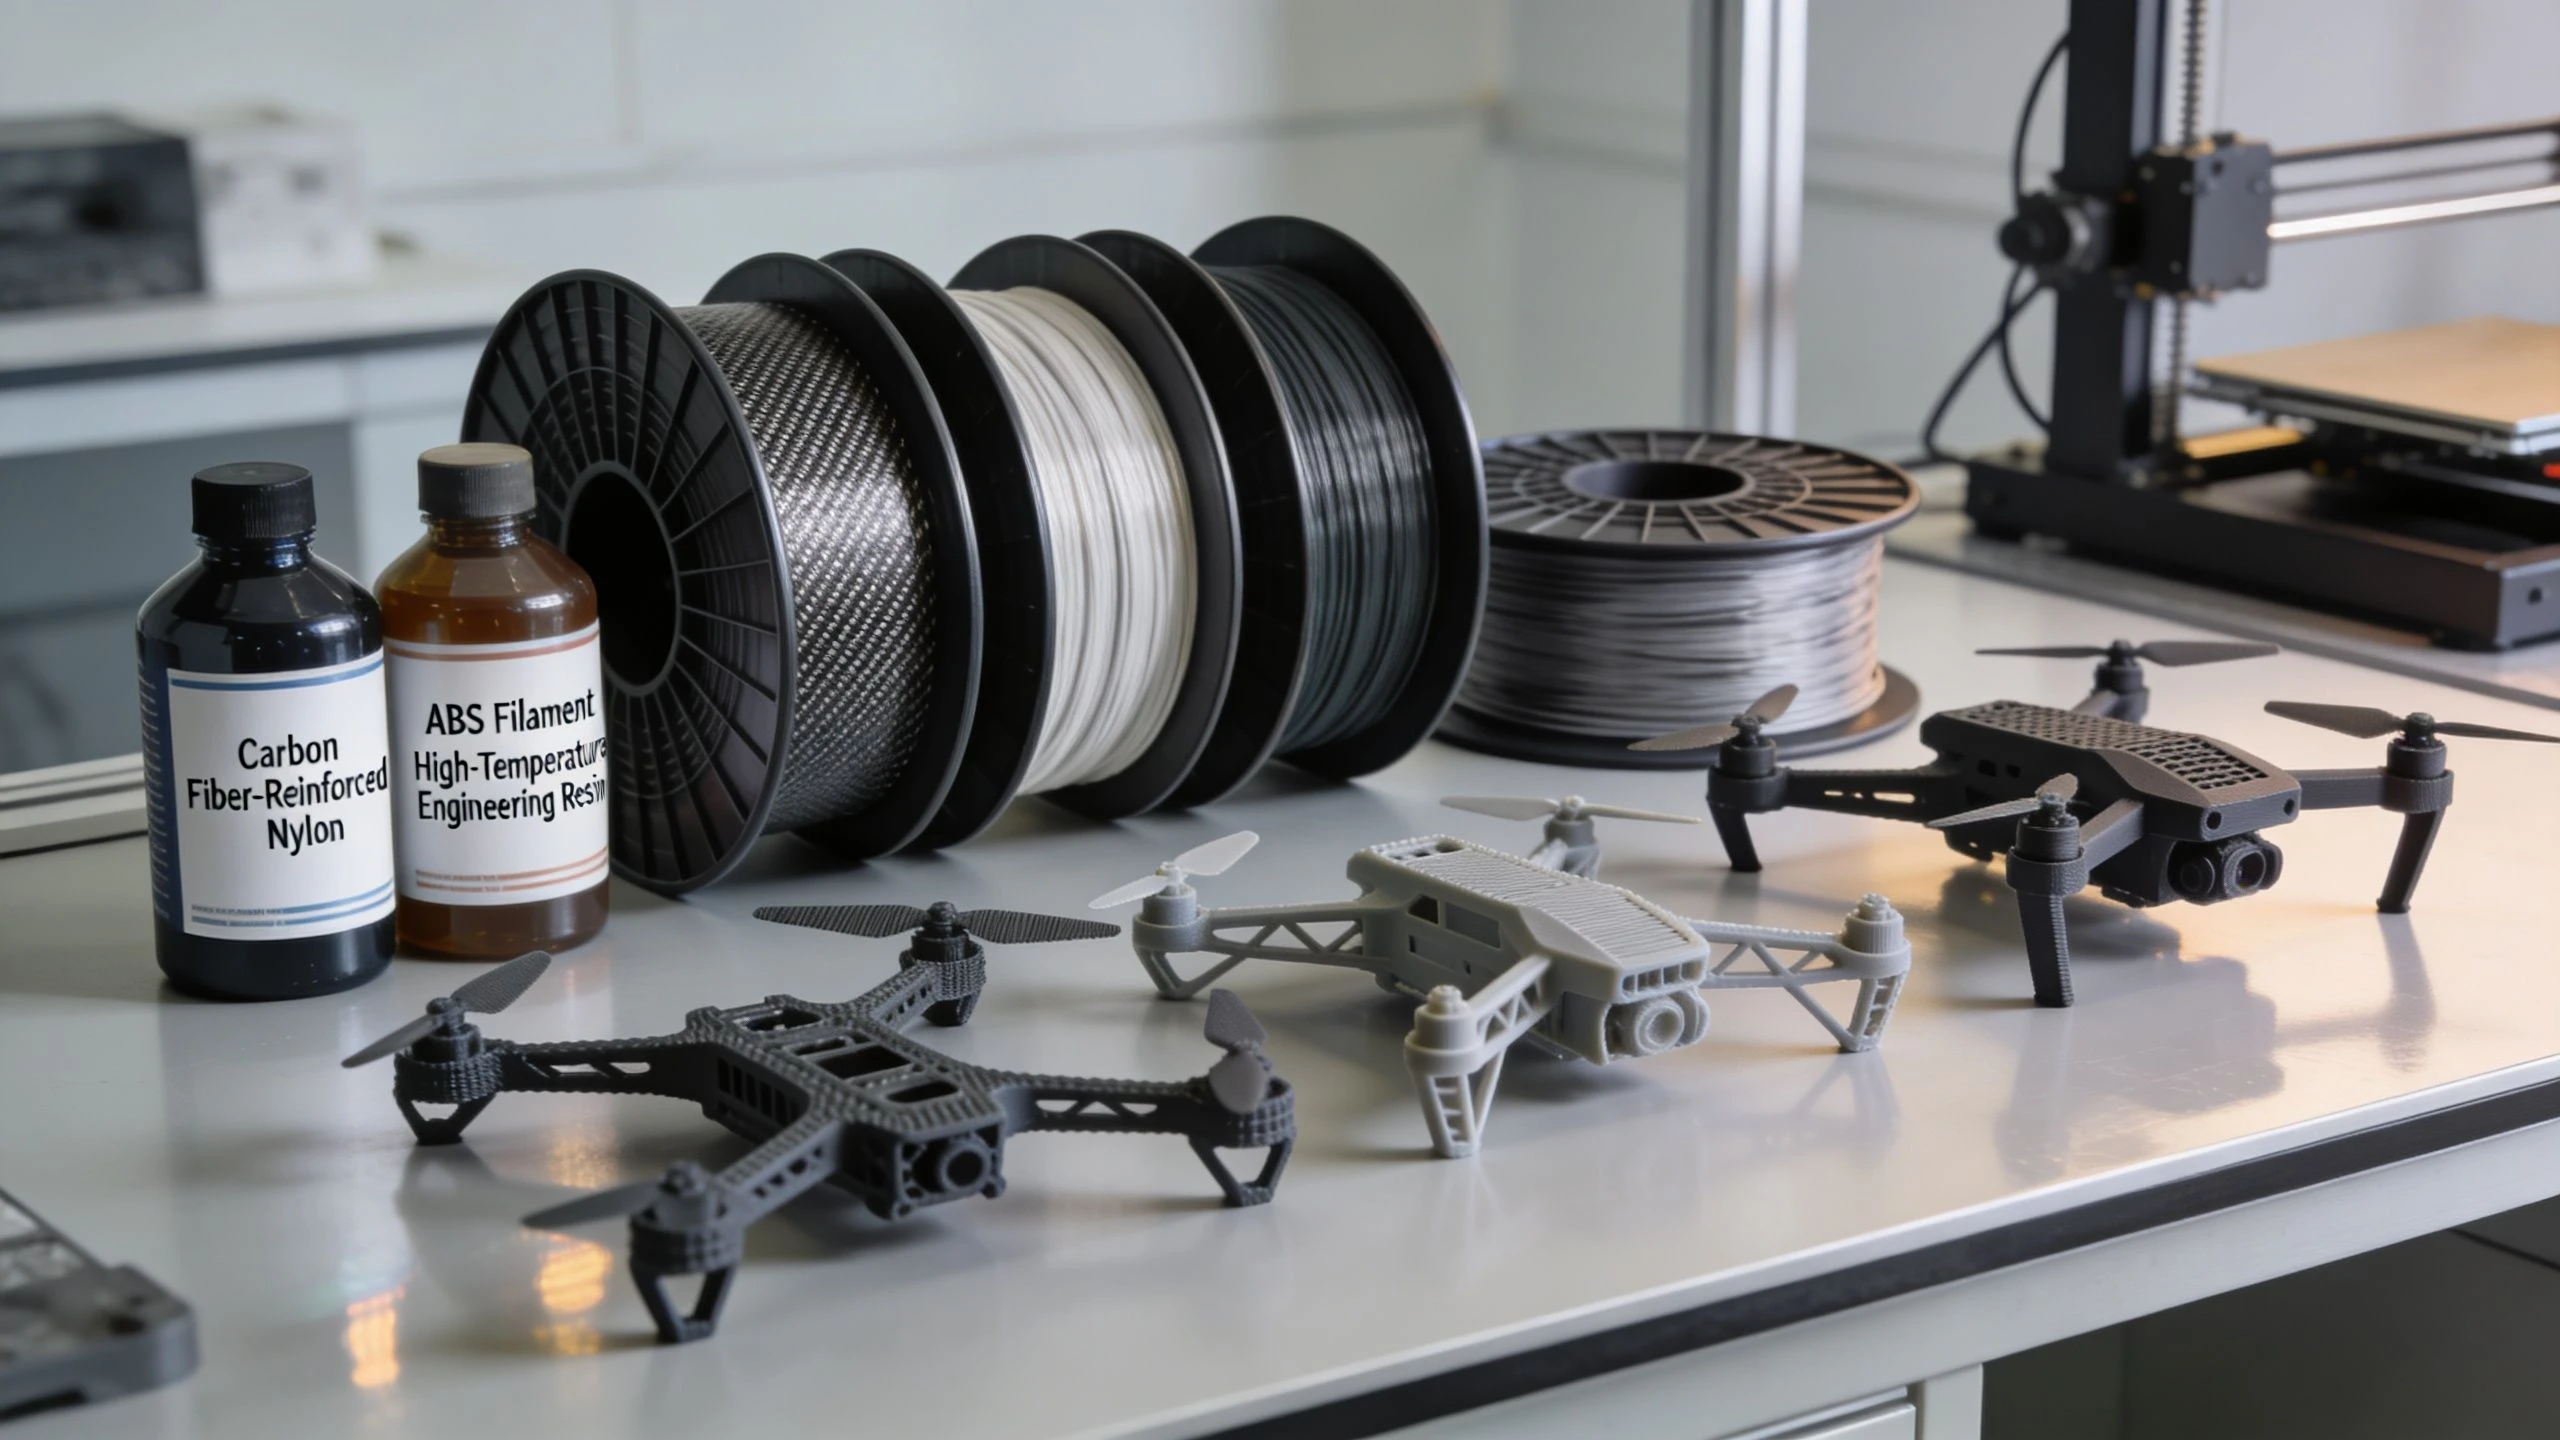
Selecting Materials for Airworthy Parts
A good printer won't save a bad material choice. In drone work, the material determines whether a part survives vibration, sunlight, repeated handling, and the occasional rough landing. That's why the essential question isn't “What can this machine print?” It's “What can this part live through?”
Start with the load and environment
Before picking a filament or powder, define the part in plain terms:
-
What load does it carry
Is it cosmetic, positional, protective, or structural? -
What environment does it see
Sun, heat, moisture, dust, fuel residue, transport abuse, or repeated vibration? -
How does it fail
Does it crack, creep, soften, wear, or loosen over time?
That framing stops people from using the wrong material for the wrong reason. A mount that looks strong on the bench can still fail in the field if it slowly deforms under heat or vibration.
Practical material choices
For most operators, these are the materials worth understanding first:
- PETG: A dependable workhorse for general-purpose parts. Good for covers, brackets, cable management, and non-critical accessories. It's usually a better field material than basic hobby filaments because it handles workshop abuse more predictably.
- TPU: Best for flexible parts. Use it for vibration dampers, landing pads, protective bumpers, and retention features. It's excellent where rigid materials transmit too much shock.
- Nylon: A strong choice for tougher functional parts. Nylon suits brackets, housings, clips, and parts that need some toughness rather than brittle stiffness.
- Carbon-fiber reinforced polymers: Useful when stiffness matters, especially for mounts and structural interfaces. They can produce very capable parts, but they demand disciplined print settings and post-print inspection.
There's no universal “best” material. A soft gimbal protector and a rigid sensor bracket should not be made from the same stuff just because it's loaded in the printer.
What to validate before flight use
One of the biggest gaps in commercial drone printing is validation. Professionals still need better evidence for how printed parts behave under repeated thermal cycling and what fatigue resistance to expect, because quantitative comparisons against traditional parts are often absent from standard marketing materials.
That means your team has to do some of the hard work internally.
Check these before you trust a printed part:
- Outdoor behavior: Does the material hold shape after time in vehicles, sun, or cold mornings?
- Vibration tolerance: Does the part keep clamp force and fastener tension after repeated flights?
- Impact mode: Does it bend, chip, or shatter when mishandled?
- Replacement logic: If it's sacrificial, is it easy to inspect and swap?
A material data sheet tells you where to start. Your own flight and handling tests tell you whether the part belongs on an aircraft.
Match material to risk
A simple rule helps. The closer the part is to aircraft control, propulsion, or critical payload retention, the stricter your material and validation standard should be. Printed parts can be excellent, but you still need to separate convenience parts from high-consequence parts.
That discipline is what turns printing into a professional capability instead of a liability.
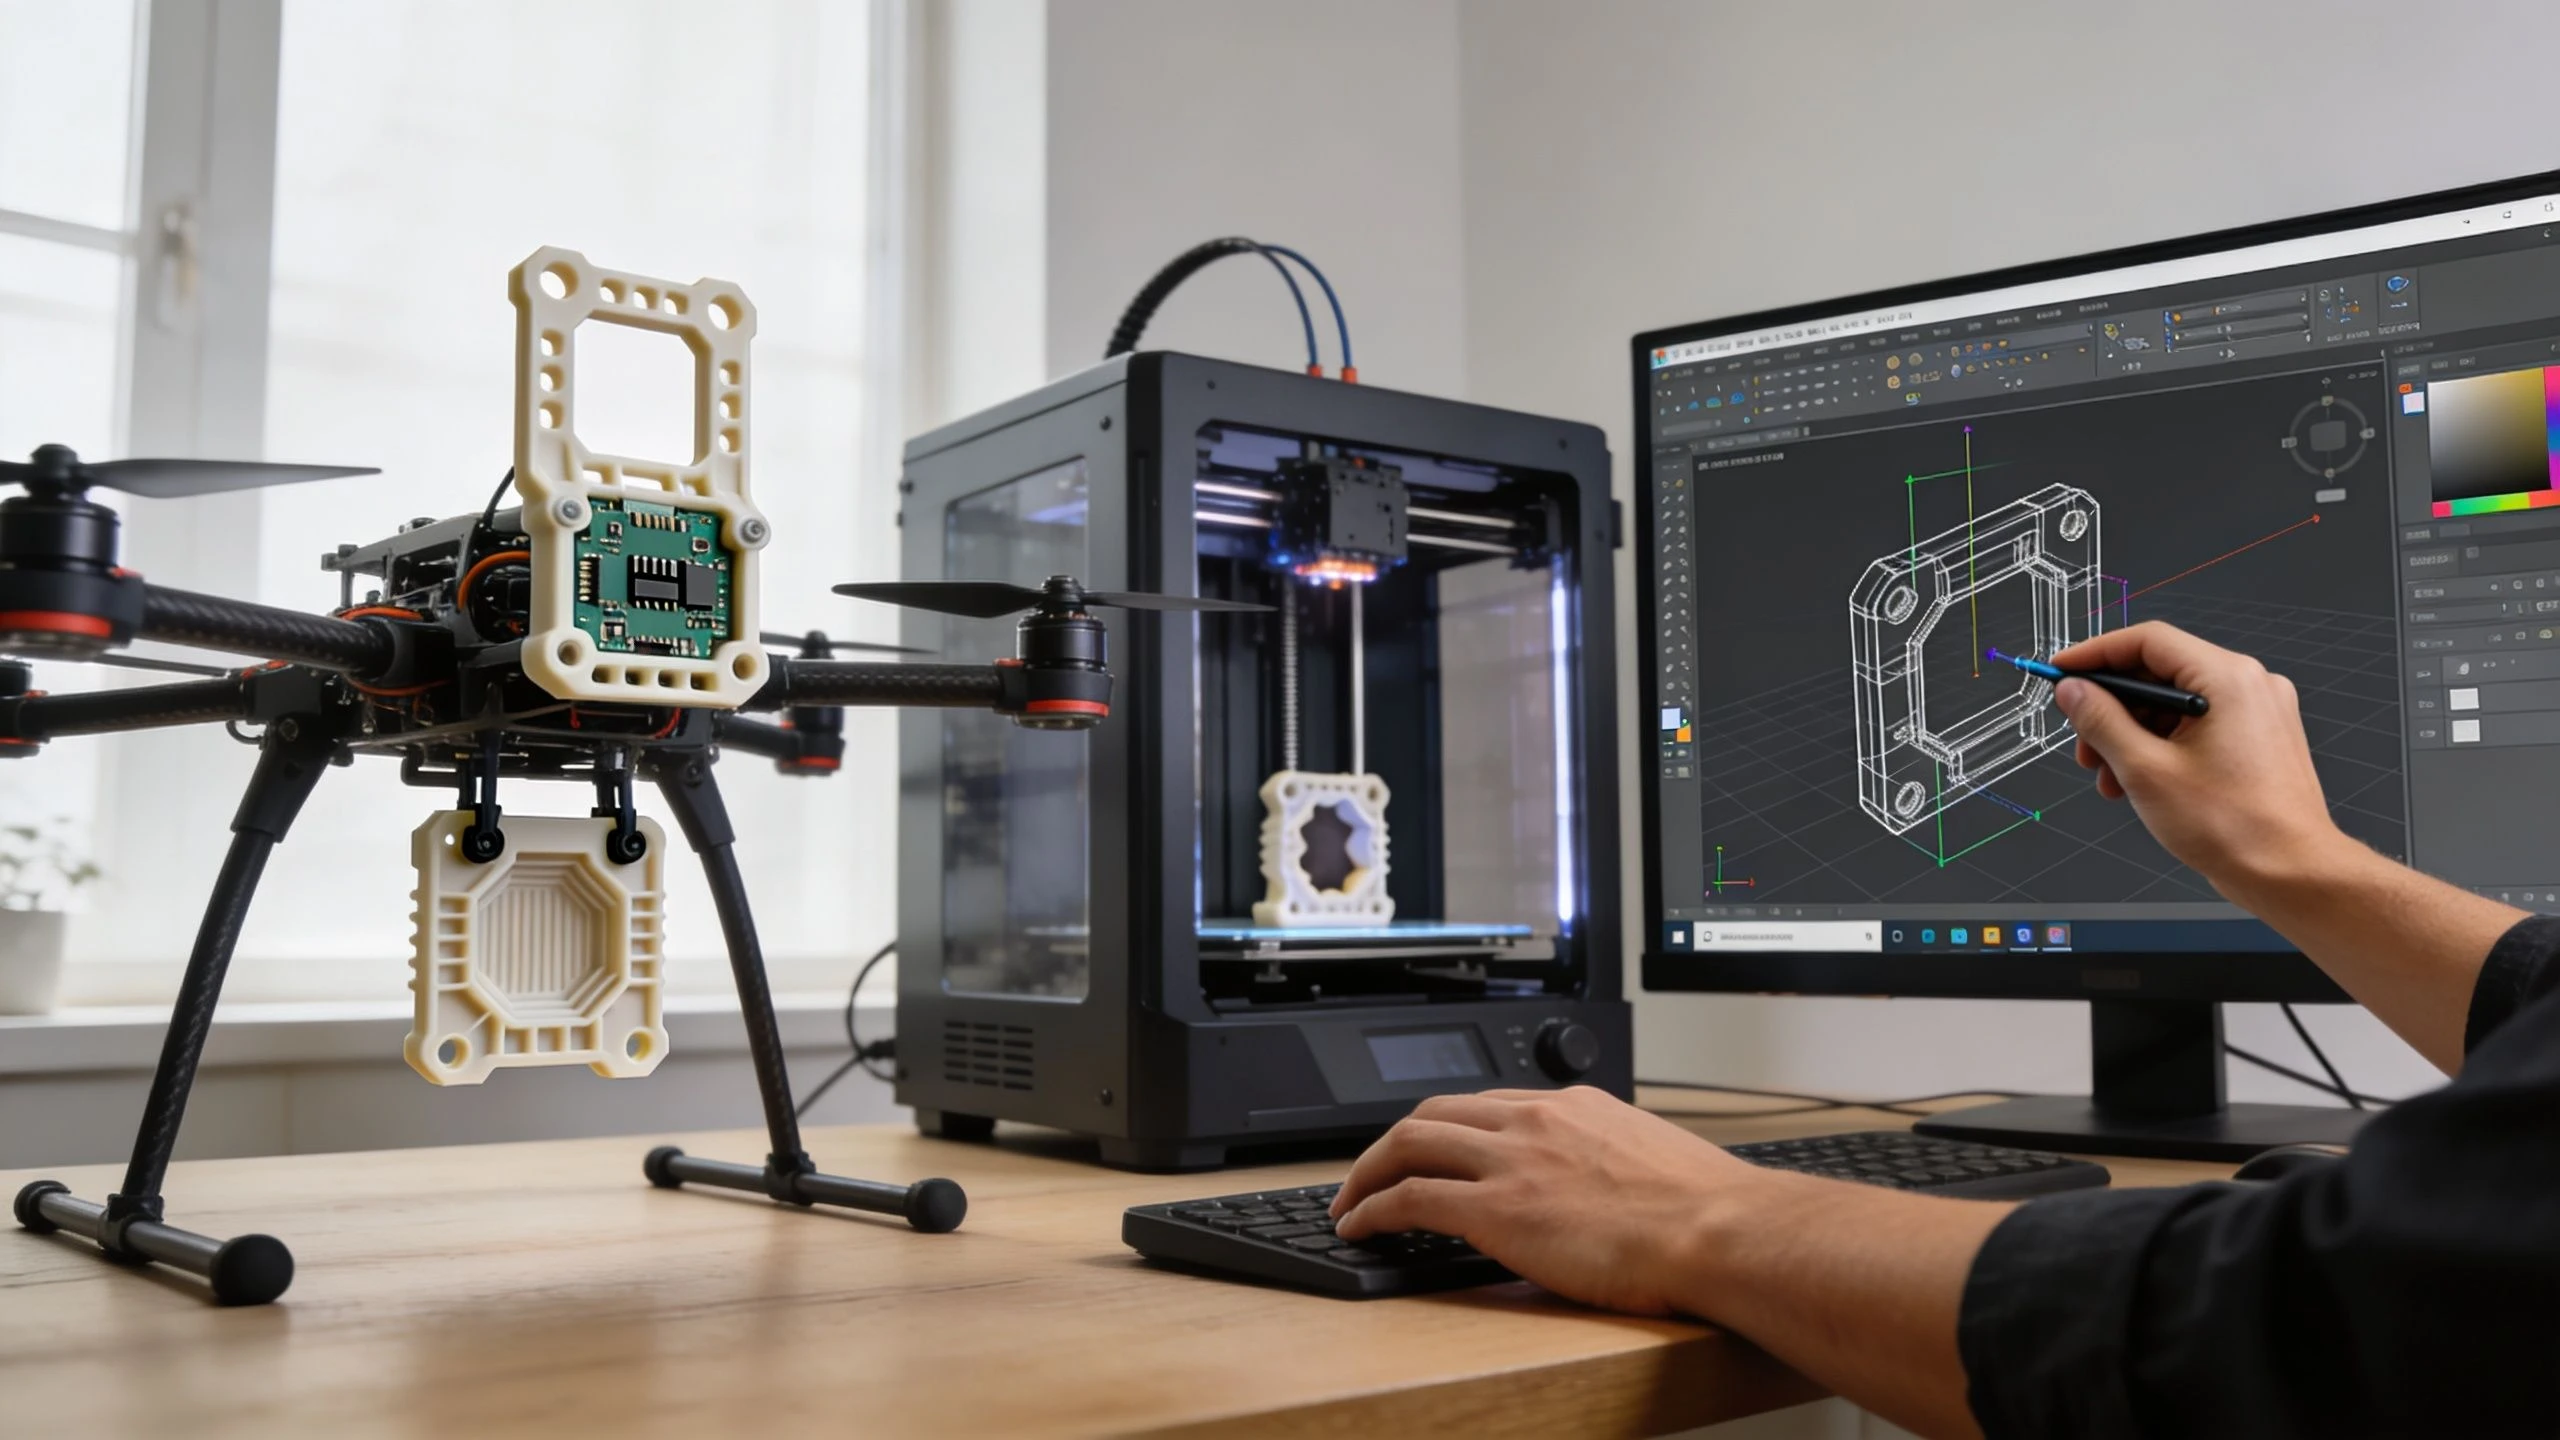
Design and Print Your First Drone Part
The best first project isn't a full frame. It's a small part that solves a recurring problem. A GPS module mount is a good example because it has to fit correctly, resist vibration, and stay light without carrying extreme loads.
If you want more build inspiration before modeling your own, these 3D printed drone plans are useful for seeing how others break assemblies into printable components.
Design the part around the real aircraft
Start by measuring the aircraft, not by sketching a shape that “looks about right.” Mounting hole positions, cable exit direction, prop clearance, and folding-arm movement all matter. A bracket that fits in CAD but interferes with battery swaps is still a failed design.
Use this checklist:
- Preserve access: Don't block SD card doors, battery latches, or antenna movement.
- Add fillets: Sharp internal corners concentrate stress. Rounded transitions survive vibration better.
- Control thickness: Thin walls save weight, but only if the material and print orientation support them.
- Plan fasteners early: Design screw seats, zip-tie channels, or press-fit features from the start.
Print for strength, not just convenience
Print orientation changes how a part behaves. If a mount will see bending during flight, orient it so the force path works with the printed structure instead of trying to peel layers apart. This matters most on filament systems, but orientation affects finish and support scars on every process.
For a first functional part, tune these slicer decisions carefully:
-
Wall count More walls usually help functional drone parts more than increasing infill.
-
Infill strategy
Use enough internal structure to support loads, but don't add mass without purpose. -
Layer height
Choose a setting that balances print time with fit and surface quality. -
Support placement
Keep supports away from critical interfaces when possible.
Prototype the geometry quickly. Validate the load path slowly.
That approach saves a lot of frustration. The first print tells you whether the shape is right. Later prints tell you whether the part is ready for field use.
Test the part before trusting it
Don't fit a fresh part and send it straight into revenue work. Bench test it first. Twist it by hand. Fit and remove the payload repeatedly. Check whether screws compress the material too much. Run the aircraft at idle and watch for resonance or movement.
A useful habit is to print two versions. One is your field candidate. The other is your abuse sample. Cut it, bend it, over-tighten it, and learn how it fails. That gives you more useful confidence than admiring a clean print on the bench.
From Quick Prototypes to Production Workflows
A prototype answers one question. A production workflow answers the same question repeatedly, with the same result, across multiple aircraft and operators. That's the line many teams miss.
Printing a one-off antenna mount is easy. Building a repeatable process for replacement parts across a fleet is harder because consistency becomes the primary job.
Prototype thinking versus production thinking
A prototype workflow prioritizes speed. You accept rough edges because you're trying to learn fast. A production workflow prioritizes repeatability, traceability, and controlled variation.
Here's the practical difference:
| Prototype workflow | Production workflow |
|---|---|
| Print quickly to test fit or concept | Print to a documented standard |
| Change settings freely between jobs | Lock settings for approved parts |
| Inspect visually | Inspect against defined criteria |
| Store files casually | Maintain version-controlled part files |
That change in mindset matters if several pilots or technicians rely on the same part library.
What professional teams need to document
One of the biggest unresolved operational gaps is practical guidance for field-ready additive systems. Professional operators still lack detailed guidance on portable printing infrastructure, printer reliability in field conditions, and part inventory management tied to fleet tracking.
Until the industry standardizes that better, internal discipline matters.
Document these items for every approved part:
- Part name and version
- Printer and material used
- Orientation and support strategy
- Slicer profile
- Post-processing steps
- Inspection notes
- Aircraft compatibility
- Retirement or replacement triggers
Build a digital inventory, not a junk drawer
Most print programs fail when files scatter across laptops and workshop PCs. Build a simple digital inventory with clean naming, version control, and clear approval status. Separate test files from approved files. Mark deprecated parts clearly so no one reprints an outdated mount before a job.
If a part can't be identified, reproduced, and inspected consistently, it isn't ready for operational use.
Once you adopt that rule, the printer stops being a reactive emergency tool and starts acting like a controlled manufacturing asset.
Integrating Printing into Your Drone Business
A printer only creates value when it's tied to operations. If it sits in the corner making occasional accessories, it's a convenience. If it reduces downtime, improves payload integration, and supports repeatable maintenance, it becomes part of the business model.
That's the shift to aim for.
Where the return actually shows up
Most operators think first about part cost. In practice, the stronger returns usually come from avoided delays and better service flexibility.
A printer can help you:
- Restore aircraft faster: Common brackets, guards, feet, and mounts don't have to wait on shipping.
- Support niche payloads: You can build one-off enclosures and adapters for specialist jobs.
- Standardize internal tools: Jigs, storage inserts, and bench fixtures improve technician consistency.
- Reduce procurement friction: Fewer low-value purchase orders for simple custom parts.
For distributed teams, the model gets even more attractive. Industrial FDM systems can be integrated into transportable mobile production systems, enabling on-site drone fabrication near deployment points and allowing mission-specific modifications to be printed on-site within days. That changes how remote operations think about stock, repairs, and deployment readiness.
Make printed parts part of fleet control
If you print parts, track them like real assets. A custom payload bracket should have a version, fitment note, install date, and inspection history. The same goes for replacement guards, landing gear components, and recurring wear items.
That becomes more important as your team grows. If you're planning the next step in expansion, this guide on how to scale a drone business is a useful reminder that growth usually breaks weak systems before it rewards good intentions.
Short FAQ for commercial operators
Can I use 3D printed parts on working drones
Yes, for many applications. But treat each part according to risk. Non-flight-critical accessories, housings, jigs, and many custom mounts are common candidates. Higher-consequence parts need stricter validation and more conservative approval.
How should I start a digital inventory
Start small. Create folders by aircraft platform, then separate prototypes, approved parts, and retired versions. Keep print settings and inspection notes with each approved file.
Should every team buy SLS first
No. Many teams get good value from FDM first, then move up when they need stronger lightweight parts, more complex geometry, or better repeatability.
What parts usually deliver the quickest payoff
Custom mounts, transport aids, protective accessories, workshop fixtures, and frequently replaced plastic components.
Dronedesk helps professional operators turn processes like these into something manageable at scale. If you're tracking aircraft, parts, maintenance, teams, and jobs across a growing operation, Dronedesk gives you one place to keep that control, reduce admin, and run a more reliable drone business.
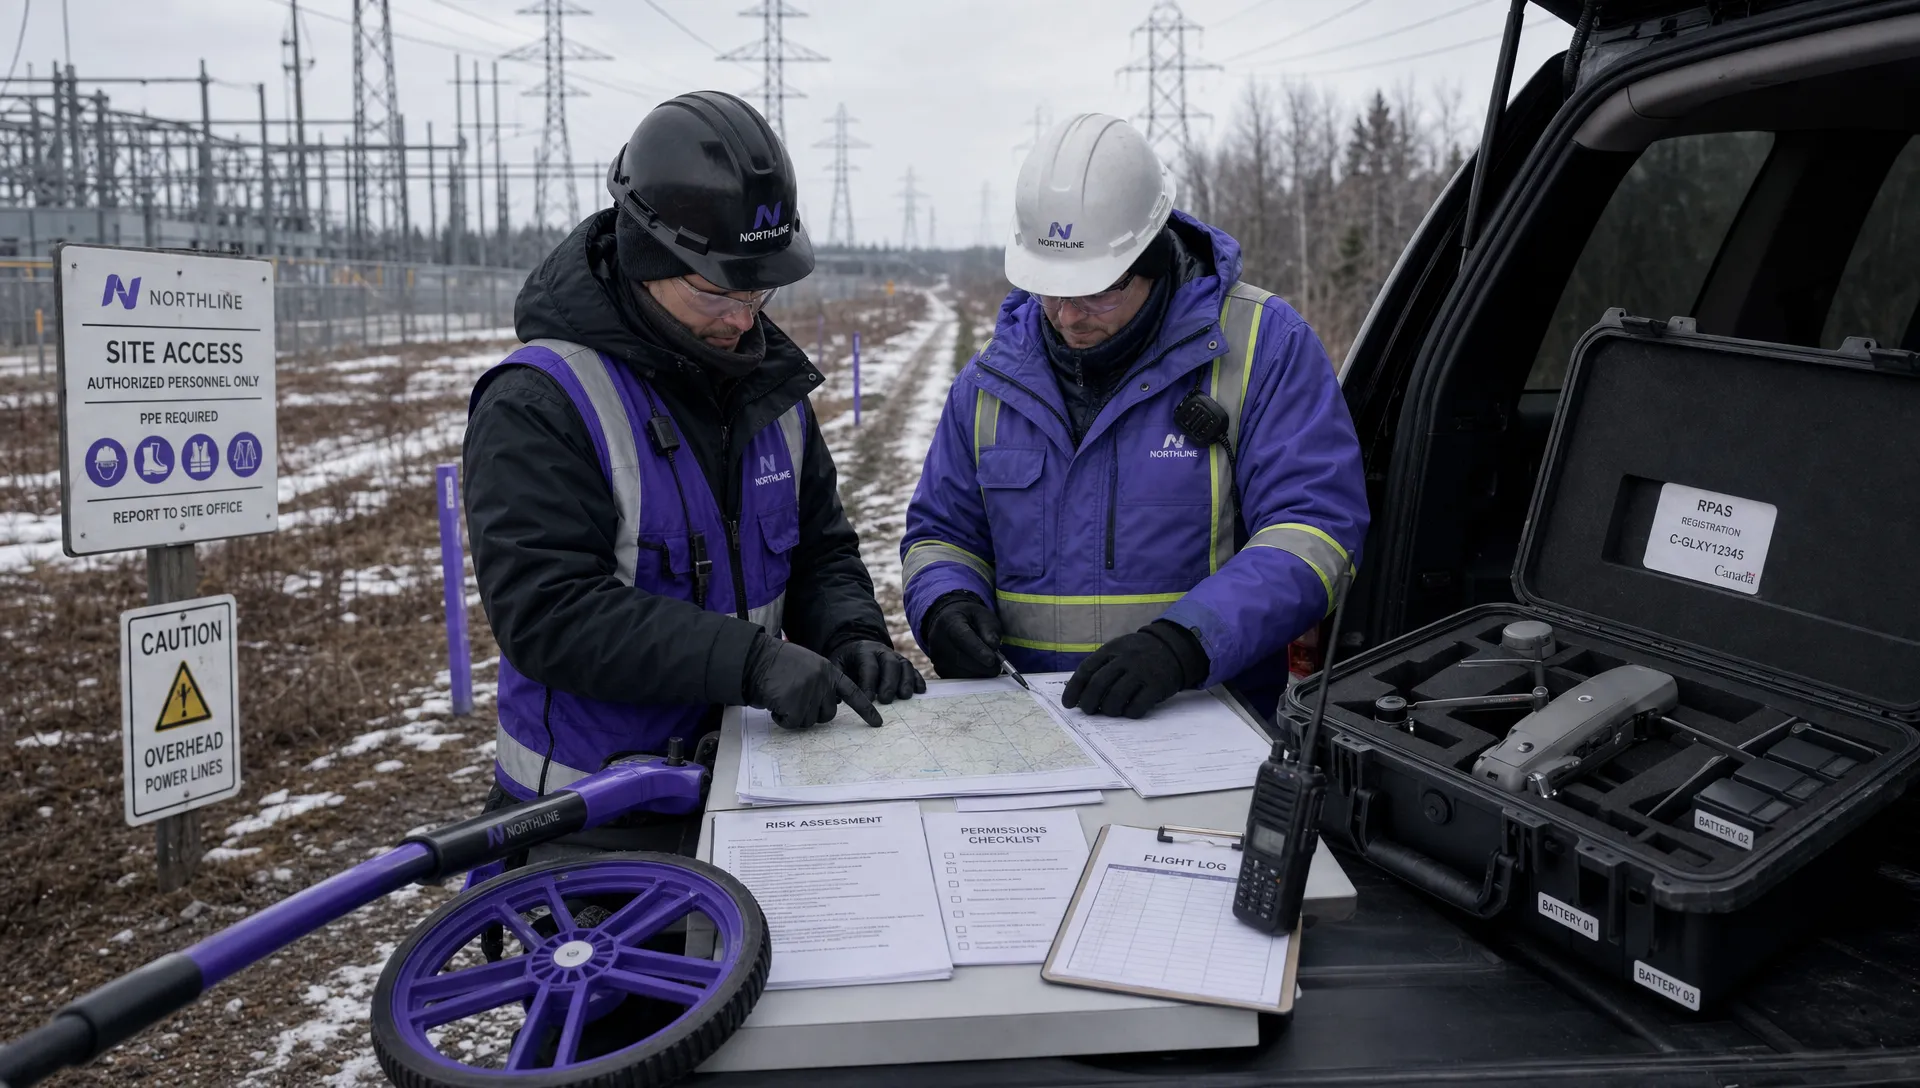 Canadian Drone Regulations Explained for Business Use →
 FAA Part 107 Drone License Explained for Beginners →
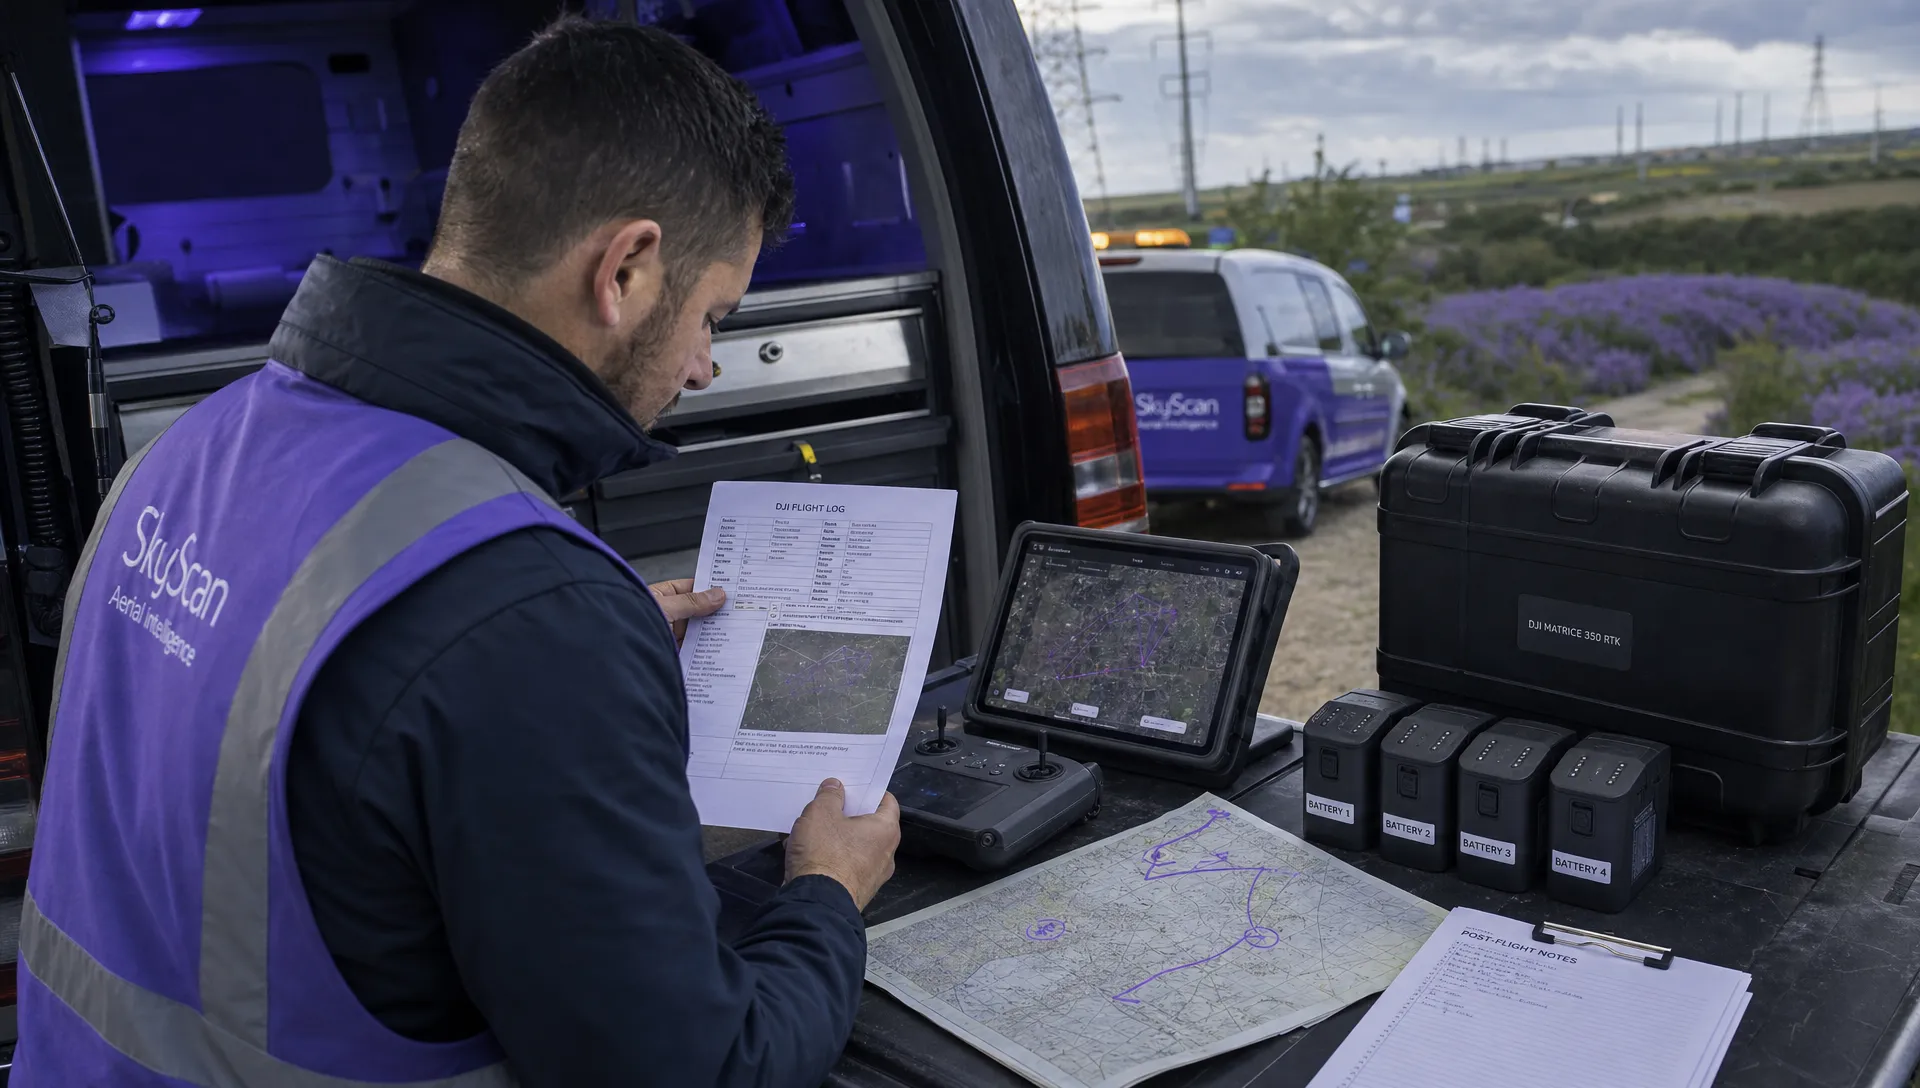 How to Review a DJI Drone Flight Log Step by Step →
 Drone Registration Law Explained for Commercial Pilots →
 How to Check a Drone NOTAM Before Every Mission →
 BVLOS Drone Meaning and Why It Matters →
 Drone Operation Regulations Explained for Businesses →
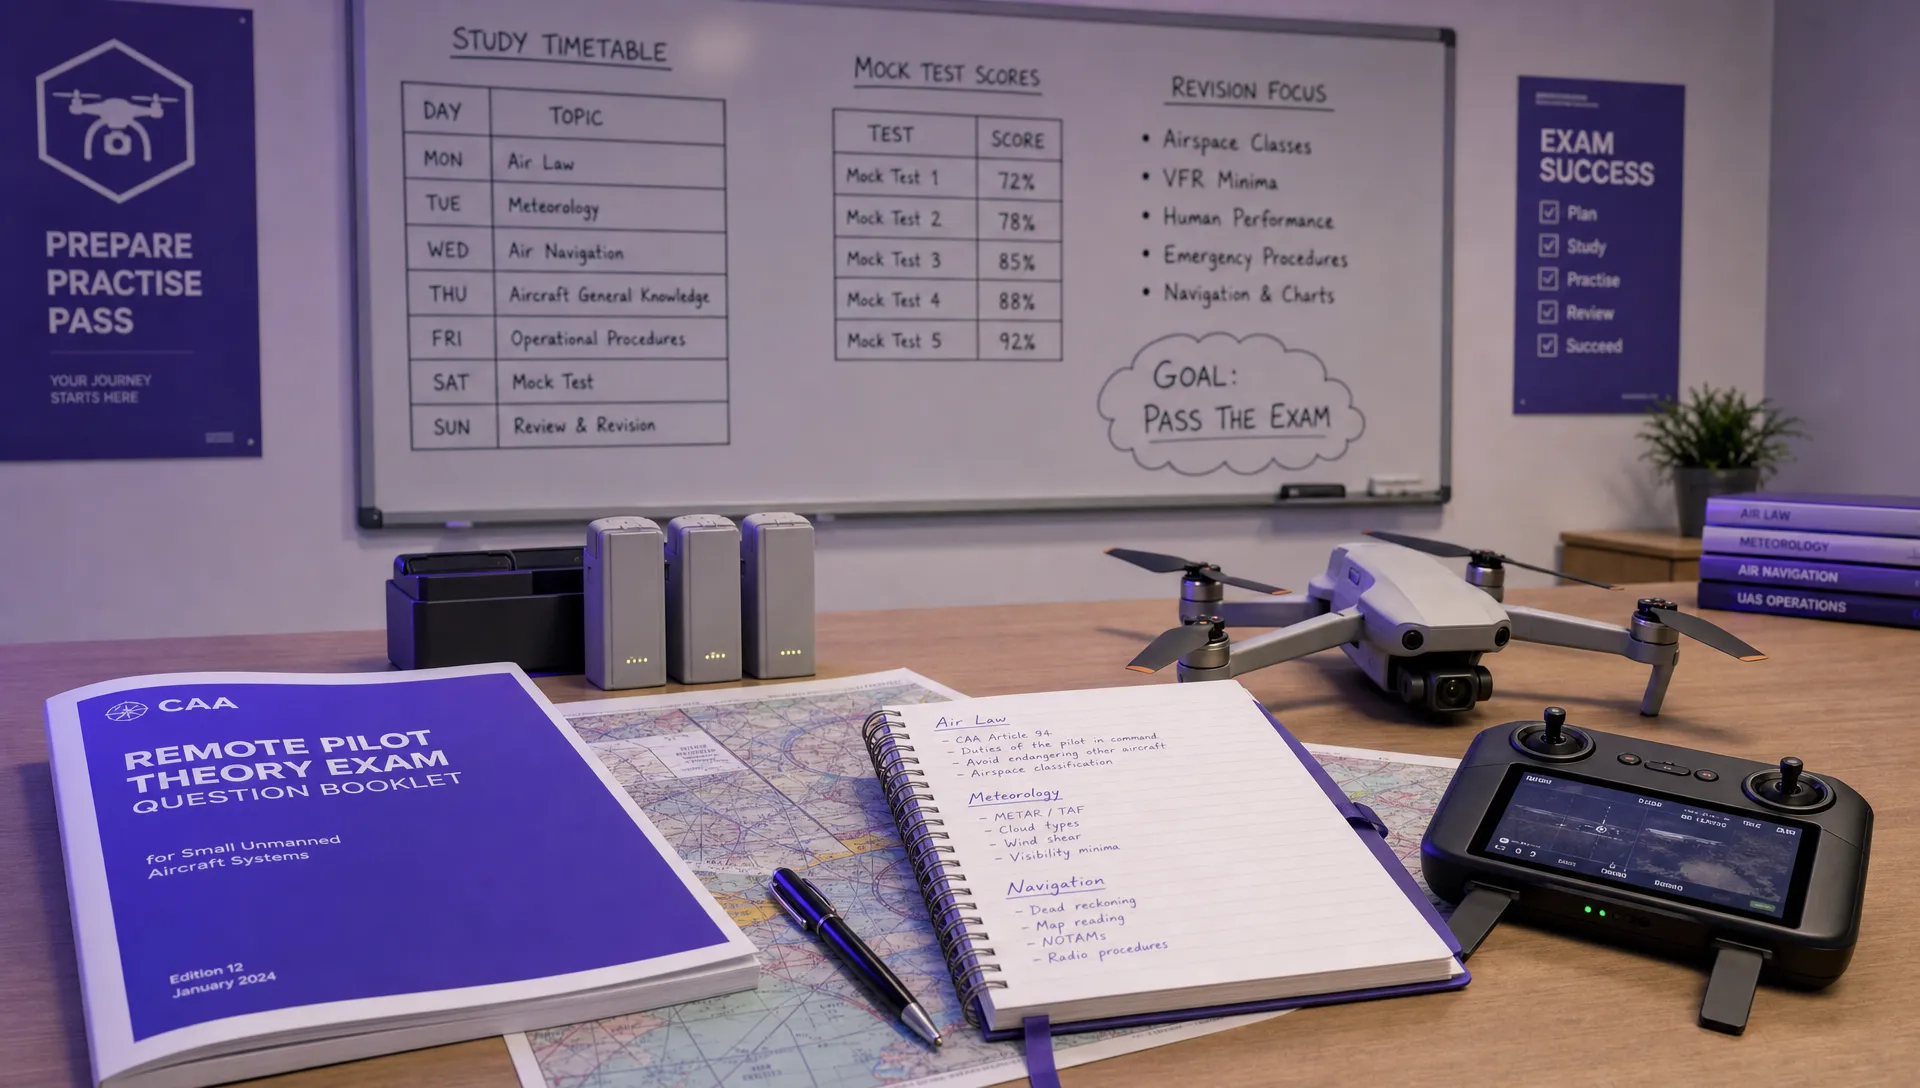 How to Pass Your Drone Pilot License Test →
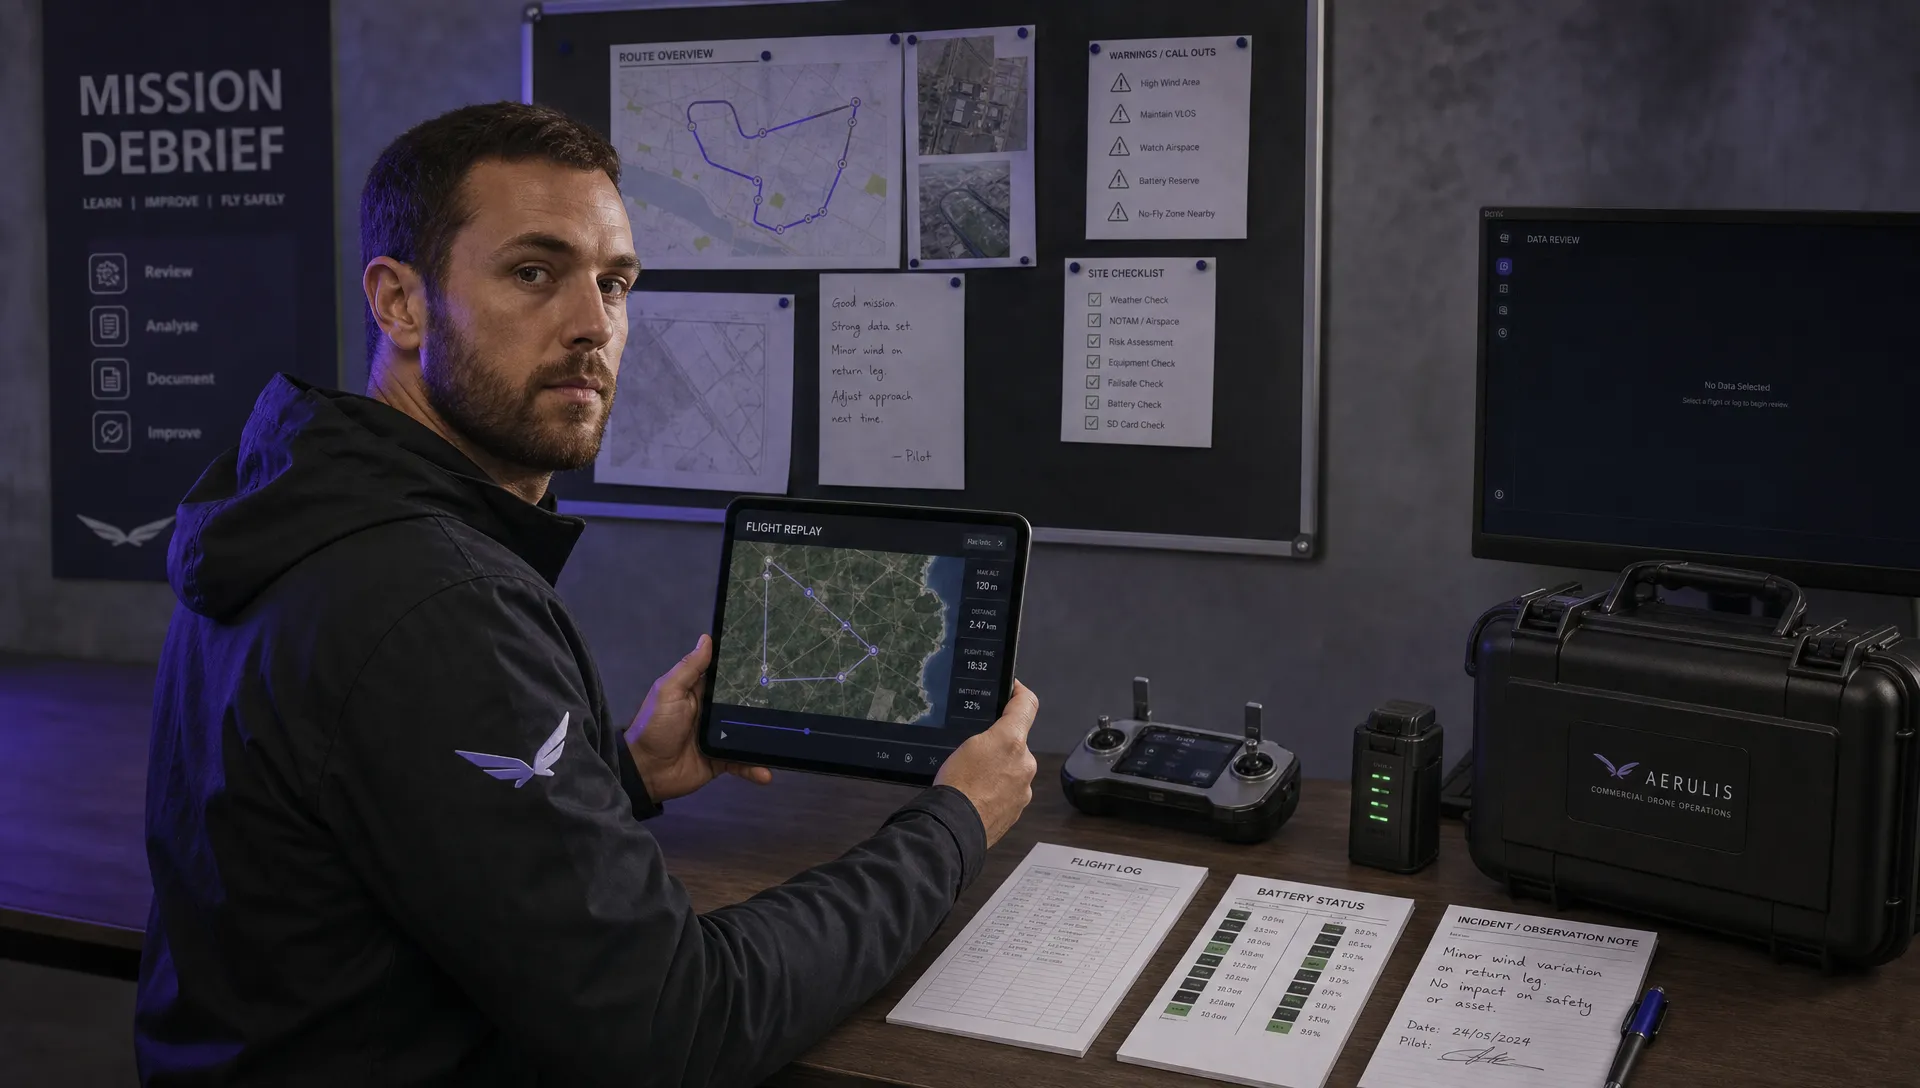 How to Review a DJI Flight Record After a Mission →
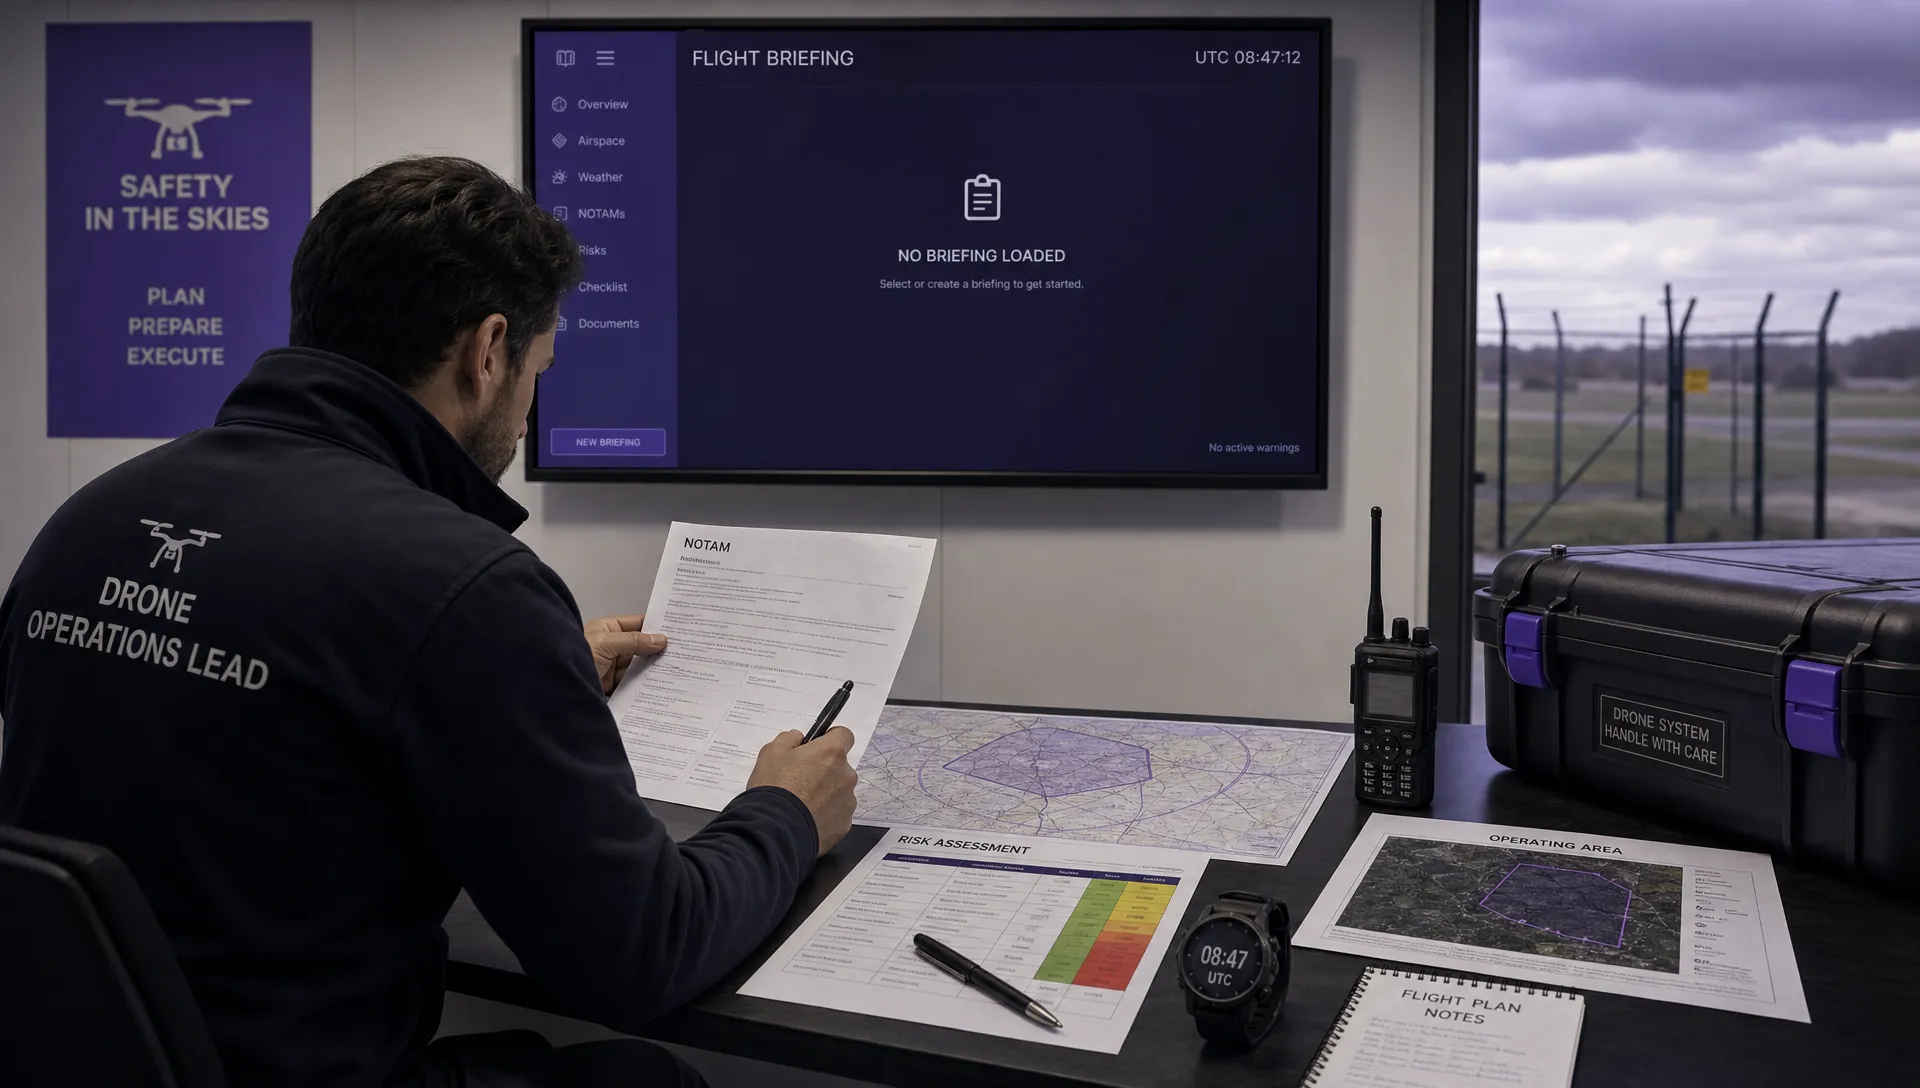 How to Check a Drone NOTAM Before You Fly →