Professional 3D Printed Drone Plans for 2026
You've probably done this already. You found a promising STL, loaded it into your slicer, and thought the hard part was over. Then actual problems showed up. The stack doesn't fit the frame. The motor mounts flex more than they should. The GPS has nowhere protected to live. The wiring works on the bench but looks one hard landing away from failure.
That's the gap with most 3d printed drone plans. They get a quad into the air, but they don't get a drone into paid service.
Professional use changes the standard. A survey aircraft, inspection platform, or site documentation drone has to survive vibration, heat, transport, repeated assembly, firmware updates, and field repairs. It also has to be maintainable by someone who didn't design the original CAD at midnight. That means thinking less like a hobby builder and more like a small manufacturer.
From Digital Plan to Mission-Ready Drone
3D printing has moved well past novelty in drone manufacturing. The global 3D printed drones market was valued at USD 711.9 million in 2024 and is projected to reach USD 2,013.5 million by 2030, growing at a CAGR of 18.9%, according to Grand View Research's 3D printed drones market analysis. The same analysis notes that 3D printing can cut costs by up to 50% in prototyping, which matters when you need to iterate a frame around a specific payload or operating environment.

That commercial growth makes sense. A printed airframe lets you change one arm geometry, one antenna mount, one battery tray, or one camera shroud without waiting on a full production run. For operators doing inspection, mapping, or internal R&D, that speed is useful. For teams trying to build a drone they can trust on a real job, speed alone isn't enough.
What separates a plan from an asset
A hobby plan usually optimizes for one thing. Fast print time, low cost, or a clean-looking render. A professional build has to balance several things at once:
- Structural margin: Motor arms and stack mounts need stiffness where it matters, not just low weight.
- Serviceability: You need to replace a landing leg, arm, or camera cage without tearing the whole aircraft apart.
- Protection: Electronics should sit behind impact paths, not on them.
- Repeatability: If you print the same part again next month, it should fit with the same hardware and wiring.
Practical rule: If a frame is easy to print but awkward to repair, it's still a poor professional design.
The manufacturer mindset
The biggest shift is mental. Don't ask, “Will this fly?” Ask, “Will this still be reliable after transport, setup, flight, teardown, and a rough landing?”
That changes how you read 3d printed drone plans. You start looking for screw pull-out risk, wire exits that will chafe, camera mounts that will transmit vibration, and battery retention that won't creep loose in heat. You stop accepting exposed receiver antennas, decorative lattice that traps dirt, and arm designs that force you to desolder an ESC lead to swap a broken part.
The printed frame is only one part of the aircraft, but it sets the tone for every maintenance decision after that. Get the plan right, and the rest of the build gets easier. Get it wrong, and you'll spend more time diagnosing preventable failures than flying.
Sourcing and Adapting Your Drone Blueprint
The best base plan usually isn't the flashiest one. It's the one that gives you room to adapt. Most online files were drawn around the original builder's exact stack, exact camera, exact battery, and exact printing tolerances. That's fine for a personal build. It's a problem for field use.

One of the biggest weaknesses in online plans is what happens after the print. A verified review of this gap notes that most 3D printed drone plans stop at the physical frame and omit essential wiring diagrams or API integration guides, which leaves professionals struggling with flight controller syncing, flight logging, and FAA-related workflow needs, as described in this analysis of integration gaps in 3D printed drone plans.
Where good plans usually come from
Community repositories can still be useful. So can maker forums and manufacturer communities. But don't treat any download as a finished product. Treat it as a starting geometry.
The better candidates usually share a few traits:
- They use standard mounting patterns for motors, stacks, GPS mounts, and camera cages.
- They show assembled photos, not just renders.
- They leave cable paths visible so you can judge routing and strain relief.
- They avoid over-optimized shapes that look clever in CAD but print inconsistently in physical environments.
A practical test is simple. If you can't tell where the receiver, buzzer, GPS, and battery leads will go from the listing alone, the plan probably hasn't been developed with operations in mind.
Red flags that usually cost time later
I reject most downloadable frames for one of these reasons:
- Thin motor tabs: They may survive a hover test, but repeated torsional load and prop wash vibration expose weak layer orientation quickly.
- No stack protection: A frame that leaves the flight controller as the highest point on the aircraft is asking for impact damage.
- Battery placement without thought: Top mount, bottom mount, or split pack can all work. What matters is balance, cable strain, and landing behavior.
- Decorative cutouts everywhere: These save some weight, but they also remove load paths and create crack starters.
- No room for compliance hardware or logging accessories: If the frame only accepts a stripped-down FPV stack, it probably won't scale into professional use.
A good blueprint doesn't just hold parts. It gives every critical component a safe place to live.
The first adaptations I make every time
Rarely does a plan fit professional hardware straight away. The first edits are usually simple and high value.
Electronics bay clearance
Check the stack height, USB access, and plug orientation before you print the whole frame. A CAD model that blocks the flight controller's USB port is common. So is a top plate that crushes soft-mounted hardware once standoffs are torqued down.
I usually widen access around ports and add deliberate tool clearance around screws. If you need angled hex drivers just to remove the stack, maintenance will be annoying from day one.
Camera and sensor protection
Professional work often means a payload that costs more than the frame. Add sacrificial geometry around cameras and sensors. Small bumpers, recessed mounting, and replaceable front cages make a big difference.
For GPS modules, avoid thin cantilever posts unless you've tested them. A short, braced mount tends to hold alignment better and survives transport better too.
Wiring and antenna routing
Hobby plans often fall apart at this stage. Add channels, clips, or tie-down points directly into the design. Don't rely on adhesive pads inside a drone that lives in heat, dust, and vibration.
Use CAD edits to create:
- Strain relief points near battery leads and ESC exits
- Antenna exits that keep active elements clear of props
- Receiver protection so antennas don't become the first impact point
- Wire covers or tunnels where harnesses cross frame edges
CAD changes that are worth learning
You don't need to become an advanced mechanical designer to make 3d printed drone plans workable. Simple edits in Fusion, SolidWorks, or another accessible CAD tool are enough for most professional adaptations.
Focus on these changes first:
- Adjust hole sizes to match your real hardware and print tolerances.
- Thicken high-stress roots where arms meet the center section.
- Add fillets at sharp transitions to reduce cracking.
- Create replaceable modules instead of one giant monolithic frame.
- Leave inspection access for connectors, solder joints, and status LEDs.
The plan you download is rarely the aircraft you should fly commercially. The useful skill isn't finding a perfect file. It's learning to recognize a strong starting point, then modifying it around your equipment, maintenance habits, and workflow requirements.
Material Science for Field-Ready Frames
A frame that flies well for five battery packs can still fail on a paid job. The weak points usually show up after transport, heat soak in a truck, repeated hard landings, and the first field repair. Material choice decides whether the aircraft stays square, holds tune, and comes back from service with predictable behavior.
A lot of hobby builds treat filament selection as a convenience choice. Professional use is harsher. The frame has to survive vibration, sunlight, battery heat, fasteners being removed and reinstalled, and the occasional tip-over on gravel. It also has to stay dimensionally stable enough that motor alignment, stack mounting, and sensor isolation do not drift over time.
A review tied to Prusa's micro drone build article highlights a common problem. Many online 3D printed drone plans praise PETG as "nearly indestructible" but stop short of giving the crash, UV, and long-term durability data that commercial operators need. That gap matters if the aircraft is carrying inspection payloads or feeding data into a professional workflow such as an air data computer integration setup, where frame stability affects more than appearance.

What each filament does well
PLA and PLA+ are still useful. I use them for fit checks, payload mockups, and early geometry validation because they print accurately and show design mistakes quickly. They are poor choices for a field frame that may sit in a hot vehicle or spend long periods in direct sun. Heat creep, brittleness after repeated knocks, and poor tolerance for real transport abuse catch up fast.
PETG is the practical starting point for many builders. It handles impact better than standard PLA and does not demand the same print discipline as nylon. The trade-off is lower stiffness, more flex at arm roots and stack mounts, and a tendency for parts to feel slightly vague unless the design uses thicker walls, better ribbing, or shorter unsupported spans.
ASA is often a better outdoor material than hobby forums admit. It deals with UV and heat better than PETG, which matters for aircraft that live in service vehicles and launch on bright days. It can warp during printing, so the printer setup has to be controlled, but the finished parts usually age better in real outdoor work.
Nylon is where printed frames start behaving like equipment instead of experiments. It absorbs impact well and tolerates repeated abuse better than brittle materials. The downside is print variability. Wet nylon can produce parts that look acceptable and still fail early around bolt holes, arm clamps, or landing gear mounts.
Carbon-fiber-filled nylon gives the most professional feel of the common printable options. It is stiffer, less rubbery in flight, and better at holding geometry under load. It also wears nozzles, needs dry storage, and can produce parts that are strong in one direction and disappointing in another if orientation is wrong.
Drone Filament Comparison for Professional Use
| Filament | Impact Resistance | UV Resistance | Stiffness | Ease of Printing |
|---|---|---|---|---|
| PLA Pro | Low | Low | High | Easy |
| PETG Tough | Medium | Medium | Medium | Moderate |
| ASA | Medium | High | Medium | Moderate |
| Nylon | High | Medium | Medium | Hard |
| Carbon Fiber Nylon | High | High | Very High | Hard |
How I choose by mission type
The right material depends on what will punish the airframe first.
- Training and design iteration: PLA Pro or PLA+ for fast revision cycles and accurate fit checks.
- Utility test platforms: PETG if the goal is affordable durability and easy reprints.
- Outdoor commercial use in heat and sun: ASA for better UV and thermal performance.
- Rough sites and frequent hard landings: Nylon for impact tolerance and less brittle failure behavior.
- Sensor platforms that need better rigidity: Carbon fiber nylon when the printer, drying process, and slicer setup are under control.
Weight matters, but predictable failure matters more. For commercial work, I would rather accept a small weight penalty than deal with a frame that cracks at a motor mount without warning.
Print settings decide whether the material helps or hurts
Filament selection gets too much credit. Print quality is what separates a convincing-looking frame from one that can survive a season of jobs.
Start with load paths. Arms printed in the wrong orientation may look fine on the bench and split along layer lines after a few flights. Wall count usually matters more than chasing very high infill. I would rather run more perimeters and moderate infill than print a heavy part with a weak shell.
A few settings consistently matter on drone parts:
- Part orientation: Align layers to resist arm bending, motor torque, and landing shock.
- Perimeter count: Extra walls improve bolt-hole strength and edge durability.
- Infill pattern: Gyroid or cubic usually give a good balance of weight and internal support.
- Filament dryness: Necessary for nylon and useful for every engineering filament.
- Thermal control: Enclosures and stable bed adhesion reduce warping and internal stress.
Watch the failure points that hobby guides skip. Cracks often start at arm roots, at the edge of countersunk holes, around battery strap slots, and near stack standoffs where layers are interrupted by thin geometry. Threaded inserts can help, but only if the surrounding plastic has enough thickness and the insert is not placed in a heat-softened or highly stressed zone.
What holds up in service
Field-ready printed frames are rarely the lightest option. They are the ones built around maintenance and repeatability. That usually means tougher filaments, generous fillets, reinforced mounting areas, and parts you can replace individually after a bad landing.
The practical test is boring. Can the drone ride in a case for weeks, come out still aligned, fly without new vibration issues, and go back into service after a quick arm swap or mount replacement. Material choice has to support that standard. If it cannot, the print is still a prototype.
Choosing Your Drone's Brains and Brawn
A printed airframe can survive a hard landing and still fail the job ten minutes into a mission because the electronics were chosen like an FPV parts bin build instead of a working aircraft. I see that mistake all the time. The frame gets upgraded for strength, but the stack, power system, and wiring are still built around hobby priorities such as peak thrust and minimum weight.

That approach rarely holds up in commercial service. Printed drones used for inspection, mapping, training, or internal industrial work need clean logs, repeatable behavior, predictable thermal performance, and parts that can be replaced in the field without tearing the aircraft apart.
Analysts tracking the sector have also pointed toward mission-specific aircraft, including hybrid configurations and defense-focused demand, in the broader 3D printed drones market analysis from Fortune Business Insights. The practical takeaway is simple. The serious end of this market rewards reliability, specialization, and maintainability more than eye-catching specs.
Build for duty cycle and payload reality
Start with all-up weight. Include battery, payload, antenna mounts, landing gear, guards, and every bracket that will stay on the aircraft in service. Printed builds often gain weight late in the process because operators add protection, cable restraint, GPS masts, or quick-swap payload hardware after the first test flights.
I spec electronics in layers because failures usually start at the interfaces:
- Motors and propellers should lift the true flying weight with thermal headroom, not just hover on a fresh pack.
- ESCs need current margin, airflow, and accessible solder joints or plugs.
- Flight controllers need the right UARTs, power inputs, logging support, and physical connector placement.
- Power distribution has to keep avionics and payloads stable during throttle spikes.
- Radio, GPS, and telemetry hardware should be mounted where service access is still possible after the frame is assembled.
The difference between a test article and a field aircraft often comes down to margin. A setup that flies at 70 percent system stress lasts longer, tunes faster, and gives fewer intermittent faults than one that only works near the edge.
Motors, props, and the printed-frame penalty
Large motors look attractive on paper. On a printed frame, they can create their own problems. Higher torque loads amplify arm flex, fastener movement, stack vibration, and heat soak around motor mounts. If the arm root or motor plate is only barely stiff enough, the extra authority makes the aircraft harder to tune and less predictable in wind.
That trade-off matters more on professional builds than hobby ones because the aircraft has to come back from transport and fly the same mission profile again without a fresh tuning session.
For most printed utility drones, I would rather see moderate KV, efficient props, and a motor that runs comfortably below its thermal ceiling than a high-strung combination that feels impressive on the bench. You lose a little headline performance and gain longer component life, cleaner data, and fewer vibration-driven surprises.
Flight controllers should match the mission, not the trend
The flight controller choice decides a lot more than stabilization. It affects integration, compliance work, troubleshooting time, and how cleanly the aircraft fits into an existing operation.
Betaflight still makes sense for some fast manual platforms. ArduPilot and PX4 are usually better fits once the aircraft needs waypoint work, payload triggers, survey repeatability, stronger failsafe logic, or richer logging. The important question is not which firmware community is loudest. It is whether the board and firmware support the sensors, outputs, redundancy, and recovery behavior the mission requires.
I reject plenty of boards for simple physical reasons. USB ports blocked by frame members, fragile JST connectors buried under the stack, or receivers mounted where you cannot replace an antenna without removing half the top plate all become field problems later. If your build may need environmental sensing or expanded vehicle data, leave room in the design for mission I/O and an air data computer integration path for advanced onboard sensing.
Power quality decides whether the aircraft feels professional
Printed frames do not hide bad electrical practice. Noise gets into the system quickly when high-current wiring, ESC leads, receivers, GPS cables, and payload power all share a cramped center section.
Pay attention to a few failure points that cause recurring problems in printed builds:
- Battery lead length and restraint. Long unsupported leads add noise and get damaged during transport.
- Low-ESR capacitor placement. Put suppression close to the source of switching noise, not wherever it happens to fit.
- BEC loading. Payloads, companion computers, and digital video can overload a regulator that looked fine during bench setup.
- Grounding paths. Mixed signal and power returns can create noisy sensors and unstable peripherals.
- Connector retention. Vibration and warm plastic can loosen connections that felt secure on the bench.
Poor power quality shows up as GPS glitches, random reboots, dirty gyro traces, unstable video, or sensors that only misbehave in the air. Those are expensive faults because they waste field time and are hard to reproduce once the aircraft is back on the bench.
Leave service room and growth room
A professional 3D printed drone should not be packed to the last millimeter. Leave access for a stack swap, ESC replacement, GPS upgrade, buzzer relocation, or payload wiring change without redesigning the center body. Printed aircraft are supposed to be adaptable. If one component change forces a structural reprint and a full wire rebuild, the design is still acting like a prototype.
The best custom builds are not the ones with the prettiest CAD renders. They are the ones a crew can inspect quickly, repair with common spares, document properly, and return to service with confidence.
The Assembly and Software Tuning Process
The critical test starts after the prints come off the bed. A frame can look excellent on the bench and still fail its first week in service because the assembly introduced preload, wiring rub, soft mounts in the wrong place, or firmware settings that were never verified under load. Professional builds are won here.
The Boeing-sponsored NAU project makes that point clearly. Their team did not get to a usable result by treating printing, assembly, and testing as separate jobs. They iterated through prototype materials, corrected warping and layer-bond problems, and refined the build process until the aircraft behaved like a repeatable system, as documented in the final NAU project report. That is the right model for commercial work. Print, fit, test, revise, and record what changed.
Build the airframe like it will be opened in the field
A hobby build can get away with awkward fasteners and buried components. A working aircraft cannot. If a GPS mast swap or ESC replacement turns into a full tear-down, the design is still in prototype mode.
Use threaded inserts or captured nuts anywhere the frame will be opened more than once. Motor mounts, arm joints, stack retainers, payload brackets, and battery cages wear out quickly if machine screws are cutting into plastic every service cycle. I only trust direct-to-plastic threads on light covers and non-structural access panels.
Pay attention to fit before tightening anything. Printed parts that need to be forced into alignment usually crack later at the exact spot where the installer "helped" them into place. Reprint the part, clean up the mating surface, or correct the CAD. Hidden stress in a printed frame shows up later as tuning drift, motor angle errors, and unexplained vibration.
Three mechanical checks separate a clean build from a maintenance problem:
-
Clamping force stays in the hardware stack
Fasteners should clamp plates, spacers, and inserts together. They should not rely on fresh plastic bite each time you service the aircraft. -
Load moves through supported structure
Arm roots, standoffs, landing gear mounts, and payload rails need a clear path into thicker sections of the frame. Thin printed tabs fail early, especially after heat cycles in a vehicle or on a hot launch site. -
Crash damage is isolated
Sacrificial bumpers, replaceable arms, and bolt-on landing parts save far more time than one-piece center bodies that require a full reprint after a moderate impact.
Wiring and mounting decisions affect tuning more than many builders expect
A surprising number of "PID problems" are primarily assembly problems. An FC stack that can shift a fraction under braking, a GPS puck mounted beside a high-current lead, or an RX antenna routed against a carbon tube can all produce symptoms that look like bad software.
Keep the flight controller mounting consistent and deliberate. Hard-mounting can work on a stiff, well-balanced frame with clean motors and props. Soft mounting helps when printed structures transmit higher-frequency noise, but too much compliance lets the stack move and can create its own issues. Check the gyro trace before assuming one approach is better.
Motor wiring deserves the same discipline. Route phase wires so they cannot touch the bell, the prop arc, or a hot motor base after a long climb. Add restraint close enough to stop movement, but not so tight that the wire is loaded at the solder joint. On printed arms, I prefer defined channels or clip-on covers over zip ties biting directly into the plastic. It looks cleaner, and it prevents local crushing that starts small cracks.
Configure the firmware as if someone else will have to troubleshoot it
Bench setup should produce an aircraft another pilot or technician can understand quickly. That means clean naming, saved parameter files, documented port assignments, and a controlled verification sequence.
Start with the basics and physically confirm each one:
- Board orientation
- Receiver mapping
- Motor order
- Motor direction
- Accelerometer calibration
- GPS lock and home direction, if fitted
- Flight mode assignment
- Arming checks
- Failsafe behavior
Do motor tests without props. Do them twice if the frame is custom.
Custom printed drones often mix unusual arm lengths, motor KV choices, and prop sizes. Before chasing tune problems, sanity-check the propulsion setup with a drone prop pitch calculator. It will not tune the aircraft for you, but it can expose a mismatch between the intended mission and the prop choice before you waste batteries trying to tune around it.
Tune for the job, not for a five-second hover
A professional aircraft needs predictable behavior with the payload installed, the battery that will be used in the field, and the operating weight it will carry on real missions. A tune that feels sharp with no camera, no landing gear, and a half-full pack tells you very little.
Start with conservative filters and moderate gains. Get a clean hover, then look at motor temperature, gyro noise, and prop wash handling. Printed frames can have resonances that do not show up until a fast descent or a loaded corner. If one arm design is slightly less stiff than the others, the tune will expose it.
Return-to-home and loss-link behavior need their own test plan. Verify what happens on radio loss, GPS degradation, and low-voltage events in a controlled area. Teams that need a formal place for range work in South Africa can use Karoo Outdoor's guide to South African ranges to identify suitable locations and operating rules before conducting test sessions.
First flights are inspection flights
Keep the first sorties short. Hover. Check position hold if installed. Add slow forward flight, then braking, then gentle yaw and roll inputs. Land and inspect after each step.
Look for screw heads settling into plastic, whitening around arm roots, wire polish marks, warm connectors, motor mount creep, and changes in gyro noise after a battery or two. Those are early warnings, not minor cosmetic issues.
A mission-ready printed drone comes from disciplined repetition. Print accurately, assemble without preload, verify every control path, tune under real operating weight, and document each revision so the next repair is faster than the last.
Professional Operations and Lifecycle Management
Once the drone flies reliably, it stops being a build project and becomes an asset. That changes how you handle it. The aircraft needs an identity, a maintenance record, a repeatable pre-flight routine, and a documented repair history.
What a working routine looks like
A professional pre-flight for a custom printed drone should include frame inspection, hardware tightness, prop condition, battery lead security, antenna condition, firmware state, and confirmation that any replaced printed part is the correct revision. That last point matters more than many teams expect. Printed aircraft evolve quickly, and undocumented revision creep causes confusing faults.
Field repair is where 3d printed drone plans can shine if you prepare properly. Carry spare arms, landing parts, fasteners, inserts, zip ties, threadlocker where appropriate, and the exact tools your frame requires. The best repair kit is boring and complete.
Documentation is part of airworthiness
Track every repair and every printed revision. If arm version three solves a crack at the motor root, record it. If a certain filament batch prints slightly oversized, record that too.
For range discipline and safe test environments, it also helps to use established locations with clear operating rules. Teams working in South Africa, for example, may find Karoo Outdoor's guide to South African ranges useful when identifying controlled spaces where safety procedures and site awareness are already taken seriously. The principle applies anywhere. A good test site reduces variables.
A structured asset process also makes lifecycle planning easier. Logging repairs, replacements, and frame revisions in one place helps operators decide whether a drone is improving or just consuming workshop time. For teams formalizing that process, Dronedesk's article on equipment lifecycle management for operational assets is a solid reference for building the maintenance discipline that custom aircraft need.
A custom drone becomes commercially useful when it's managed with the same seriousness as any off-the-shelf aircraft in the fleet.
Dronedesk helps professional pilots turn aircraft, batteries, maintenance records, job planning, and compliance workflows into one organized system. If you're building custom drones as real operational assets, Dronedesk gives you a cleaner way to manage the flying work around them.
 BVLOS Drone Meaning and Why It Matters →
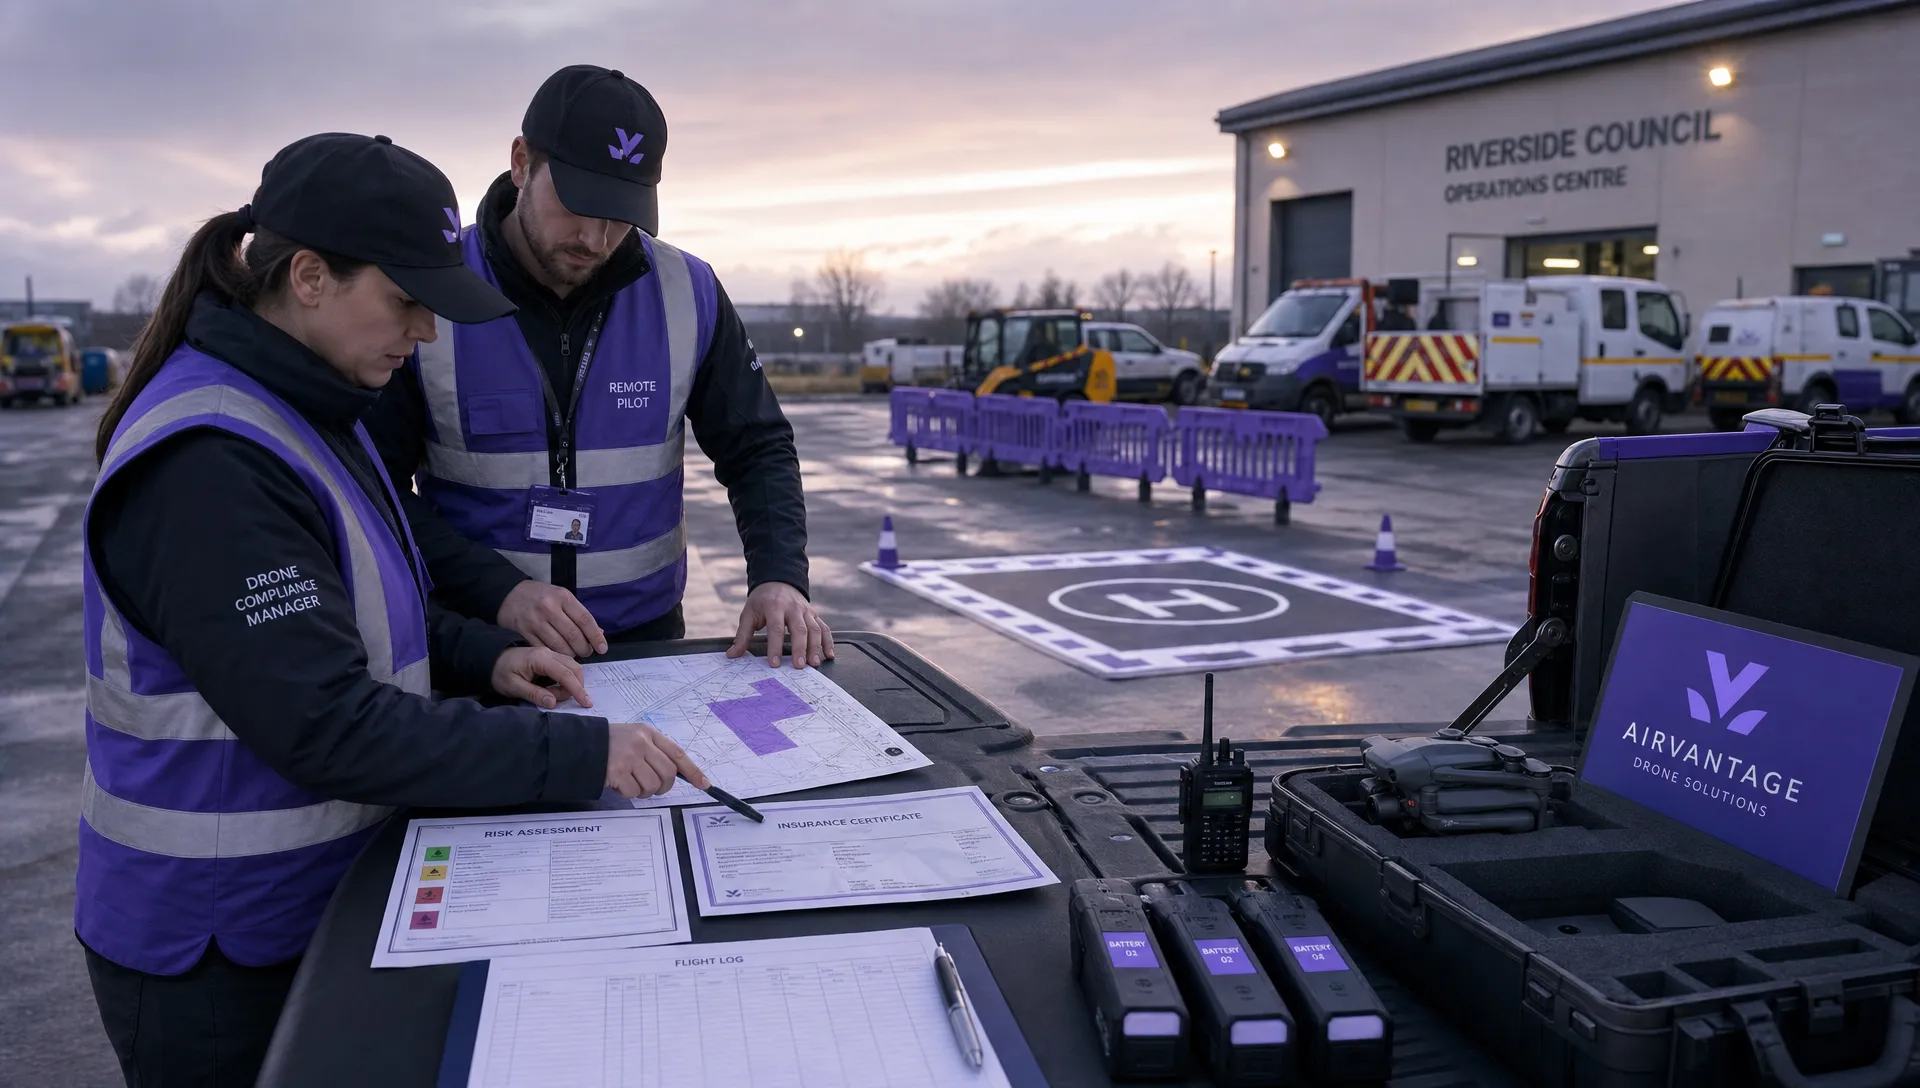 Drone Operation Regulations Explained for Businesses →
 How to Pass Your Drone Pilot License Test →
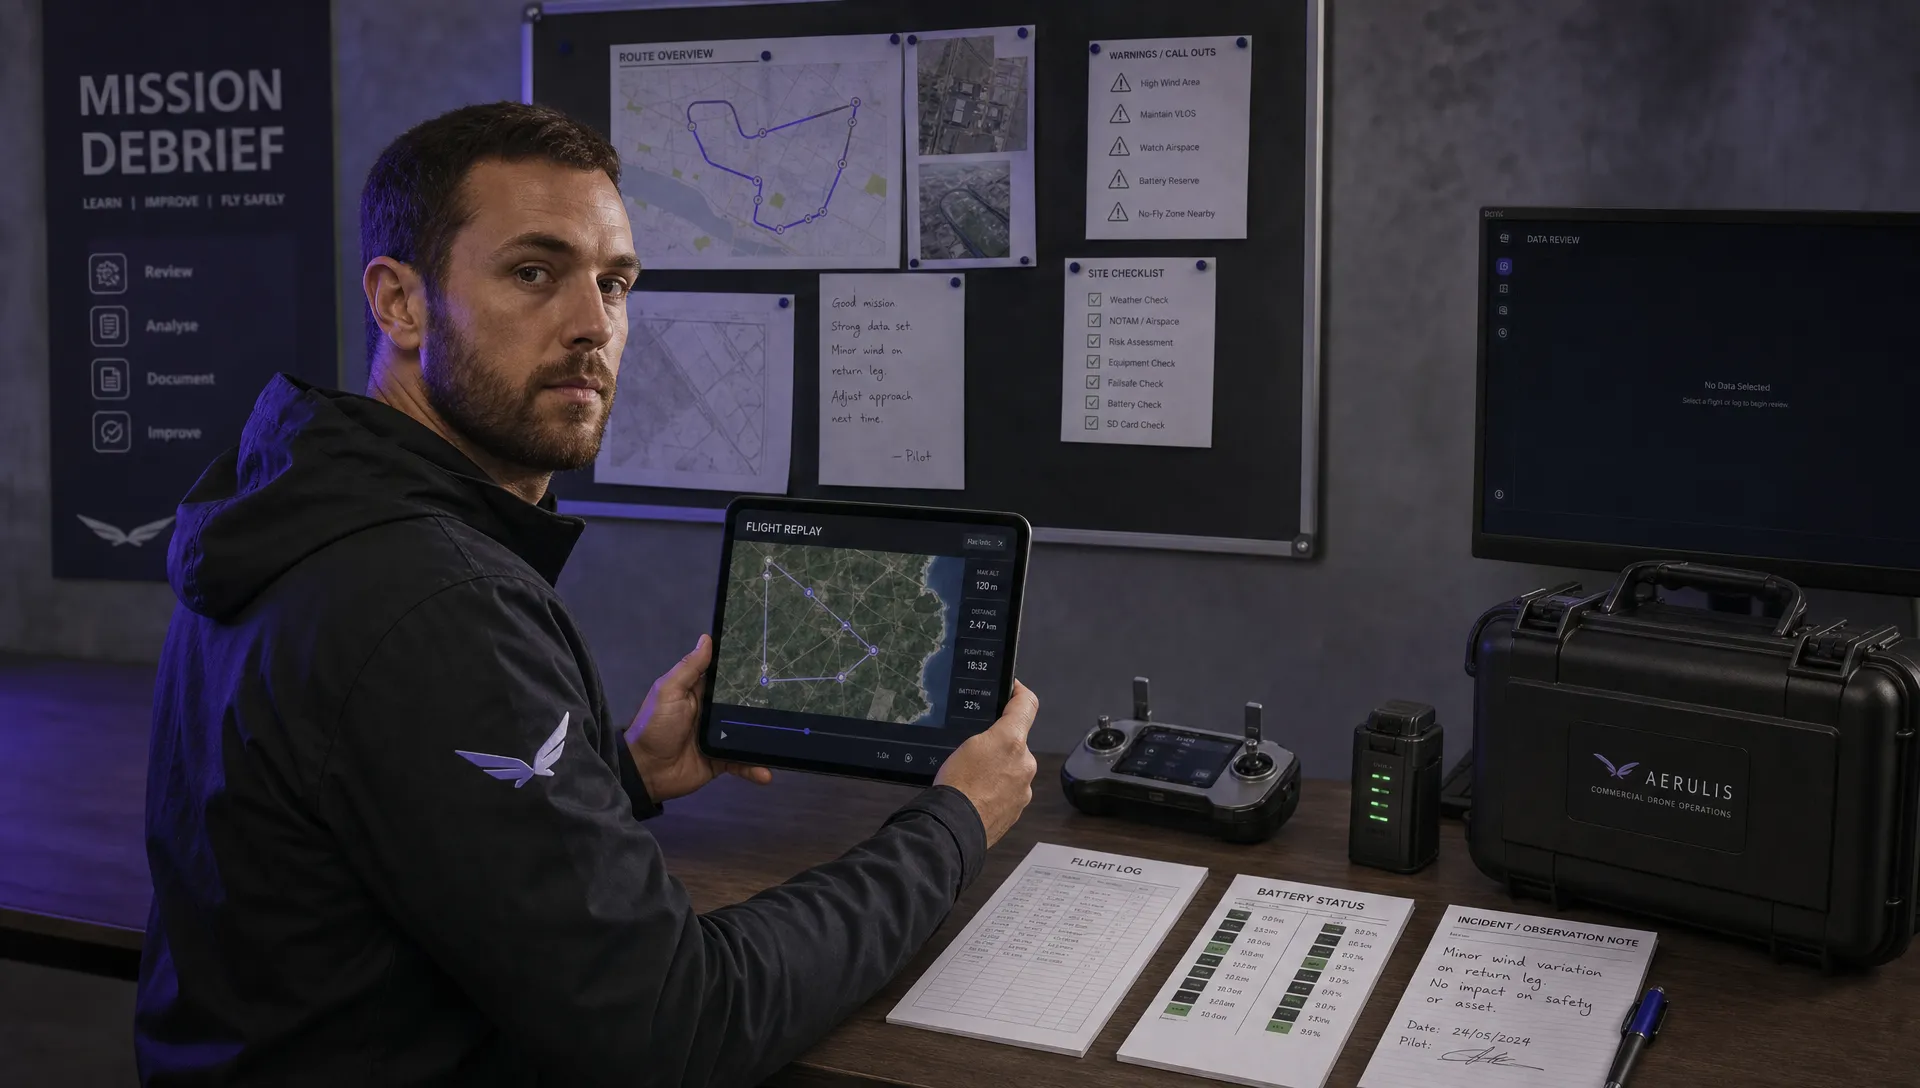 How to Review a DJI Flight Record After a Mission →
 How to Check a Drone NOTAM Before You Fly →
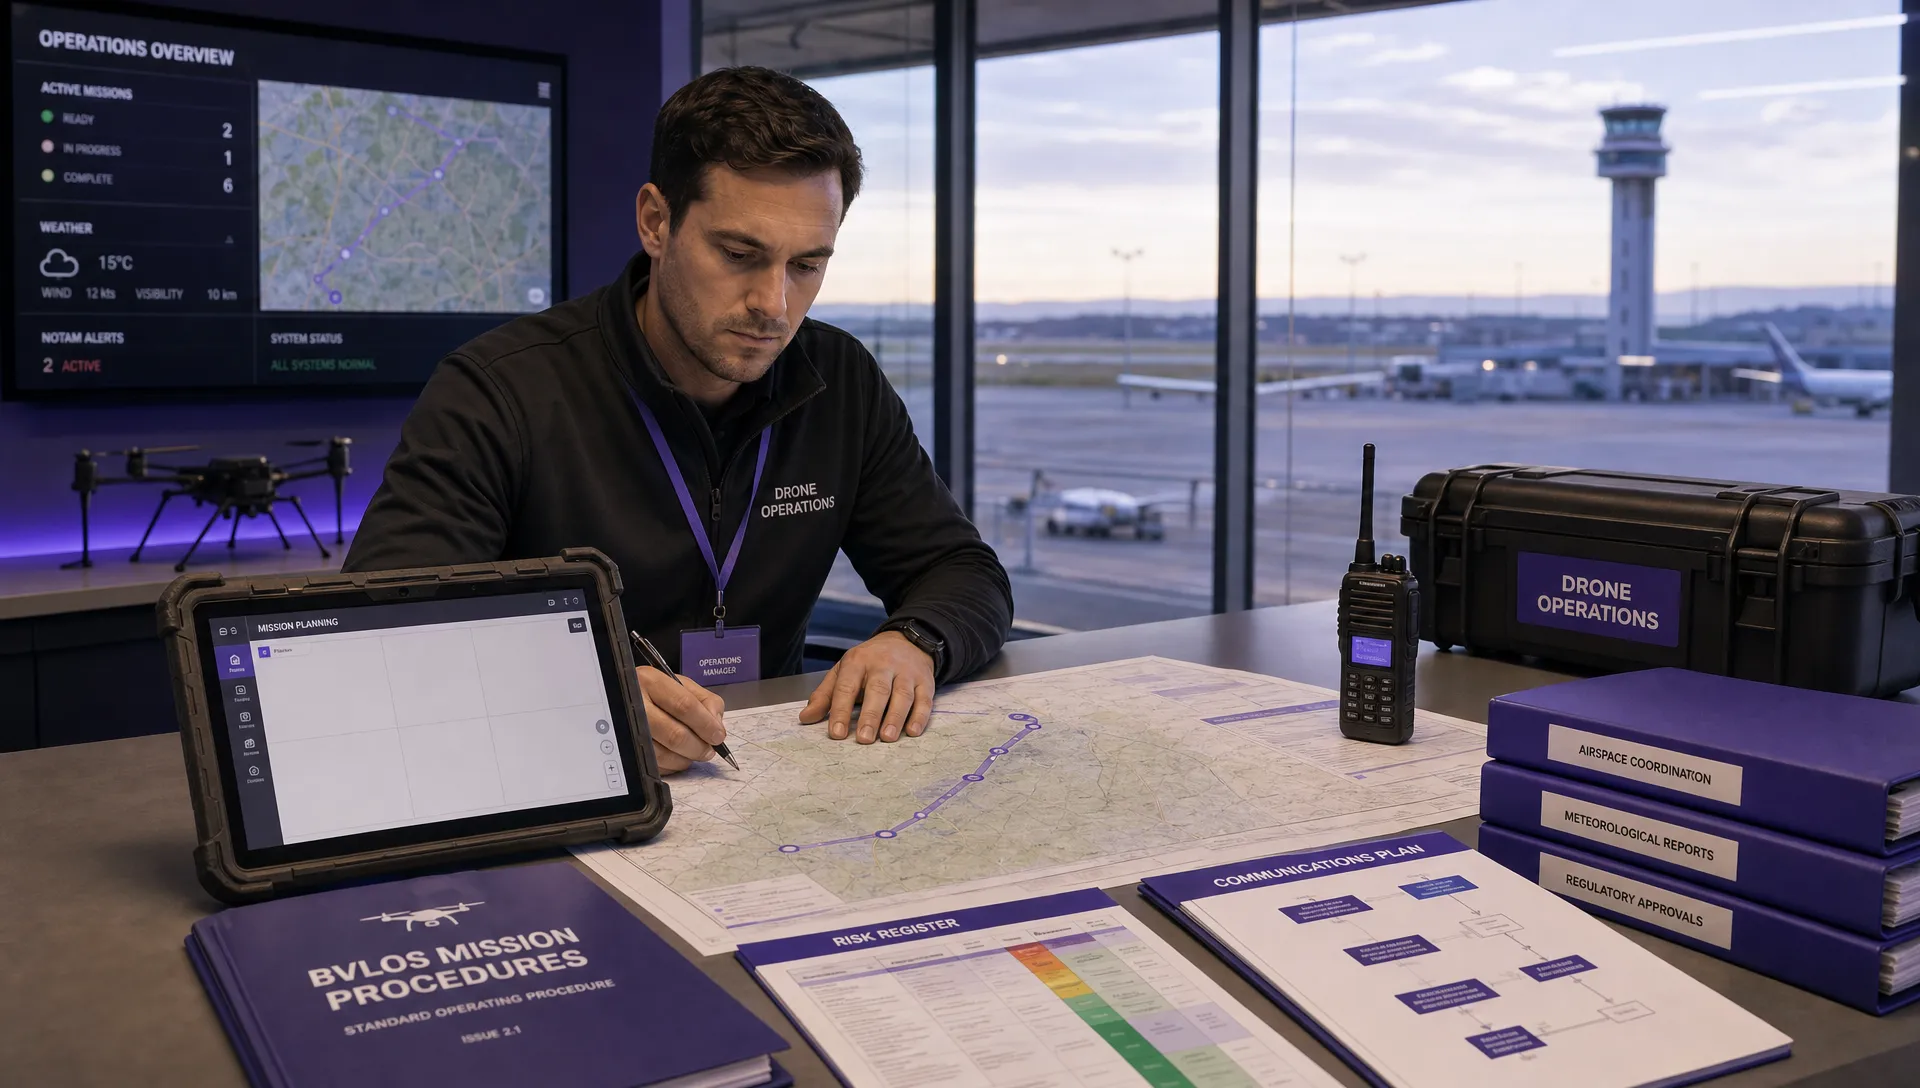 Part 108: What Drone Operators Should Expect →
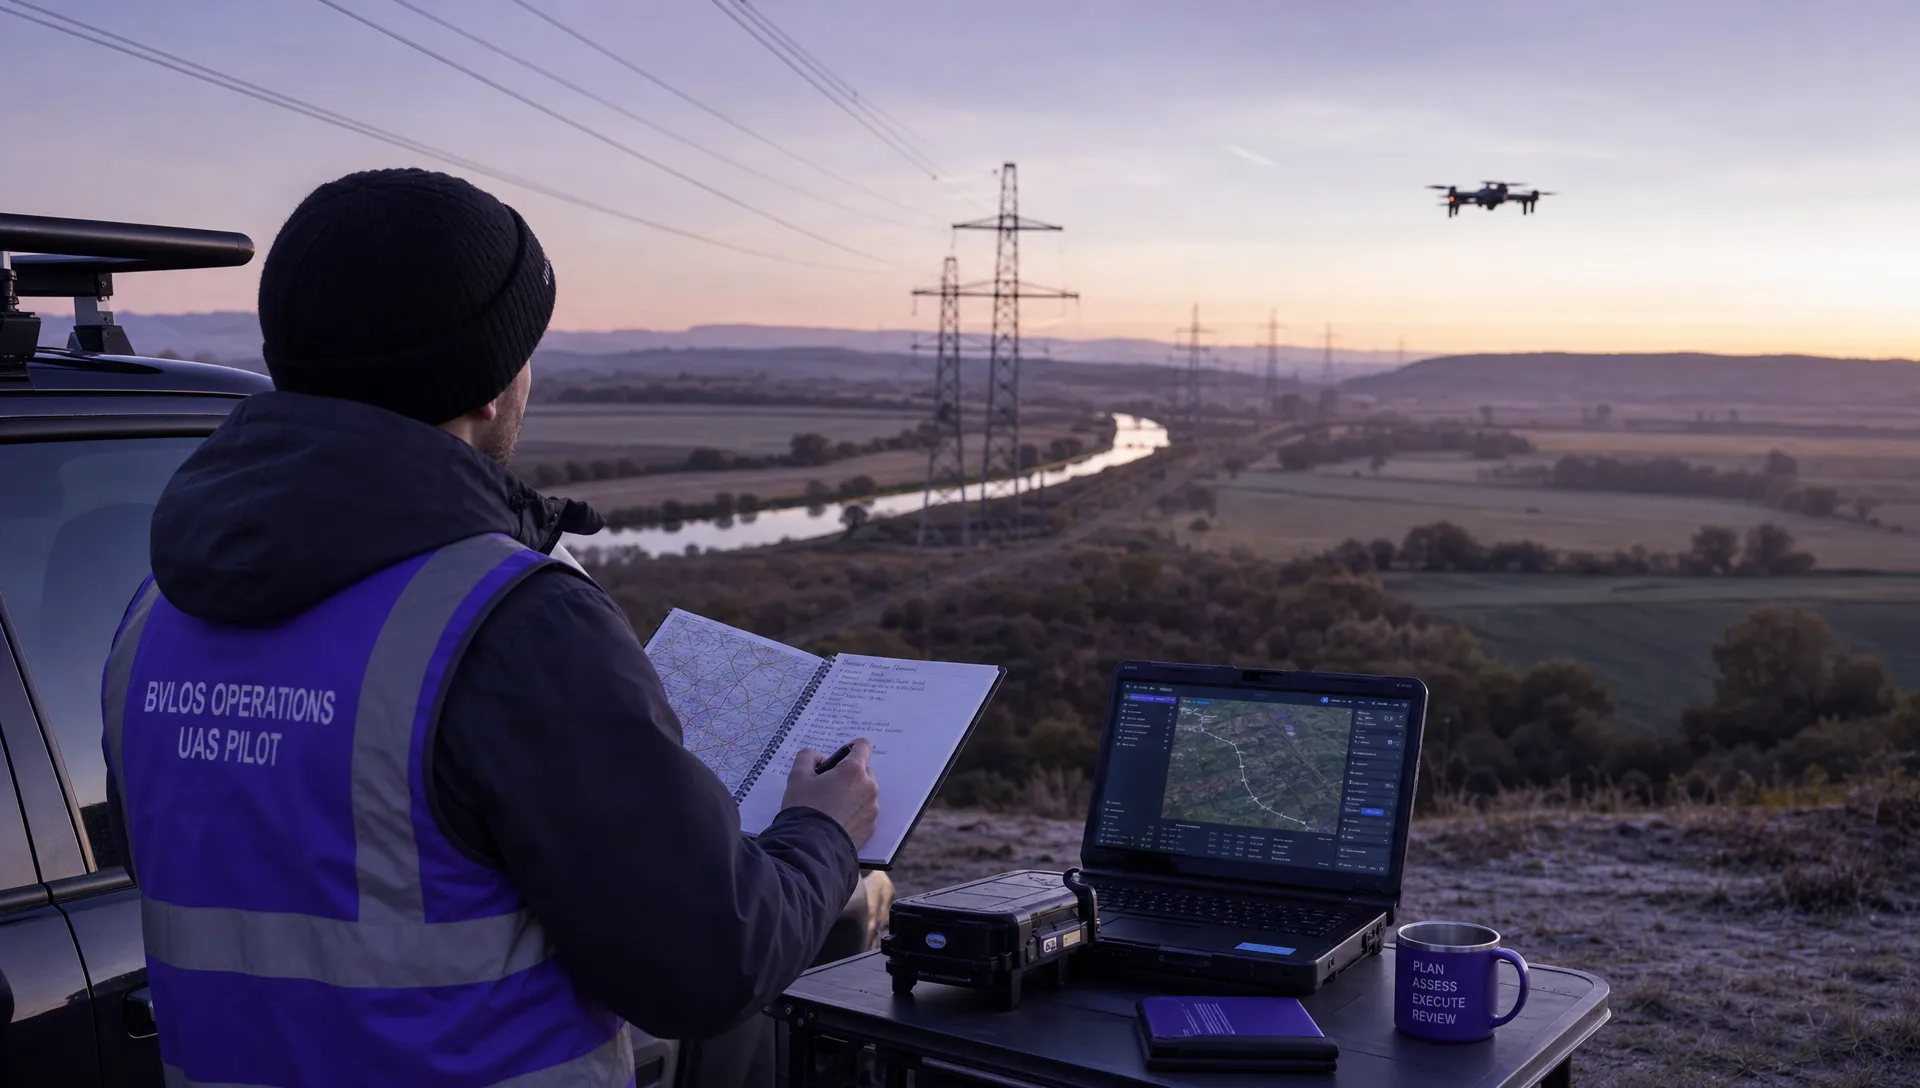 Beyond Visual Line of Sight BVLOS Explained →
 Drone Laws and Regulations Every Team Should Review →
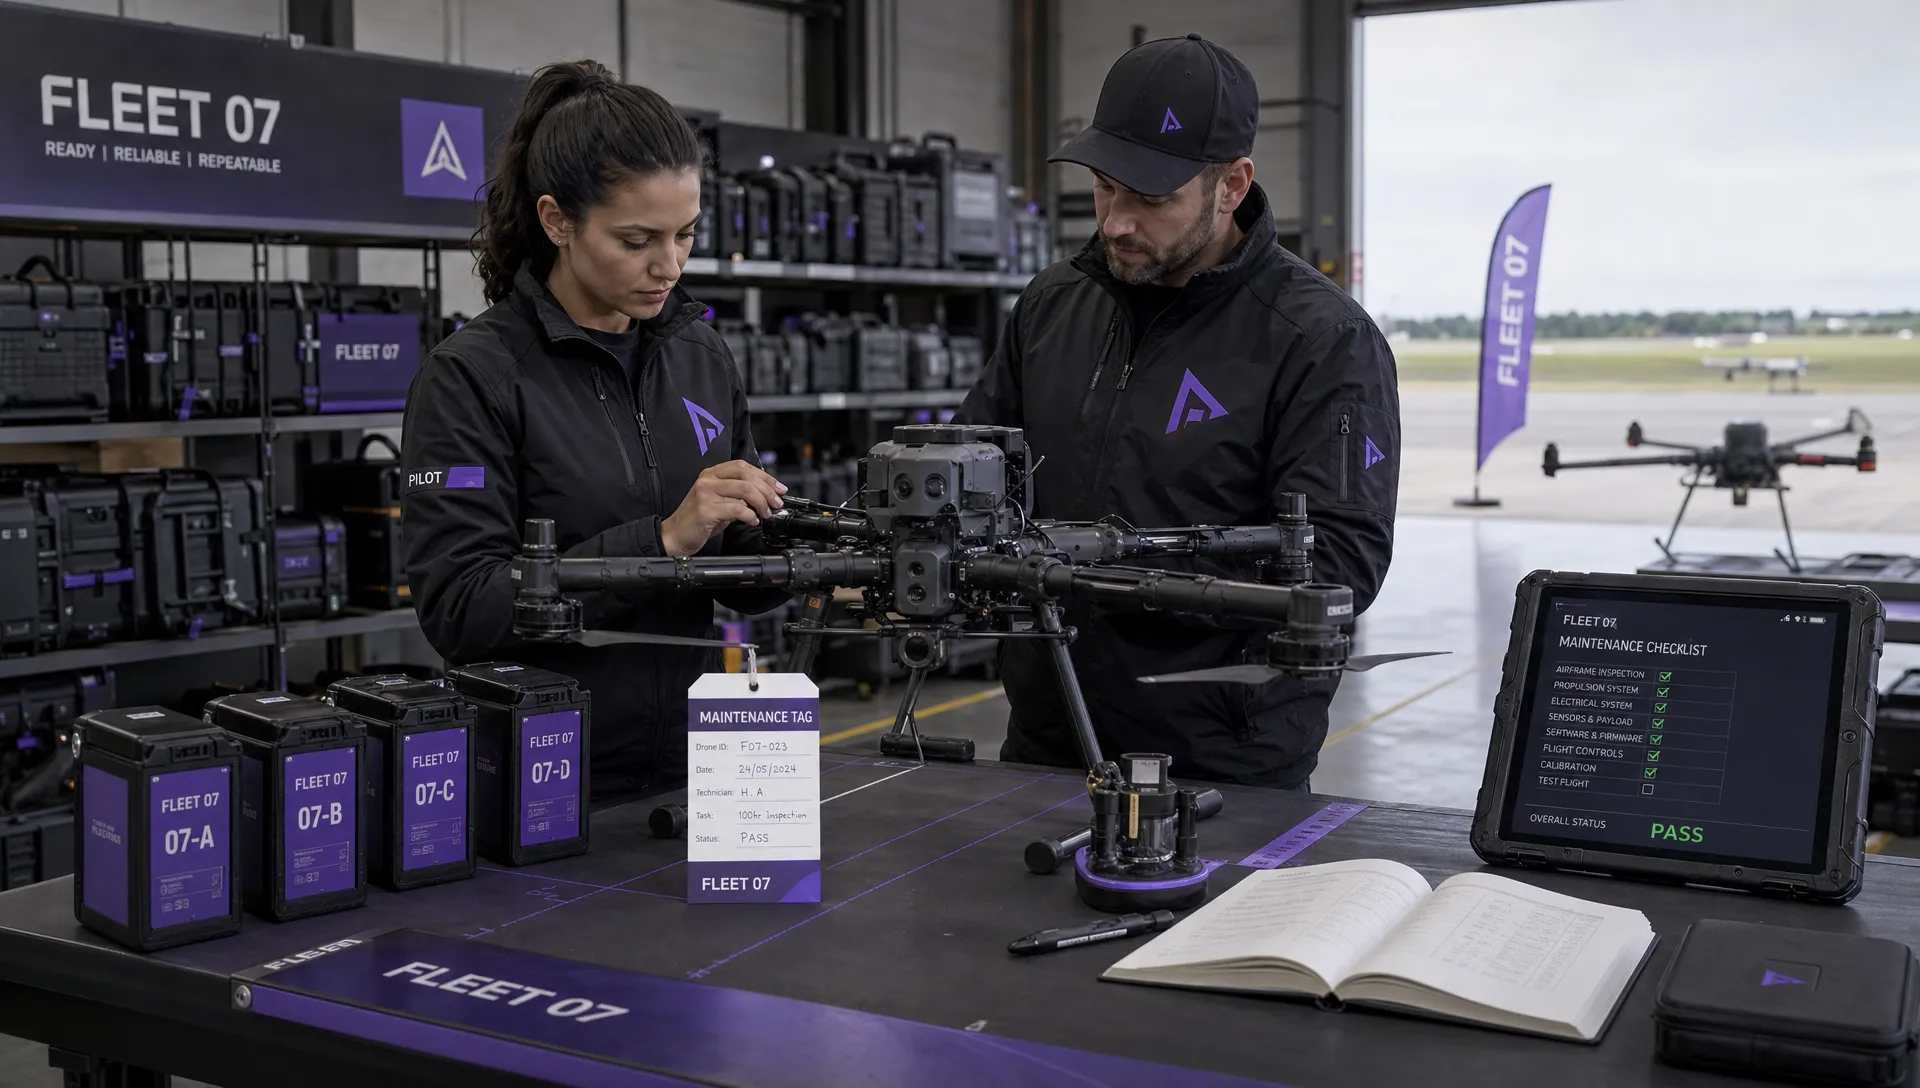 Current Drone Laws: What Changed in 2026? →
 JARUS SORA Explained in Plain English →