How to Use the SORA GRB Calculator Correctly
When you're dealing with drone operations, a SORA GRB calculator is one of the most important tools in your kit. It's what takes the guesswork out of determining your Ground Risk Buffer (GRB), translating complex factors like your drone's size and the population density below into a clear, defensible safety zone. Getting this right is absolutely essential for getting your flight plans approved by aviation authorities.
Why Mastering the GRB Calculator Is Non-Negotiable

Before we jump into the how-to, let's be clear about why this matters so much. The SORA GRB calculator isn't just another box to tick on a pre-flight checklist; it's the very foundation of a safe, legally sound drone operation. It's a core piece of the Specific Operations Risk Assessment (SORA) framework, which has become the global standard for managing UAS risks.
Think of the GRB as a safety net, but one that's been calculated with scientific precision. This buffer is designed to account for everything from potential drone failure trajectories to its physical size and, crucially, the number of people on the ground. Nailing this calculation shows you're a professional who takes public safety seriously.
The Foundation of Regulatory Approval
Aviation authorities lean heavily on your GRB calculation to give a flight plan the green light. A properly calculated buffer gives them confidence that you’ve done your homework and properly mitigated ground risks. This is especially true as regulations evolve. For instance, with more aircraft becoming fully Transport Canada compliant UAS, the expectation for robust, data-backed risk assessments has never been higher.
The GRB calculation moves your safety plan from a subjective estimate to an objective, data-driven standard. This is the difference between hoping you are safe and proving you are safe.
The SORA methodology itself is always being refined, especially when it comes to ground risk. The GRB calculator is a critical part of the JARUS SORA methodology, which now uses a highly detailed, grid-based population model for its risk assessments. The latest SORA version 2.5 brought significant improvements to this model’s precision, letting us conduct far more accurate risk assessments over smaller, more specific areas. That kind of granularity is exactly what's needed to meet safety thresholds in markets across Europe and North America.
Preparing Your Data for an Accurate Calculation
Any SORA GRB calculator is only as good as the data you feed it. We've all heard the old saying, "garbage in, garbage out," and it's especially true here. Even a small error in one of your inputs can spit out a wildly inaccurate safety buffer, leaving you exposed.
So, before you even think about opening a calculator tool, the most important job is getting your information straight. This is about more than just grabbing a few numbers; it's about understanding what those numbers truly represent in the real world.
Your starting point is always the drone itself. You'll need two key figures: its characteristic dimension and its kinetic energy.
Nailing Your Drone's Physical Parameters
The characteristic dimension is just a technical term for the largest single dimension of your aircraft. For a fixed-wing drone, that’s usually the wingspan. For a multicopter, it's typically the diagonal distance from one rotor hub to the opposite one. Don't just trust the spec sheet if it seems vague—get the tape measure out and be precise.
Next up is the kinetic energy rating. You should find this in the drone's technical manual. This value is absolutely critical because it's a direct measure of how much punch the drone would pack if it hit the ground.
A classic rookie mistake is to just plug in the drone's weight. SORA calculators are built to use kinetic energy and the characteristic dimension specifically; this is how they model the potential crash trajectory and impact area, not just how heavy the aircraft is.
Sourcing Your Operational Area Data
Once you have your drone's stats locked in, it's time to map out the environment you'll be flying in. This goes way beyond just drawing a circle on a map.
You need to be specific and think through a few different elements:
- Flight Volume: This is the exact three-dimensional space your drone is planned to operate within. Define your flight path and your maximum altitude clearly.
- Contingency Areas: We all know things can go wrong. Where is the drone going to come down in an emergency? You need to define this contingency volume. It’s a vital input that far too many operators gloss over.
- Population Density: This is probably the trickiest variable because it's always changing. Outdated census data from a few years ago just won't cut it. You need to find current, reliable data for your specific operational area. Good sources are official local government sites or specialized GIS services that offer up-to-date population maps.
By taking the time to carefully pull together this complete dataset—detailed drone specs and accurate operational area info—you’re making sure your final GRB isn't just a number. It becomes a reliable, defensible safety measure that will actually hold up if a regulator comes knocking.
Working Through The GRB Calculation
Alright, with all your data prepped and ready to go, it’s time to actually fire up the SORA GRB calculator. This is where the magic happens, turning all those drone specs and operational details into a concrete safety buffer. Think of it less like a rigid checklist and more as a logical flow of information.
Plugging in Your Drone and Operational Data
First up, you’ll be entering your drone and flight parameters. This is where you'll plug in the characteristic dimension and kinetic energy values you verified earlier. I’ve seen a bit of confusion around how these two factors play off each other. For example, a drone with a really wide wingspan but low kinetic energy could have a larger, flatter potential impact area. Compare that to a heavier, more compact drone which is likely to fall more vertically.
This image gives you a sense of the kind of simple, direct data entry you'll be doing at this stage.

It really is that straightforward. Getting these core metrics right is the foundation for a meaningful risk assessment.
Key Input Parameters and Their Impact on GRB
To get the most accurate Ground Risk Buffer, you need to understand what each input does. This table breaks down the essential parameters for the calculator, explaining what they mean and how they influence the final buffer size.
| Parameter | Description | Impact on GRB |
|---|---|---|
| Characteristic Dimension | The largest dimension of your drone (e.g., wingspan or rotor-to-rotor diameter). | A larger dimension generally increases the potential impact area, leading to a larger GRB. |
| Kinetic Energy | The energy your drone possesses due to its motion, calculated from its mass and maximum speed. | Higher kinetic energy suggests a more severe potential impact, which typically requires a larger GRB. |
| Population Density | The number of people per square kilometre in your operational area, often sourced from census data. | The GRB expands significantly in areas with higher population density to reduce risk to people on the ground. |
| Flight Altitude | The height at which the drone will be operating above ground level (AGL). | A higher altitude can increase the potential drift during a failure, often resulting in a larger required buffer. |
| Wind Speed | The prevailing wind conditions expected during the operation. | Stronger winds can push a failing drone further off its intended path, necessitating a larger, often asymmetric, GRB. |
Getting these inputs right is non-negotiable. A small error in one of these values can have a surprisingly large knock-on effect on your final buffer calculation.
Setting the Population Model
Next, you need to define the population model for your flight area. Honestly, this is probably the most critical part of getting the SORA GRB calculation right. You'll lay the iso-iGRC grid over your flight map, using the population data you gathered before. This process carves up your entire operational area into small cells, and each one gets its own population density value.
This isn't just about pinpointing the most crowded spot. The calculator meticulously analyzes the risk across every single grid cell your drone's potential ground risk buffer might touch. This incredibly detailed approach provides a realistic picture of the risk profile, flagging specific zones where you need to be extra cautious. If you're looking to streamline this, our guide on finding the right SORA compliance software can point you toward tools that make this complex task much easier.
Making Sense of the Buffer Outputs
Finally, the calculator does its thing and spits out the buffer outputs. You won't just get a single number. Instead, you’ll see a visual representation of the Ground Risk Buffer (GRB) layered directly onto your map. This output clearly shows the safety distance you absolutely must maintain around your flight volume.
The calculated buffer is not a static circle. It’s a dynamic shape that accounts for potential failure trajectories, wind conditions (if inputted), and the underlying population risk. Your job is to ensure your entire operation, including contingencies, stays within this buffer.
What you end up with is a defensible, data-driven safety case. You can see exactly why the buffer is a certain size in a specific area, because it’s tied directly to the population density in those grid cells. This level of detail takes all the guesswork out of the equation and gives you the hard evidence aviation authorities demand for flight approvals. It’s the ultimate proof that your operation has public safety baked into its very core.
Putting Your GRB Results to Work

Getting a number from the SORA GRB calculator is just the starting point. The real skill lies in translating that raw data into smart, real-world safety decisions for your mission. This buffer isn’t just some line you have to stay inside; it’s a dynamic risk map that tells a story about the ground below.
The first thing I always do is a simple visual check of the buffer overlay on my map. I'm looking for the bulges and swells in the boundary. These aren't random – they point directly to high-risk zones, like areas with more people or specific terrain that could affect where a drone might end up in an emergency. Spotting these hotspots is priority number one.
From Analysis to SORA-Compliant Mitigations
Once you’ve identified these higher-risk areas, the next step is to build out your mitigation plan. This isn't about scrubbing the mission. It’s about making intelligent tweaks that lower the overall risk profile and keep the regulators happy.
Here are a few practical strategies I regularly use:
- Reroute Your Flight Path: Sometimes, a small adjustment to your planned route is all it takes. Skirting the edge of a densely populated grid cell identified by the calculator can make a huge difference to your ground risk.
- Fly at Quieter Times: If you have the flexibility, plan your operation for early mornings or weekends. Flying when foot traffic is naturally lower is a straightforward way to reduce the population density variable in your calculation.
- Use Technical Solutions: This is a big one. Deploying something like a certified parachute system can drastically shrink the potential impact area and kinetic energy. This often leads to a much smaller required GRB.
The aim is to be proactive, not reactive. Use the GRB output to inform your mission plan right from the very beginning. It demonstrates a deep understanding of the risks and shows you have a solid plan to manage them.
These kinds of tactical adjustments are at the heart of effective SORA flight planning. They prove you're not just ticking boxes but are actively using the GRB calculator as a genuine decision-making tool. This approach transforms your analysis into concrete actions that not only boost safety but also make the approval process a whole lot smoother.
Common Pitfalls When Using the SORA GRB Calculator
Even seasoned drone operators can get tripped up by a few common mistakes when using a SORA GRB calculator. It’s easy to do, but these small errors can throw off your entire risk assessment, potentially making your safety case invalid if something goes wrong.
One of the most frequent slip-ups is using old population data. Grabbing census information from a few years back might feel good enough, but it completely misses recent housing developments or even simple daily population changes—think of a busy high street on a weekday versus a quiet Sunday morning. This can lead to a dangerously small buffer in an area that's now full of people.
Misinterpreting Key Drone Metrics
Another classic mistake is messing up the drone's characteristic dimension. For a typical quadcopter, this isn’t just the width of the body. You need the full diagonal measurement between the hubs of opposite rotors. Getting this number wrong directly skews the calculator’s crash trajectory model and, as a result, the impact area it spits out.
Forgetting to factor in the real world is another big one. A prime example is ignoring tall buildings or a dense stand of trees right in your flight path.
A tall obstacle isn't just a signal blocker. In an emergency, it can drastically change how your drone comes down, funneling it into a spot you never would have marked as high-risk. Your GRB has to account for these real-world structures.
Here are a few other common missteps I see people make:
- Ignoring Wind Effects: If you don't input the expected wind conditions, you'll end up with a perfectly symmetrical buffer when what you really need is an asymmetrical one to account for drift.
- Vague Contingency Areas: If you haven't clearly defined your contingency volume, your risk picture is incomplete. Simple as that.
- Overlooking Local Events: That generic population data won't know about the local food festival or farmer's market that's temporarily packing the park with people.
Getting this stuff right is absolutely crucial. The best way to avoid these pitfalls is to be systematic. Using detailed checklists during your assessment forces you to consider every factor. If you want to tighten up your process, our comprehensive guide on creating robust drone risk assessment checklists is a great place to start building a foolproof pre-flight routine.
Got Questions About the GRB Calculator?
It's natural to have a few questions when you first start working with the Ground Risk Buffer calculator. Let's tackle some of the most common ones I hear from other operators.
A lot of people ask how a GRB is any different from a standard geofence. Think of a geofence as a simple, static virtual line on a map. The Ground Risk Buffer, on the other hand, is a dynamic and intelligent safety zone. It's a formal requirement under SORA, and it's calculated based on specific risks like potential failure modes, your flight parameters, and even the population density on the ground. Its whole purpose is to protect people if something goes wrong.
Another query that pops up is about drone compatibility. The good news is the SORA GRB calculator is platform-agnostic. It’s built to work with any unmanned aircraft you're operating under the SORA framework. As long as you can plug in accurate inputs for your specific drone—like its characteristic dimension and kinetic energy—the calculator will give you a valid buffer value.
What if My Buffer Crosses a No-Fly Zone?
This is a great practical question. What happens if your calculated GRB spills over into a restricted area?
If your buffer overlaps a no-fly zone, you’ve got to take action and apply some mitigations. This isn't just a suggestion; it's a requirement. Your options could include:
- Altering your planned flight path to pull the buffer back.
- Lowering your flight altitude, which often reduces the buffer size.
- Deploying a parachute system, which can significantly shrink the required buffer and keep your entire operation within the approved airspace.
 Drone VLOS Rules Explained for Commercial Teams →
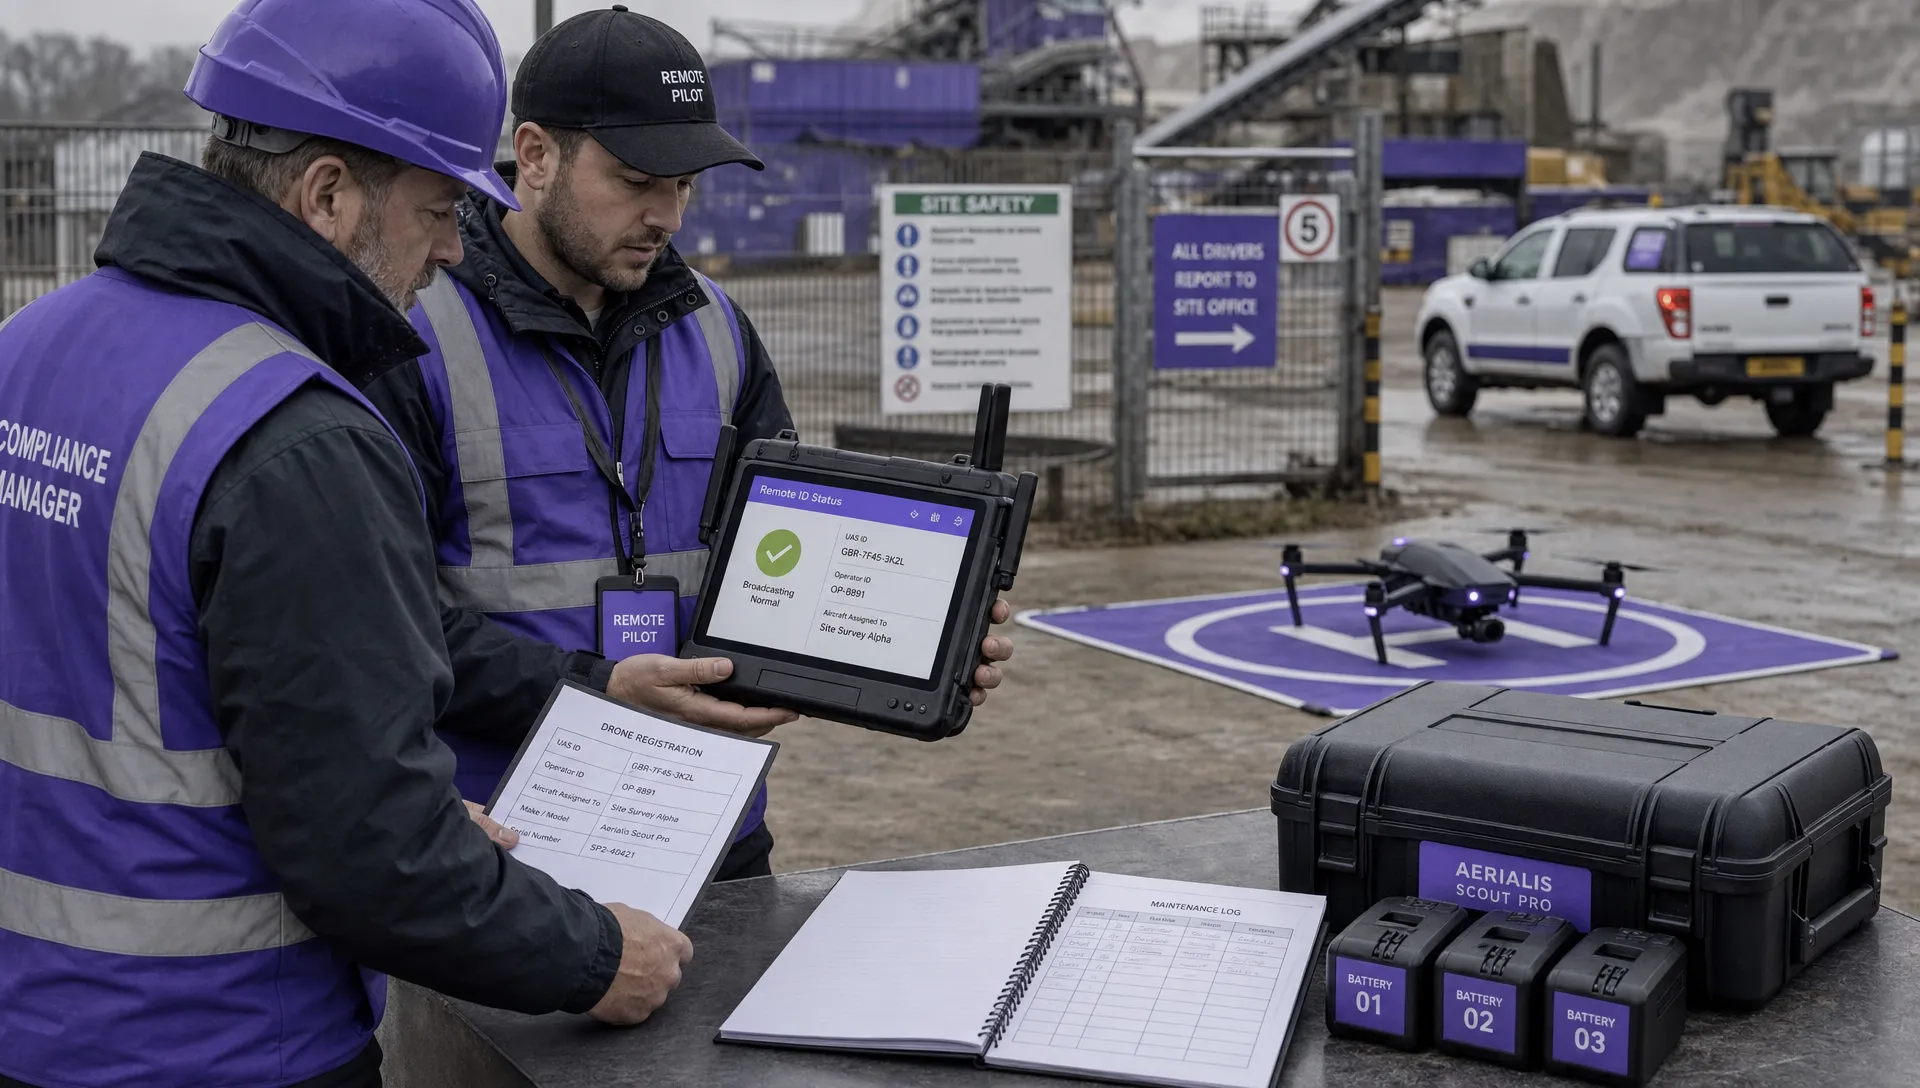 FAA Remote ID Rule Explained for Commercial Pilots →
 Drone Legal Requirements for Commercial Operations →
 Drone Near Airport Rules Explained for Safer Planning →
 International Drone Regulations Every Global Team Should Know →
 Drone Flight Risk Assessment Example for Safer Missions →
 Beyond Visual Line of Sight Explained for Operators →
 How BVLOS Drone Operations Change Commercial Workflows →
 FAA Drone Rules Every Commercial Pilot Should Know →
 FAA 107 Explained for Commercial Drone Operators →