A Drone Pro's Guide to Pix 4D Capture in 2026
Welcome to your field guide for Pix4Dcapture, the app that turns your drone into a serious data collection machine. It automates photogrammetry flights, helping professional pilots churn out stunning orthomosaics and 3D models with surprising efficiency. This is where your journey to mastering precision drone mapping really begins.
Your Essential Toolkit for Precision Drone Mapping
Before you even think about launching, getting your setup right is half the battle. The Pix4Dcapture app is the brain of the operation, but it needs a solid ecosystem of hardware and software to do its job properly. Think of it like a pro's toolkit—every single piece matters.
First up, your drone. While Pix4D supports a decent range of models, compatibility is absolutely non-negotiable. For a full rundown of what works and what doesn't, check out our guide on Pix4D supported drones. Trust me on this one; trying to fly an unsupported model is just a recipe for frustration and wasted time on site.
Next, you've got the mobile device running the app. Whether it's an iOS or Android phone or tablet, it needs enough horsepower to run the app without a hiccup and maintain a rock-solid connection to your controller. A lagging app or a dropped signal mid-mission is a surefire way to ruin your data and force a do-over.
Core Software and Hardware
Your workflow doesn't stop when the drone lands. To turn those raw images into something your clients will pay for, you'll need a few more pieces in your digital toolkit.
- Processing Software: Once you've captured your images, you need software like Pix4Dmapper or Pix4Dmatic to stitch them into the final maps and models.
- A Capable Computer: Photogrammetry processing is a beast. A computer with a powerful GPU, plenty of RAM, and a speedy processor isn't a luxury—it's essential for handling large datasets without wanting to throw it out the window.
- An Operations Platform: For any serious operator, a drone management platform like Dronedesk is a game-changer. It helps you plan flights, manage all your assets and clients, and keep everything compliant. It builds a complete audit trail from the initial briefing to the final data delivery.
By integrating tools like Pix4Dcapture with an operations platform, you elevate yourself from just flying a drone to running a professional data acquisition business. It’s the bridge between your fieldwork and your back-office management.
The drone mapping industry is booming. We're talking about a market projected to hit $7.79 billion by 2033, growing at a 15% CAGR. As of 2025, verified data shows 306 companies are using Pix4D, including heavyweights like the Government of Canada and Saint-Gobain, which speaks volumes about its global relevance.
If you really want to get a leg up on the competition, especially in lucrative fields like property, it's worth diving into a complete guide to 3D real estate photography. Understanding these advanced applications is what separates the amateurs from the pros.
Mastering Pre-Flight Planning and Configuration
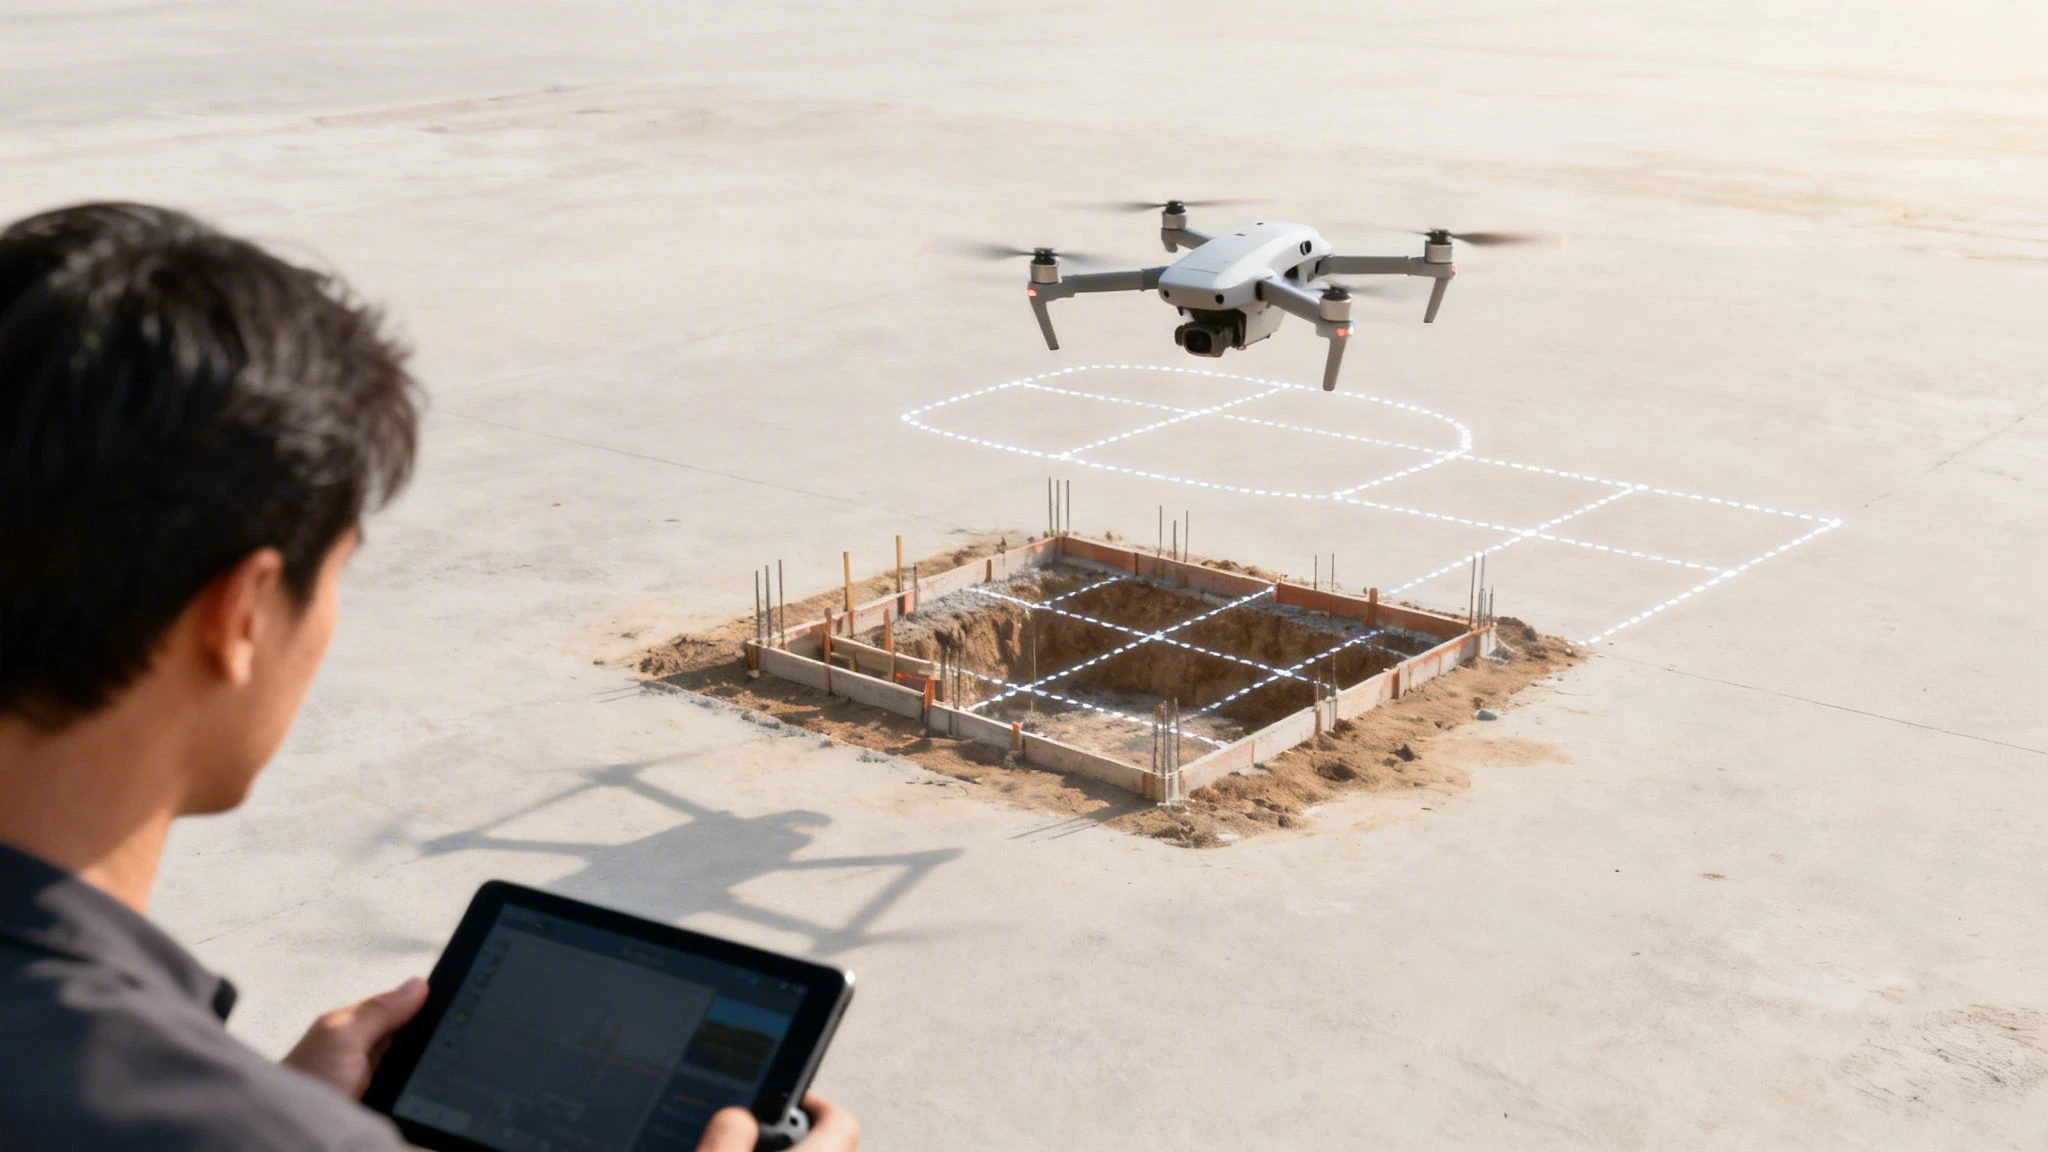
Any successful photogrammetry mission is won or lost long before your drone even leaves the ground. That pre-flight planning phase, right inside the Pix4Dcapture app, is where you make or break the quality of your final data. Get this part right, and you'll come back with clean, actionable imagery. Get it wrong, and you're looking at a costly and seriously frustrating re-flight.
Your whole mission setup is a balancing act between three key pillars: Ground Sample Distance (GSD), image overlap, and flight altitude. These aren't separate dials you can just turn independently; tweaking one has a direct knock-on effect on the others. Your real job as the pilot is to find the sweet spot that nails your project's specific needs.
Finding the Right Balance for Your Project
Let's play out a real-world scenario. Imagine you're mapping a five-acre construction site for a weekly progress report. Detail is everything here. You'll probably aim for a low Ground Sample Distance (GSD), maybe something like 2 cm/pixel. The app will then tell you what you already know: to get that detail, you need to fly low.
That one decision immediately forces you to add more flight lines to keep your overlap sufficient, which in turn means a longer flight time and more batteries.
Now, flip the script. You're doing a quick health check on a 50-acre farm. A higher GSD of 5-10 cm/pixel is likely more than enough. This lets you fly higher, cover the entire area way faster, and save on batteries. It’s all about the right tool for the job.
The big takeaway here is to always start with your end goal. Figure out the GSD your deliverable requires first. Let that decision drive your altitude and overlap settings. Never just fly the defaults; every job needs a tailored plan.
The relationship between your drone, the app, and whatever processing platform you use is a simple, straight line.
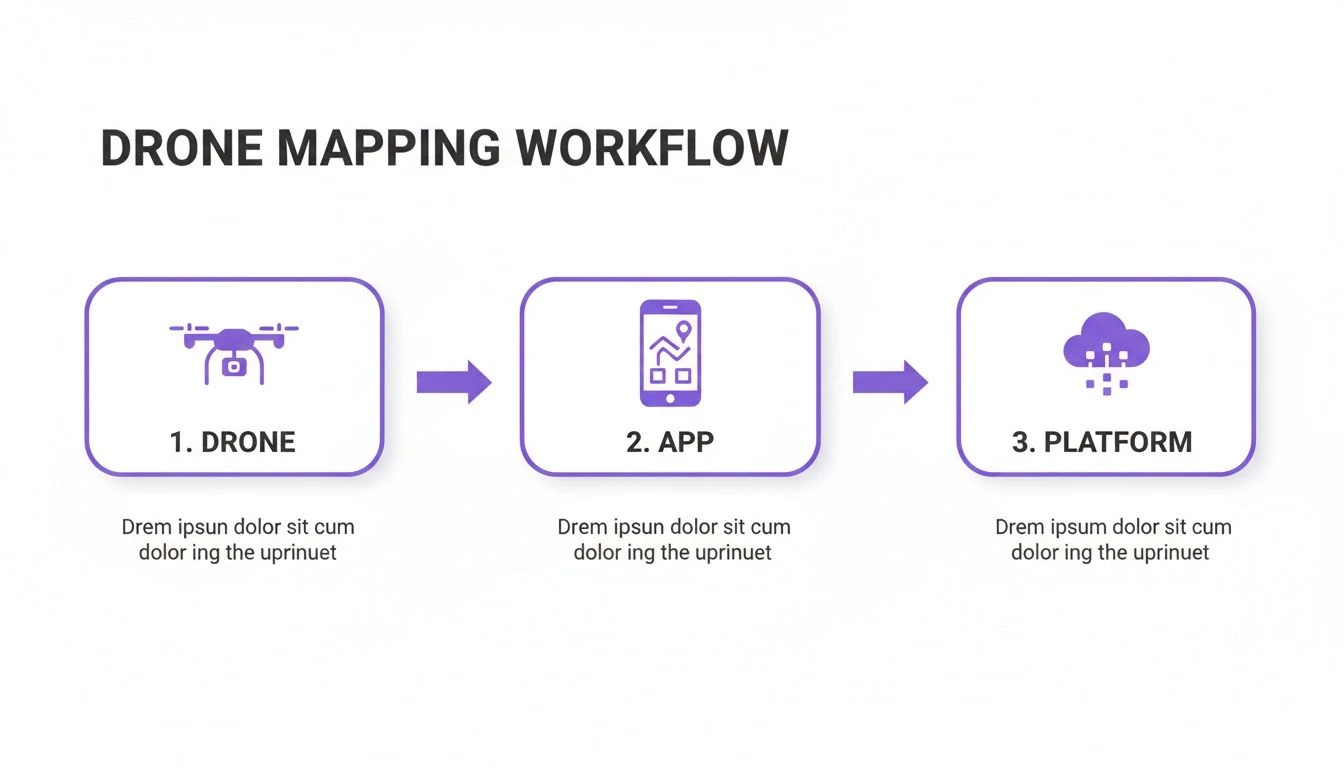
This workflow breaks it down nicely: capture data with the drone, manage the mission in the app, and then process that data on a desktop or in the cloud.
Setting Your Image Overlap
Think of image overlap as the safety net for your entire mission. It’s what gives the processing software enough common reference points between photos to stitch everything together without ugly gaps or distortions. Inside Pix4Dcapture, you’ll be setting both front and side overlap percentages.
As a solid rule of thumb, I always start with at least 75% front and 70% side overlap for most mapping jobs. If you're tackling a complex site with big elevation changes or a dense urban jungle, bumping those numbers up to 80-85% is a very smart move.
Sure, more overlap means more photos and longer flights, but it drastically cuts the risk of holes in your final orthomosaic or 3D model. Skimping on overlap is one of the most common mistakes I see new pilots make, and it almost always ends in tears and poor results. This is a critical step, and for those managing a lot of projects, using dedicated drone flight planning software can help standardise these settings across your whole operation, ensuring every flight is set up for success.
Dialing in Your Camera Settings
A perfect flight plan can be completely wrecked by inconsistent imagery. While Pix4Dcapture automates the drone's flight path, you are still in full command of the camera. The goal is simple: crisp, consistently exposed images from the first to the last.
Before you even think about hitting that launch button, you have to lock your camera’s focus and exposure.
- Focus: Get the drone in the air, point the camera at your survey area, and just tap the screen to set the focus. Once it’s sharp, lock it down. This stops the camera from "focus hunting" mid-flight, which is a guaranteed way to get a frustrating mix of sharp and blurry photos.
- Exposure: Leaving exposure on auto is a recipe for disaster. The brightness will flicker as the drone flies over different surfaces, like going from dark asphalt to bright white concrete. You need to set your exposure manually to a value that doesn't blow out your highlights or crush the shadows across most of the site.
Locking these two settings guarantees every single image is captured with identical parameters. This gives your processing software the clean, consistent source data it needs to work its magic. Taking a few extra moments on the ground to get this right will save you hours of headaches in post-processing. Trust me.
Alright, you've done the desk work, and your flight plan is solid. Now for the fun part: getting out in the field and making it happen. This is where your planning and piloting skills really come together. A successful capture mission isn't just about tapping "Start"; it's a deliberate, safety-first process from the moment you step on-site.
The very first thing I do when I arrive is a final site walk. This isn't just a casual stroll; I'm actively looking for anything that's changed since my initial survey. New obstacles like parked work vans, temporary fencing, or construction materials can pop up overnight.
Your Final On-Site Checklist
Before the props even think about spinning up, I run through a few non-negotiable checks. These steps are crucial for both the safety of your flight and the quality of your data. A system like Dronedesk is a massive help here, since it puts most of this info right at your fingertips, but a final manual check is just good airmanship.
- Airspace Check: Do one last scan for any new NOTAMs or TFRs. What was clear yesterday might have a temporary restriction today.
- Weather Reality Check: Don't just trust the forecast. Check the real-time wind speed and direction on-site. Make sure the conditions are well within your drone's limits.
- Compass Calibration: If you've driven a fair distance or you're near big metal structures, a compass calibration is a must. Pix4Dcapture is pretty good at prompting you if it senses any magnetic funkiness.
- Secure Takeoff Zone: Find a clear, flat, and stable spot to launch and land. Keep it free from loose gravel, tall wet grass, or anything else that could get kicked up by the props.
Only after I've ticked these boxes do I power up the drone, then the controller, and finally connect my phone or tablet. You need to see that solid connection between your drone and the Pix4Dcapture app before you go any further.
Launching and Monitoring the Mission
With all systems green, open up your mission in the app. Pix4Dcapture will run its own series of checks on the camera, GPS lock, and battery. Once you get the all-clear and the “Start” button lights up, you’re good to go.
After takeoff, the drone climbs to its mission altitude and starts flying the pattern. This is not the time to put the controller down and check your phone.
Your job during an automated flight is to be a Pilot in Command, not a passive spectator. You need to be actively monitoring the drone's position, its telemetry data, and the live feed to make sure everything is running smoothly.
Keep your eyes on the app's progress screen. It gives you the live flight path, how many images have been taken, and the estimated time remaining. This is your mission's health monitor.
The precision you get from a well-executed mission is why so many industries rely on this tech. Research in 2025 showed that 306 verified companies were using Pix4D, from aerospace leaders like Lockheed Martin to global engineering firms like Bechtel. A utility inspector in the US can now capture imagery and produce a detailed orthomosaic in a few hours—a job that used to take days. You can learn more about how reality capture is being adopted by reading the full research on archivemarketresearch.com.
Handling In-Flight Events
Even with the best plan, things happen. The two most common scenarios you'll face are battery swaps and signal loss.
For any decent-sized site, a battery swap is pretty much a given. When the drone hits the low-battery threshold you set, Pix4Dcapture automatically pauses the mission, and the drone heads back to its home point. Once you've landed safely and swapped the battery, the app gives you a "Resume" option. The drone will then fly right back to where it left off and continue the mission. Simple.
Losing signal between the controller and drone can be unnerving, but stay calm. This is why your failsafe must always be set to Return-to-Home (RTH). In most cases, the drone will climb to a safe altitude and start flying back. As it gets closer, the signal usually reconnects, and you can take back control. This is exactly why setting a safe RTH altitude that clears all site obstacles is one of the most critical parts of your initial planning.
Managing and Processing Your Captured Data
Just because the drone is back on the ground, the job’s not over. Far from it. The steps you take right after landing are just as crucial as the flight itself. This is where you secure all that valuable data you just spent time and battery power collecting.
Your first move? Get those images off the drone’s SD card and onto your computer. I know it's tempting to use wireless transfers or slick app-based syncing, but trust me on this one. The most reliable way is the old-school way. Power down the drone, pop out the SD card, and use a dedicated card reader to copy everything over. It's the only way to be sure you don't corrupt a file or lose critical metadata.
Organizing Your Image Sets for Success
A little bit of organization now will save you a world of pain later. For every single mission, I create a dedicated project folder on my hard drive. Inside that, I make a subfolder just for the raw images, usually named something like YYYY-MM-DD_ProjectName_RAW.
This simple habit has some big payoffs:
- Data Integrity: Your original, untouched images are safe and sound, acting as your master backup.
- Processing Efficiency: When you fire up software like Pix4Dmapper or Pix4Dmatic, you can just point it to a clean folder. No more hunting for files or accidentally pulling in the wrong photos.
- Troubleshooting: If a processing run goes sideways, having an organized, original image set makes figuring out what went wrong so much easier.
This kind of disciplined data management is the bedrock of a professional operation. It’s not about being tidy for the sake of it; it’s about building a repeatable workflow that gets you consistent results. If you want to dive deeper into standardizing these workflows, our complete guide on aerial drone mapping is a great place to start.
Verifying Geotags and Deciding Where to Process
Before you kick off a processing job that could take hours, do a quick sanity check on your geotags. These are the GPS tags baked into each photo's EXIF data, and they're what tell the software where to place your project on the map. A mission flown without a solid GPS lock might leave you with a card full of useless images.
It's easy to check. Just right-click an image file, go to "Properties," and look for GPS coordinates under the "Details" tab. If you see them, you're golden. This takes seconds but can save you from a massive headache.
Now, where do you actually process all this data? You’ve got two main choices: on your own computer (on-premises) or using a cloud service.
Deciding where to process your data is a big choice. This table breaks down the pros and cons of local versus cloud-based processing for your Pix4Dcapture projects.
On-Premises vs Cloud Processing Comparison
| Factor | On-Premises (Desktop) | Cloud-Based |
|---|---|---|
| Initial Cost | High (powerful computer required) | Low (subscription-based) |
| Control & Customization | Full control over processing parameters | Limited to provider's settings |
| Processing Speed | Depends on your hardware | Can be faster with scalable resources |
| Data Security | High (data stays local) | Depends on provider's security |
| Accessibility | Limited to your physical machine | Accessible from anywhere with internet |
| Collaboration | More difficult, requires manual sharing | Easy to share projects and results |
Ultimately, many professionals use a mix. On-premises is fantastic for security and fine-tuned control, which is likely why it dominated revenue in 2024. The photogrammetry software market, powered by apps like Pix4Dcapture, is booming, with projected growth of USD 1,704.1 million from 2026-2030. North America is a huge part of this, making up 44.6% of that growth. You can see more data in this photogrammetry market analysis on technavio.com.
For those of us using a drone operations platform like Dronedesk, this is where you close the loop on the entire job. You can log your flight details, link the mission to the client, and attach the records of the data you just captured.
This creates a complete and compliant audit trail for every single operation. It’s no longer just a collection of photos; it’s a documented, professional service delivery that you can prove to clients and regulators alike. This isn't just good housekeeping—it's how you demonstrate operational excellence and build client trust.
Alright, let's get into the nitty-gritty. Even with the most meticulous planning, things can and do go sideways out in the field. When you're using an app like Pix4Dcapture, a failed mission isn't just a minor hiccup—it's wasted time, battery life, and money. This is your field guide to sorting out the most common headaches.
We've all been there. You're ready to fly, the mission is loaded, and you're greeted with the dreaded 'Cannot Take Off' message. Your heart sinks. Don't panic; this is almost always a communication glitch, not a critical hardware failure. The old "turn it off and on again" trick works, but there's a specific order to it.
First, completely force-quit the Pix4Dcapture app. Then, power down the drone, followed by the controller. Now, do everything in reverse: turn the controller on, then the drone. Wait for the solid green light confirming they're connected. Only then should you open Pix4Dcapture again and let it establish its own connection.
I can tell you from experience, this little power-cycling dance resolves the issue at least 90% of the time. It just forces a clean digital handshake between the app, controller, and drone.
Connection Drops and Halted Missions
Another classic frustration is having the app lose its connection to the drone mid-flight, causing the mission to pause or abort. More often than not, this comes down to radio frequency (RF) interference or simply flying the drone to the far edge of its signal range.
Always maintain a clear line of sight to your drone. It sounds basic, but it’s easy to forget when you’re focused on the screen. Also, pay attention to your controller's antennas. With most DJI controllers, the strongest omnidirectional signal comes from keeping the antennas parallel to each other and pointing up, not aimed directly at the drone.
If you're mapping a large site and know a battery swap is inevitable, plan your flight lines so the drone’s return-to-home for the swap is triggered from a closer part of the map. This cuts down on the time it spends flying at the very limit of your signal.
Sometimes a mission just stops cold for no obvious reason. Before you hit the panic button, switch over to your drone's native flight app, like DJI GO 4. You'll often find the drone has hit a geofenced zone or a flight restriction that Pix4Dcapture simply doesn't show. Clear the authorisation in the DJI app, and you can usually resume the mission in Pix4Dcapture right away.
Tips for Better Data Capture
Fixing problems is crucial, but avoiding them while capturing superior data is the real goal. Here are a few hard-won tips that I've picked up over the years.
-
Maximise Your Device's Battery: Before you even think about taking off, swipe your phone or tablet into Airplane Mode. Then, just re-enable the connection you need for the controller (Wi-Fi or a wired link). This kills background apps and notifications, which surprisingly eases the processing load and saves a ton of battery on your device.
-
Work With the Light, Not Against It: Flying in the harsh midday sun is a killer for photogrammetry. It creates deep, dark shadows and blown-out highlights that confuse the processing software. The absolute best-case scenario is a uniformly overcast day. If that’s not an option, flying closer to sunrise or sunset gives you much softer, more even lighting.
-
Don't Be Afraid to Fly Manually: Automated grid missions are brilliant for covering large, open ground. But they’re terrible at capturing vertical surfaces or details under overhangs. Once the automated flight is done, take manual control. Fly a couple of slow, deliberate orbits or oblique passes around any key buildings or structures. These extra shots are often the difference between an okay model and a fantastic one.
This hybrid approach—letting Pix4Dcapture handle the broad-strokes automation and then using your own piloting skills to fill in the details—is what really elevates the quality of your final product. It's a workflow that sets the pros apart.
Your Pix4Dcapture Questions, Answered
As a professional drone pilot, you know that time on site is money. When your flight app starts acting up, you don't have time to sift through forums—you need answers, and you need them fast. I've been there.
Here are the straight-up, no-fluff answers to the most common questions and snags I see other pilots run into with Pix4Dcapture. This is the stuff you need to know to solve problems and get back in the air.
What Drones Actually Work With Pix4Dcapture?
Let's get the big one out of the way first. While Pix4Dcapture primarily supports a wide range of drones from DJI's popular Phantom, Mavic, and Matrice series, the real answer is: it's constantly changing.
Compatibility isn't a fixed list. It shifts with every new drone firmware update and every new version of the app. A drone that worked perfectly last month might have issues after an update.
Before you even think about planning a job, your first move should always be to check the official Pix4D support page for their current compatibility list. Just assuming a new drone model will work is a classic mistake that can derail an entire project. The same goes for older models, which can lose support over time.
Don't gamble on an unsupported drone for a client job. Best case, it just won't connect. Worst case, you get unpredictable flight behaviour, which is a massive safety risk. Always verify your specific drone and firmware combination before you leave for the site.
Why Does My Mission Keep Stopping Mid-Flight?
There’s nothing more frustrating than watching your perfectly planned grid mission grind to a halt halfway through. In my experience, this problem almost always comes down to one of three things.
- Loss of GPS signal: Your drone needs a solid satellite lock to navigate. If it flies near tall buildings, into a valley, or under heavy tree cover, the signal can drop. The app will pause or abort the mission as a safety measure. Stick to open areas with a clear view of the sky.
- Weak controller connection: If the drone reaches the far edge of your mission area and the radio link weakens, the app can no longer send commands. This is a common culprit. Always maintain a clear line of sight and pay attention to your antenna orientation.
- Return-to-Home (RTH) was triggered: This isn't an error; it's a safety feature doing its job. The drone hit the low-battery RTH threshold you set in its native app (like DJI Fly). Check those settings before you fly and make sure you have enough battery to complete your planned flight lines without an early return.
If you’ve checked all of this and are still having trouble, try breaking a large mission into smaller, more manageable chunks. This keeps the drone closer to you, ensuring a stronger signal and making battery swaps much less of a headache.
Can I Use Pix4Dcapture for Interior Mapping?
This one is a hard and fast no. Pix4Dcapture is built from the ground up for outdoor missions that are completely dependent on GPS for navigation.
The app uses satellite data for everything—guiding the drone along its flight path and, just as importantly, embedding geographic coordinates into every single photo. Indoors, where GPS signals are blocked, the app is completely blind. It can't establish a position lock, so it simply won't initiate a mission.
For indoor jobs, you need a different tool entirely. The go-to solution is usually the PIX4Dcatch app. When you pair it with a device that has a LiDAR sensor, like a newer iPhone or iPad Pro, you can create stunningly detailed 3D models of interiors without any need for GPS.
How Do I Make Sure My Images Have Accurate Geotags?
Accurate geotags are the bedrock of photogrammetry. Without them, you just have a folder of pretty pictures, not a processable dataset. Getting this right is all about a few simple but non-negotiable steps.
First, be patient on takeoff. Before you launch, let the drone sit powered on for a minute or two to get a strong GPS lock. Don't even think about taking off until the app shows "Ready to Fly (GPS)" and you see a high satellite count, ideally 10 or more. This ensures the drone knows exactly where it is before it even leaves the ground.
Next, be careful how you get the images off the SD card. The most reliable method is to power down the drone, pop out the card, and use a dedicated card reader to copy the files to your computer. Some wireless transfer apps or cloud photo services are notorious for stripping out the EXIF metadata where those precious geotags are stored.
Finally, do a quick spot-check before you kick off a long processing job. Find an image on your computer, right-click it, and go to "Properties" or "Get Info." Under the "Details" tab, you should see latitude and longitude coordinates. If they aren't there, something went wrong in your capture or transfer workflow.
Managing drone operations—from planning flights in apps like Pix4Dcapture to handling client data and compliance—gets complicated quickly. Dronedesk is the platform that brings all your jobs, assets, and flight records into one organized system, saving you from admin headaches and giving your business a professional edge. See how Dronedesk can streamline your entire workflow.
 What a BVLOS Flight Means for Risk and Compliance →
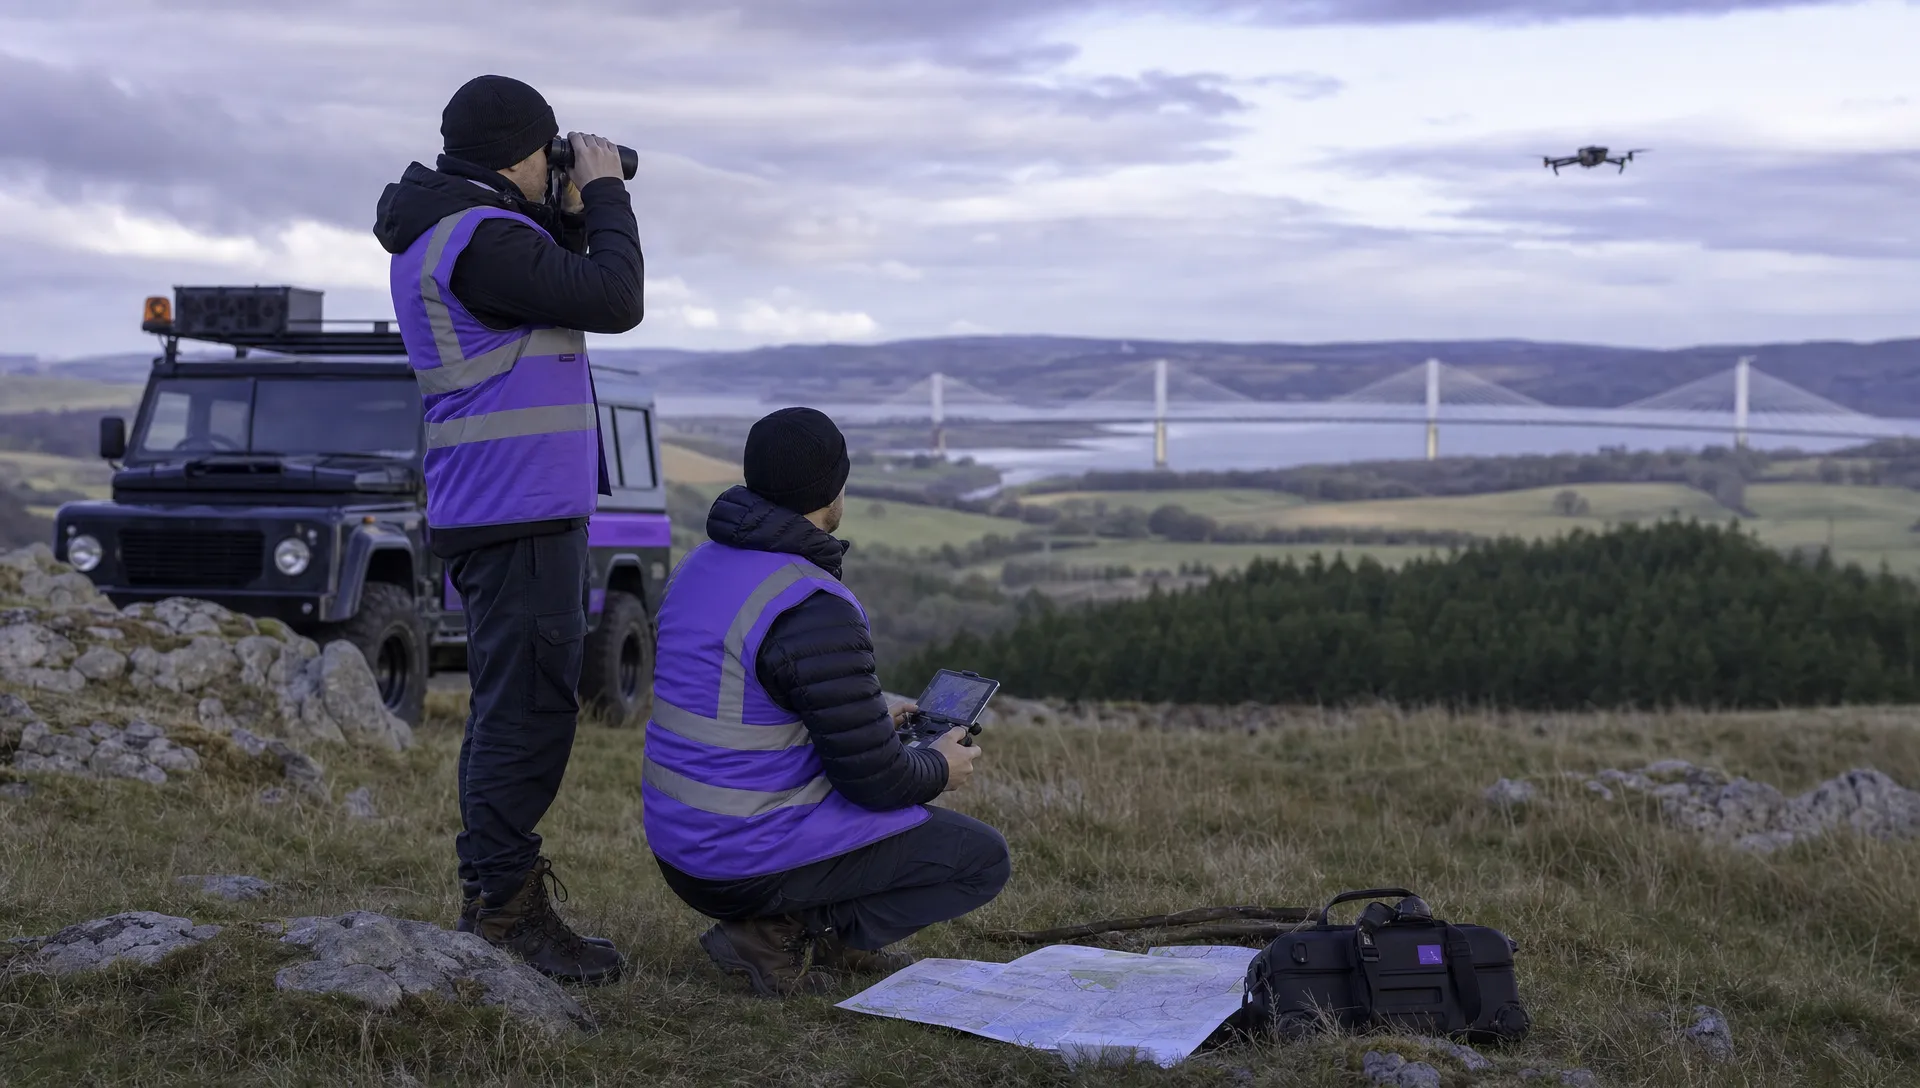 Drone VLOS Rules Explained for Commercial Teams →
 FAA Remote ID Rule Explained for Commercial Pilots →
 Drone Legal Requirements for Commercial Operations →
 Drone Near Airport Rules Explained for Safer Planning →
 International Drone Regulations Every Global Team Should Know →
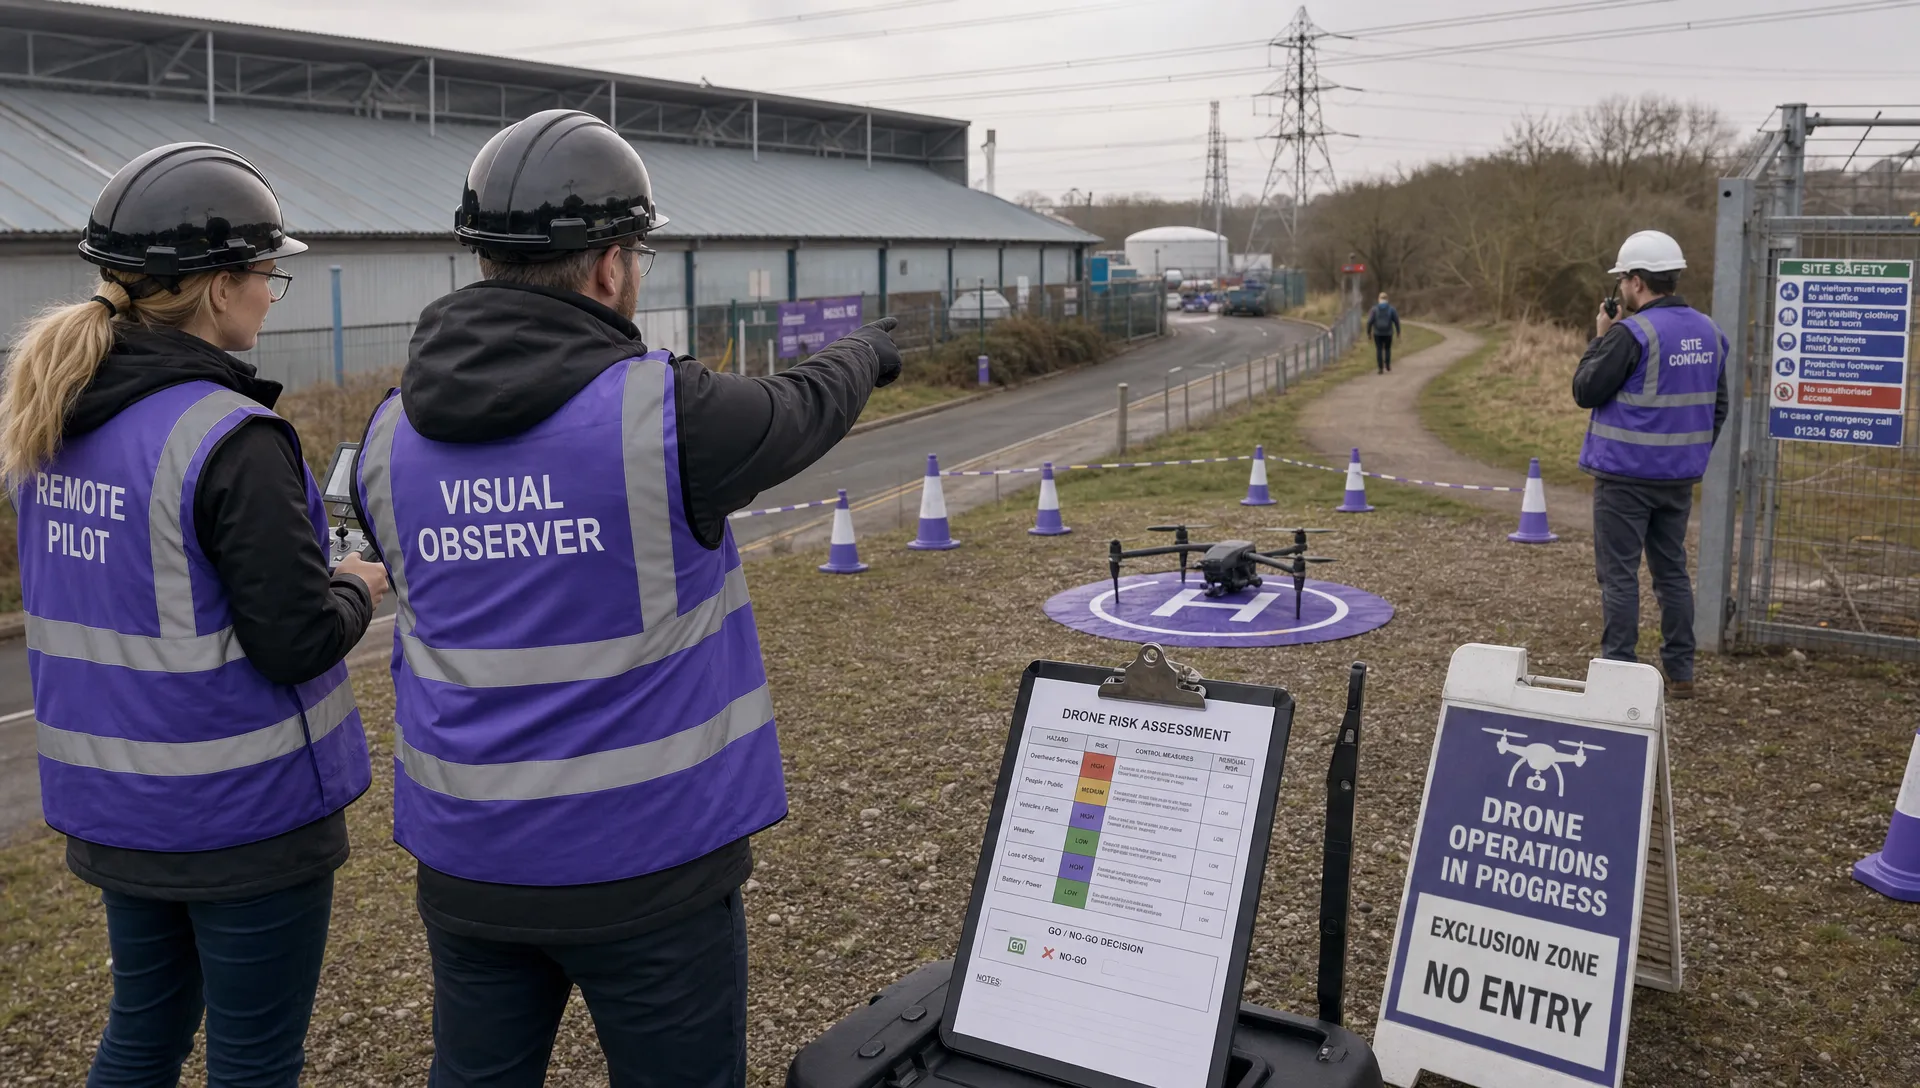 Drone Flight Risk Assessment Example for Safer Missions →
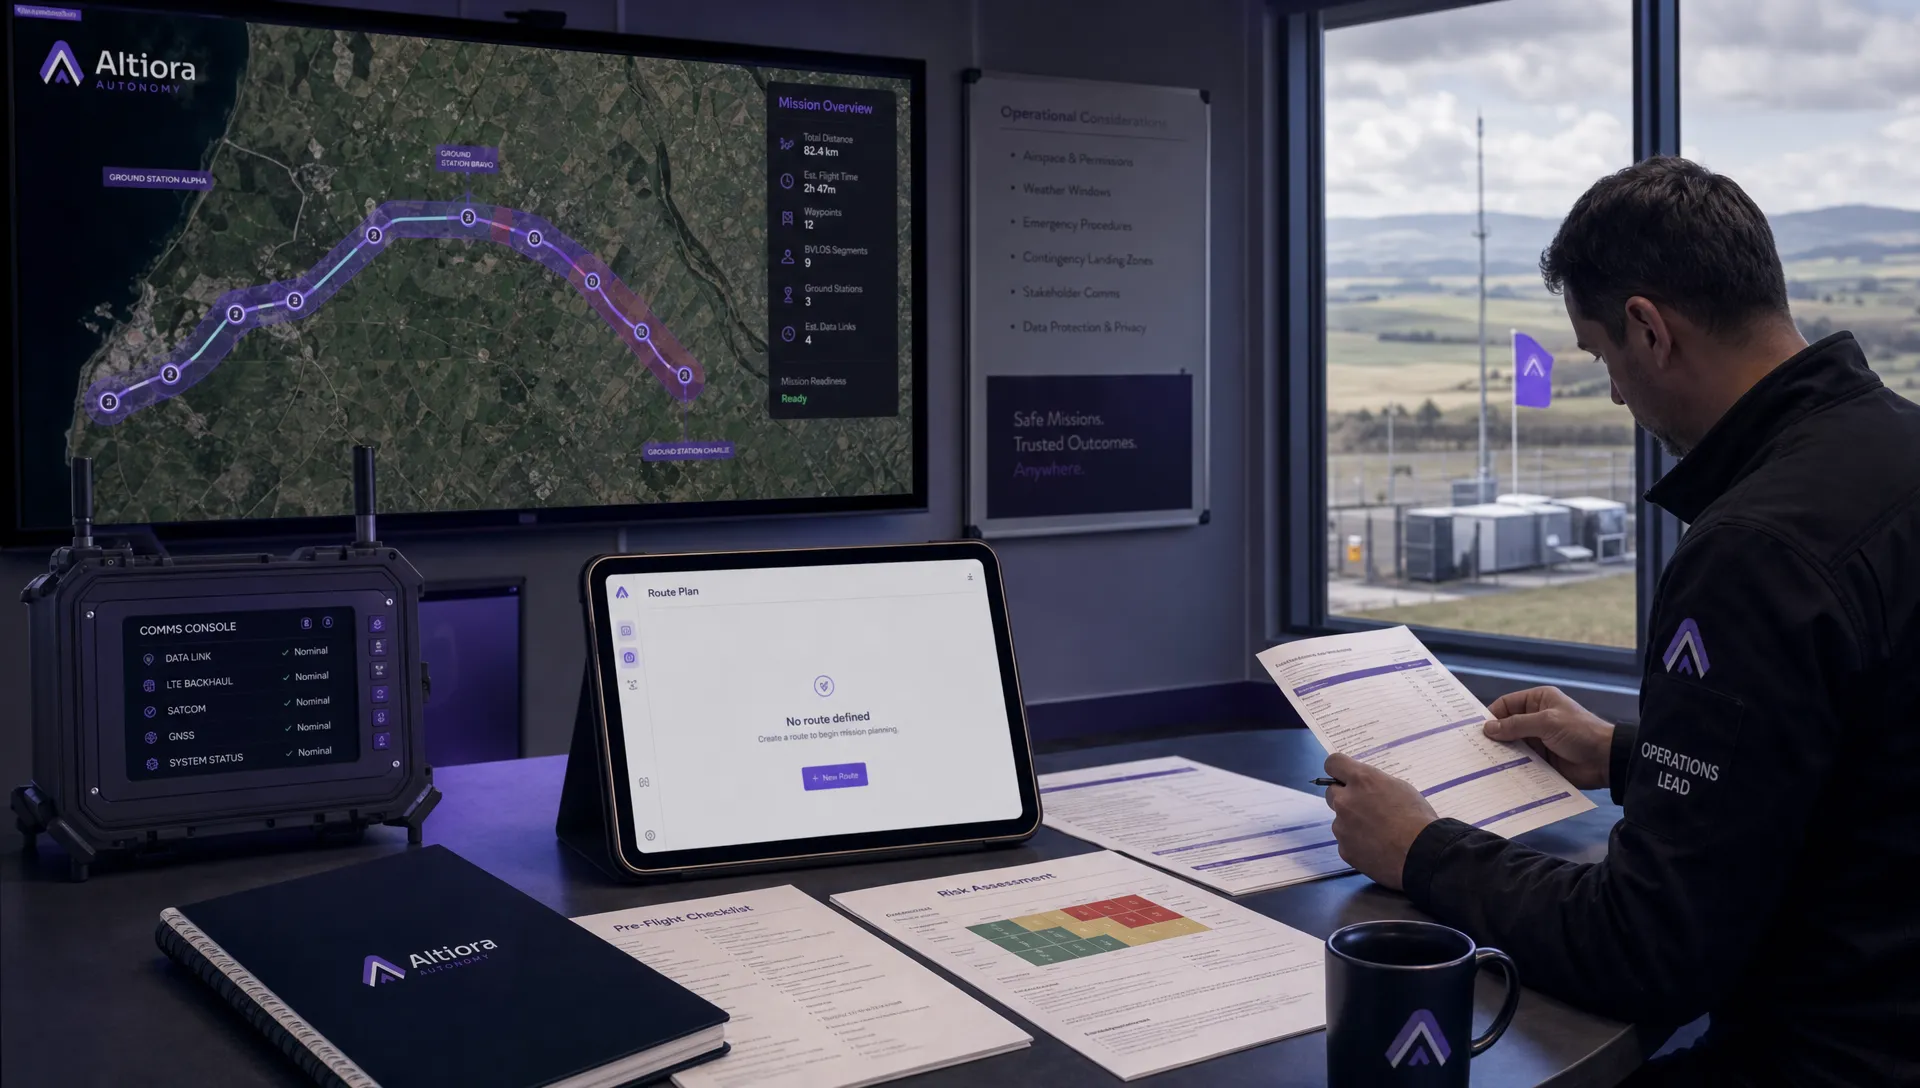 Beyond Visual Line of Sight Explained for Operators →
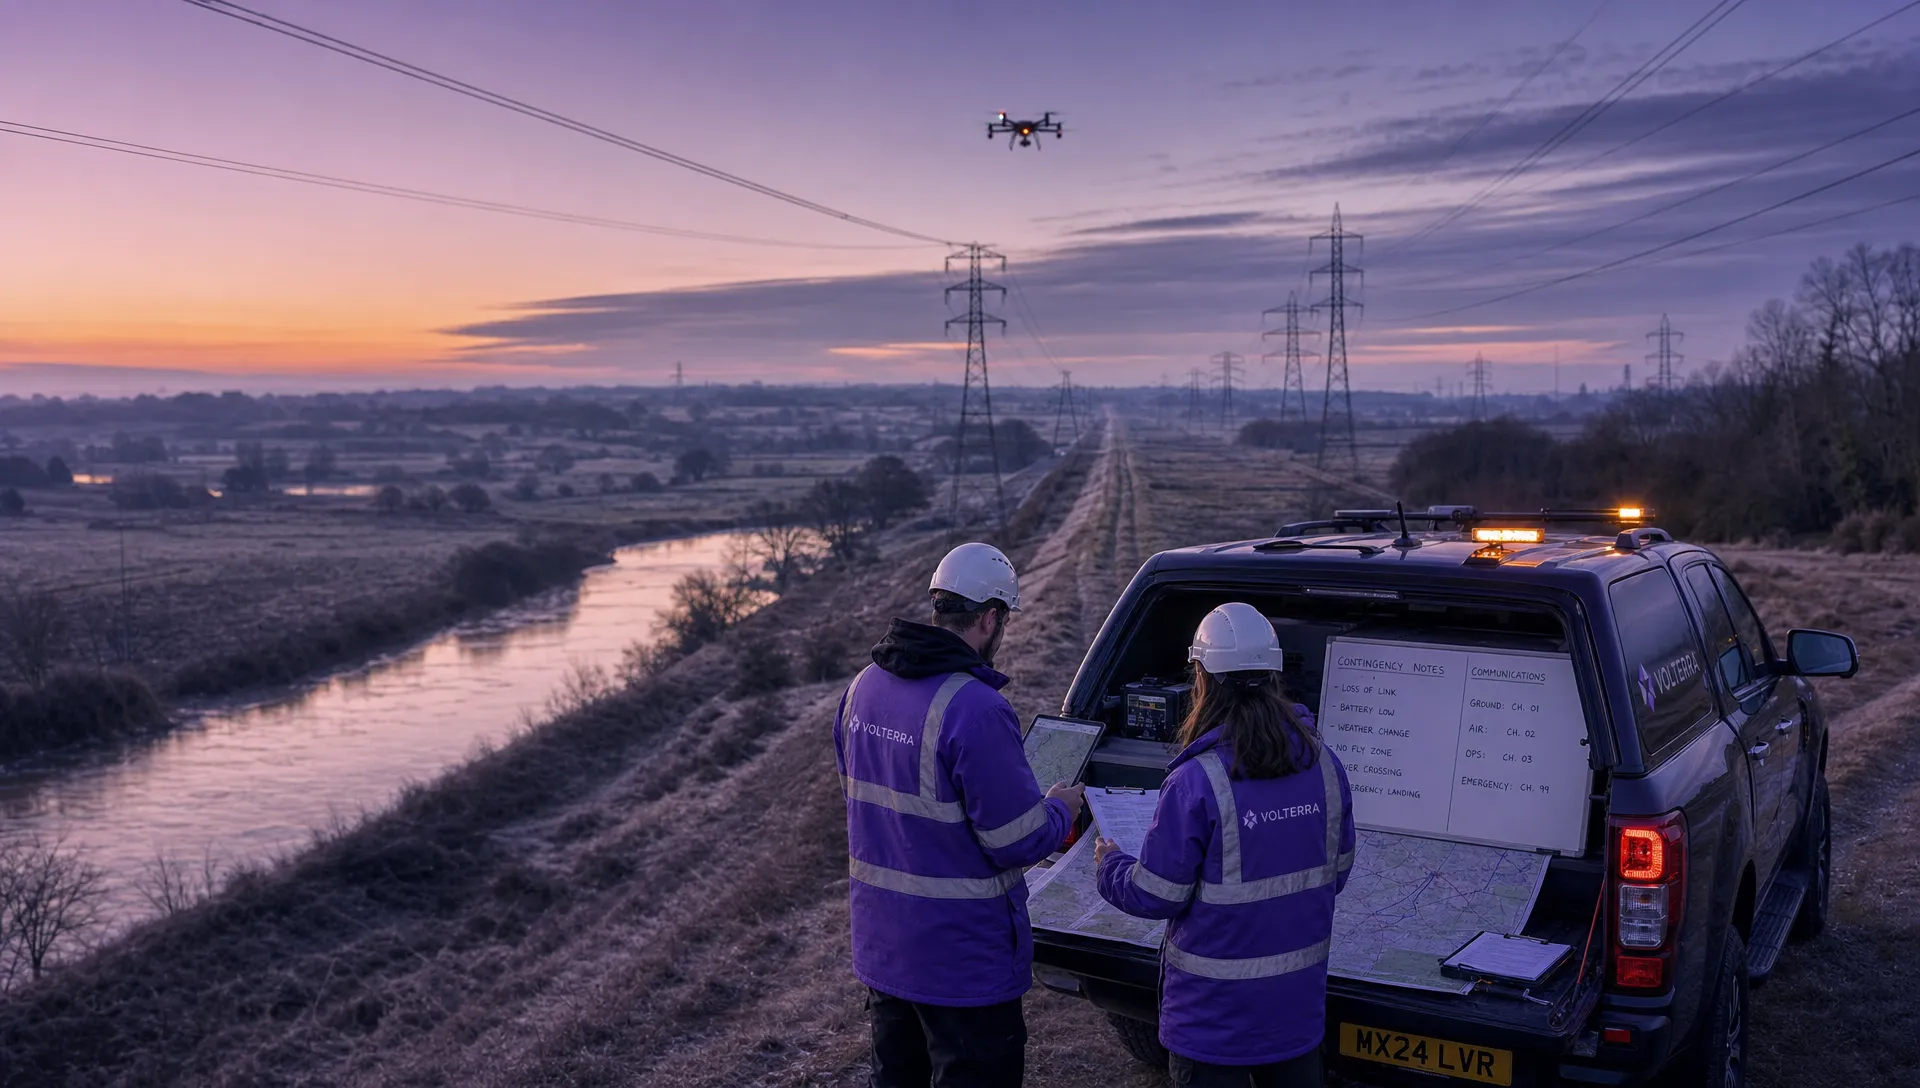 How BVLOS Drone Operations Change Commercial Workflows →
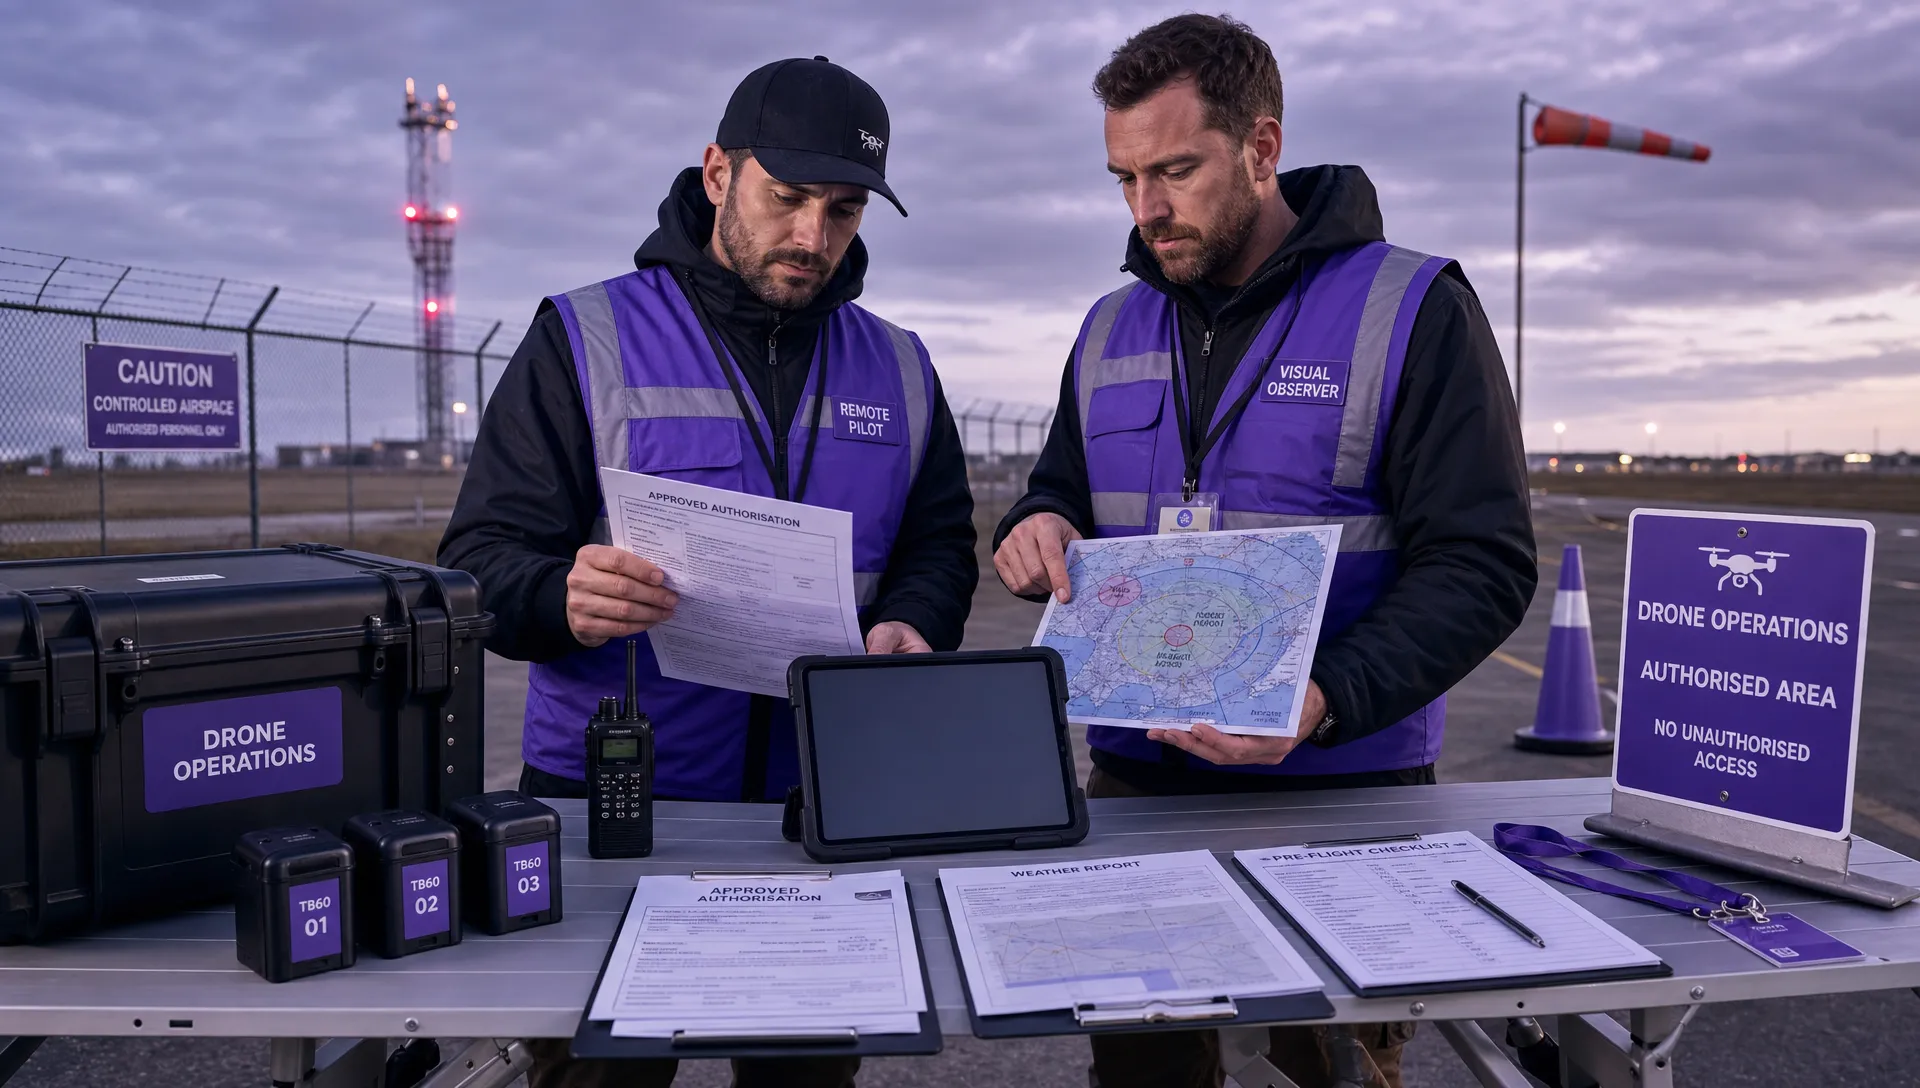 FAA Drone Rules Every Commercial Pilot Should Know →