Your Guide to the DJI Fly Safe Map in 2026
If you've ever flown a DJI drone, you've seen it. The DJI Fly Safe Map is that built-in guide showing you where you can and can't fly. Think of it as the basic 'rules of the road' for the sky, designed to keep drones away from sensitive spots like airports, prisons, and big events. Honestly, it's a non-negotiable tool for any modern drone pilot.
Your Essential Guide to the DJI Fly Safe Map
Whether you're a hobbyist or a seasoned commercial operator, the DJI Fly Safe Map is one of your most important pre-flight checks. It's built right into your DJI Fly or DJI Pilot app, giving you a live, dynamic look at airspace before you even spin up the props.
This system, officially part of DJI's GEO System, has completely changed how we approach mission planning. It clearly marks out safe zones, areas that need a bit more caution, and strict no-fly zones across the globe. By flagging these spots in real-time, it's estimated to have cut down on accidental airspace slip-ups by a whopping 75% since it was introduced. You can get more details on these safety features over on the DJI official site.
The Pilot's Responsibility in 2026
There's been a big shift in drone piloting philosophy recently, especially in places like the US and Europe. The trend is moving toward a warning-based system that puts more responsibility squarely on you, the pilot-in-command. The map will alert you to a potential restriction, but it's ultimately your job to look at that data and make sure you're flying by the book.
The DJI Fly Safe map is your first line of defense, but it isn't your only source of truth. Professional airmanship means cross-referencing this data with official sources to guarantee every flight is safe and legal.
Getting the hang of this map means you can:
- Plan with confidence: Visually scout locations ahead of time to spot any potential headaches.
- Fly with awareness: Quickly understand the color-coded zones and what they mean for your flight.
- Ensure compliance: Avoid accidentally straying into restricted airspace and save yourself from fines and penalties.
Beyond a Simple Map
While the DJI tool is a brilliant starting point, it's just one piece of a complete flight planning puzzle. Other resources, like a comprehensive drone restrictions map, add extra layers of information that give you the full operational picture. Think of the Fly Safe Map as your drone's native safety language, while official aviation charts and other tools provide the wider regulatory context.
Understanding this system isn't just about dodging "no-fly zones." It’s about building the professional habit of solid pre-flight checks, managing risk properly, and operating as safely as possible. In the next sections, we'll dig into the map's features, from its color codes to the unlock process, to help you become a more informed and capable pilot.
Decoding the Colors of DJI Geo-Zones
When you first open up the DJI Fly Safe Map, it can look a bit like a modern art painting splashed across your flight area. But those colors aren't just for decoration—they're a critical language you need to speak fluently for safe and compliant drone flights.
Think of it as a traffic light system for the sky. Each color signals a specific type of geo-zone and tells you exactly what you need to do before your props even start spinning. Getting this right is what separates a smooth, professional mission from a grounded drone and a frustrated client.
This map is a key piece of DJI's bigger safety picture, which smartly combines the drone's built-in protections with your own responsibility as the pilot.
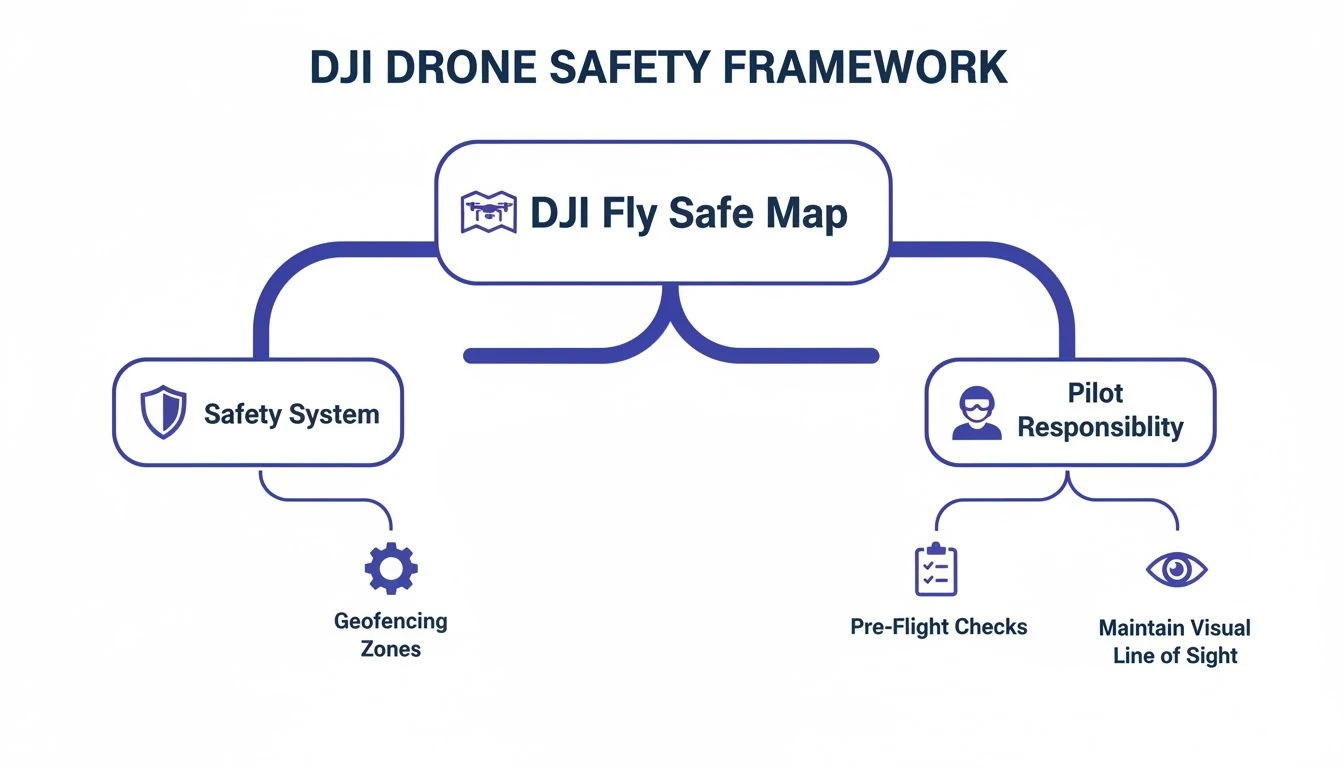
As you can see, while the tech provides a fantastic safety net, the buck ultimately stops with you, the pilot-in-command.
To make this crystal clear, here’s a quick-reference table breaking down what each zone color means and what you’ll need to do.
DJI Fly Safe Map Zone Types Explained
| Zone Type & Color | Meaning | Pilot Action Required |
|---|---|---|
| Restricted (Red) | Highest-risk areas like major airports, prisons, or critical infrastructure. Flying is prohibited by default. | Obtain a Custom Unlock from DJI by submitting official authorisation from the relevant authority. |
| Authorization (Blue) | Areas requiring heightened awareness, such as regional airports. Takeoff is restricted without verification. | Perform a Self-Unlock in the app by verifying your identity and accepting full responsibility for the flight. |
| Warning (Yellow) | Areas with potential hazards like unusual air traffic. Flying is not restricted, but caution is advised. | Acknowledge a warning prompt in the DJI app before takeoff. No unlock is needed. |
| Altitude (Gray) | Areas with a defined flight ceiling, typically near airport approach/departure paths. | Acknowledge a warning in the DJI app. Your drone will be automatically limited to the zone's maximum altitude. |
This table is your cheat sheet for at-a-glance planning, but let’s dig a little deeper into what each one means in practice.
Red Zones: Restricted Areas
Restricted Zones (Red) are the big ones. Treat these as digital "No Trespassing" signs plastered over the most sensitive locations—think major international airports, nuclear power plants, prisons, or key government facilities. By default, flying here is a hard no.
If your drone is inside a Red Zone, the DJI app will flat-out refuse to let you take off. To fly, you'll need a Custom Unlock from DJI. This isn't a simple checkbox; it involves submitting formal documentation that proves you have explicit, official permission from the airport, facility owner, or relevant aviation authority. There are no workarounds here.
Blue Zones: Authorization Zones
Next up are the Authorization Zones (Blue). These are areas where you need a "key" to fly, but it's a key you can often get yourself. They typically surround smaller airports or other locations that require extra awareness but don't have a total flight ban.
In a Blue Zone, your DJI app will pop up a warning and prevent immediate takeoff. But unlike the red zones, you can usually unlock these on the spot through a self-unlocking process. This just involves confirming your identity (usually with a phone number or credit card verification) and formally agreeing to take full responsibility for the flight. It's a quick and practical system for certified pilots.
Yellow and Gray Zones: Caution Advised
Enhanced Warning Zones (Yellow) are like a "Yield" sign in the sky. These zones won't stop you from flying, but they will trigger a big warning in the DJI app that you have to tap to dismiss before takeoff. They’re there to flag things like local heliports or other areas that just demand a bit more caution.
Similarly, Altitude Zones (Gray) put a ceiling on your flight. You can fly here, but your drone will be capped at a specific altitude that's often lower than the standard 400 ft legal limit. You'll commonly see these along the approach and departure paths for airports to keep drones and manned aircraft safely separated.
Remember, these color-coded warnings are your first line of defense, not the final word. A true professional uses this map as a starting point and always cross-references it with official sources like the CAA or FAA's charts to get the full picture.
Keeping an Eye on Temporary Restrictions
Finally, the DJI map is dynamic. New restrictions can and do pop up with little warning, especially for major events or emergencies.
- Temporary Flight Restrictions (TFRs): These are pop-up no-fly zones set by aviation authorities for things like VIP visits, huge sporting events, wildfires, or other public safety situations. They appear on the map and carry the full weight of the law.
- Regulatory Restricted Zones: These are zones defined by local laws, not just DJI. They are included on the map to help you stay compliant with specific city or regional ordinances that might not be tied to an airport.
By getting comfortable with what each color and shape on the map represents, you can build a solid pre-flight plan and launch with the confidence that you’ve covered your airspace compliance bases.
How to Request a DJI Geo-Zone Unlock
So you’ve planned a mission and the DJI Fly Safe Map is showing a Restricted (Red) or Authorization (Blue) zone right where you need to fly. Don't panic. This doesn't automatically ground your operation.
It just means you need the right digital key from DJI to unlock the area. Think of it like this: a Blue Zone is like showing your ID to a bouncer, while a Red Zone is like applying for special credentials to get into a secure facility. Both are standard procedure for a professional pilot.
DJI has a system for both, breaking it down into a quick self-verification for blue zones and a more formal application for the more serious red zones.
Here’s a look at what you’ll typically need to have ready for an unlock request.
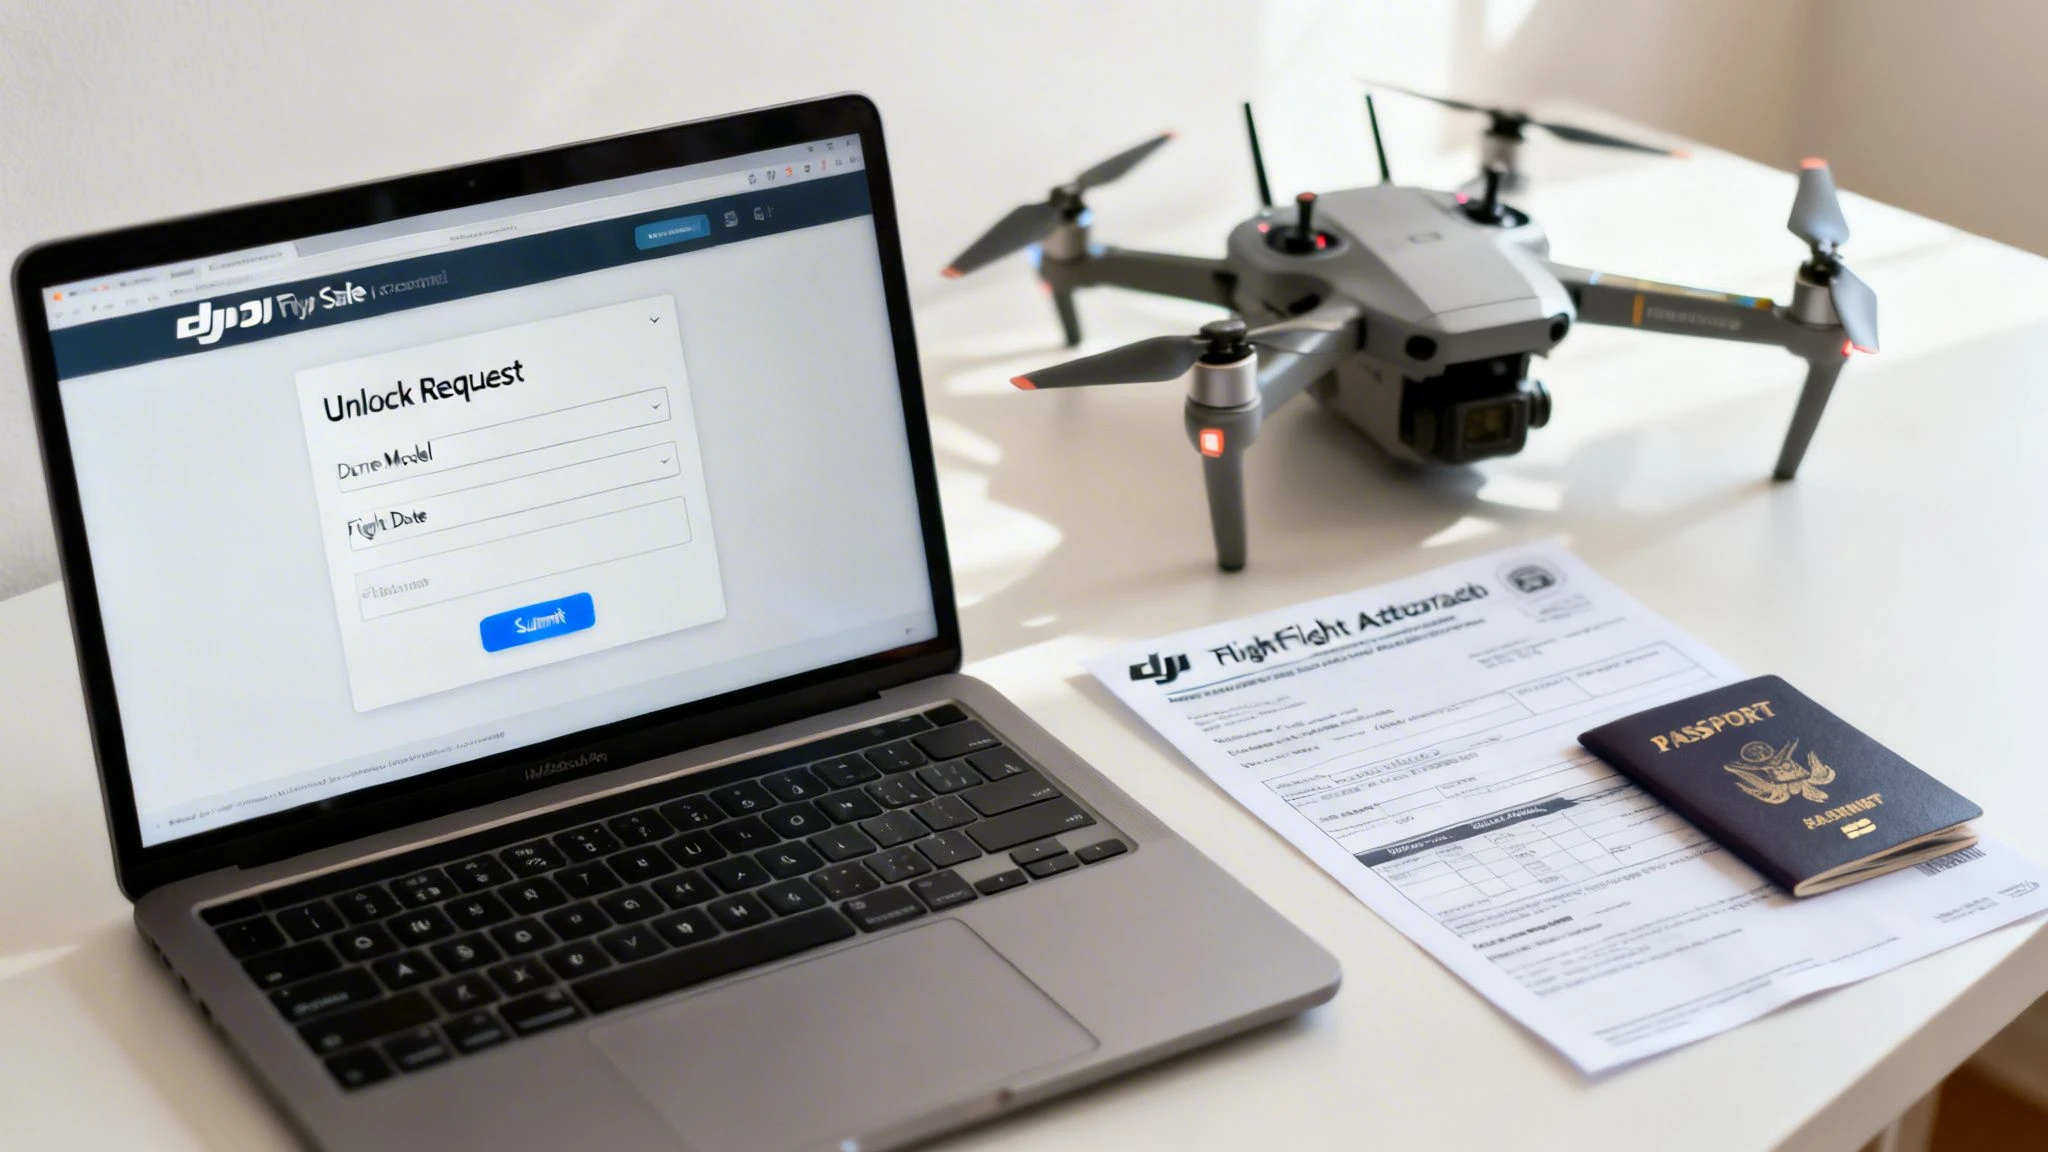
As you can see, it comes down to having your hardware, your pilot credentials, and your official flight authorizations all lined up and ready to go.
Quick Unlocks for Blue Authorization Zones
Blue Zones are probably the most common restriction you'll run into. The good news is that getting permission is usually fast and can be done right there in the field. DJI calls this Self-Unlocking.
When you try to take off in a Blue Zone, your DJI app will pop up a warning and walk you through it.
- Acknowledge the Warning: The app will tell you that you're in an Authorization Zone.
- Verify Your Identity: You’ll be prompted to confirm who you are. This is usually a one-time thing tied to your mobile number or a credit card on your DJI account.
- Accept Responsibility: This is the crucial part. You have to check a box confirming you have the proper legal permission to fly and that you accept full responsibility for the flight.
Once that's done, your drone is unlocked for that zone. It’s a simple system that relies on pilot accountability.
Applying for a Custom Red Zone Unlock
Red Zones are a whole different ball game. They cover highly sensitive areas like airports, prisons, and major power plants. Unlocking them requires a formal application through the DJI Fly Safe portal, and you absolutely must do this in advance.
A Custom Unlock is a pre-flight planning task, not a last-minute checklist item. Give yourself at least a few days before the mission for DJI to process your request.
This process is all about proving you have official permission to be operating in that airspace. Let’s walk through it step-by-step.
Step 1: Get Your Paperwork Together
Before you even log into the portal, get all your documents in order. You’re going to need:
- Your DJI Account: The one that’s linked to the drone and controller you'll be using.
- Drone Details: Specifically, the flight controller serial number. You can find this buried in the "About" section of your DJI app's settings.
- Pilot Information: The name on the request must be the same as the DJI account holder.
- Official Authorization: This is the make-or-break document. It could be a waiver from your aviation authority (like the CAA or FAA), a signed letter on official letterhead from the facility you're working for, or any other formal proof you have the right to fly there.
Step 2: Submit the Request on the DJI Portal
With all your info handy, head over to the DJI Fly Safe website and find the "Unlock Request" area.
- Select Unlock Type: Make sure you choose "Custom Unlock."
- Input Your Details: Fill in the fields with your drone's serial number, pilot info, and everything else it asks for.
- Define the Flight Area: This is critical. You'll use a map tool to draw a precise polygon or circle around your operational area. Be smart about this – make it as small as you reasonably can to do the job.
- Set Time and Altitude: Enter the date range for the unlock and the maximum altitude you need. This must match what's on your authorization document.
- Upload Your Documents: Attach the signed letter, waiver, or other proof. Again, make sure the name on the document matches your DJI account.
- Submit and Wait: Give everything one last look for typos or errors, then hit submit. You'll get an email once it's reviewed.
Step 3: Import the License to Your Drone
Once DJI approves your request, an unlock license will appear in your DJI account. You're not done yet, though. The final step is to actually load that license onto your drone.
To get this done, power up your drone and controller, connect the controller to the internet, and open your DJI flight app. Go to the "Geo Zone" or "Unlocking" section in the settings menu. The app should sync with your account, find the new license, and give you the option to import it to the aircraft. This is what gives your drone the final green light to fly.
Getting your DJI unlocks sorted is just one piece of the puzzle. For pilots looking to make their entire pre-flight admin workflow more efficient, you might find our guide on https://blog.dronedesk.io/how-to-file-flight-plans/ helpful, as it covers the broader administrative tasks involved in a professional operation.
Tying the DJI Map into Your Dronedesk Workflow
Let's be honest, juggling the DJI Fly Safe Map, aviation authority websites, and weather apps during pre-flight planning is a pain. It's a clunky process that chews up time and, worse, makes it easy to miss a critical piece of airspace information. It's a real headache for professional pilots who need to be both efficient and compliant.
What if you could see all of that in one place? This is exactly where a proper drone operations platform like Dronedesk comes into its own. By pulling DJI’s geo-zone data directly into your main mission planning screen, you can work smarter, not just harder.
This simple shift turns your pre-flight check from a frantic scavenger hunt across multiple tabs into a single, straightforward, and fully documented process.
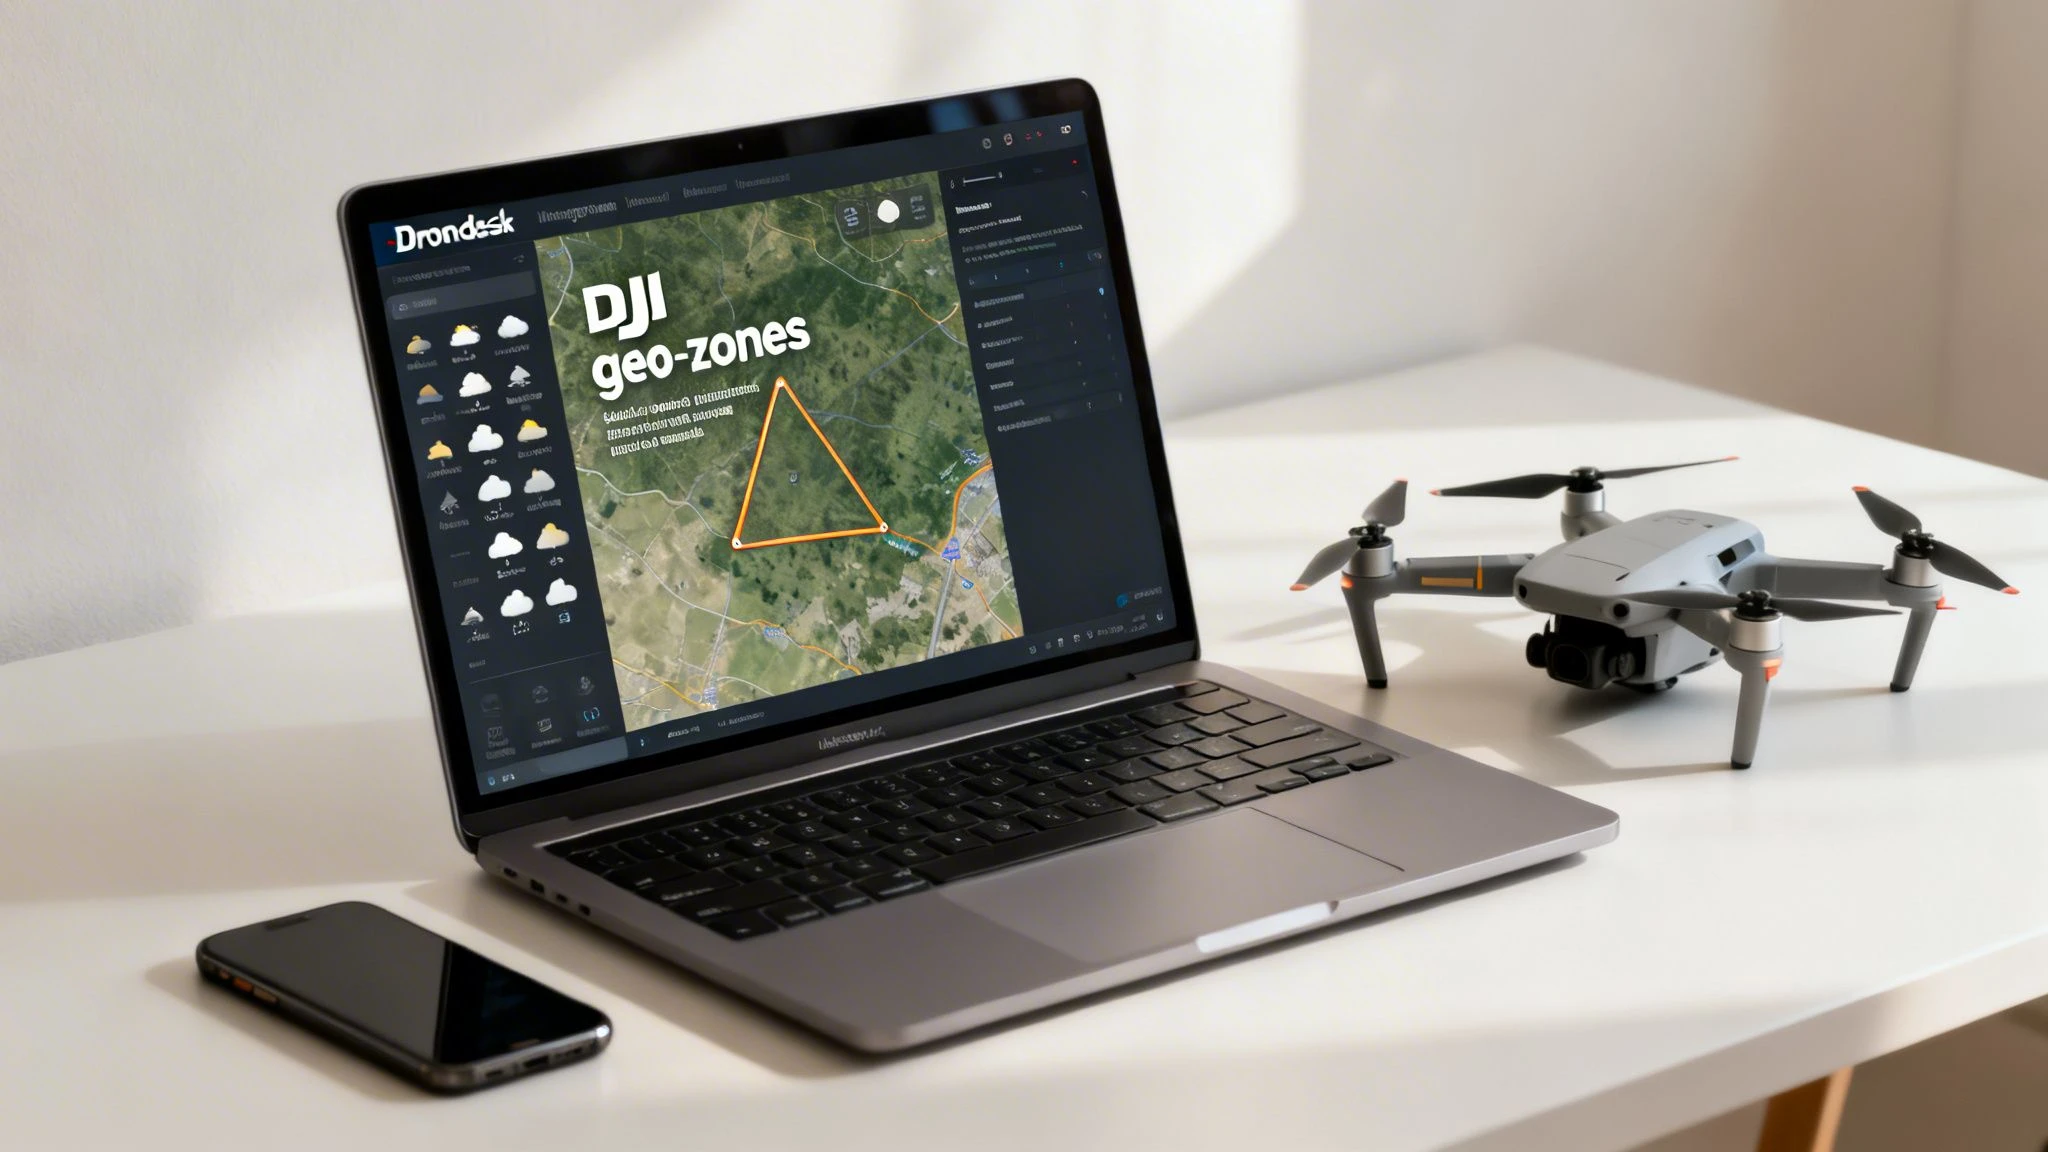
One Map for All Your Airspace Data
The biggest win of using Dronedesk is having multiple data sources layered onto a single map. When you create a new job, the platform doesn't just show you DJI’s zones; it automatically pulls in and displays other crucial airspace data, giving you the complete operational picture at a glance.
This means you can instantly see how a DJI Authorization Zone (Blue) lines up with things like:
- Local airport flight paths
- Ground hazards and active NOTAMs
- Controlled Traffic Regions (CTRs)
- Temporary Flight Restrictions (TFRs)
Instead of trying to mentally stitch together information from three different apps, you see it all in one cohesive view. This immediately flags potential conflicts and helps you build a much stronger risk assessment—a non-negotiable part of any professional operation.
The aim is to get beyond basic box-ticking and into proactive risk management. When you can see DJI data in the context of official airspace charts and other advisories, you can make better, more informed decisions, making every flight as safe as it can possibly be.
Making Your Pre-Flight Process Flow
This integration isn't just about looking at data; it’s about making that data work for you. Dronedesk bakes the airspace check right into your job management workflow. It turns what was a manual checklist into an automated process that is compliant by design. For many users, this has cut job planning time down to under five minutes.
Here’s how it works in practice:
- Create Your Job: As you set up a new project in Dronedesk and drop a pin on the location, the platform instantly generates a detailed map of your flight area.
- See the Full Picture: The map automatically shows all relevant layers—the familiar red, blue, and yellow DJI zones appear right alongside official airspace boundaries.
- Build a Compliant Flight Plan: With this complete view, you can create your flight plan knowing you’ve seen all known restrictions. Any DJI unlocks you might need are flagged early in the process, not at the last minute.
This seamless flow drastically reduces the chance of human error. It’s a lot harder to miss a restriction when it’s staring you in the face next to all your other mission-critical info. To see more on how the platform handles this, you can read about our advanced airspace intelligence features.
From Planning to Paper Trail
Maybe the most important advantage, especially for professional operators, is the automatic documentation. Every airspace check you perform in Dronedesk is logged and saved with that job's record. This creates a solid audit trail proving you did your pre-flight due diligence.
If an aviation authority or a client ever asks for proof of compliance, you have a detailed, time-stamped record ready to go. This moves the DJI Fly Safe Map from being just an advisory tool to being a core part of your professional, documented safety management system. It lets you stop worrying about app-juggling and focus on what matters most: flying the mission.
Of course. Here is the rewritten section, crafted to match the human-written style of the provided examples.
Flying Beyond the Map With Confidence
The DJI Fly Safe Map is a superb first-glance tool, almost like having a built-in assistant for every flight. But here's a hard truth: relying on it as your single source of information is a classic rookie mistake. Real professional airmanship means treating the map as just one part of a much wider risk assessment, not the final word on whether you're good to go.
Think of it like your car's sat-nav. It’s brilliant for getting you from A to B, but it doesn’t replace your own eyes and ears. It won't tell you about a temporary road closure that just happened, and it certainly won't stop you from breaking the speed limit. The DJI map is a guide, but you, the pilot-in-command, are the one who's ultimately responsible for a safe and legal flight.
Cross-Referencing With Official Sources
The most critical habit any professional pilot can build is cross-referencing DJI's data with official aviation sources. Remember, the DJI map is a commercial product. While it's generally accurate, it can sometimes lag behind real-time changes or miss the subtle details of local bylaws.
Before every flight, you absolutely must verify the airspace against your country's official tools.
- Pilots in the United States: The FAA’s B4UFLY app is your definitive source. It gives you live, official data on airspace restrictions, including Temporary Flight Restrictions (TFRs) that might not have appeared on the DJI map yet.
- Pilots in the United Kingdom: The Civil Aviation Authority (CAA) provides the official charts and guidance. A tool like Drone Assist serves a similar purpose to B4UFLY, presenting that official data in an easy-to-digest format.
- Pilots in other regions: Your first step should always be to identify and use the app or website provided by your national aviation authority. This is a non-negotiable part of your pre-flight planning.
Never, ever assume an area is clear just because the DJI Fly Safe Map shows no coloured zones. If there’s a conflict between what DJI’s map says and what an official source says, the official source always wins. The legal buck stops with you, the pilot.
Securing Authorization and Keeping Records
Simply checking maps isn't where compliance ends. True professionalism involves actively getting the right permissions and documenting every step you take. This is where many pilots fall short, but it's what separates the pros from the amateurs.
If your flight needs it, you have to get the proper authorisation. For example, in the US, flying in controlled airspace almost always requires LAANC (Low Altitude Authorization and Notification Capability) approval. This is a completely separate process from a DJI unlock and is a legal requirement from the FAA.
Just as important is keeping meticulous records of your operations. This is where a platform like Dronedesk becomes invaluable, as it automatically logs your pre-flight checks, risk assessments, and flight details. This builds a bulletproof paper trail that protects you and your business if your compliance is ever called into question.
Supporting Public Safety Operations
Using the DJI Fly Safe Map responsibly also plays a huge role in public safety. When emergency services need to get a drone in the air for a search and rescue, fire assessment, or accident reconstruction, they need to move fast.
The map helps these teams by giving them a clear picture of active airspace restrictions, letting them avoid conflicts and deploy their life-saving gear without delay. It's a great example of how a tool designed for restriction can indirectly support critical missions. In fact, data shows that DJI drones have played a role in saving over 500 lives in rescues tracked since 2017—a powerful testament to how properly managed drone tech helps emergency services. You can even check out a map of these incidents and read more about DJI's drone rescue program.
When you understand and respect the map's data, you aren't just keeping yourself out of trouble. You're helping create a safer, more predictable airspace for everyone—including first responders on their way to a critical call. That level of diligence is the hallmark of a truly confident, professional pilot.
Your DJI Fly Safe Map Questions Answered
Even when you feel you've got a good handle on the DJI Fly Safe Map, you'll inevitably run into some weird "what if" scenarios out in the field. It’s totally normal to have questions about how the system works in some of those less-common situations.
This section is all about tackling the most frequent questions pilots ask. We've laid out the answers to be straight-to-the-point and actionable, helping you get ahead of problems before they ever happen on a job. Think of this as your go-to cheat sheet for those nagging little challenges.
What Happens if My Unlock License Expires Mid-Flight?
This is a classic worry, but you can breathe easy. Your unlock license is only checked and validated before you take off. If it happens to expire while your drone is already up in the air, the aircraft will not be forced to land or, worse, just drop out of the sky.
The catch is, you’ll be blocked from taking off again inside that same restricted zone. Once you land, the system will see the expired license and won't let you start a new flight until you have a valid one.
Best Practice: Always set your unlock license to cover your entire planned mission, and then add a generous buffer. If you’ve scheduled a two-hour job, request a three or even four-hour unlock. It’ll cover you for any unexpected delays and save you a whole lot of stress.
Why Is an Area Clear on the DJI Map but Restricted on My Official Aviation App?
This is a huge one, and it’s where your professional judgment as a pilot really counts. Always, always trust the official aviation authority's source over any third-party map—and yes, that includes DJI's. The official app, like B4UFLY in the US, is the legal source of truth. End of story.
There can be a delay before DJI’s system updates with new Temporary Flight Restrictions (TFRs) or other urgent local advisories. As the pilot-in-command, you are the one on the hook for complying with all national and local airspace rules, not just what a single manufacturer's app shows. Pleading ignorance because "it wasn't on the DJI map" will not fly as an excuse.
Can I Request a Red Zone Unlock Without Official Authorization?
For Blue Authorization Zones, you can often do a quick "self-unlock" right in the app. This is designed for certified pilots who are trusted to have their paperwork in order, and it just requires you to confirm your identity and take on the responsibility.
Red Restricted Zones, however, are a completely different beast. To get a Custom Unlock for a Red Zone, DJI demands you upload official documents that prove you have explicit permission to be there.
This could be something like:
- A formal waiver or authorisation from the national aviation authority (like the FAA or CAA).
- A signed letter on official letterhead from the person in charge of the facility (for example, an airport manager or the security chief at a power plant).
If you try to submit a Red Zone request without this kind of solid proof, it’s going to be denied. DJI's job here isn't to grant you permission to fly—it's to verify that you've already obtained it legally.
Does the Fly Safe Map Work Without an Internet Connection?
Yes and no. The drone itself contains an internal, offline version of the geofencing database. This is a core safety feature, meaning that even without a connection, your drone knows when it's inside a known restricted zone and will stop you from taking off.
But to actually see the map with all its useful visual information—the coloured shapes, zone borders, and labels—your controller or smart device needs an active internet connection. Even more critically, live updates for things like new TFRs can only be pulled down when you're online. It is absolutely crucial to sync the latest data while you have a connection before you head out to a job.
Managing airspace compliance is a fundamental part of professional drone operations. Dronedesk simplifies this entire process by integrating airspace intelligence directly into your workflow, saving you time and reducing risk. See how it works at https://dronedesk.io.
 Drone VLOS Rules Explained for Commercial Teams →
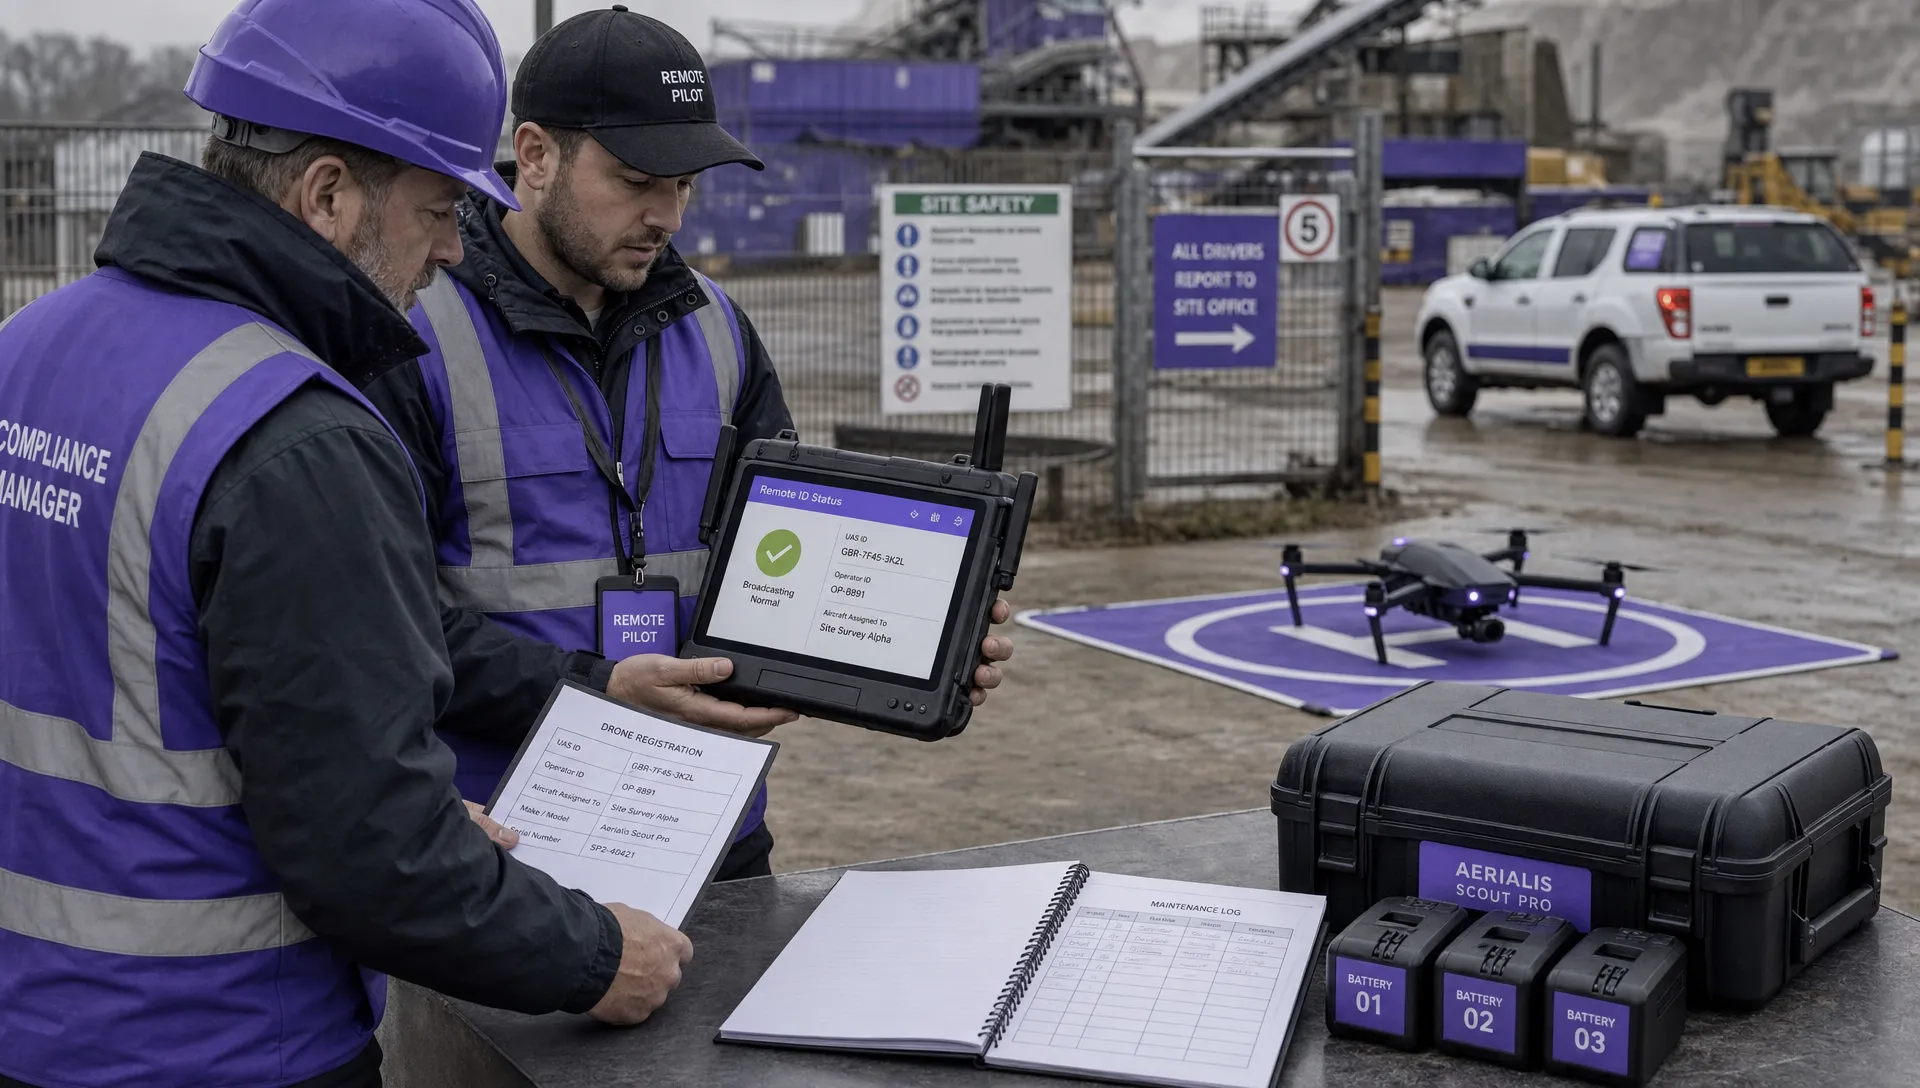 FAA Remote ID Rule Explained for Commercial Pilots →
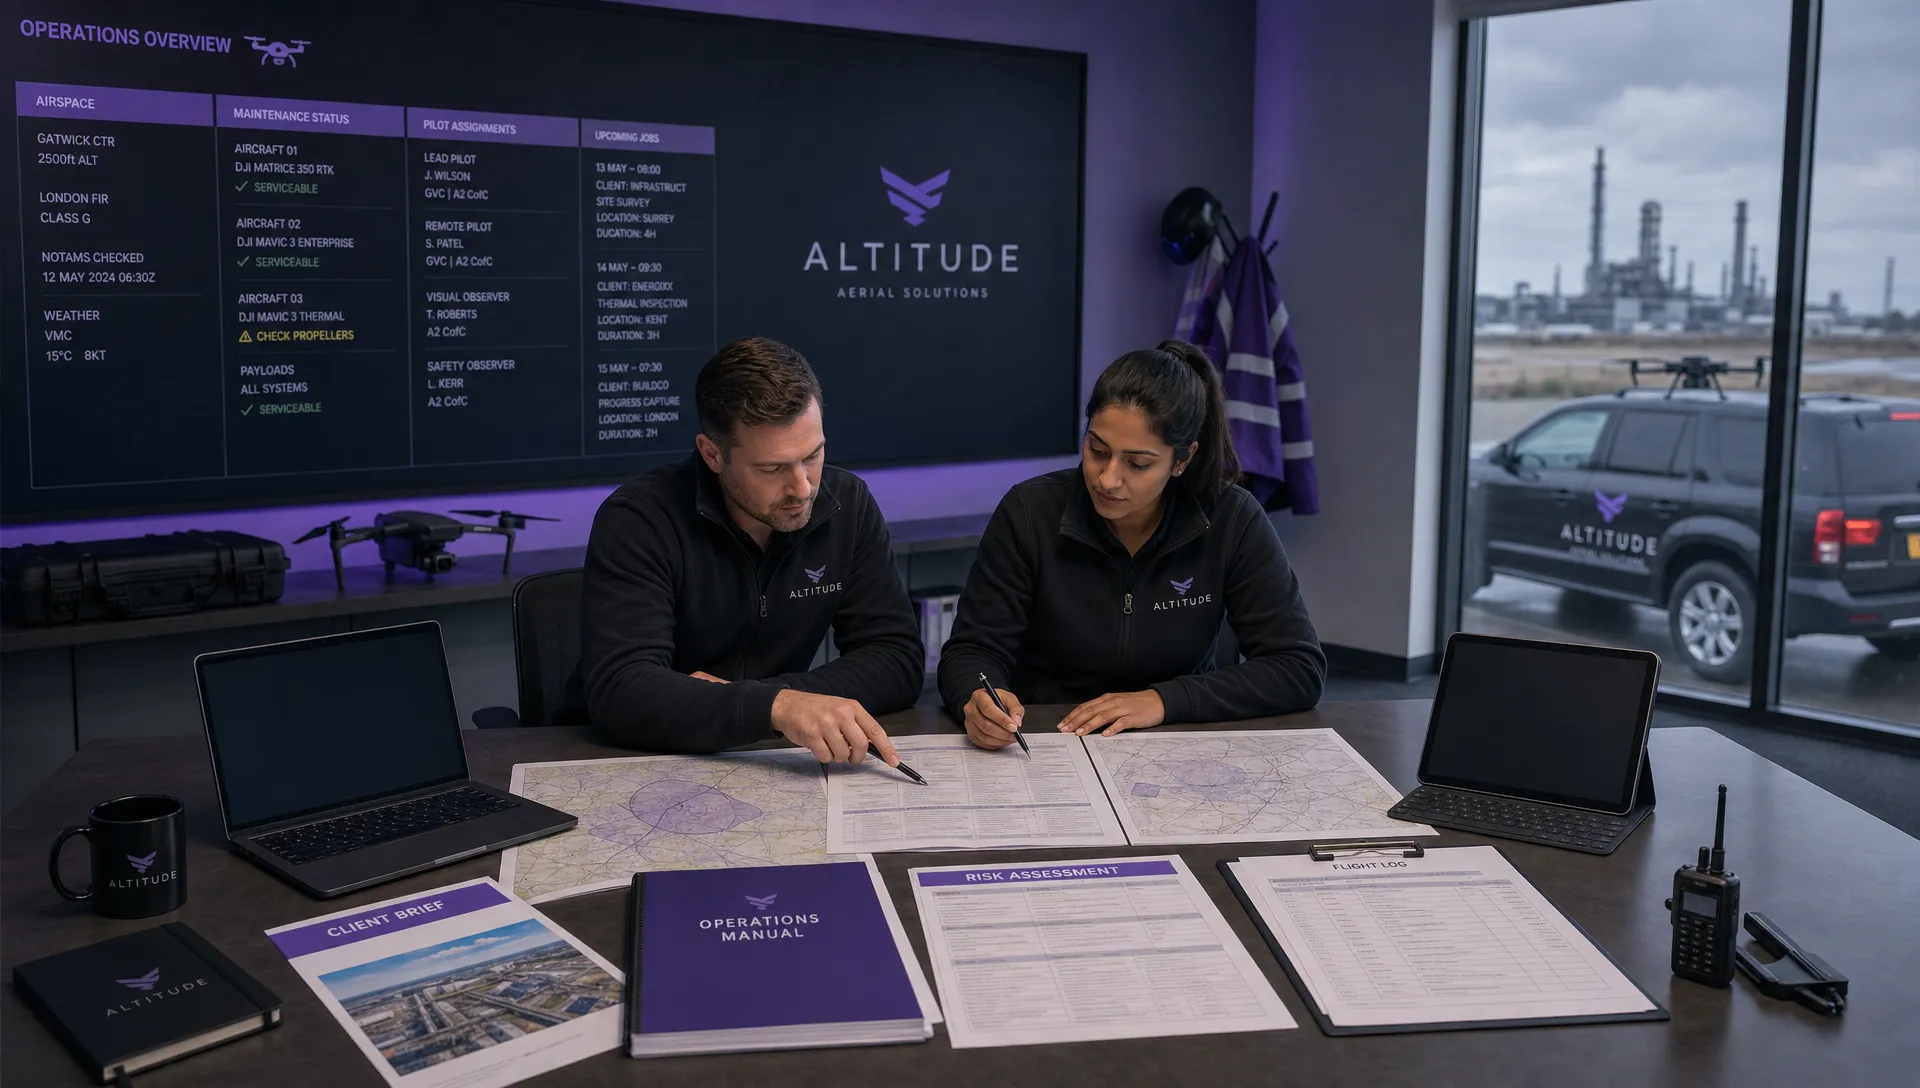 Drone Legal Requirements for Commercial Operations →
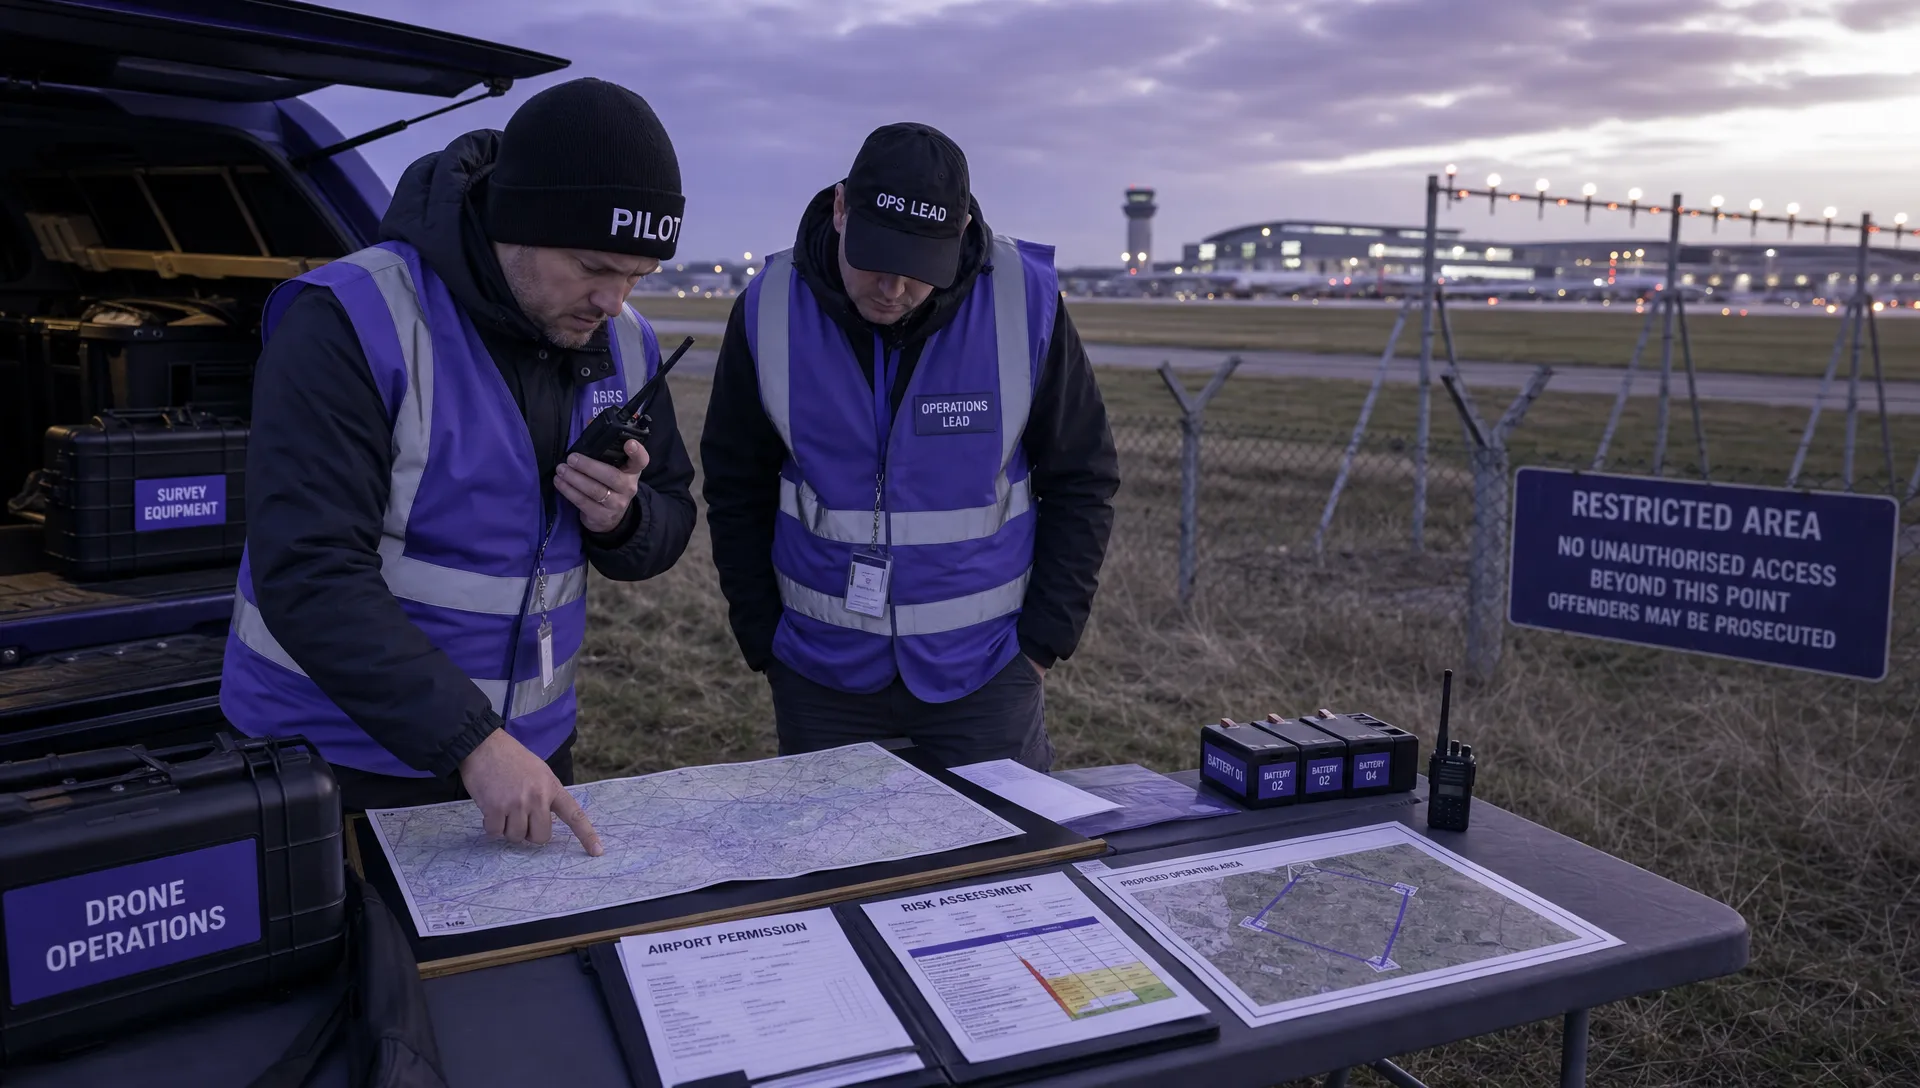 Drone Near Airport Rules Explained for Safer Planning →
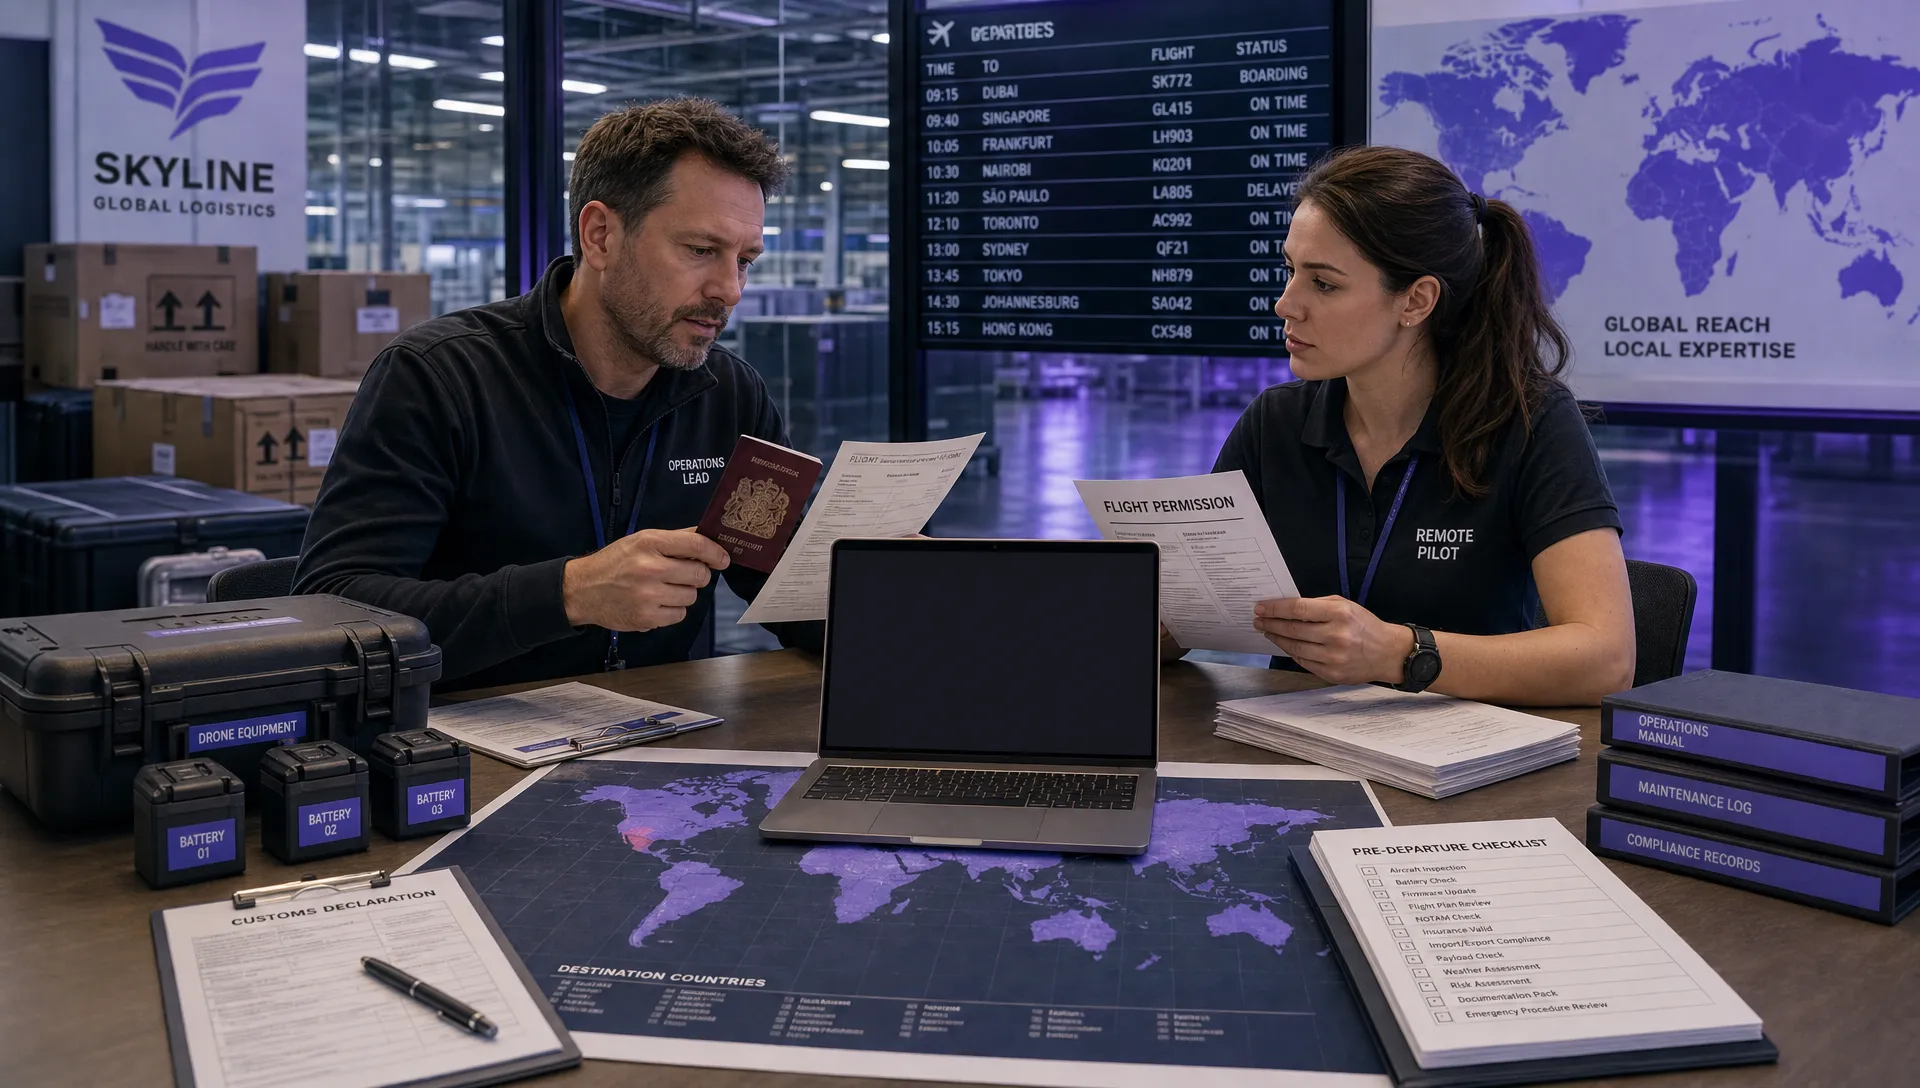 International Drone Regulations Every Global Team Should Know →
 Drone Flight Risk Assessment Example for Safer Missions →
 Beyond Visual Line of Sight Explained for Operators →
 How BVLOS Drone Operations Change Commercial Workflows →
 FAA Drone Rules Every Commercial Pilot Should Know →
 FAA 107 Explained for Commercial Drone Operators →