A Practical Guide to SORA Flight Planning
If you're planning a complex drone mission, you've probably heard the term SORA. It stands for Specific Operations Risk Assessment, and it's the global gold standard for getting approval from regulators for anything beyond standard, simple flights. Think of it as the essential process for proving your advanced operation—like a BVLOS flight—is safe, compliant, and ready to go.
Why SORA Is a Game-Changer for Modern Drone Operations

Let’s be honest, drone regulations can sometimes feel like a puzzle with half the pieces missing. For basic flights, the rules are pretty clear. But what about when you need to fly beyond visual line of sight (BVLOS), operate over a town, or use a heavier drone? That's where the standard rulebook ends, and SORA flight planning becomes your best friend.
Instead of a rigid, one-size-fits-all approach, SORA is a performance-based framework. This completely shifts the focus from just ticking boxes to actively proving the safety of your specific mission. It puts you, the operator, in the driver's seat, allowing you to build a logical, evidence-backed safety case that shows you've thought of and controlled every potential hazard.
A Common Language for Safety and Compliance
I like to think of SORA as a universal language for drone risk. It creates a structured method that both you and the Civil Aviation Authority (CAA) can understand. When you submit a SORA-based application, you're not just asking for permission; you're presenting a solid, defensible argument that your operation meets an acceptable level of safety. This makes the approval process clear, transparent, and repeatable.
This shared understanding is absolutely critical for unlocking the real potential of commercial drones. It opens the door to:
- Complex Operations: SORA is your key to flying missions like long-range inspections, drone deliveries, and large-scale mapping projects that are simply impossible under standard permissions.
- Predictable Approvals: By following a standardized process, you get a much better idea of what regulators expect, which cuts down on the uncertainty and delays in your planning.
- Scalable Growth: Once you have an approved SORA for a certain type of mission, you can often adapt it for similar flights. This makes scaling your business much more efficient.
The Foundation from JARUS
The SORA framework isn't something that was cooked up overnight. It was developed by the Joint Authorities for Rulemaking of Unmanned Systems (JARUS), a global team of top aviation experts. This internationally recognized methodology works by quantifying risk, starting with an Initial Air Risk Class (iARC), which looks at the chances of encountering manned aircraft.
As an operator, you define an Operational Volume with detailed flight geography. This volume is then assessed for airspace issues and other hazards. This detailed process lets you implement targeted risk mitigations—like changing flight times or adding tactical mitigation performance requirements (TMPR)—to ensure both ground and air collision risks are brought down to a level on par with manned aviation. If you want to dive deep into the technicals, check out the detailed JARUS SORA Annex H v2.5 guidelines.
By ditching prescriptive rules for a risk-based assessment, SORA encourages innovation while keeping safety standards sky-high. It trusts operators to be the experts on their own missions, as long as they can prove it through a rigorous, well-documented process.
At the end of the day, SORA flight planning is much more than just paperwork. It's a fundamental change in how the industry handles safety, paving the way for the complex, high-value drone operations that are shaping the future of aviation.
Building Your Concept of Operations
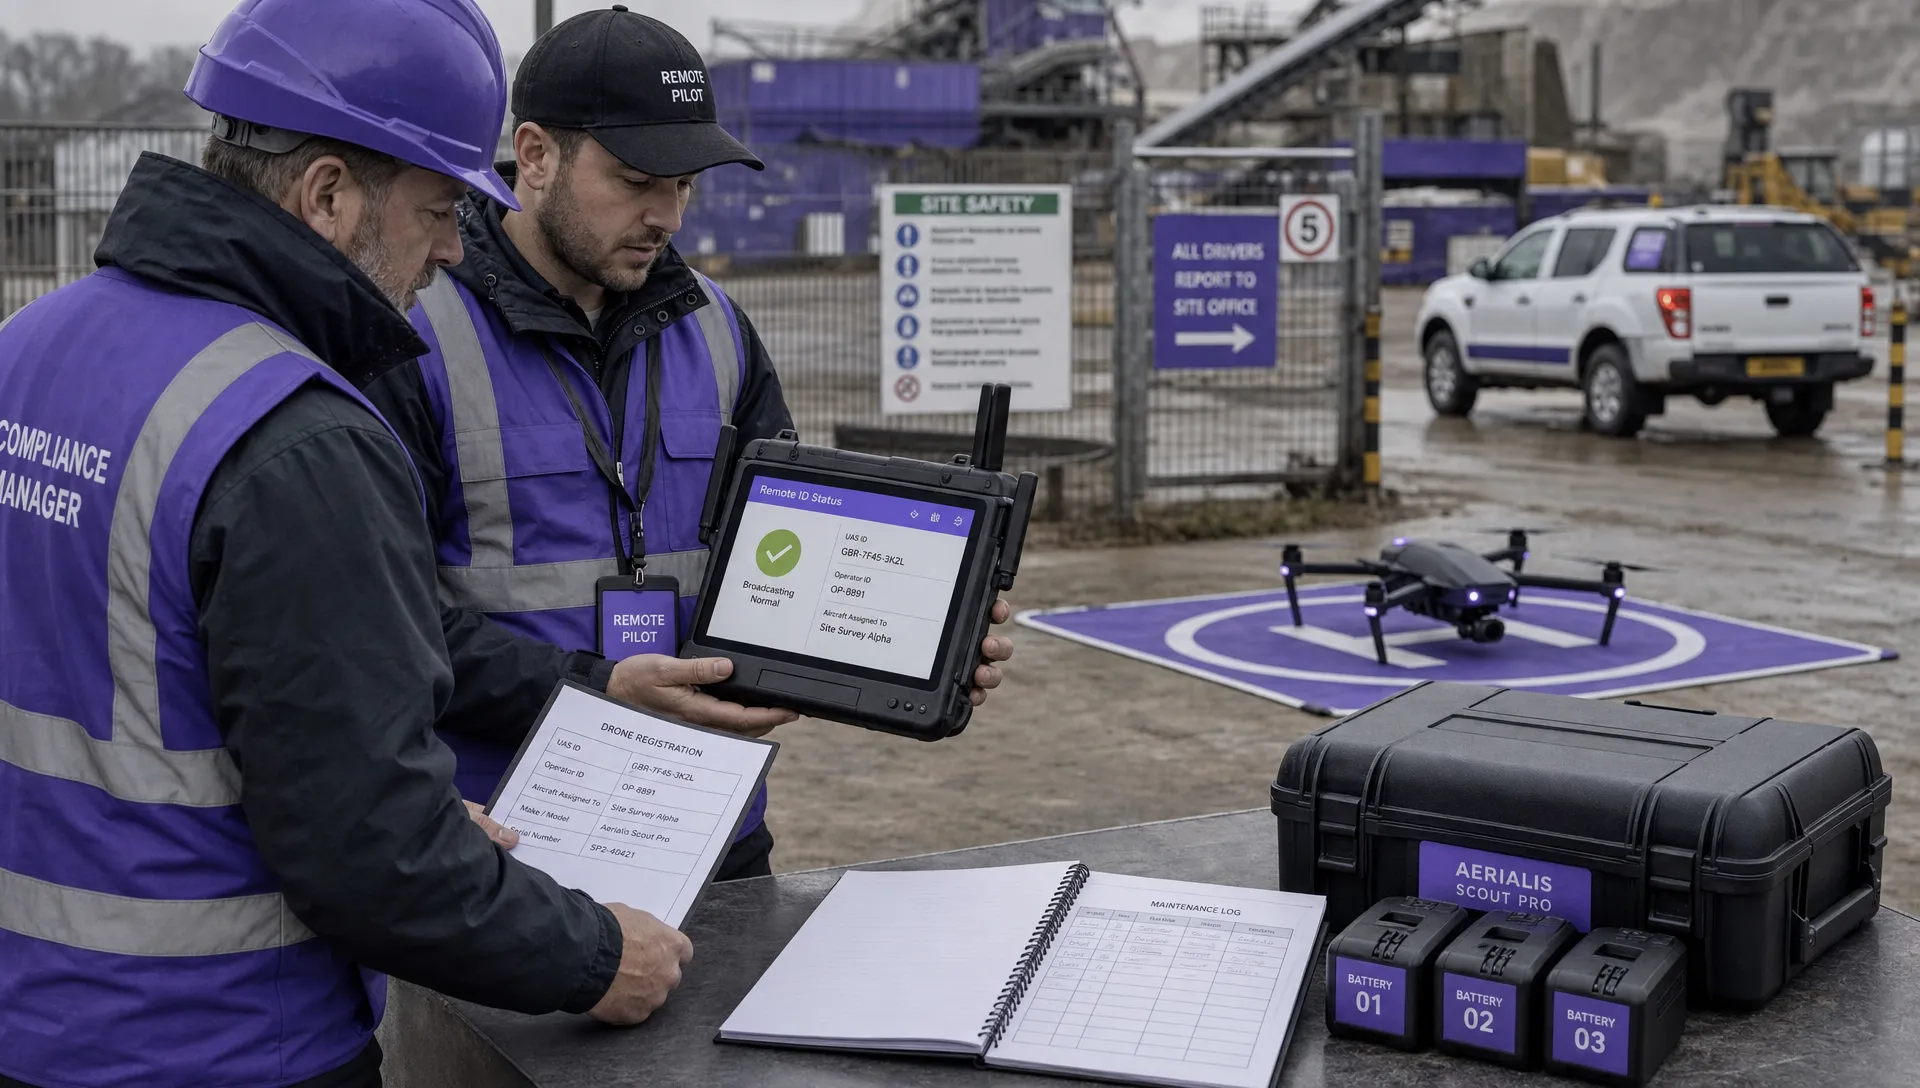
Before you calculate a single risk, the entire SORA flight planning process kicks off with a solid Concept of Operations (ConOps). Think of it as the mission's foundational blueprint. It’s a clear, detailed story that tells regulators exactly who you are, what you’re planning, where and when it's all going down, and most importantly, how you're going to do it safely.
Trust me, a vague or incomplete ConOps is the fastest way to get your application tossed aside. This document isn’t just a formality; it’s your chance to paint a picture so vivid that an aviation authority official, knowing nothing about your mission, can read it and walk away with total confidence in your plan. Every single step that follows in the SORA process, from ground risk to air risk, will circle back to the details you lay out right here.
Defining the Mission Scope
The heart of your ConOps is translating your operational goals into concrete, understandable terms. Specificity is king. Instead of a lazy "inspecting a pipeline," your ConOps needs to say something like, "a 15-kilometer BVLOS pipeline inspection conducted at an altitude of 80 meters AGL using a DJI Matrice 350 RTK, flown during daylight hours over sparsely populated agricultural land."
The level of detail you need can change dramatically depending on the job. Let’s look at two different scenarios:
- Scenario A: Pipeline Inspection: Picture a long inspection flight in a remote, rural area. Your ConOps here would lean heavily into BVLOS procedures, the integrity of your communication links, and what you’ll do if you lose that link over a long distance. Since the ground risk is naturally low, the narrative puts the spotlight on air risk and the technical reliability of your gear.
- Scenario B: Suburban Survey: Now, imagine an aerial survey of a new housing development on the edge of town. For this one, the ConOps has to be all about mitigating ground risk. It needs to detail buffer zones, flight times that avoid public activity (like when schools let out), and emergency procedures for landing safely away from people and property.
In both examples, the ConOps sets the stage for the risks you'll analyze later. The pipeline mission immediately points toward a lower Ground Risk Class (GRC). The suburban survey, on the other hand, signals a much higher one that's going to demand some serious mitigation strategies.
Structuring a Narrative Regulators Trust
Your ConOps has to be structured logically. It's not just a list of facts; it’s a persuasive document that tells a coherent story. Start with the big picture—the high-level objective—and then drill down into the nitty-gritty operational specifics. A well-put-together ConOps guides the regulator through your thought process, building their confidence in you as a competent operator. When building your Concept of Operations, it's vital to consider the specific planning for drone event photography, including defining the scope and execution of aerial shots, as these elements are foundational for a robust CONOPS.
A strong ConOps answers questions before they are even asked. It shows you haven't just planned the perfect flight; you've meticulously planned for what happens when things go wrong.
So, what builds that trust? You need clear definitions of your flight geography—the operational volume, contingency volume, and the all-important ground risk buffer. You have to describe your crew, their roles, responsibilities, and qualifications. Don't forget to detail the UAS itself, including its specs, maintenance schedule, and any safety features like parachutes or a flight termination system.
By providing a thorough, well-reasoned document from the start, you make every risk calculation that follows feel logical and much easier to defend. Ultimately, it paves the way for a smoother, faster approval process.
Assessing and Mitigating Ground Risk
When you're planning a flight under SORA, ground risk is front and center. It all boils down to one critical question: what's the potential for harm to people on the ground if something goes wrong? Answering this is the absolute cornerstone of building a solid safety case.
To get a handle on the Ground Risk Class (or GRC), you'll need to look at two main things: the characteristics of your UAS and the environment you're flying in. Your drone's speed, its weight, and even its flight path all feed directly into this calculation.
You'll be thinking about:
- Population density along your planned route, broken down into different exposure zones.
- How long you'll be flying over each of those zones.
- The kinetic energy your drone would have on impact, which is a function of its mass and velocity.
Calculating Ground Risk Class
The official methodology for this is laid out in Annex F of the SORA guidelines. It's a step-by-step process that involves breaking down your operational area into segments and making some conservative assumptions for each one.
For example, a quick 15-minute flight over a suburban area with 500 people per square kilometer is going to give you a much higher initial GRC than the same flight over an industrial park with only 30 people per square kilometer. Every single meter you fly over a denser area nudges that risk score higher.
To figure out population density, most operators turn to census data and remote sensing tools. You can often get high-resolution data from national statistics agencies that's accurate right down to the city block.
- Low exposure is typically under 50 people/km².
- Mixed or medium exposure falls between 50–300 people/km².
- High exposure is anything over 300 people/km².
These numbers are then plugged into models that calculate the probability of a collision, which ultimately gives you your GRC. For a deep dive into the nitty-gritty of the math, you can read the full research on quantitative ground risk assessment in the JARUS guidelines.

A Real-World Scenario
Let's imagine two different missions. The first is a straightforward pipeline inspection over a quiet industrial park.
Here, the population density is less than 20 people per square kilometer, which results in an initial GRC of 1. You probably won't need a parachute, and a simple 20-meter buffer zone will do the trick.
Now, picture a survey mission over a busy town square. The population density spikes to 600 people per square kilometer. Your initial GRC shoots up to 4. For this flight, you're looking at needing a parachute, a much larger 50-meter buffer, and restricting your flight times to avoid peak hours.
Mitigation Strategies
So, how do you bring that high GRC back down? This is where targeted safety measures, or mitigations, come into play. Things like certified parachute systems can dramatically reduce impact energy, while well-planned buffer zones keep your drone away from people.
- Deploying a certified parachute can cut terminal velocity by 50%, which has a huge effect on your risk score.
- Establishing a 50-meter ground buffer in medium-density areas helps keep the public well clear of the operational area.
- Flying at altitudes above 120 meters AGL (where permitted) can also reduce exposure.
The goal here is simple: use technical and operational mitigations to lower your GRC. Doing this successfully unlocks safer approvals and brings down your final SAIL level.
To help visualize this, here's a look at how common mitigation measures can impact your GRC.
Ground Risk Class (GRC) Mitigation Strategies
| Mitigation Strategy | Description | Impact on GRC | Example Application |
|---|---|---|---|
| Parachute System | A certified emergency parachute that deploys on failure. | Reduces GRC by 1 level. | Deploying a system that cuts impact energy by at least 50%. |
| Ground Buffer Zone | A defined area on the ground that is kept clear of uninvolved persons. | Reduces GRC by 1-2 levels, depending on size. | Establishing a 50-meter cordoned-off area for a flight over a park. |
| Flight Path Over Low-Risk Areas | Strategically planning the route to avoid populated areas. | Can reduce GRC by 1-3 levels. | Routing a delivery drone over rivers and industrial zones instead of residential streets. |
| Time-Based Restrictions | Operating only during times when population density is lowest. | Can reduce GRC by 1 level. | Scheduling a facade inspection for early Sunday morning instead of a weekday afternoon. |
As you can see, a combination of these strategies can significantly de-risk an operation, making it much more likely to get the green light from regulators.
Integrating Analysis Tools
Manually calculating all this can be a headache. That's where platforms like Dronedesk come in. It simplifies the whole process by syncing real-time population heatmaps directly onto your flight path. This lets you import your boundaries, define risk segments, and get an immediate GRC output.
- Import geojson boundaries and overlay live population heatmaps for precise risk segmentation.
- Use built-in calculators to estimate kinetic energy and collision probability in seconds.
- Generate regulator-ready reports in PDF format complete with data tables and visuals.
Using automated GRC outputs can slash your planning time by as much as 60%, freeing you up to focus on the actual operation.
For a broader look at this topic, be sure to check out our complete guide on drone risk management.
Reducing the Final SAIL Level
Bringing down your GRC has a direct, positive effect on your final Specific Assurance and Integrity Level (SAIL). For instance, if you can cut your GRC from a 4 down to a 2, you might see your mission move from a demanding SAIL 5 to a much more manageable SAIL 3.
This isn't just about paperwork; it has real-world benefits.
- A SAIL 3 operation often requires only standard OSO documentation, which means less prep time.
- Lower risk classes can lead to lower insurance premiums, saving you money.
- Regulators tend to process lower-SAIL applications faster, which means quicker approvals.
By putting in the effort to optimize your ground risk, you could potentially shave months off your permit approval cycle.
Best Practices to Follow
Beyond the official mitigations, there are a few common-sense practices that can make a real difference. Timing your missions for when fewer people are around is a great start. Also, never trust your maps completely—always verify your buffer zones on the ground.
- Schedule flights during off-peak hours to avoid crowds in public spaces.
- Conduct on-site walk-throughs to make sure your map-based buffers work in the real world.
- Drill your crew on emergency procedures and rapid landing protocols until it's second nature.
That real-world validation isn't just for you; it builds confidence with regulators and shows you're a professional operator.
Ultimately, getting ground risk right isn't just about ticking a box. It's a data-driven exercise that fundamentally shapes your final SAIL determination and, most importantly, ensures public safety. As these Annex F methods become the standard in the US and Europe, mastering quantitative ground risk is what will pave the way for safer, compliant, and more ambitious BVLOS missions.
Analyzing Air Risk and Airspace Challenges
Once you've meticulously mapped out the risks on the ground, it's time to turn your attention skyward. The next piece of the SORA puzzle is all about the air. The core question you need to answer is: what's the likelihood of my drone meeting a manned aircraft mid-flight? Your answer to this question determines your Air Risk Class (ARC), a score that heavily influences the rest of your safety case.
This isn't just a matter of glancing up and checking for planes. It's a deep dive into the specific airspace you'll be operating in. The SORA framework guides you through calculating an initial ARC based on your location. It’s pretty intuitive when you think about it—a flight in a remote, uncontrolled patch of Class G airspace miles from anywhere will start with a much lower ARC than a mission buzzing near a busy Class D airport or a known flight school zone.
Understanding Your Airspace Environment
Before you can even think about your ARC, you need to become an expert on your local airspace. It's about getting familiar with everything that influences air traffic density and common flight patterns. This means going way beyond just knowing the basic airspace classification.
You need to dig in and identify several key factors:
- Proximity to Airports: How close are you to airports, heliports, or even private grass strips? A small, rarely used field can still pose a very real air risk.
- Airspace Boundaries: Are you operating near the edge of controlled airspace? This is where manned aircraft are often changing altitude and transitioning, so understanding these invisible lines is vital.
- Local Traffic Patterns: Is your flight path under a known VFR (Visual Flight Rules) corridor or near a navigational waypoint? These are the unofficial highways in the sky for general aviation.
- Special Use Airspace: You have to check for any nearby restricted areas, military operations areas (MOAs), or other special zones that could bring unexpected and fast-moving traffic into the picture.
For anyone operating in the US, getting to grips with the FAA's data is a non-negotiable. Knowing how to properly use FAA Facility Maps for drone pilots is a massive advantage. It gives you invaluable insight into controlled airspace grids and potential traffic hotspots, which feeds directly and defensibly into your ARC assessment.
Strategic and Tactical Mitigations
After calculating your initial ARC, the next move is to bring that number down using smart mitigations. These fall into two camps: strategic and tactical.
Strategic mitigations are all about the planning you do before the props even start spinning. Think of them as setting the stage for a safer flight. A classic example is scheduling your mission for off-peak hours, like early mornings on a weekday when recreational air traffic is at a minimum. You could also coordinate with a local airport to issue a Notice to Air Missions (NOTAM), giving other pilots a heads-up about your operation.
Tactical mitigations, on the other hand, are your real-time, in-flight actions to prevent a collision. This is where technology like detect-and-avoid (DAA) systems plays a starring role. Whether using radar, ADS-B, or other sensors, these systems feed the remote pilot live data on nearby air traffic, giving them the information needed to take evasive action.
At its heart, air risk mitigation is about proving you have a solid plan to see, sense, and avoid other aircraft. You're demonstrating a commitment to safety that's on par with the rigorous standards of manned aviation.
The history of unmanned aviation really puts this challenge into perspective. Pioneers like Aurora Flight Sciences were tackling these problems long before SORA existed. Way back in 1998, their Perseus B drone soared to an incredible 60,260 feet. That achievement highlighted the immense technical hurdles of operating safely in shared airspace. This legacy, which includes their work on legendary systems like the Global Hawk, is a powerful reminder of the operational and technical integrity demanded for today's advanced BVLOS flights. You can discover more about their contributions to flight innovation and see how it all connects to modern risk assessment.
Ultimately, your ARC isn't set in stone. Through sharp analysis and a thoughtful mix of strategic and tactical mitigations, you can dramatically lower the air risk of your operation. This doesn't just build a stronger SORA application—it proves you're a safe, responsible member of the aviation community.
You've done the hard work. You’ve painstakingly assessed the ground risk and navigated the complexities of the airspace. Now, with your Ground Risk Class (GRC) and Air Risk Class (ARC) sorted, it’s time for the moment where it all comes together. This is where your SORA process funnels down into one critical value: the Specific Assurance and Integrity Level, or SAIL.
Think of the SAIL as the ultimate risk score for your proposed flight. It's a simple number from I to VI that tells you—and, more importantly, the regulator—exactly how robust your safety measures need to be. You find it by plotting your final GRC against your final ARC on a matrix. A low GRC and a low ARC will put you in SAIL I territory, while high risk in both will push you all the way up to SAIL VI.

The data here paints a clear picture: as risk scores climb, mission durations tend to shrink. This makes sense, as tighter operational controls are needed to maintain high success rates in more challenging environments.
From SAIL Level to Safety Case
The SAIL level isn't just a number to file away; it's a direct instruction manual for what you need to do next. Each level corresponds to a specific set of Operational Safety Objectives (OSOs). These are the detailed requirements and, crucially, the evidence you must provide to prove your operation is safe.
Here's how that plays out in the real world:
-
SAIL I/II (Low Risk): For these ops, your safety case is relatively straightforward. The OSOs are at a "low" integrity level. This usually means submitting a detailed operational manual, a solid pre-flight checklist, and proof of standard pilot competency. It’s all about showing good, professional practice.
-
SAIL III/IV (Medium Risk): Now things are getting more serious. The OSOs jump to a "medium" level of integrity. You’ll probably need to provide hard evidence that your drone has a reliable command and control link. Your operational procedures will also need to be more rigorously documented and validated, and you might have to prove your remote pilot has specific training for this type of mission.
-
SAIL V/VI (High Risk): Welcome to the big leagues. At this level, OSOs demand a "high" level of integrity, which often requires third-party verification. Your equipment might need to be certified to an aviation standard, much like components on manned aircraft. Redundancy in critical systems (like flight controllers or power) becomes non-negotiable, and your entire operation will be under a microscope.
Let's quickly summarize what each SAIL level typically demands. The table below outlines how the GRC and ARC combine to determine a SAIL and what kind of safety objectives you'll need to meet.
SAIL Levels and Corresponding OSO Requirements
| SAIL Level | Typical GRC/ARC Combination | Key Operational Safety Objectives (OSOs) | Example Requirement |
|---|---|---|---|
| SAIL I | Low GRC, Low ARC | Low integrity for basic procedures and pilot competency. | A declared operations manual and standard pre-flight checklists. |
| SAIL II | Moderate GRC, Low ARC | Low integrity with more focus on operational procedures. | Detailed flight logs and maintenance records. |
| SAIL III | High GRC, Low ARC / Low GRC, Med ARC | Medium integrity for technical systems and crew training. | Evidence of reliable C2 link performance; validated emergency procedures. |
| SAIL IV | Moderate GRC, Med ARC | Medium integrity across most OSOs, including system design. | Manufacturer's declaration of conformity for key components or independent testing results. |
| SAIL V | High GRC, Med ARC / Low GRC, High ARC | High integrity for critical systems and human factors. | Third-party verification of system reliability; certified components may be required. |
| SAIL VI | Moderate/High GRC, High ARC | High integrity across all OSOs, demanding extensive evidence and review. | Formal airworthiness certification for the drone; simulation-based training for complex failure scenarios. |
As you can see, the jump between levels is significant. A common mistake is underestimating the extra evidence needed to go from a SAIL II to a SAIL III. It’s not a small step; it's a major leap in the expected robustness of your entire safety management system.
Building Your Case with OSOs
The list of 24 OSOs is essentially your roadmap to getting regulatory approval. They cover everything from the technical side of your drone to human factors and flight procedures. For any given SAIL, each OSO has a required integrity level (low, medium, or high). Your job is to supply the evidence showing you meet or beat that level for every single objective.
For instance, on a SAIL IV mission, OSO #13 (reliability of the command and control link) will require a medium level of assurance. You can't just write "it's reliable." You need to back it up with data, test results, or manufacturer specs.
This is where dedicated software becomes a lifesaver. Manually tracking and providing evidence for dozens of OSOs is incredibly time-consuming and prone to error. Tools like Dronedesk help organize this whole process, ensuring you build a complete and convincing safety case. If you want to see how this works in practice, you can learn more about specialized drone flight planning software and its role in SORA applications.
Ultimately, the SAIL level dictates the entire scope, effort, and cost of your SORA application. By understanding how your GRC and ARC combine to form this crucial number, you can manage your mission’s risk profile from the start, building a safety case that is not just compliant but truly professional.
Common Questions on SORA Flight Planning

As you start digging into the SORA framework, it's totally normal for a bunch of practical questions to surface. It's a detailed process, and translating the theory into real-world flight plans often throws up a few common stumbling blocks. Here are some straightforward answers to the questions I hear most often from other operators.
How Long Does a Typical SORA Application Process Take?
This is the million-dollar question, and the honest answer is: it depends. The timeline hinges almost entirely on your operation's complexity and how well you've put your submission together. The final SAIL level is your best clue for how long you'll be waiting for the green light from your aviation authority.
A low-risk, well-documented flight with a low SAIL might get approved in just a few months. But if you're planning a high-SAIL BVLOS operation in a busy area, you need to brace yourself for a six-month wait, maybe even longer. That kind of application usually involves a fair bit of back-and-forth with the regulators as they scrutinise every detail of your safety case.
The single best thing you can do to speed things up is to submit a flawless, comprehensive safety case. Try to think like a regulator. Anticipate their questions and have all the data and documents ready to go before they even have to ask.
A complete, logically structured submission doesn't just look professional; it makes the regulator's job easier, which can shave a surprising amount of time off the review cycle.
Do I Need Special Software for SORA Flight Planning?
Strictly speaking, no. But in reality, you absolutely should. You could try to manage the entire process using a messy combination of spreadsheets, Word documents, and various mapping tools, but the workload would be massive and the risk of a costly error would be sky-high.
Software built specifically for SORA is a genuine game-changer. These platforms automate the most mind-numbing calculations and pull in critical data sources, like high-res population maps and airspace charts, right into your workflow. That automation is your best friend for ensuring accuracy and efficiency.
For anyone just getting started with SORA, or for businesses planning to run multiple complex missions, dedicated software is a no-brainer.
- Saves Time: It slashes the hours you'd otherwise spend on manual calculations and data entry.
- Reduces Errors: Automated systems are far less likely to make a critical mistake that gets your application kicked back.
- Creates Professional Reports: These tools generate clean, regulator-friendly reports that present your safety case in the standardized format they expect to see.
Can I Reuse a SORA for Multiple Similar Flights?
Yes, and this is where the SORA framework really shines for scaling your operations. While you can't just copy and paste an entire SORA application for a flight in a totally new location, you can create something called a Pre-Defined Risk Assessment (PDRA).
Think of a PDRA as a standardised mission template built from a SORA you've already had approved. It’s designed for a very specific type of flight that you perform under the same set of conditions every time. For example, you could create a PDRA for inspecting cell towers in rural areas with a specific drone and payload.
Once your aviation authority signs off on that PDRA, getting authorization for future flights that fit neatly inside that operational box becomes way faster and more predictable. You're not starting from scratch every single time, which is a massive win for any business doing repetitive work.
This strategy lets you build a library of pre-approved mission profiles. It turns what was a complex, one-off headache into a repeatable, scalable business model—essential for any operator looking to grow their advanced drone services.
Ready to simplify your entire drone operation, from flight planning to compliance? Dronedesk provides the tools you need to manage jobs, track flights, and generate the reports essential for your SORA application, saving you time and reducing administrative headaches. Start your free trial today at Dronedesk.io.
 FAA Remote ID Rule Explained for Commercial Pilots →
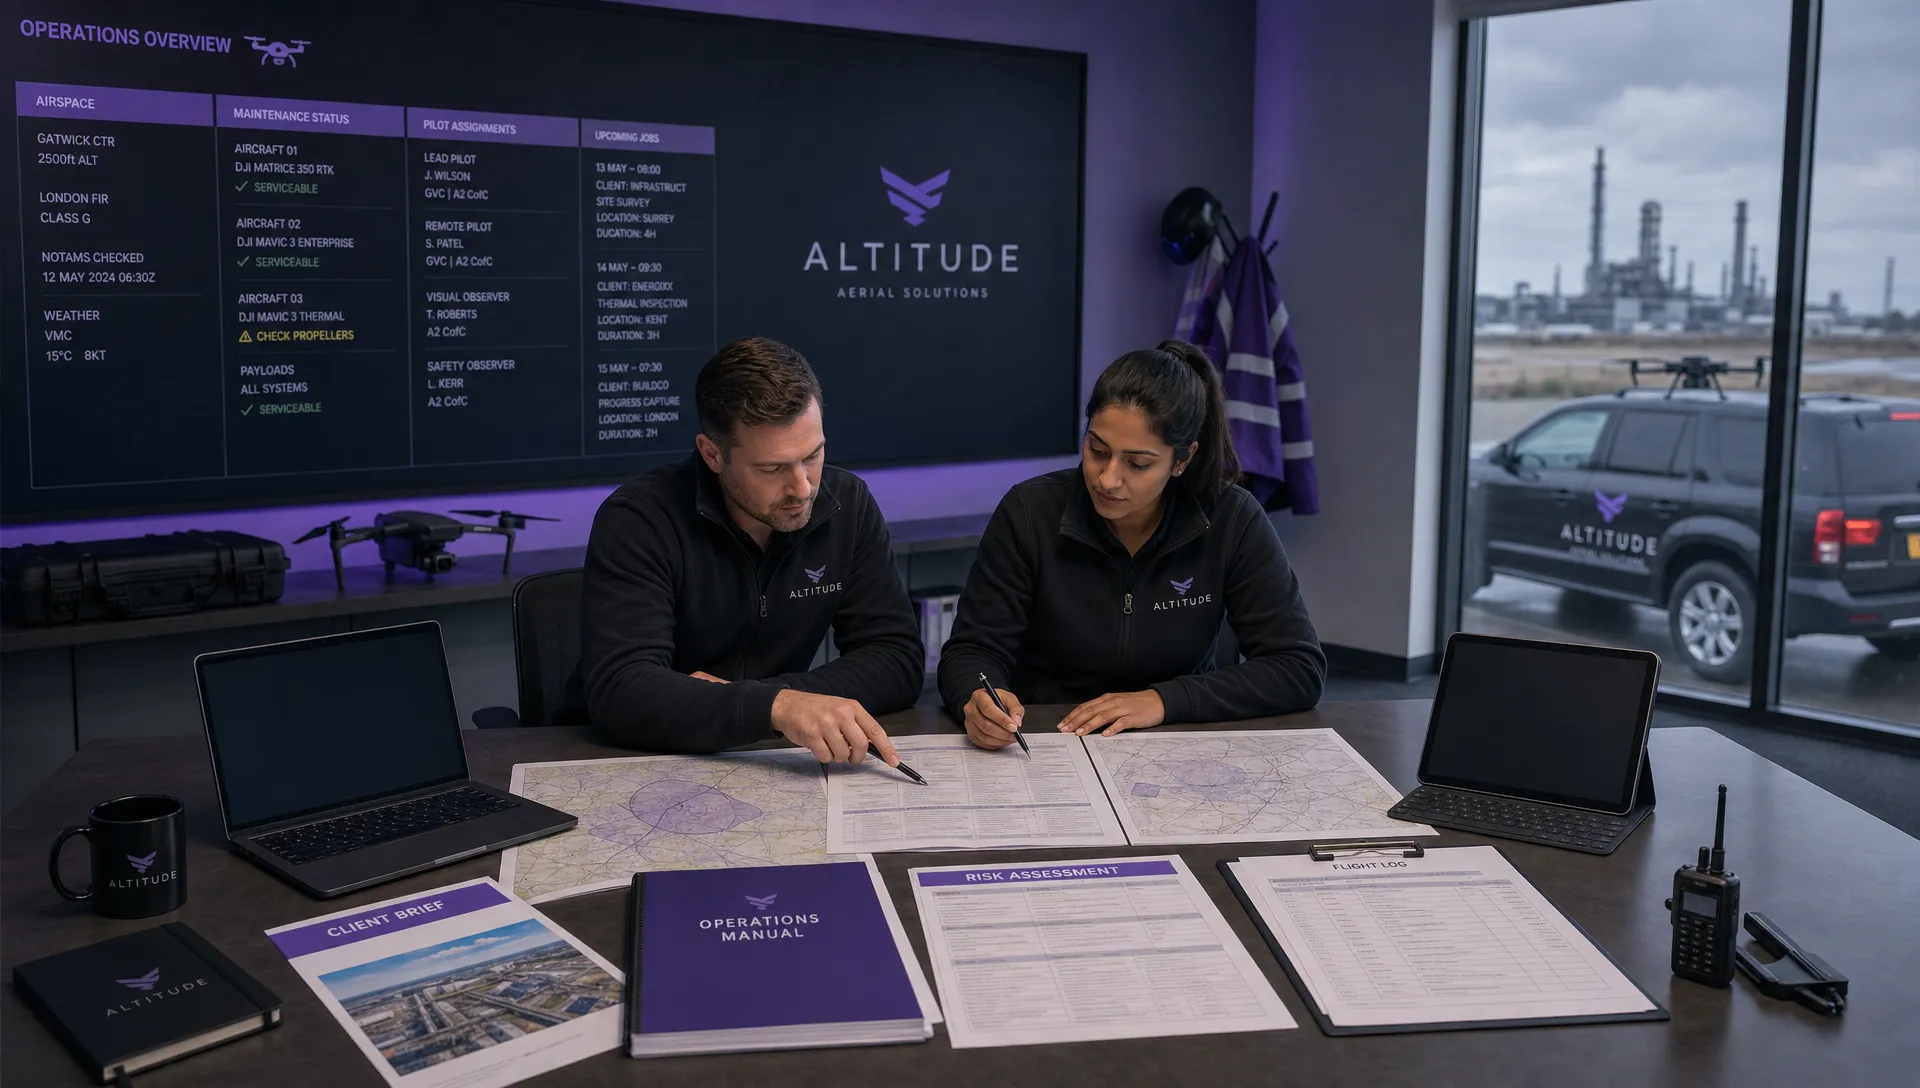 Drone Legal Requirements for Commercial Operations →
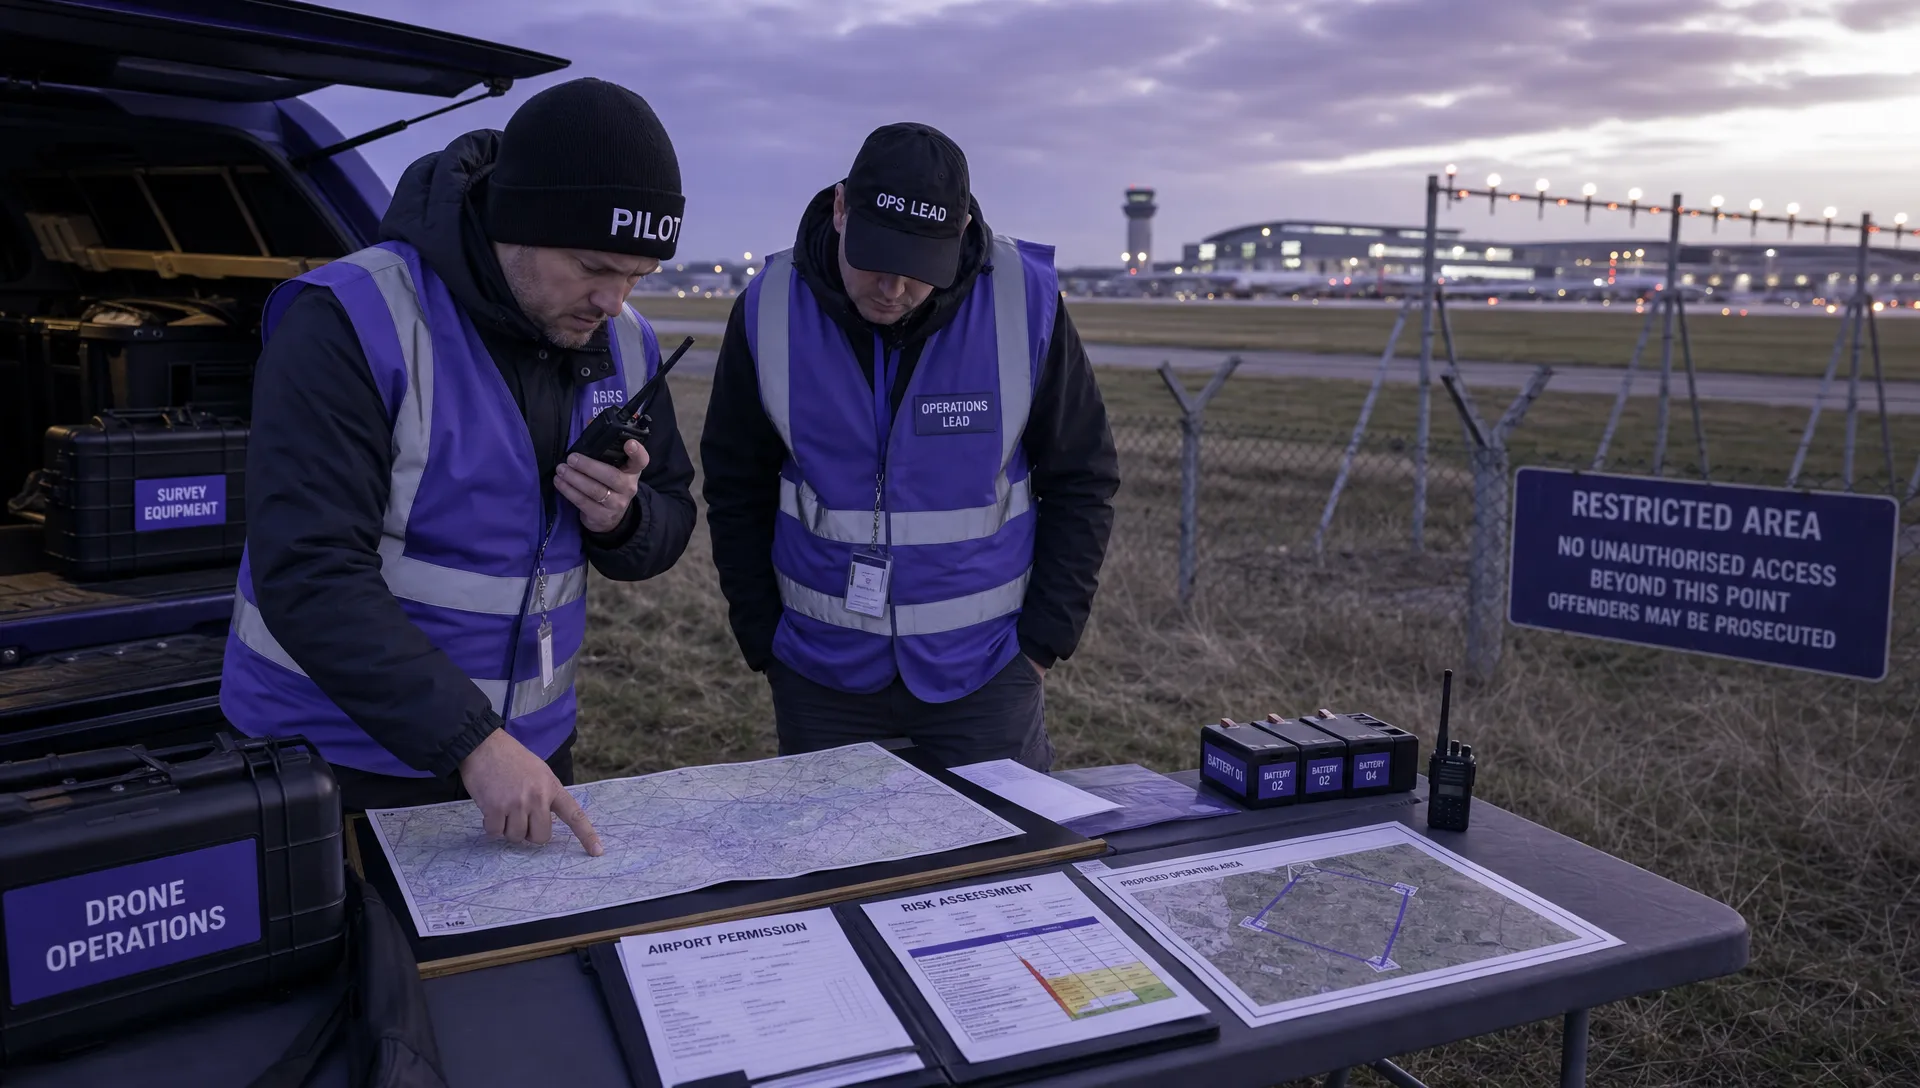 Drone Near Airport Rules Explained for Safer Planning →
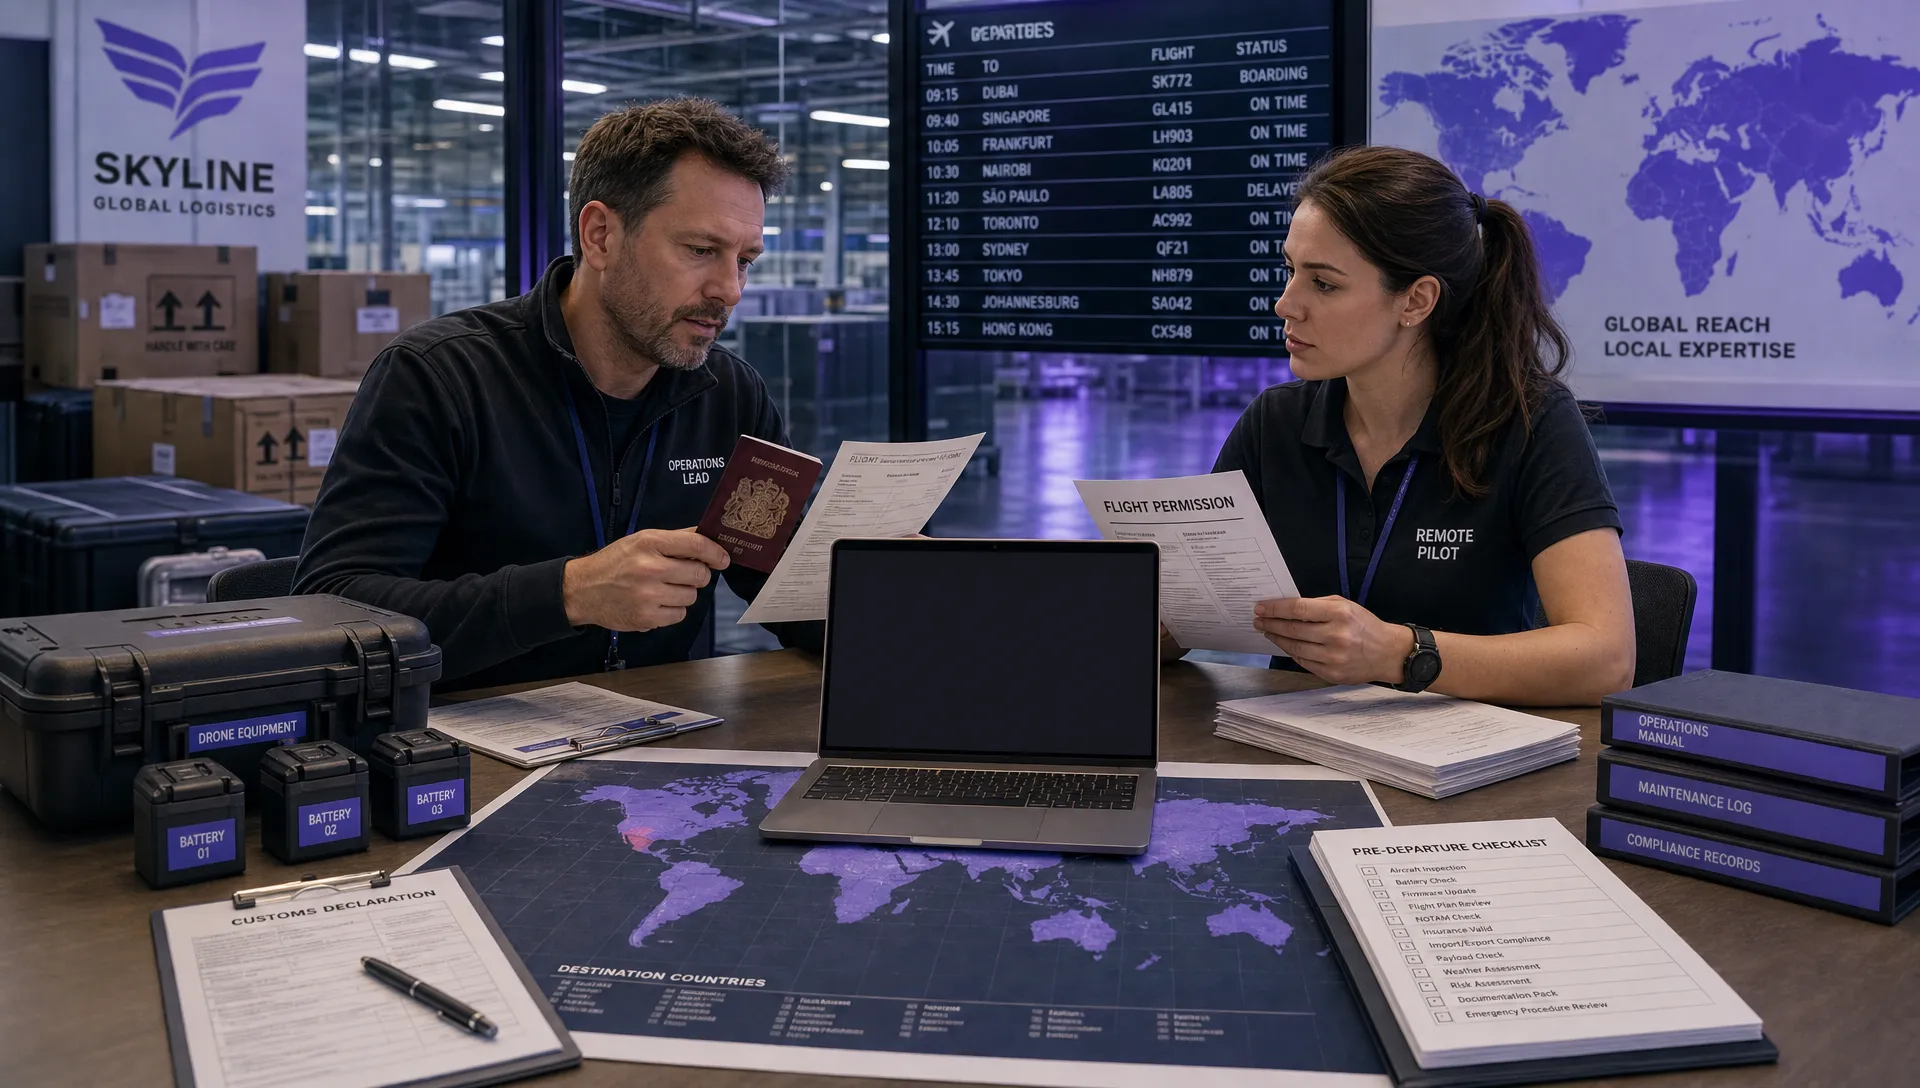 International Drone Regulations Every Global Team Should Know →
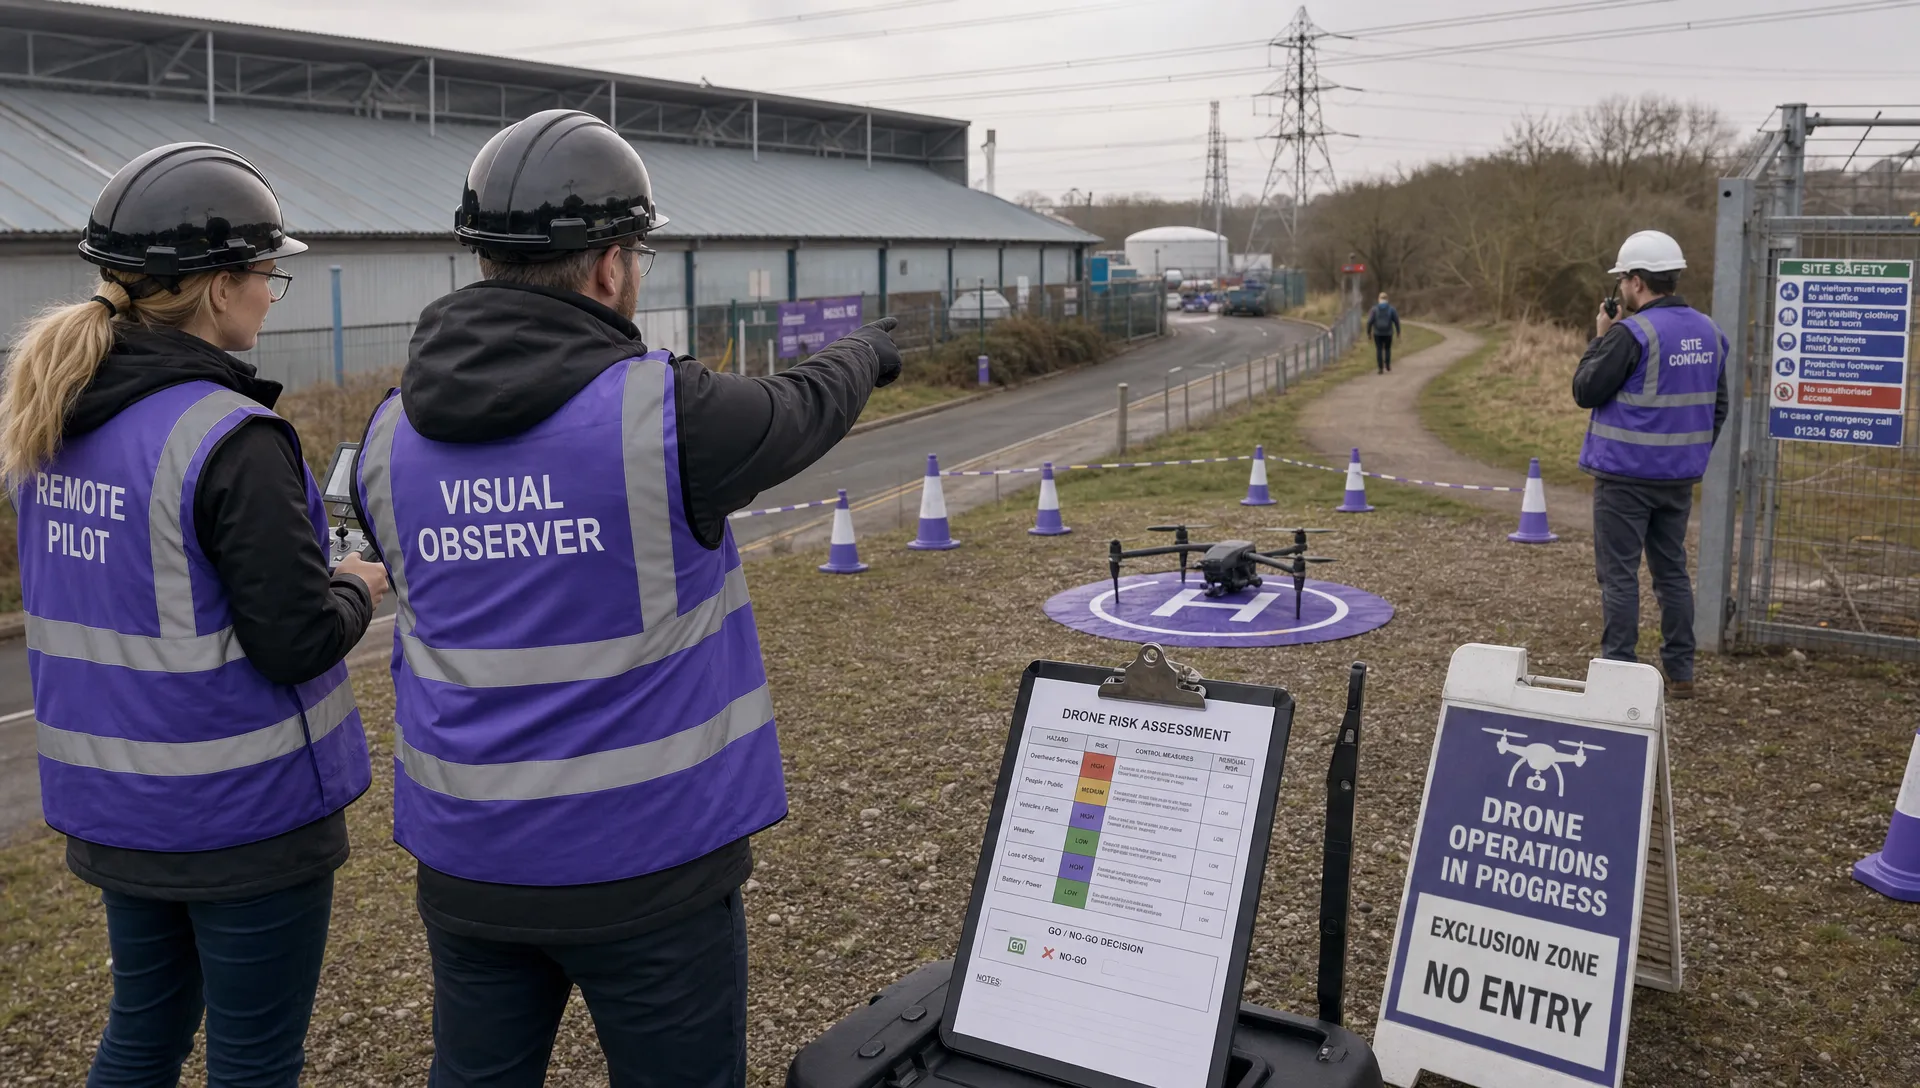 Drone Flight Risk Assessment Example for Safer Missions →
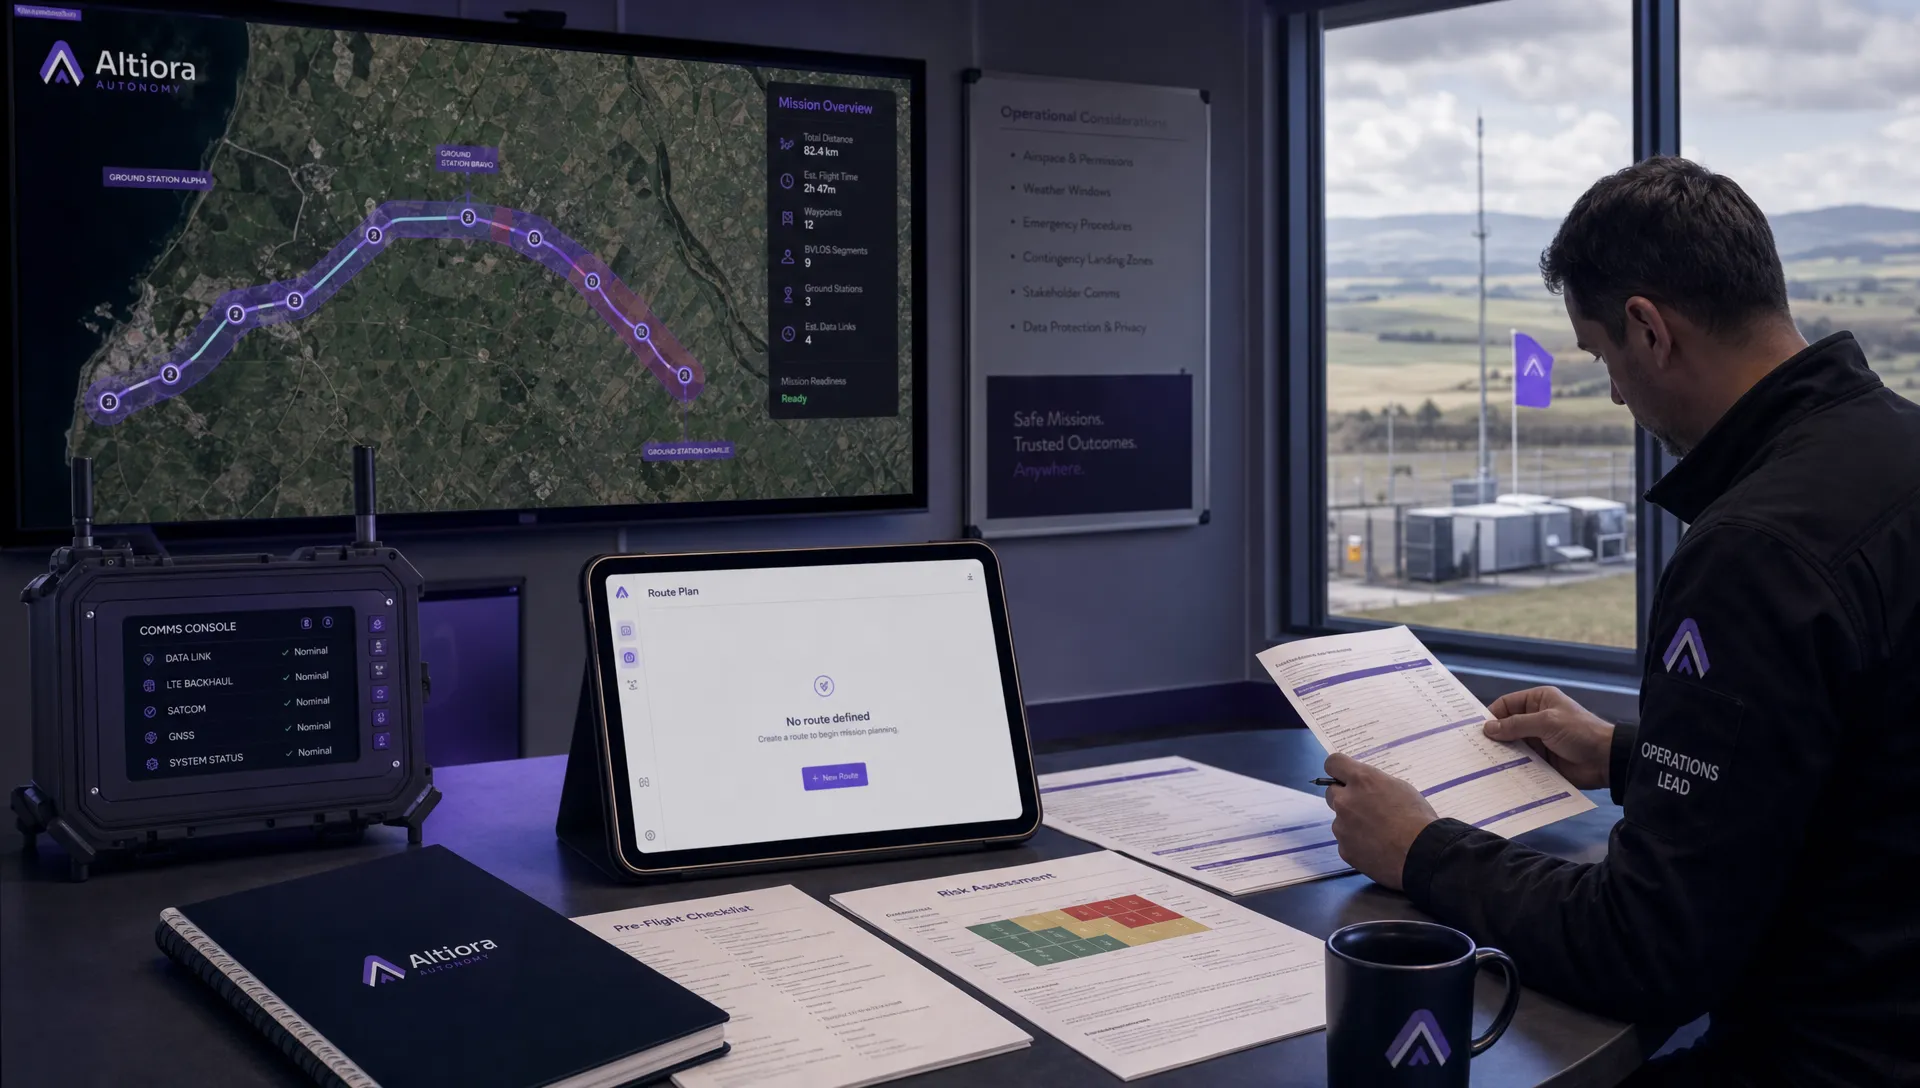 Beyond Visual Line of Sight Explained for Operators →
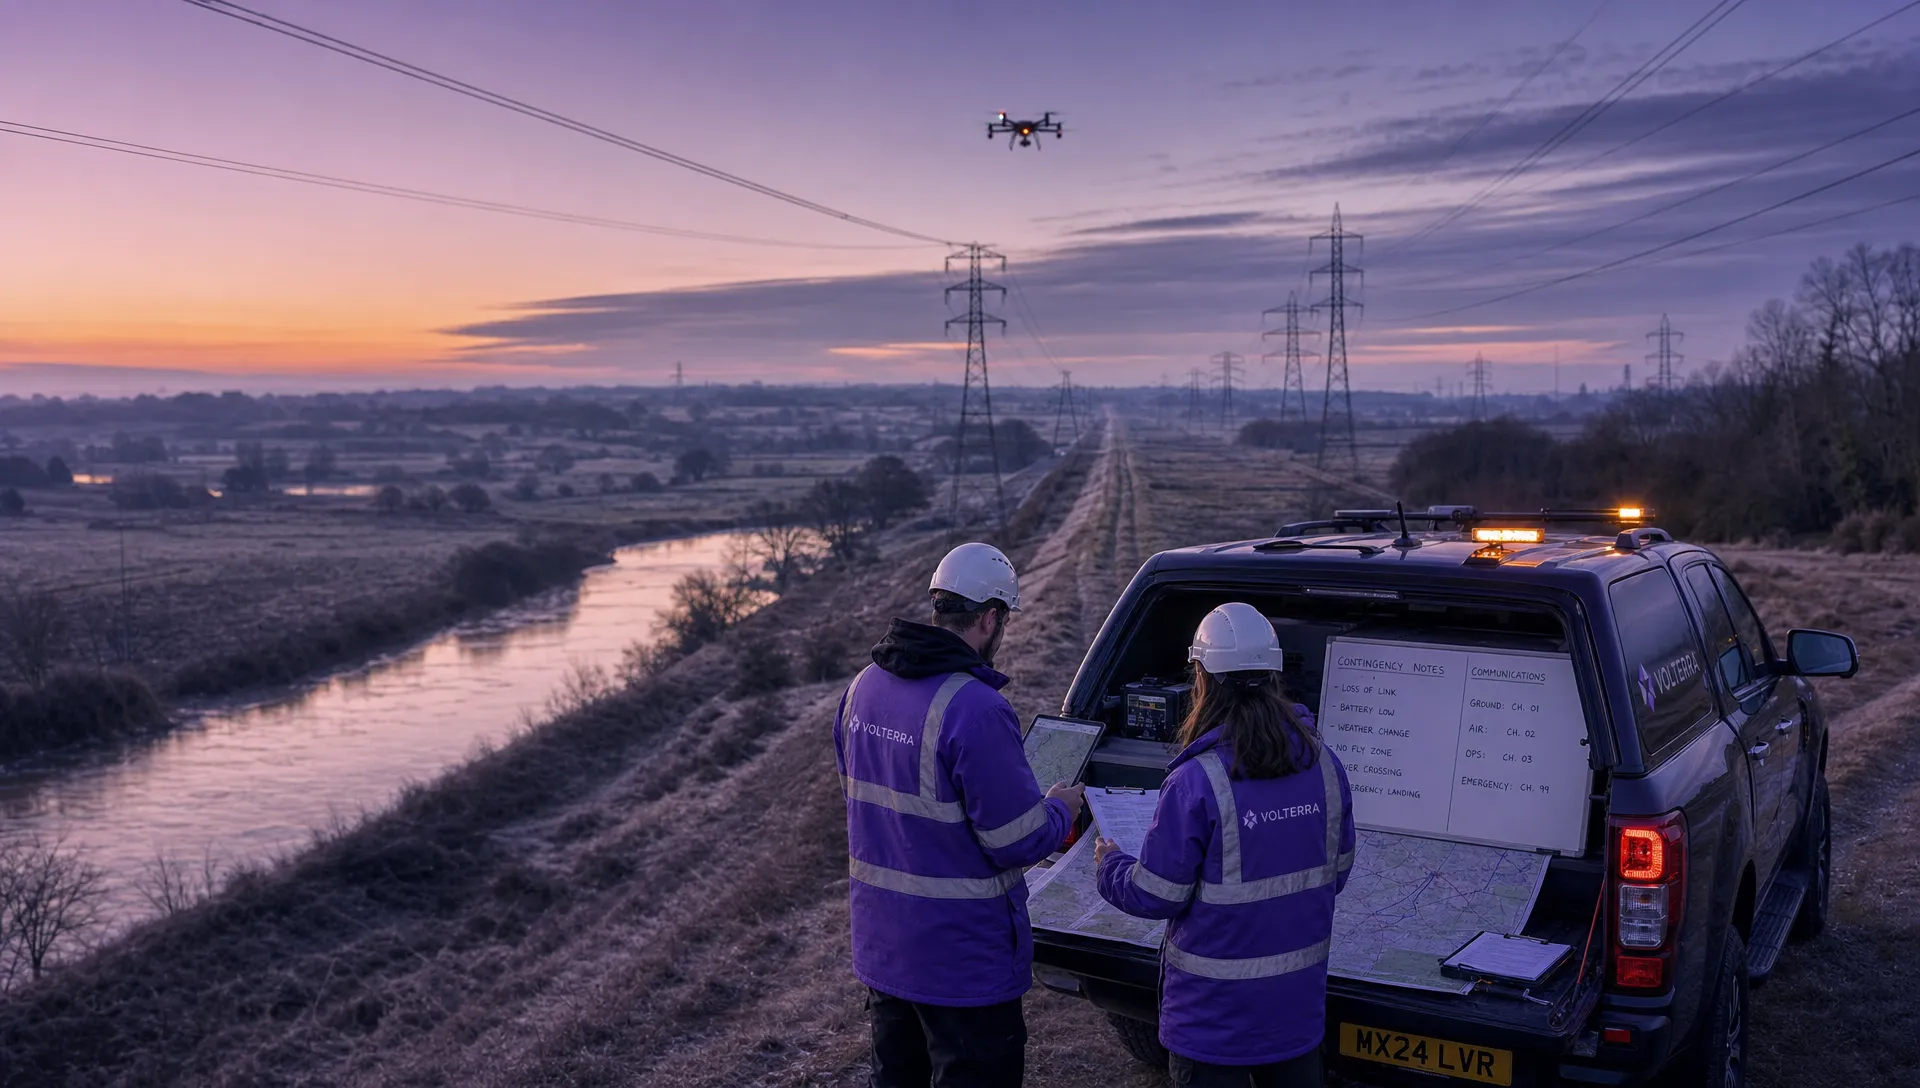 How BVLOS Drone Operations Change Commercial Workflows →
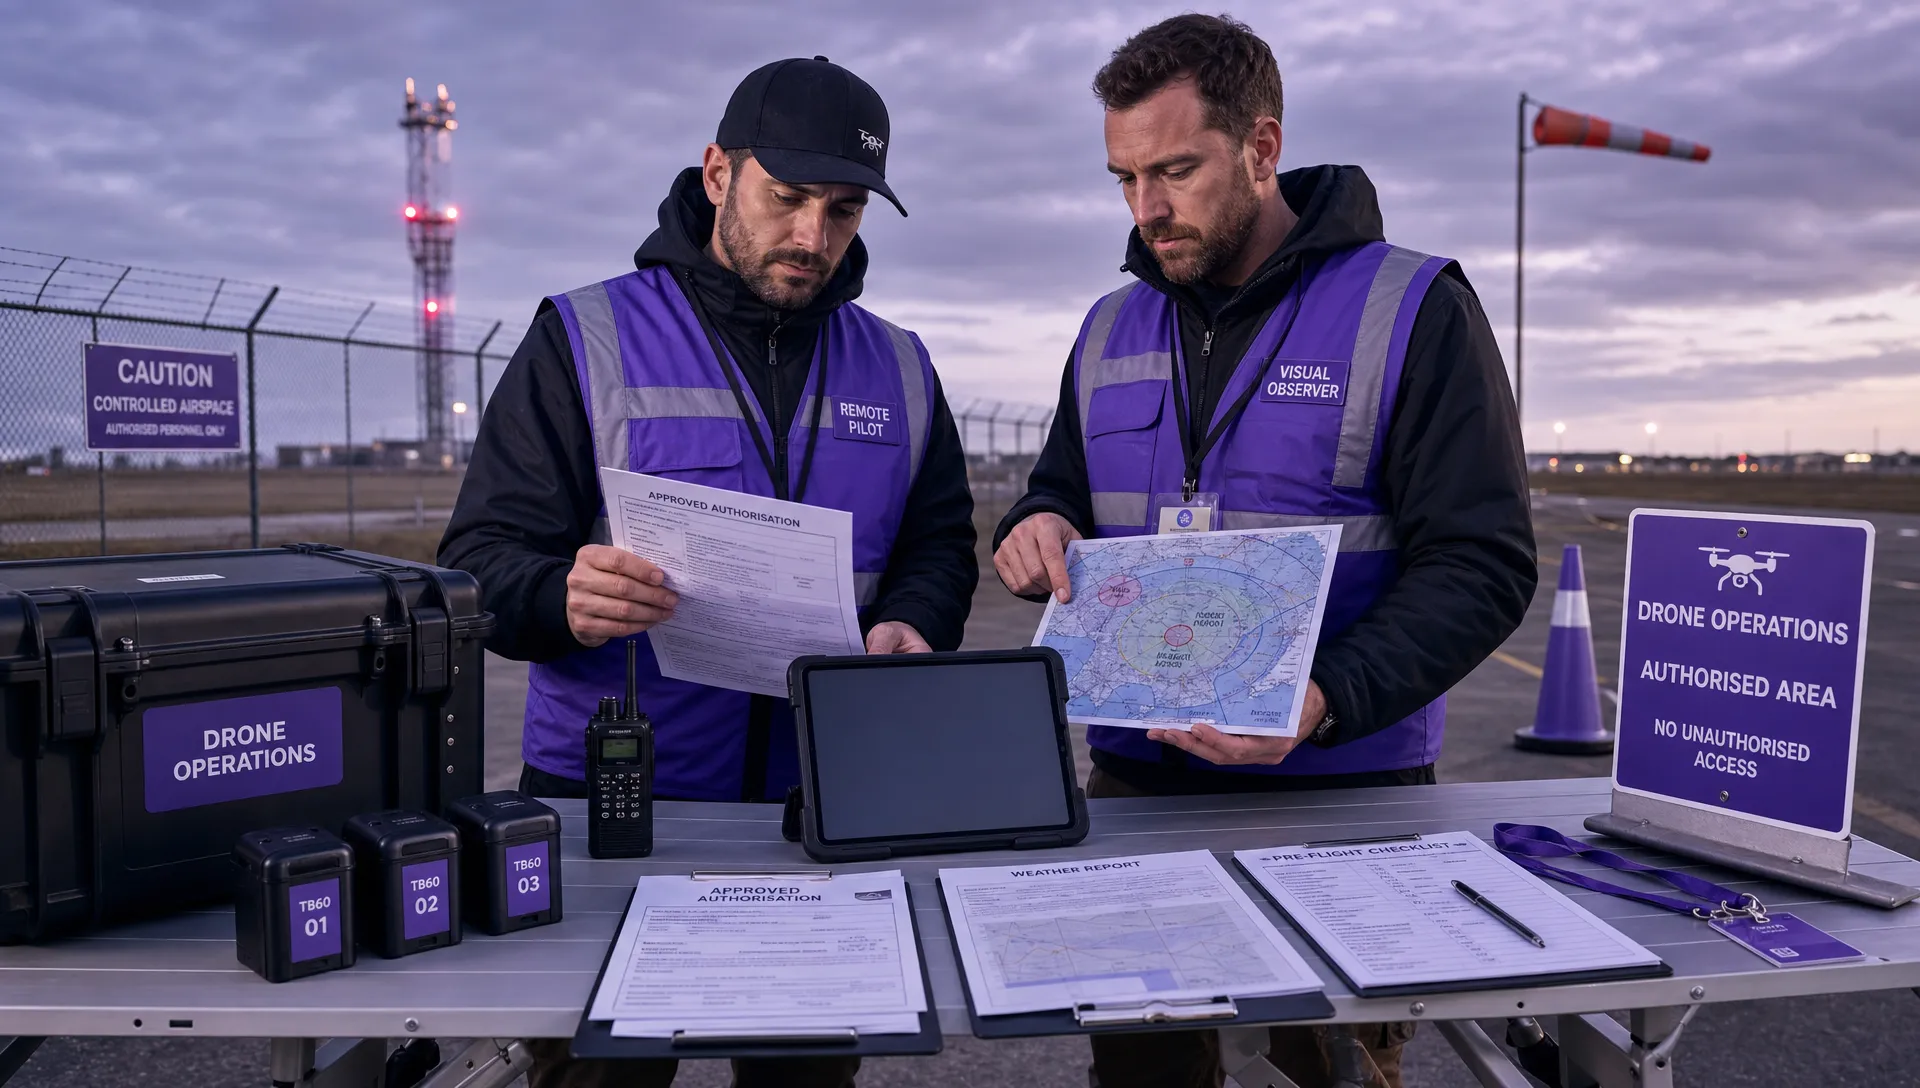 FAA Drone Rules Every Commercial Pilot Should Know →
 FAA 107 Explained for Commercial Drone Operators →
 Canadian Drone Regulations Explained for Business Use →