A Practical Guide on How to Survey Land
Before you ever set foot on-site, a successful land survey begins at your desk. The real groundwork involves digging into the project's scope and navigating the essential legal research—things like investigating property deeds, identifying easements, and checking local zoning regulations. Getting this foundation right from the start ensures your survey is both accurate and legally defensible.
Laying the Groundwork: Legal and Planning Essentials

Long before a single measurement is taken, the fate of a survey is decided through meticulous planning and legal due diligence. This initial phase has nothing to do with fancy tech; it's all about understanding the "why" behind your work and piecing together the complete historical and legal puzzle of a property. Rushing this step is a classic recipe for costly mistakes down the line.
First things first: you have to clearly define the survey's objective. Are you just confirming property lines to settle a neighbourly dispute, or are you creating a detailed topographic map for a massive construction project? Each goal demands a completely different approach, level of detail, and ultimately, a different set of deliverables.
Defining Your Survey Scope
The scope is everything. It dictates your methods, your equipment, and your timeline. Without a crystal-clear objective, you're just flying blind, risking either gathering the wrong data or missing something critical.
Your initial planning needs to nail down the answers to a few key questions:
- What's the primary purpose? Is this for a boundary retracement, a new development plan, an ALTA/NSPS Land Title Survey, or ongoing environmental monitoring?
- What are the required deliverables? Does the client need a simple boundary plat, a dense 3D point cloud, contour maps, or a full digital elevation model?
- What level of accuracy is needed? Engineering-grade projects often require sub-centimetre precision. A simple area calculation? Not so much.
I saw this go wrong once on a commercial project. A developer ordered a topo survey for a new retail centre but failed to request a thorough easement search. The survey data itself was perfect, but an undiscovered utility right-of-way sliced right through their proposed building footprint. That mistake brought the entire $2.4 million project to a screeching halt for months of painful redesigns and legal battles.
Navigating Legal and Regulatory Hurdles
With the scope locked in, it’s time to dive headfirst into the legal paperwork. This is where you uncover the invisible lines and rules that truly define the land.
Your first stop is usually the local county recorder's office to research property deeds and historical records. This helps establish the chain of title and uncovers the original descriptions of the property boundaries. A huge part of this prep work involves tracking down and interpreting UK maps of land ownership from official sources like HM Land Registry.
Next, you absolutely must identify all existing easements and rights-of-way. These can grant access to utility companies or neighbours and can severely restrict how the land can be developed. At the same time, you need to check local zoning regulations and building codes to confirm that the client's intended use for the land is even permissible.
This growing demand for precise, legally sound data has caused the market to explode. The global land survey equipment market hit USD 9.1 billion in 2023 and is on track to reach USD 13.50 billion by 2030. That growth says it all—accurate surveying is the backbone of modern infrastructure development.
Choosing Your Tools: Modern vs. Traditional Methods
The tools you pick for a land survey will shape the entire project. We're talking about speed, accuracy, cost, and even the final deliverables you hand over to the client. This is a classic showdown: the surgical precision of ground-based gear versus the sweeping, rapid coverage of aerial tech.
But let's be clear, this isn't just about old school vs. new school. It’s about picking the most effective tool for a specific job. Both traditional and modern methods have their place, and frankly, the best results often come from mixing them.
The Traditional Workhorses: GNSS and Total Stations
For decades, land surveyors have leaned on two trusty pieces of equipment: the Global Navigation Satellite System (GNSS) receiver and the total station. These are still the gold standard for setting high-accuracy control points and nailing down legal boundaries with undeniable precision.
A GNSS rover, which talks to satellites like GPS, is incredibly accurate in open areas with a clear view of the sky. It's my go-to for setting ground control points (GCPs) or staking out known locations across a big, unobstructed site.
The total station, on the other hand, is the master of tight spots and complex environments. It bounces a focused laser beam to measure angles and distances with millimeter-level accuracy. This makes it essential for things like locating building corners, setting construction stakes, or working under heavy tree cover where satellite signals just won't cut it.
Think of it this way: a total station is like a surgeon's scalpel—perfect for intricate, precise work. A GNSS rover is more like a high-powered GPS navigator, ideal for mapping out the broader landscape.
The Rise of Aerial Surveying: Drones
The game really changed when drones carrying high-res cameras and LiDAR sensors hit the scene. These flying platforms can gobble up immense amounts of data over huge areas in a fraction of the time it would take a ground crew.
- Drone Photogrammetry: This involves flying a grid and snapping thousands of overlapping photos. Specialized software then stitches them into a stunningly detailed 3D model and map. It's fantastic in open terrain for creating orthomosaic maps and digital surface models.
- Drone LiDAR: LiDAR (Light Detection and Ranging) is different. It's an active sensor that fires out laser pulses and measures the return time to build a dense point cloud. Its superpower? It can punch through vegetation to map the bare earth underneath a forest canopy—something that’s nearly impossible for photogrammetry.
This diagram shows the basic architecture of the Global Positioning System, which is the backbone of the GNSS receivers we use in surveying.
The system's three segments—space, control, and user—all work in concert to provide the precise positioning data that both our traditional GNSS rovers and modern RTK/PPK drones depend on.
Survey Method Comparison: Traditional vs. Modern Aerial
Deciding which tool to pull out of the truck can be tricky. This table breaks down the key differences to help you match the right technology to your project's demands.
| Feature | Traditional (GNSS/Total Station) | Drone Photogrammetry | Drone LiDAR |
|---|---|---|---|
| Best For | Boundary surveys, high-precision control points, small or obstructed sites. | Large, open areas; creating visually rich orthomosaics and 3D models. | Vegetated areas, complex topography, creating bare-earth models. |
| Accuracy | Highest (millimeter-level) | High (centimeter-level with GCPs) | Very high (centimeter-level) |
| Speed | Slow, methodical, point-by-point data collection. | Extremely fast for large areas. | Very fast, especially over complex terrain. |
| Cost | High labor cost due to time on site. Moderate equipment cost. | Low equipment and labor cost. Processing can be intensive. | High equipment cost. Can significantly reduce time in the field. |
| Vegetation | Can work under canopy, but line-of-sight is needed for total station. | Poor. Cannot see through dense tree cover or vegetation. | Excellent. Can penetrate canopy to map the ground below. |
| Deliverables | CAD files, boundary plats, point data. | Orthomosaic maps, DSM/DTM, 3D models, point clouds. | High-density point clouds, bare-earth DTMs, contour maps. |
Ultimately, the best surveyors know how to play to each tool's strengths.
Making the Right Choice for Your Project
So, how do you decide? It all comes down to the specifics of your project: the terrain, the scale, the accuracy you need, and the budget you're working with. There’s no single “best” method, just the most appropriate one for the situation.
Imagine you need a topo map of a 100-acre property that's half open field and half dense woodland. A purely traditional survey would take weeks. A photogrammetry-only flight would be useless in the woods. The smart play? Fly the whole site with a LiDAR drone to capture both the open ground and the forest floor. Then, use a GNSS rover to set a few high-precision ground control points to lock in the final map's accuracy.
This hybrid approach gives you the best of both worlds: the speed and comprehensive coverage of aerial LiDAR combined with the pinpoint accuracy of traditional ground methods. Knowing when to deploy each tool is what separates a good surveyor from a great one.
Assembling Your Drone Surveying Toolkit

Making the jump to a modern, drone-based survey workflow isn’t as simple as buying a high-spec drone off the shelf. Think of it more like building a complete system. The right mix of hardware and software is what turns that flying camera into a genuine, precision measurement tool, and every single piece has a job to do in getting you accurate, client-ready data.
The drone is the star of the show, of course. But for serious survey work, you can't just use any model. You'll need a robust platform that can handle a high-resolution camera and, ideally, comes with Real-Time Kinematic (RTK) or Post-Processed Kinematic (PPK) capabilities. These systems are game-changers, correcting for GPS signal errors either during the flight or back at the office to give you centimeter-level accuracy stamped directly onto your images.
Still, even with a top-of-the-line RTK drone, the real secret to survey-grade accuracy is found on the ground.
Essential Hardware for Precision
Your gear on the ground is every bit as critical as what’s flying in the air. This is the equipment that provides the checks and balances, anchoring your aerial data to the real world and making sure your final map is spatially bang-on.
Here’s what your field kit should include:
- Ground Control Points (GCPs): These are just physical markers you place across your survey area before you even think about flying. They act as high-visibility targets that you can lock in with a GPS rover.
- GNSS Rover and Base Station: This duo is your source of truth on the ground. The base station sits tight over a known coordinate, while you use the rover to log the precise location of each GCP. This ground data is what you’ll use later to georeference your aerial map with confidence.
Let’s be clear: without well-measured GCPs, even an RTK drone flight can have slight positional drift. For any project where verifiable precision is a must, using a handful of GCPs measured with a quality GNSS rover isn’t just best practice—it’s a non-negotiable part of quality assurance.
Just having the gear isn't enough; managing it in the field is a skill in itself. Always pack more batteries than you think you’ll need for everything, and have a rock-solid plan for your data. A simple mistake, like forgetting to label an SD card, can cause hours of frustrating guesswork back in the office. If you're looking for the right aerial platform, our guide on the best drones for land surveys breaks down exactly what to look for.
The Software That Powers Your Workflow
Once the fieldwork is done and the data is captured, you need a powerful software suite to transform those raw images into something truly useful. Your workflow will typically rely on three distinct types of software working together.
First, you've got your mission planning software. Apps like DroneDeploy or Pix4Dcapture automate the flight itself. You just outline the survey area on a map, punch in parameters like altitude and image overlap, and the software flies the drone in a perfect grid pattern for you. It's set-it-and-forget-it data collection.
Next up is the heavy lifting: photogrammetry processing software. This is where tools like Agisoft Metashape or Trimble Inpho come into play. They take the thousands of aerial images and your GCP data, then work their magic to stitch it all together. The process generates your core deliverables: a dense 3D point cloud, a digital elevation model, and a high-resolution orthomosaic map. While drones are incredible for detailed, localized projects, it's worth remembering the legacy of satellite imagery in this field. The Landsat program, for instance, has been capturing global land surface imagery since 1972, creating a massive historical archive. Today, there are over 10 million Landsat scenes available to download. You can learn more about this vast collection of land surface imagery on the USGS website.
Finally, you’ll need CAD or GIS software. This is where you bring your processed data for the final drafting stage. In programs like AutoCAD Civil 3D or QGIS, you'll generate contour lines, create planimetric maps, and prepare the final survey plat your client is waiting for. This entire software ecosystem is the digital factory that turns your field data into a professional, valuable product.
Time to Fly: Executing the On-Site Data Capture
This is where the rubber meets the road—or, more accurately, where the props meet the air. All that desk time, planning, and legal legwork finally pays off. Getting the data capture right is a methodical process. It’s not about being fast; it's about being deliberate. Every single action you take in the field, from your first safety check to your last battery swap, directly impacts the quality of your final survey.
Your day on-site doesn't kick off with the drone's rotors spinning. It starts with a good old-fashioned walkaround, a solid safety assessment, and a series of pre-flight checks that you should know like the back of your hand. This isn't just about ticking boxes; it’s the bedrock of a safe, successful mission.
Pre-Flight Checks and Site Safety
Before you even think about launching, do a thorough walkthrough of the entire site. Look for potential hazards that might not have been obvious on a satellite map—things like power lines, tall trees just outside your boundary, or new construction equipment that just showed up. This is also your last chance to double-check that your airspace authorizations are good to go and to get a live weather update. High winds (anything above 25 mph is usually a no-go) or a sudden rain shower can ground you in an instant.
Make your pre-flight routine a non-negotiable checklist:
- Drone Inspection: Give the drone a physical once-over. Check the props for any nicks or cracks, make sure the batteries are fully charged and click in securely, and wipe down the camera lens.
- Software & Comms: Fire up your flight app. Confirm it’s talking to the drone, the firmware is current, and your "Return to Home" altitude is set well above any obstacles on site.
- Site Scan: Do a final sweep with your eyes. Has any new pedestrian traffic, livestock, or machinery wandered into your flight area since you first arrived?
Cutting corners here is just asking for trouble. A tiny, unnoticed crack in a propeller can lead to a complete failure mid-flight, turning thousands of dollars of survey gear into a very expensive liability.
Placing and Measuring Ground Control Points
Safety sorted? Great. Now it’s time to establish your project's ground truth. Ground Control Points (GCPs) are what connect your aerial photos to precise, real-world coordinates. Without them, you’re just creating a pretty picture, not a survey-grade map you can actually take measurements from.
Pick spots for your GCPs that are out in the open and on relatively flat ground. You'll want to spread them evenly across the entire area, making sure to cover the highest and lowest points of elevation. A good rule of thumb for most small-to-medium jobs is to use at least five to ten GCPs. Use high-contrast targets, like a checkerboard pattern, so they’ll be easy to spot in your drone imagery.
Once they're down, grab your GNSS rover and get to work recording the exact coordinates of the center of each GCP. This is a step that demands patience. Let the rover sit on each point for a minute or two to get a solid, high-precision reading. This meticulous ground data is the key to georeferencing your entire dataset with real accuracy later on.
If there's one thing new drone surveyors get wrong, it's rushing or skipping the GCP process. This is single-handedly the most critical step for ensuring the absolute accuracy of your survey. Get this wrong, and you've completely undermined the integrity of your final deliverables.
Optimizing the Drone Mission
Alright, you're finally ready to fly. Pull up your mission planning software, because this is where you dial in the settings that dictate the quality of your data. The entire goal is to capture a set of crisp, highly overlapping images that your photogrammetry software can stitch together without a fight.
Here are the key settings to nail:
- Flight Altitude: Flying lower gets you higher-resolution images (a better GSD), but it chews through batteries and flight time. Flying higher is faster but sacrifices detail. For most topo work, a Ground Sampling Distance (GSD) of 2-5 cm/pixel is a good target.
- Image Overlap: This is non-negotiable. You need at least 75% front lap and 75% side lap. Not having enough overlap is probably the number one reason processing fails or models come out warped.
- Camera Settings: Ditch the auto settings. Lock your focus to infinity and use a shutter speed fast enough to eliminate any motion blur. If you let the camera adjust exposure automatically, changes in lighting during the flight will create a mess of inconsistent images.
As the drone flies the mission, your job isn't done. Keep an eye on its progress and watch for changing conditions. The sun dipping behind a thick cloud halfway through the flight is a classic problem—it can totally change the exposure and shadows in your photos. If you can, it's often smarter to pause the mission and wait for the light to become consistent again. Being proactive here will save you a world of pain in the processing stage.
Turning Raw Data Into Actionable Survey Maps
Once you’re packed up and off-site, the real heavy lifting begins back at the office. All those aerial images and GPS data points you carefully collected are just the raw ingredients. The magic happens when you fire up your photogrammetry software and process that data into the professional-grade deliverables your clients are paying for.
Your first move is to import everything into your processing software. This means loading up the hundreds (or thousands) of geo-tagged images from the drone, along with the precise coordinate file for your Ground Control Points (GCPs). You’ve got to get this initial import right—the software needs this data to start stitching the images and building the initial 3D model of the site.
Generating the Dense Point Cloud
With everything loaded, the first major task is to generate a dense point cloud. Your software will chew through every photo, identifying millions of common points between them, and use that information to create a massive collection of 3D points, each with a specific X, Y, and Z coordinate. Think of this as the digital skeleton of your survey.
Quality control at this stage is absolutely critical. You can't just hit "process" and walk away. You have to manually tag the center of each GCP in multiple photos, allowing the software to recalibrate the entire project based on these known, real-world coordinates. Always, always review the processing report and check the Root Mean Square Error (RMSE). A low RMSE, typically just a few centimeters, is your confirmation that the map is accurately locked to the ground.
I can't stress this enough: never trust the initial results without a thorough quality check. I've seen projects where a single typo in a GCP coordinate threw off the entire elevation model by several meters. Double-check your inputs and review that quality report before you even think about creating final products.
The success of this office-based work hinges entirely on the discipline you applied in the field.

This simple on-site workflow is the foundation for everything that follows. Great data in means great results out.
Creating Your Core Survey Deliverables
Once you have a clean, accurate point cloud, you can start creating the core products of a drone survey. These are the actionable maps and models that provide incredible value for planning, design, and analysis.
Your primary deliverables will almost always include these three:
- High-Resolution Orthomosaic Map: This is a single, perfectly stitched, and geometrically true aerial image of your entire site. Unlike a standard satellite photo, it has a uniform scale, so you can take accurate distance and area measurements directly from it.
- Digital Elevation Model (DEM): A DEM is a 3D model representing the bare-earth surface, with all the buildings, trees, and vehicles stripped away. It's the foundation for any serious topographic work.
- Contour Lines: Generated directly from the DEM, these lines connect points of equal elevation. They are essential for visualizing the site’s topography and figuring out things like drainage patterns.
To get a truly accurate DEM, you'll need to classify your point cloud. This is a powerful step where you use software tools to automatically (or sometimes manually) categorize points as ground, vegetation, buildings, etc. By filtering out everything but the "ground" points, you create that true bare-earth model. You can explore a variety of drone mapping software options that are built to handle these classification and processing tasks.
Exporting for Final Drafting and Delivery
The final piece of the puzzle is exporting your deliverables in a format the client can actually use. This usually means saving the orthomosaic, DEM, and contour lines in formats compatible with CAD or GIS software, like a GeoTIFF for the map and a .dwg or .shp file for the contours.
From there, the data is often brought into a program like AutoCAD Civil 3D for the final drafting. This is where you add annotations, line work, and other planimetric details to create the finished survey plat, combining the rich visual detail of the aerial data with the precision of a traditional survey drawing. This ability to integrate large-scale data is also seen in global surveying, where advanced datasets are changing the field. For instance, the Global 2000-2020 Land Cover and Land Use Change Dataset offers 30-meter spatial resolution imagery to quantify changes in forests, croplands, and water coverage over two decades. Discover more about these global land use findings and their impact.
Common Questions About Land Surveying
When you're first getting into land surveying, a ton of questions always come up. It's totally normal. Whether you're trying to get a handle on costs, the legal side of things, or the tech involved, clear answers are what you need.
This section tackles some of the most frequent queries we hear from new surveyors and property owners. The idea is to give you direct, practical answers so you can move forward with confidence.
How Much Does It Cost to Survey Land
This is the million-dollar question, and the honest answer is: it depends. There’s no flat rate for a land survey. The cost can swing wildly based on a few key things, so you'll always need a specific quote for your project.
Here's what a surveyor will be looking at when they price a job:
- Property Size: This one's obvious. A tiny quarter-acre residential lot is a much smaller job than a sprawling 100-acre rural property.
- Terrain Complexity: A flat, open field is a walk in the park. A densely wooded lot with steep hills and a creek running through it? That’s a whole different beast and will take a lot more time and effort.
- Survey Type: A simple boundary stakeout is on the lower end of the cost spectrum. But a full ALTA/NSPS Land Title Survey or a detailed topographic survey for an engineering firm is far more intensive and, therefore, more expensive.
- Record Quality: If the property has a clean history with clear, easy-to-find records, the job is much simpler. If the surveyor has to spend days digging through messy, conflicting, or ancient deeds, that research time gets baked into the final price.
For a basic boundary survey on a standard suburban lot, you're likely looking at anywhere from a few hundred to a couple of thousand dollars. On the other end, a comprehensive topographic survey of a large, complex commercial property using aerial LiDAR could easily climb into the tens of thousands. The only way to know for sure is to call a few licensed local surveyors, give them the details, and get a proper quote.
Can I Legally Survey My Own Property
We hear this one all the time, and it's a critical distinction to make. While you are absolutely free to measure your own property for your own information—say, for planning a garden—you cannot legally create an official survey.
In nearly every jurisdiction, only a licensed and registered professional land surveyor is authorized to produce a survey that is legally binding. You absolutely need one of these official surveys for things like:
- Sorting out boundary disputes with neighbors.
- Getting building permits for any new construction.
- Subdividing a parcel of land.
- Recording easements or other legal documents.
Trying to do a "legal" survey yourself has zero standing in a court of law and can land you in a world of financial and legal trouble. If you need a survey for any official reason, you have to hire a pro. No shortcuts here.
What Is the Difference Between Drone Photogrammetry and LiDAR
Both are incredibly powerful aerial mapping methods, but they work in fundamentally different ways. The right choice really comes down to the project's environment and what you're trying to achieve.
Photogrammetry is a passive method. It uses a high-res camera to snap thousands of overlapping pictures. Specialized software then stitches all those photos together to create a detailed 3D model. It’s fantastic for creating visually rich, photo-realistic maps and works like a charm in open areas where the ground is easy to see.
LiDAR (which stands for Light Detection and Ranging) is an active method. Instead of taking pictures, it shoots out thousands of laser pulses every second and measures how long they take to bounce back. The huge advantage here is its ability to punch through vegetation. It can map the bare earth under a thick canopy of trees and brush, something photogrammetry just can't do. The term 'survey' is used across many fields; for instance, you can explore different types of surveys, such as an asset survey, to see how the core principles apply elsewhere.
Key Takeaway: Photogrammetry is your go-to for open fields and projects where visual detail is key. If you need to map the ground in a forest or heavily vegetated area, LiDAR is the only way to go.
How Accurate Is a Drone Survey
The short answer? Incredibly accurate, provided you do it right. With modern gear and a solid workflow, a drone survey can easily hit survey-grade precision, often matching or even beating traditional ground methods for certain jobs.
The accuracy of your drone survey really comes down to a few critical pieces of the puzzle. The first is using a drone equipped with RTK/PPK technology, which gives you centimeter-level positioning for the drone itself. But the real key to getting verifiable accuracy is using Ground Control Points (GCPs). These are physical markers you place on the ground and measure with a high-precision GNSS rover.
When you combine an RTK/PPK drone with a solid network of well-measured GCPs, achieving absolute accuracy within just a few centimeters is standard practice. It all boils down to the quality of your equipment, the care you take in the field, and a meticulous data processing workflow back in the office.
Managing the safety, compliance, and flight planning for these detailed surveys can be complex. Dronedesk simplifies the entire process, from pre-flight risk assessments to post-flight logging, ensuring your operations are efficient and professional. Learn how you can streamline your workflow at https://dronedesk.io.
 FAA Remote ID Rule Explained for Commercial Pilots →
 Drone Legal Requirements for Commercial Operations →
 Drone Near Airport Rules Explained for Safer Planning →
 International Drone Regulations Every Global Team Should Know →
 Drone Flight Risk Assessment Example for Safer Missions →
 Beyond Visual Line of Sight Explained for Operators →
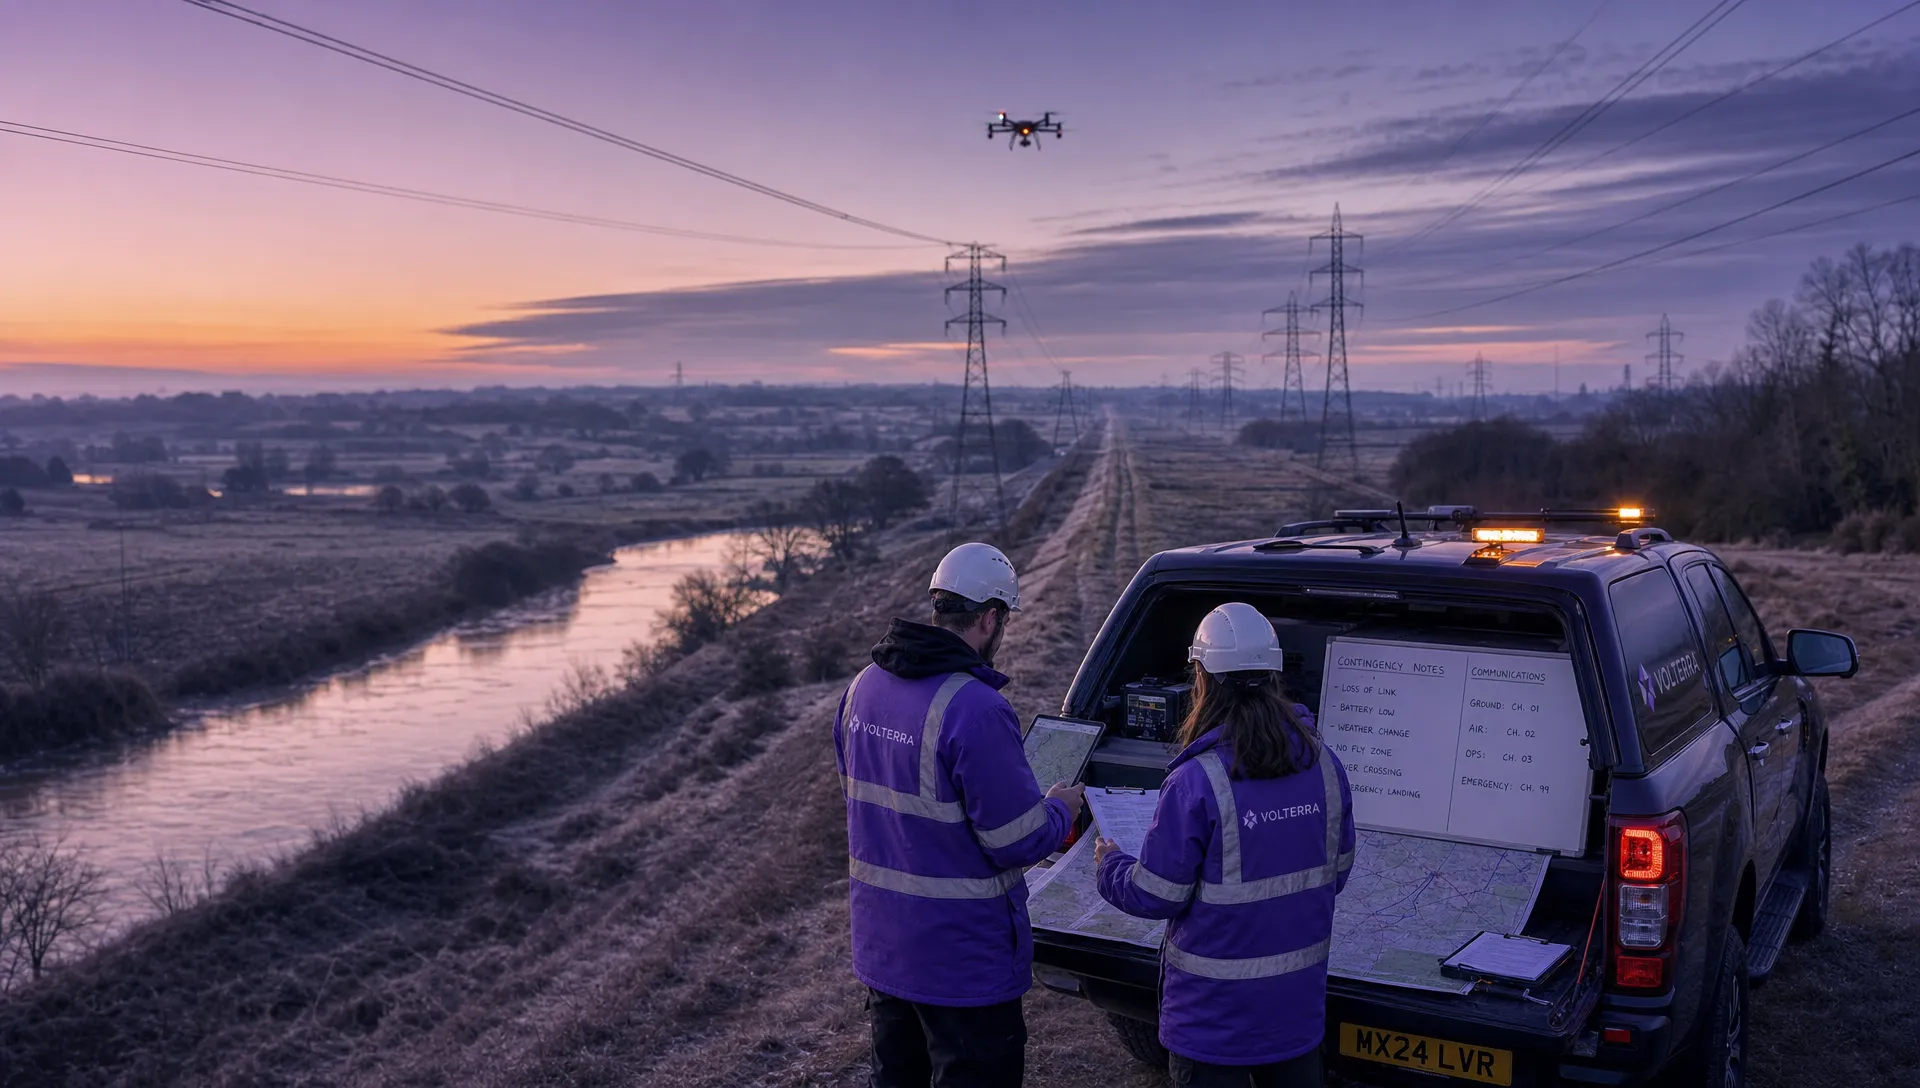 How BVLOS Drone Operations Change Commercial Workflows →
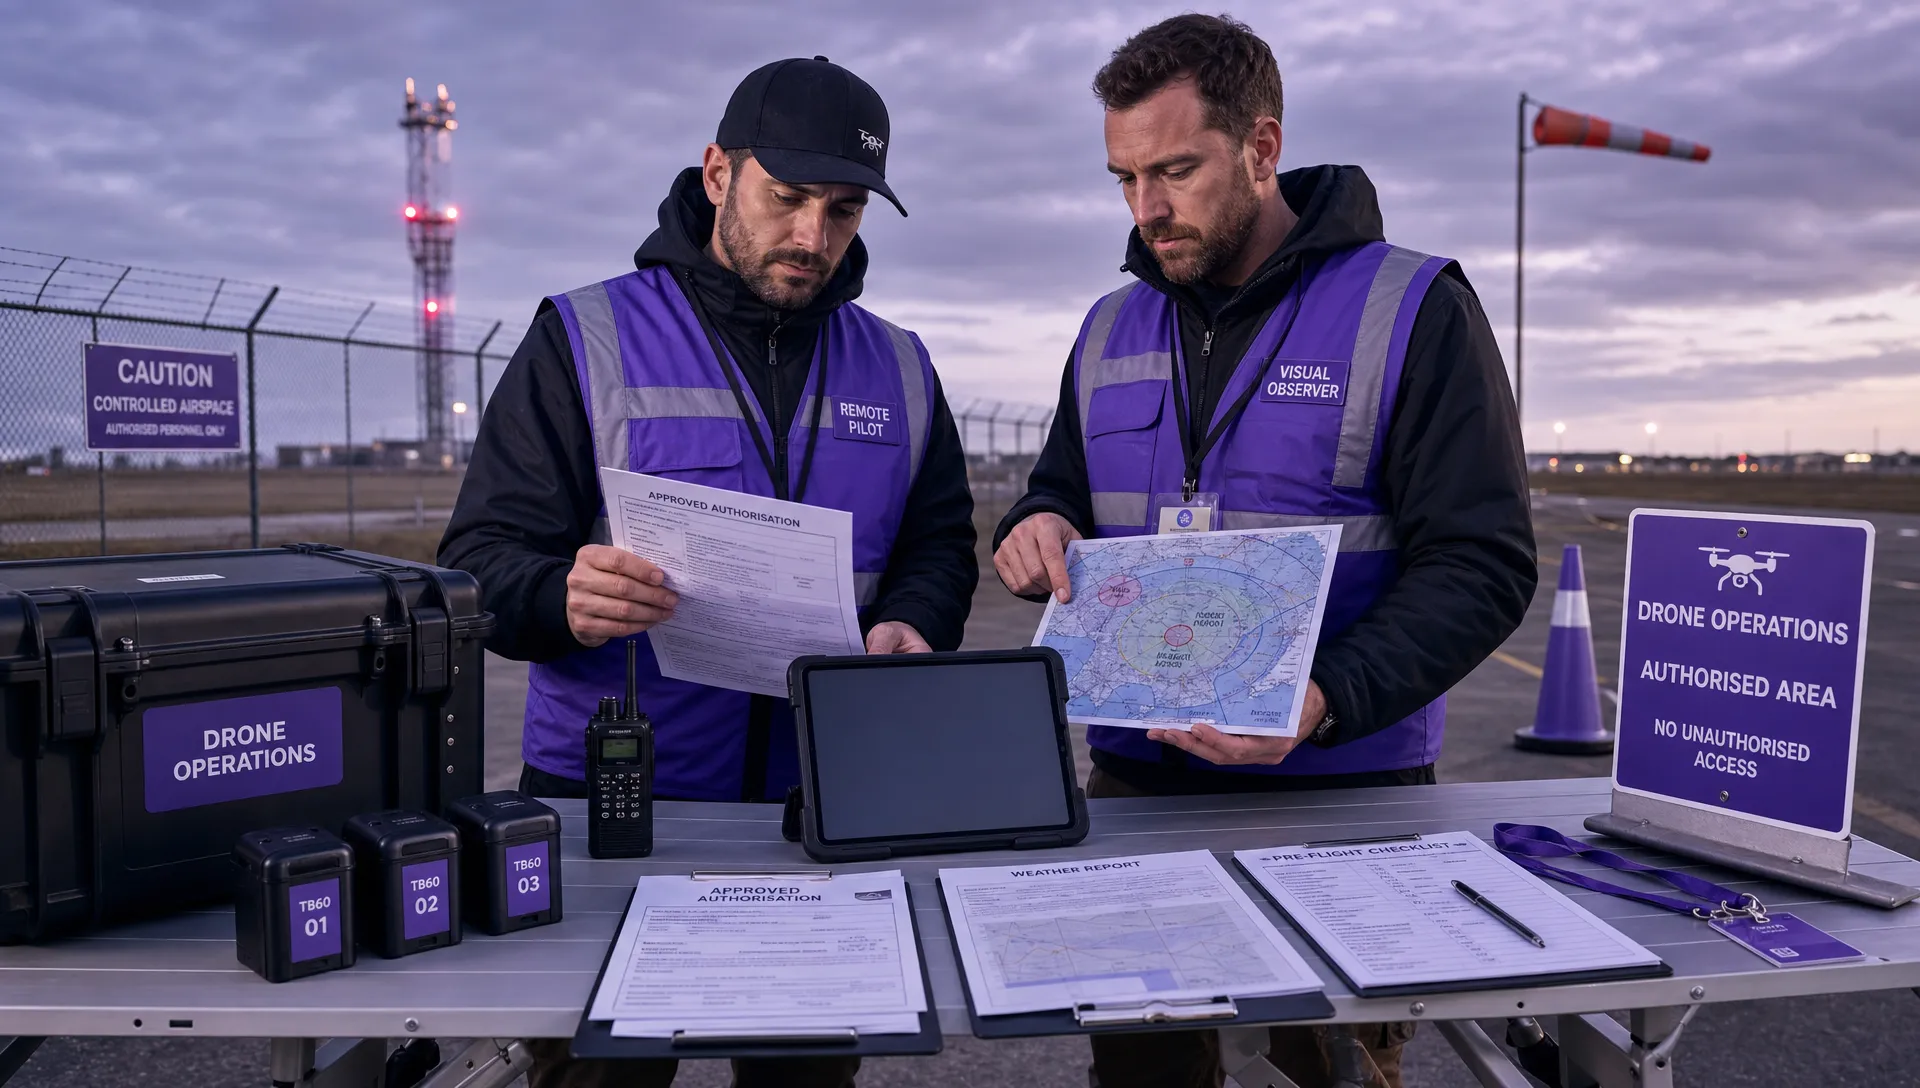 FAA Drone Rules Every Commercial Pilot Should Know →
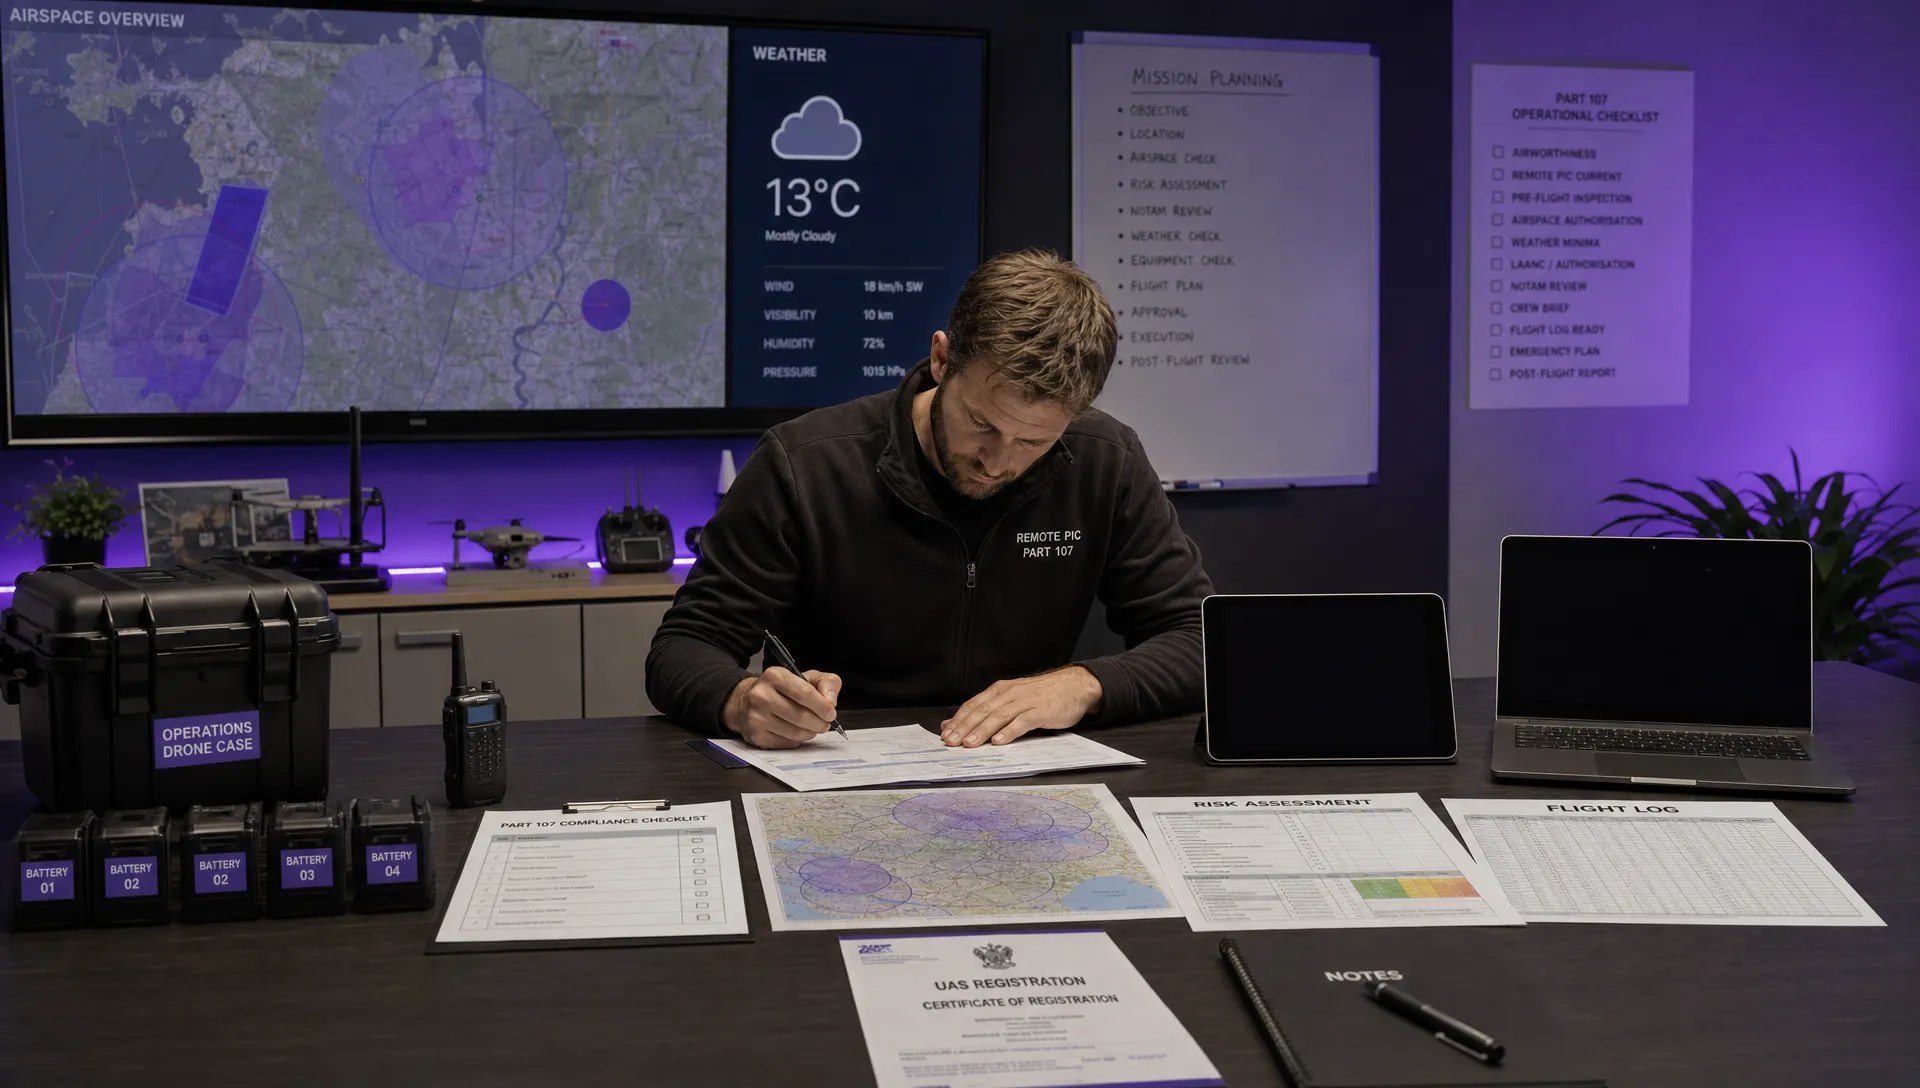 FAA 107 Explained for Commercial Drone Operators →
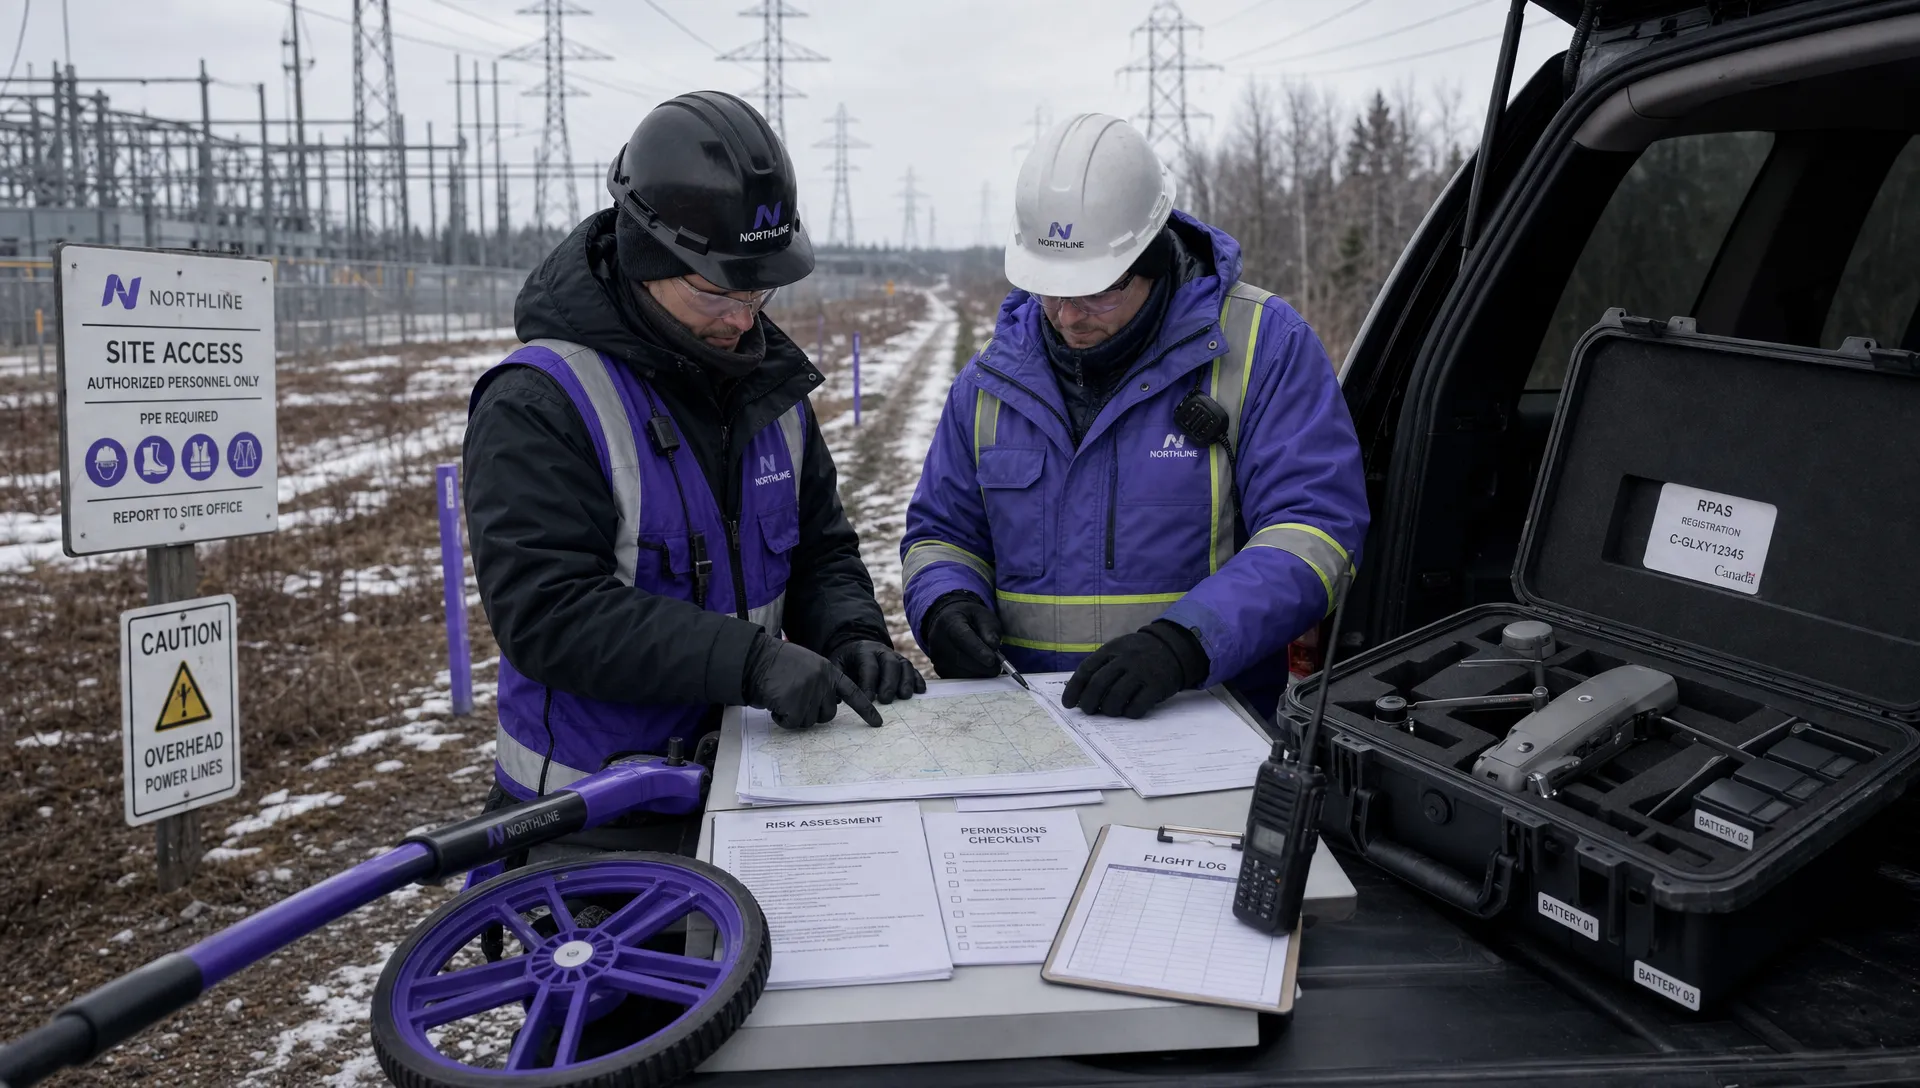 Canadian Drone Regulations Explained for Business Use →