Your Guide to Aerial Surveying UAV Operations
Long before your drone's props start spinning, the fate of your aerial surveying UAV mission is already being sealed. The real work—the stuff that separates top-tier data from a frustrating and expensive re-flight—starts on the ground with meticulous planning. This is where you turn a client's request into a concrete, flyable mission plan.
Building the Foundation for Your UAV Survey

A successful survey is so much more than just putting a drone in the air. It's a discipline built on solid groundwork, and this initial planning phase sets the tone for the entire project. Get this right, and you're well on your way to delivering quality results.
Defining Clear Project Objectives
First things first: you have to translate what your client wants into cold, hard technical specs. A vague brief like "map my construction site" just won't cut it. You need to probe deeper to figure out what they really need.
- What level of accuracy are we talking about? A simple progress shot for a weekly meeting is worlds away from a survey needed for earthwork volume calculations, which demands centimeter-level precision.
- What are the final deliverables? Are they expecting a high-resolution orthomosaic, a Digital Elevation Model (DEM), or maybe a detailed 3D mesh of a new structure?
- What challenges does the site present? Is there a thick tree canopy? What about highly reflective surfaces like water or glass that can wreak havoc on your data collection?
Nailing down the answers to these questions clarifies the entire project scope. It dictates everything that follows, from the sensor you choose to the flight parameters you set. For anyone just breaking into the field, learning how to properly structure these projects is a game-changer. If that's you, our guide on starting a UAV business has some great pointers on the business side of things.
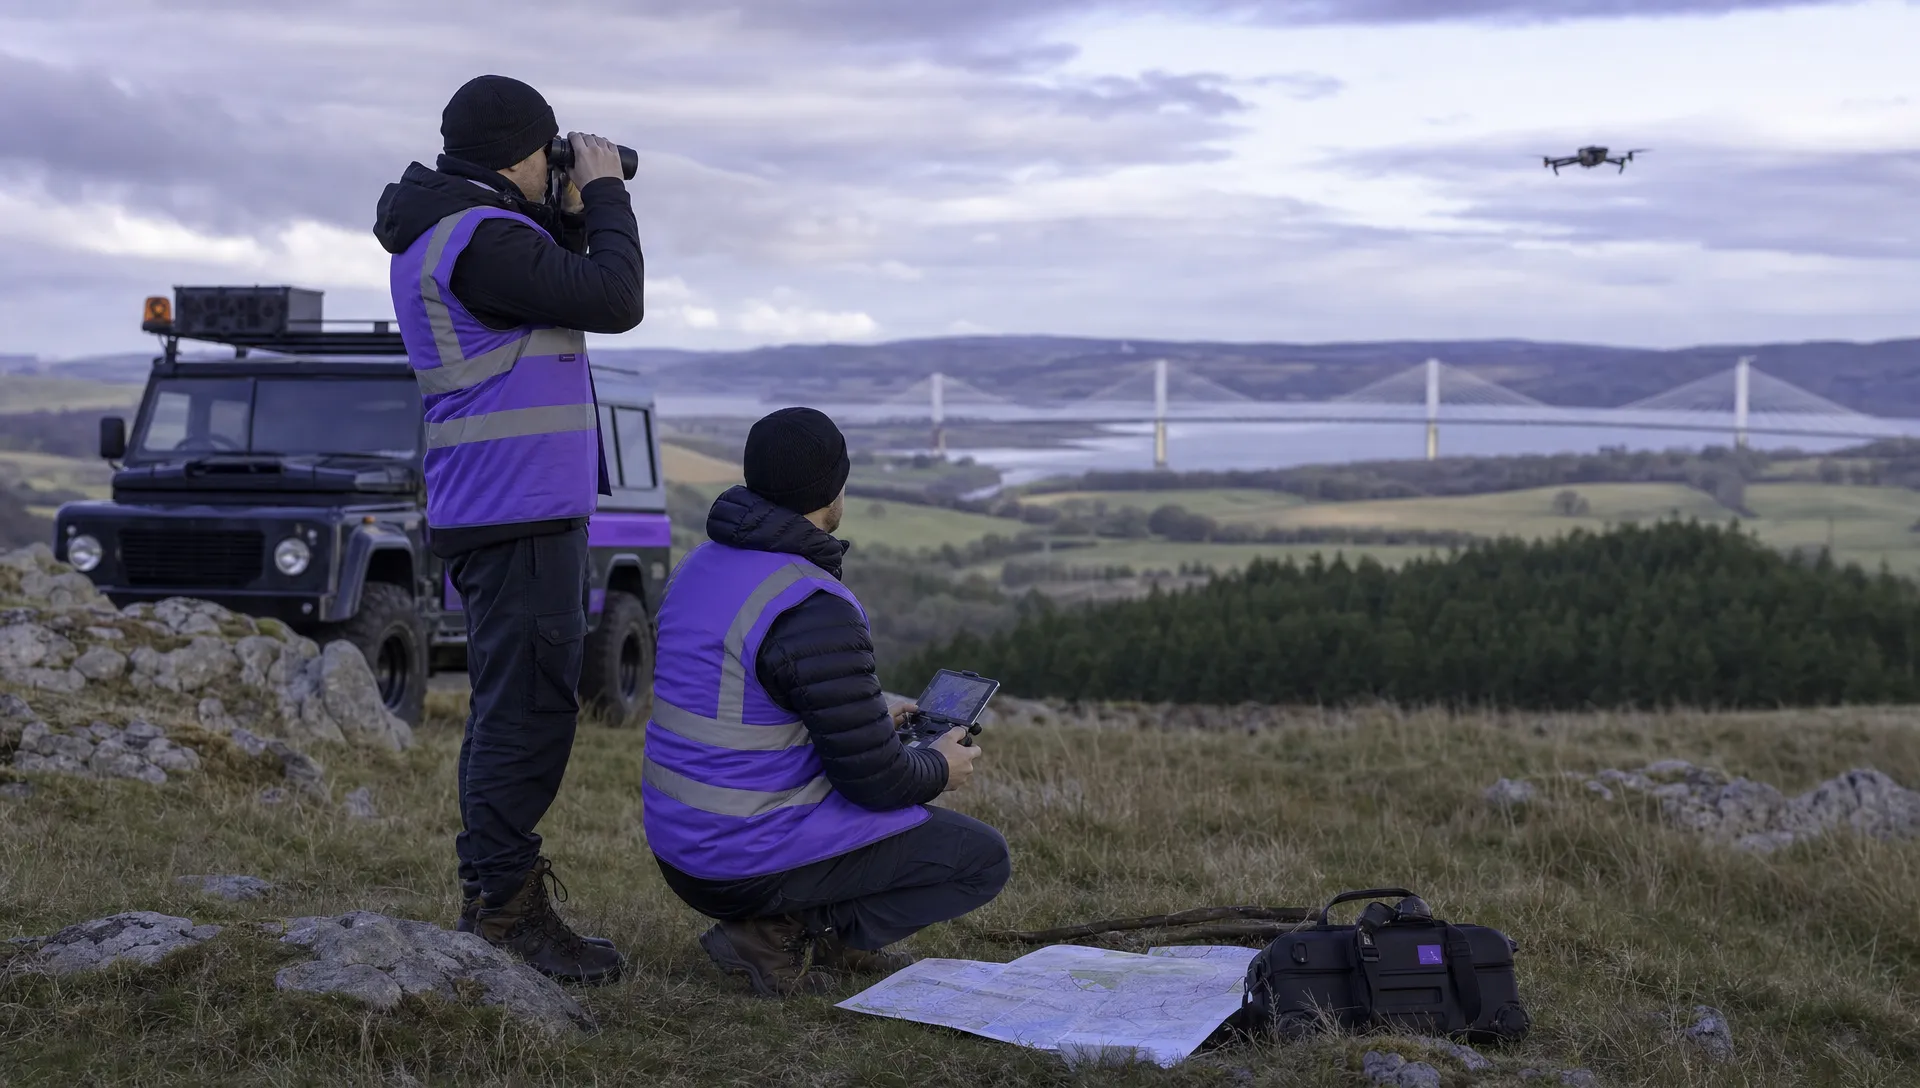
Site Reconnaissance and GCP Placement
Never, ever skip the site "recce." Walking the ground yourself is non-negotiable. It’s your chance to spot hazards, find the best spots for takeoff and landing, and identify obstructions that your flight planning software will inevitably miss. This is also your moment to plan out your Ground Control Points (GCPs). Think of GCPs as your anchor to reality—marked points on the ground with hyper-accurate coordinates that tie your drone's data to the real world.
Good GCP placement is an art. It involves distributing them evenly across the site's high and low points, ensuring they are visible from the air, and avoiding areas where they might be disturbed during the flight.
The demand for this kind of precision work is exploding. The global market for aerial surveying and mapping is on track to hit USD 2.78 billion by 2032, driven by huge investments in infrastructure and smart city projects. The drone slice of that pie has been growing at a blistering 18% CAGR since 2020, all thanks to how efficient and affordable it is compared to old-school methods. This boom just underscores how critical it is for pilots to master these foundational planning skills to deliver true survey-grade results.
Picking the Right UAV and Sensor for Your Aerial Survey
Let's get one thing straight: your drone and its payload are the heart and soul of your survey operation. Making the right choice isn't about grabbing the priciest gear off the shelf. It’s about being smart and matching your hardware to the specific demands of the job site and what the client actually needs.
Think of it like this: you wouldn't show up to a demolition job with a scalpel. The same principle applies here. The right aerial surveying uav is the one that’s perfectly suited for the mission at hand.
Match the Airframe to the Mission
Your first big decision is choosing between a fixed-wing or a multi-rotor UAV. A sprawling 500-acre farm needs a very different tool than a tight, complex urban construction site.
- Fixed-Wing UAVs are the marathon runners of the drone world. They're built for endurance and are absolutely perfect for mapping huge, open areas like agricultural land or long infrastructure projects. Their aerodynamic design means they can stay in the air for much longer, letting you cover a ton of ground on a single battery.
- Multi-Rotor UAVs (your typical quadcopters) are the gymnasts—nimble and agile. They can take off and land vertically (VTOL), hover perfectly still, and navigate into tight corners. This makes them the go-to choice for inspecting vertical structures like buildings and cell towers, or for maneuvering around intricate construction sites.
If you're looking for specific recommendations, our guide on the best drones for land surveys breaks down some of the top-performing models out there.
Choose the Right Sensor for the Job
Once you've picked your airframe, the next crucial piece of the puzzle is the sensor. This is what actually collects the data, and different sensors "see" the world in completely different ways. This is a booming part of the industry; the Unmanned Aerial Survey services market hit USD 4.26 billion in 2025 and is only climbing, mostly thanks to incredible leaps in sensor technology.
Your sensor is what separates a pretty picture from scientific-grade data. An RGB camera captures what your eye can see, but a LiDAR sensor can pierce through a dense forest canopy to map the true ground below.
Here's a quick rundown of the main players:
- RGB Cameras: These are the workhorses for photogrammetry. They capture high-resolution color images that you can stitch together to create stunningly detailed 3D models and orthomosaics. They are ideal for things like stockpile volume calculations or generating high-fidelity site maps.
- LiDAR Scanners: LiDAR (Light Detection and Ranging) uses laser pulses to measure distances, creating an incredibly dense and accurate point cloud of the environment. Its killer feature is its ability to penetrate vegetation, making it the undisputed champion for forestry work or mapping any terrain hidden under tree cover.
- Multispectral Sensors: These specialized sensors capture data from specific bands of light that are invisible to us. For agriculture, this is a game-changer. It allows agronomists to assess crop health by detecting subtle variations in chlorophyll levels long before any problems become visible to the naked eye.
As you get into more specialized hardware, it can be helpful to get a handle on different manufacturing models. A bit of background reading on understanding OEM and ODM manufacturing approaches can be surprisingly useful, especially if you ever find yourself needing highly customized gear for a unique project.
UAV Type and Payload Selection Guide
To make things a bit clearer, here's a table that breaks down which UAV and payload combinations work best for common surveying applications. Think of it as a quick-start guide to pairing the right tools with the right job.
| Application | Recommended UAV Type | Primary Payload | Key Advantage |
|---|---|---|---|
| Large-Scale Farmland Mapping | Fixed-Wing | Multispectral | Maximum area coverage per flight for crop health analysis. |
| Construction Site Progress | Multi-Rotor | High-Res RGB | Ability to hover and capture detailed imagery of complex structures. |
| Forestry Management | Fixed-Wing or Multi-Rotor | LiDAR | Penetrates tree canopy to accurately map the forest floor. |
| Stockpile Volume Measurement | Multi-Rotor | High-Res RGB | Quick deployment and high-accuracy data for photogrammetry. |
| Building Façade Inspection | Multi-Rotor | High-Res RGB / Thermal | Vertical flight capability allows for close-up, detailed inspection. |
| Corridor Mapping (Pipelines/Roads) | Fixed-Wing | High-Res RGB / LiDAR | Efficiently covers long, linear areas in a single mission. |
Ultimately, the goal is to build a toolkit that is versatile but also perfectly suited for the type of work you do most often. By carefully considering the mission requirements first, you can ensure you're investing in hardware that will deliver reliable, accurate, and valuable data every time.
Planning and Executing Your Flight Mission
Modern mission planning software is pretty much the command center for your entire survey. This is where you translate your idea into a concrete, automated flight plan that nails every inch of your site with precision. Getting these settings dialed in isn't just a good idea—it's absolutely essential for pulling down consistent, high-quality data.
The whole point here is to program an autonomous flight that your aerial surveying UAV can execute without a hitch. This takes human error out of the equation, guaranteeing those perfectly straight flight lines and precisely timed photos that are next to impossible to replicate manually.
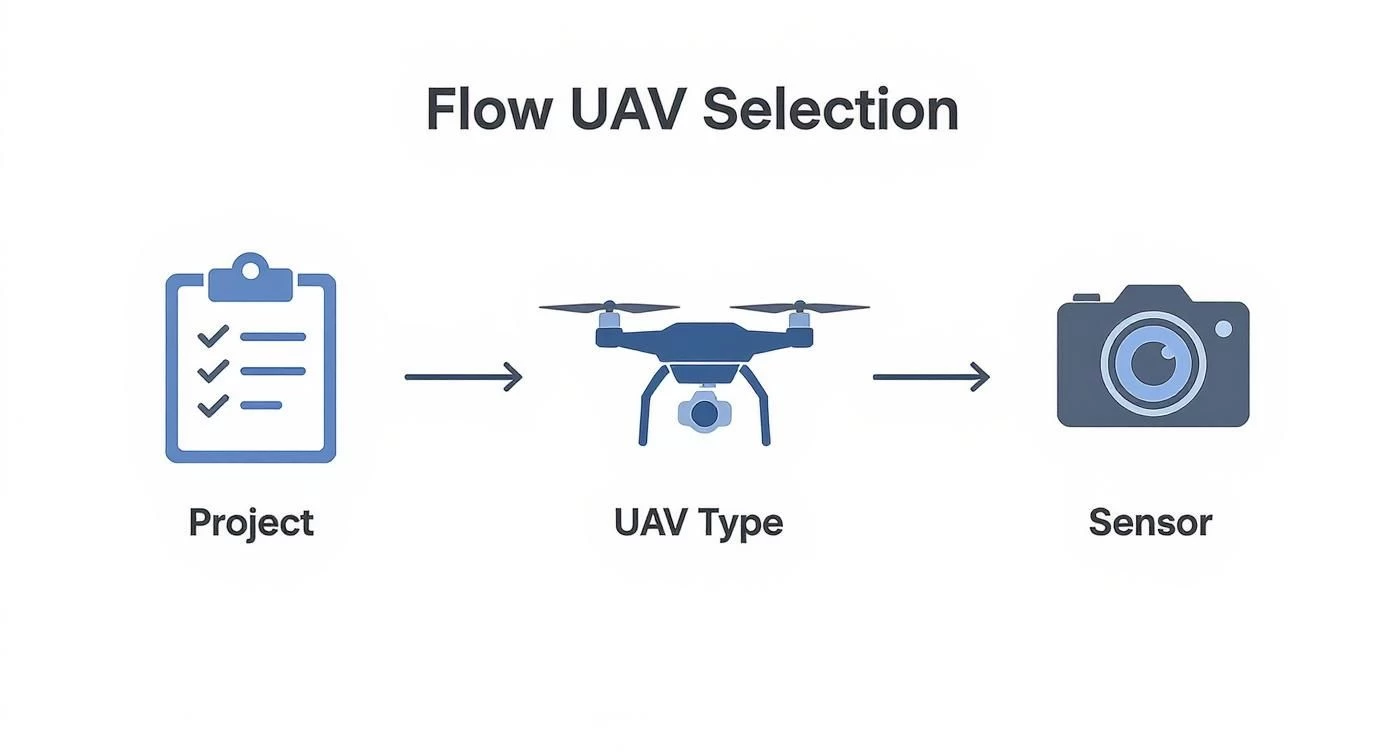
This process really boils down to a few core decisions. It all starts with your project needs, which then dictate the right kind of UAV and the specific sensor you'll need. Grasping this flow from project requirements to hardware selection is fundamental, and it's something you need to have sorted before you even think about opening a flight planning app.
Configuring Critical Flight Parameters
First up, you've got to define the flight altitude. This is a huge decision because it directly impacts your Ground Sample Distance (GSD)—the real-world size represented by a single pixel in your images. Flying lower gives you a smaller GSD (meaning higher resolution), but the trade-off is that it takes a lot more flight time to cover the same area.
Next, you'll set your image overlap, and I can't stress this enough: this is one of the most critical steps for successful photogrammetry. If you don't have enough overlap, you'll end up with gaps in your model, and the whole processing job can completely fail.
- Frontlap: This is your overlap between one photo and the next along a single flight line. I've found that a setting of 75-80% is a reliable standard for most mapping projects. It just works.
- Sidelap: This is the overlap between your adjacent flight lines. A good starting point here is 70-75% to make sure you have complete coverage without any holes.
If you really want to get into the weeds on these settings, there are some fantastic resources out there on advanced drone flight planning that cover all the mission parameters in great detail.
Choosing Your Flight Pattern
The shape and features of your site will tell you which flight pattern to use. For wide-open, flat areas like agricultural fields or big construction sites, a simple grid or "lawnmower" pattern is incredibly efficient. The drone just flies back and forth in straight, predictable lines, making sure everything gets covered evenly.
But when you're dealing with sites that have a lot of verticality—think buildings or complex, hilly terrain—a single grid pattern will almost certainly miss crucial data on the vertical faces. This is where a crosshatch pattern becomes your best friend. It’s pretty straightforward: you fly the standard grid, then you fly it again at a 90-degree angle to the first pass.
A crosshatch mission will double your flight time, no doubt about it. But what you get in return is rich, oblique imagery that is absolutely vital for creating complete, detailed 3D models. It's the difference between a flat map and a true digital twin of a structure.
Final Checks and In-Field Execution
Your prep work isn't done just because you've arrived on-site. You should always run through a final pre-flight checklist. This means checking propellers for any nicks or damage, making sure your batteries are fully charged, and confirming you have a solid GPS lock before you ever take off.
For those bigger sites that need multiple batteries, think ahead and plan your battery swap locations. Pick a safe, central spot to minimize your downtime. It's also vital to set your failsafe protocol—usually Return to Home (RTH). This ensures your UAV will automatically come back to its takeoff point if it loses signal or the battery hits a critical low. Trust me, this small step can save you from a very expensive and very bad day.
Turning Raw Data Into Actionable Intelligence
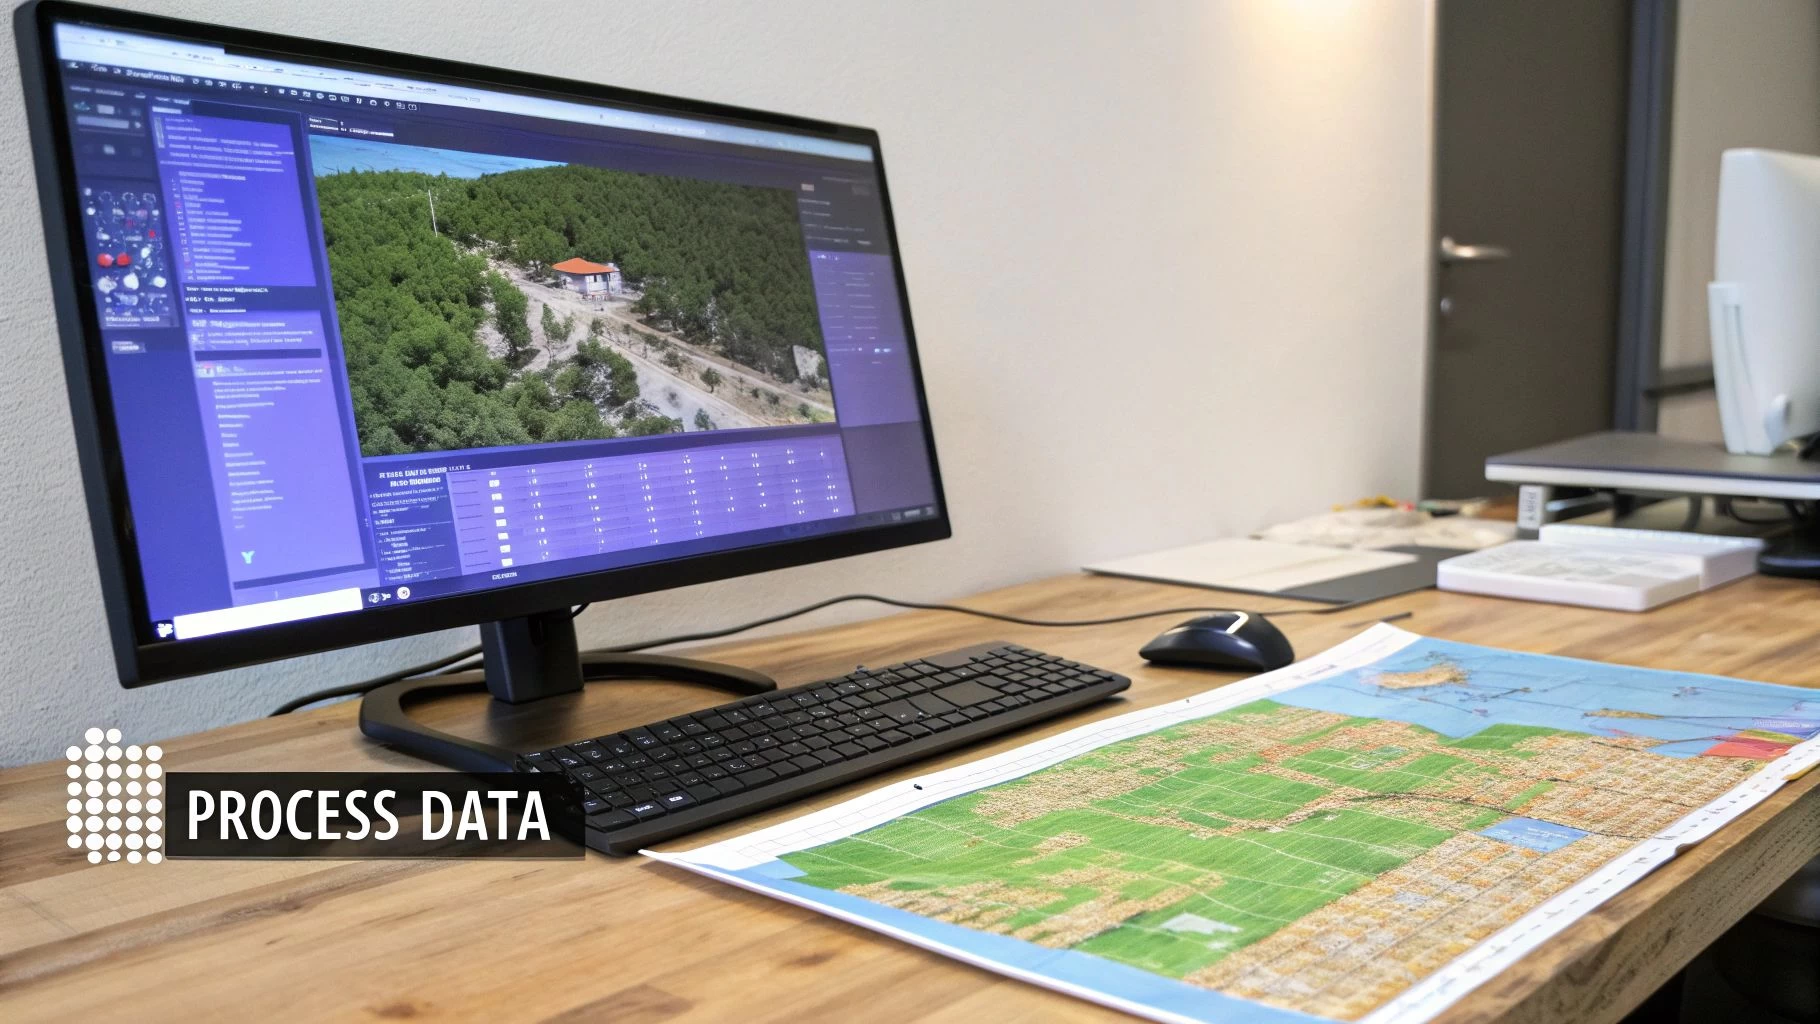
Flying the mission might feel like the main event, but honestly, it’s just the opening act. The real magic in an aerial surveying uav operation happens back at the office. This is where you feed thousands of raw images into powerful software and transform them into precise, measurable assets that your clients can actually use.
This is the part of the job that's fueling a massive industry boom. The US drone land surveying sector is on track to hit a staggering USD 14.55 billion by 2030. That growth isn't just about the drones themselves; it's about the sophisticated geospatial software that makes sense of all the data. As clients demand faster, more accurate results, mastering this post-flight workflow is what separates the pros from the amateurs.
From Image Ingest to Initial Alignment
First things first, you need to get all your data off the drone and into your photogrammetry software. We're talking every single image, plus the coordinate file for your Ground Control Points (GCPs).
Once everything is loaded, the software kicks off a process called "image alignment" or "aero-triangulation." It painstakingly analyzes each photo, finds thousands of common tie points between overlapping images, and then calculates the exact position and orientation of the camera for every shot.
This process spits out a sparse point cloud, which is your first real glimpse of the site's 3D structure. It's a bit rough around the edges, but it's the critical foundation for everything that comes next.
The Make-or-Break Step: Georeferencing
With the initial alignment done, it’s time to bring in your GCPs. This is arguably the most important step if you're chasing survey-grade accuracy. You'll need to manually tag the center of each GCP marker in several photos where it's clearly visible. This simple action links the pixel coordinates from your images to the high-precision GPS coordinates you collected in the field.
Think of it like pinning a digital map to the real world. Without good GCPs, your model is just a cool-looking 3D object floating in space with no scale. With them, it becomes a georeferenced dataset with measurable, real-world dimensions.
After you've tagged all your GCPs, the software re-optimizes the entire project. It essentially warps and shifts the model to fit those known points perfectly, anchoring your project in a real-world coordinate system with centimeter-level accuracy.
Generating the Final Products
Now for the fun part—creating the high-value deliverables your clients are actually paying for. Using the aligned images and GCPs, the software builds a dense point cloud. This isn't the rough draft from before; this version can contain millions, or even billions, of individual points, each with a precise XYZ coordinate.
From this incredibly detailed dense cloud, you can generate the main event:
- Orthomosaic: Think of this as a super-high-resolution, perfectly flat map of your site. It’s like a custom Google Earth view, but far more detailed and accurate, with all distortions and perspective issues corrected.
- Digital Elevation Model (DEM): This is a 3D model of the bare earth, showing the terrain's surface. It's absolutely essential for things like calculating slopes, analyzing water drainage, or planning earthworks.
- 3D Mesh: You get a photorealistic, textured 3D model of the entire site, complete with buildings, vegetation, and equipment. It’s perfect for visualizations, monitoring construction progress, or blowing away stakeholders in a presentation.
Throughout this process, the integrity of your original images is everything. If a client or stakeholder ever questions the source of an image, knowing how to check if your photos are real can be a crucial skill for maintaining credibility.
Sidestepping the Classic Aerial Surveying Blunders
Experience is a great teacher, but learning from somebody else's mistakes is a whole lot cheaper and faster. I’ve seen it happen time and again: even with top-of-the-line gear, a simple oversight in the field can trash an entire dataset and send you right back to square one.
A few classic missteps trip up new pilots and even some seasoned pros, but the good news is they're all pretty easy to avoid with a bit of planning. These aren’t just theoretical problems—they have real-world consequences that can tank the integrity of your aerial surveying UAV operation. Let's dig into the most common pitfalls and how you can steer clear of them.
Gaps from Not Enough Overlap
One of the most frequent—and frustrating—mistakes is setting your image overlap too low. It’s a classic rookie error. Photogrammetry software relies on a massive amount of overlap between photos to find common tie points and accurately stitch your project together. Trying to skimp on this to shave off a few minutes of flight time is a false economy that almost always comes back to bite you.
If you run a mission with insufficient overlap, say below 65% frontlap or sidelap, you're going to end up with bald spots or "holes" in your final orthomosaic and 3D model. The worst part is you often don't discover these gaps until you're deep into processing, meaning the only fix is a return trip to the site to re-fly the entire mission.
My rule of thumb: For most topographic surveys, I never go below 75% frontlap and 70% sidelap. It's just not worth the risk. If I'm mapping complex 3D structures like buildings or stockpiles, I'll crank that up to 80% or even 85% to make sure every nook and cranny is captured.
Placing Ground Control Points Poorly
Ground Control Points (GCPs) are what anchor your digital model to reality, but they're only as good as where you place them. Tossing them all in a straight line, clustering them in the middle of the site, or putting them on unstable surfaces like the hood of a truck or a loose pile of gravel will absolutely wreck your project's accuracy.
A solid GCP strategy really boils down to three things:
- Even Distribution: Spread your GCPs out across the entire project area. Think corners, edges, and the center. You want to create a strong, distributed network.
- Varying Elevations: If your site has any kind of topography, make sure you place points on both the highest and lowest accessible areas. This is crucial for locking in your vertical accuracy.
- Clear Visibility: Every single point needs a clear, unobstructed view of the sky. Watch out for shadows from buildings, overhanging trees, or site equipment that could block the drone's view.
Inconsistent Lighting and Shutter Speed Gremlins
The weather can change in a heartbeat, and that's a huge factor for longer flights. Starting a mission on a bright, sunny morning and finishing it under an overcast afternoon sky can lead to wildly inconsistent exposures in your images. The result? A patchy, amateur-looking final map. This is a constant battle on large-scale jobs.
A related headache is flying too fast for your camera's shutter speed. If the drone is zipping along too quickly, especially at lower altitudes, you'll end up with motion blur. Blurred images make it impossible for the software to find sharp, reliable tie points, which degrades the accuracy of the whole project. Always do a quick check before launch to make sure your flight speed gives your camera plenty of time to capture crisp, clear shots.
Got Questions About UAV Surveying? We've Got Answers.
Stepping into the world of aerial surveying can feel like navigating a maze of technical specs and regulations. It’s totally normal to have questions. Here are some straight-talking answers to the queries we hear most often, designed to give you the confidence to get your operations off the ground.
What Kind of Accuracy Can I Really Get?
This is the big one, and the answer is: it depends entirely on your kit and your process.
If you’re chasing survey-grade results for an engineering or construction project, you can absolutely nail it. Using a quality drone combined with a solid network of Ground Control Points (GCPs) will get you an absolute accuracy of 1-3 cm horizontally and 2-5 cm vertically. That’s the gold standard.
On the other hand, if you just fly a standard drone using only its onboard GPS, you’re looking at an accuracy closer to 1-3 meters. That’s perfectly fine for a quick visual update on site progress, but it’s nowhere near what you’d need for serious survey work.
Want the best of both worlds? Drones with RTK or PPK technology are the answer. They deliver that same centimeter-level accuracy but without needing to place nearly as many GCPs, which is a massive time-saver on site.
Photogrammetry vs. LiDAR: What's the Difference?
Think of Photogrammetry and LiDAR as two different tools for the same basic job: capturing geospatial data. They just go about it in completely different ways.
Photogrammetry is all about the pictures. The drone flies a grid pattern, snapping hundreds or thousands of overlapping photos. Software then stitches these images together to create detailed 3D models and maps. It's generally more affordable and gives you those visually rich, true-to-life textured models that are super easy for anyone to understand.
LiDAR (which stands for Light Detection and Ranging) is a different beast entirely. It uses a laser to fire rapid pulses of light at the ground and measures how long they take to bounce back. This generates an incredibly precise "point cloud" of the surface.
The killer feature for LiDAR? It can see through vegetation. Those laser pulses can penetrate gaps in a tree canopy to capture the true ground level underneath—something that’s practically impossible for photogrammetry. It’s also a champ in low-light conditions where a camera would just give up.
Do I Need a Special License for Commercial Flights?
Yes, you absolutely do. Flying a drone for any kind of commercial work, including aerial surveying, requires a specific license or certification. The exact name and process will change depending on where you are in the world, but the core reason is the same: you have to prove you know how to operate safely and legally.
Here in the United States, you’ll need to get a Remote Pilot Certificate from the FAA, which everyone just calls a Part 107 license. Getting it involves passing a written exam and registering your drone.
Don’t just get the license and forget about it, though. The rules dictate where you can fly, how high you can go, and what you can (and can’t) fly over. Make sure you check in with your local aviation authority before every single commercial job to stay compliant.
At Dronedesk, we help you cut through the administrative noise with powerful flight planning, risk assessment, and compliance tools. Manage your fleet, team, and client data all in one place. Try Dronedesk today and see how much time you can save on every job. Learn more at Dronedesk.
 Drone VLOS Rules Explained for Commercial Teams →
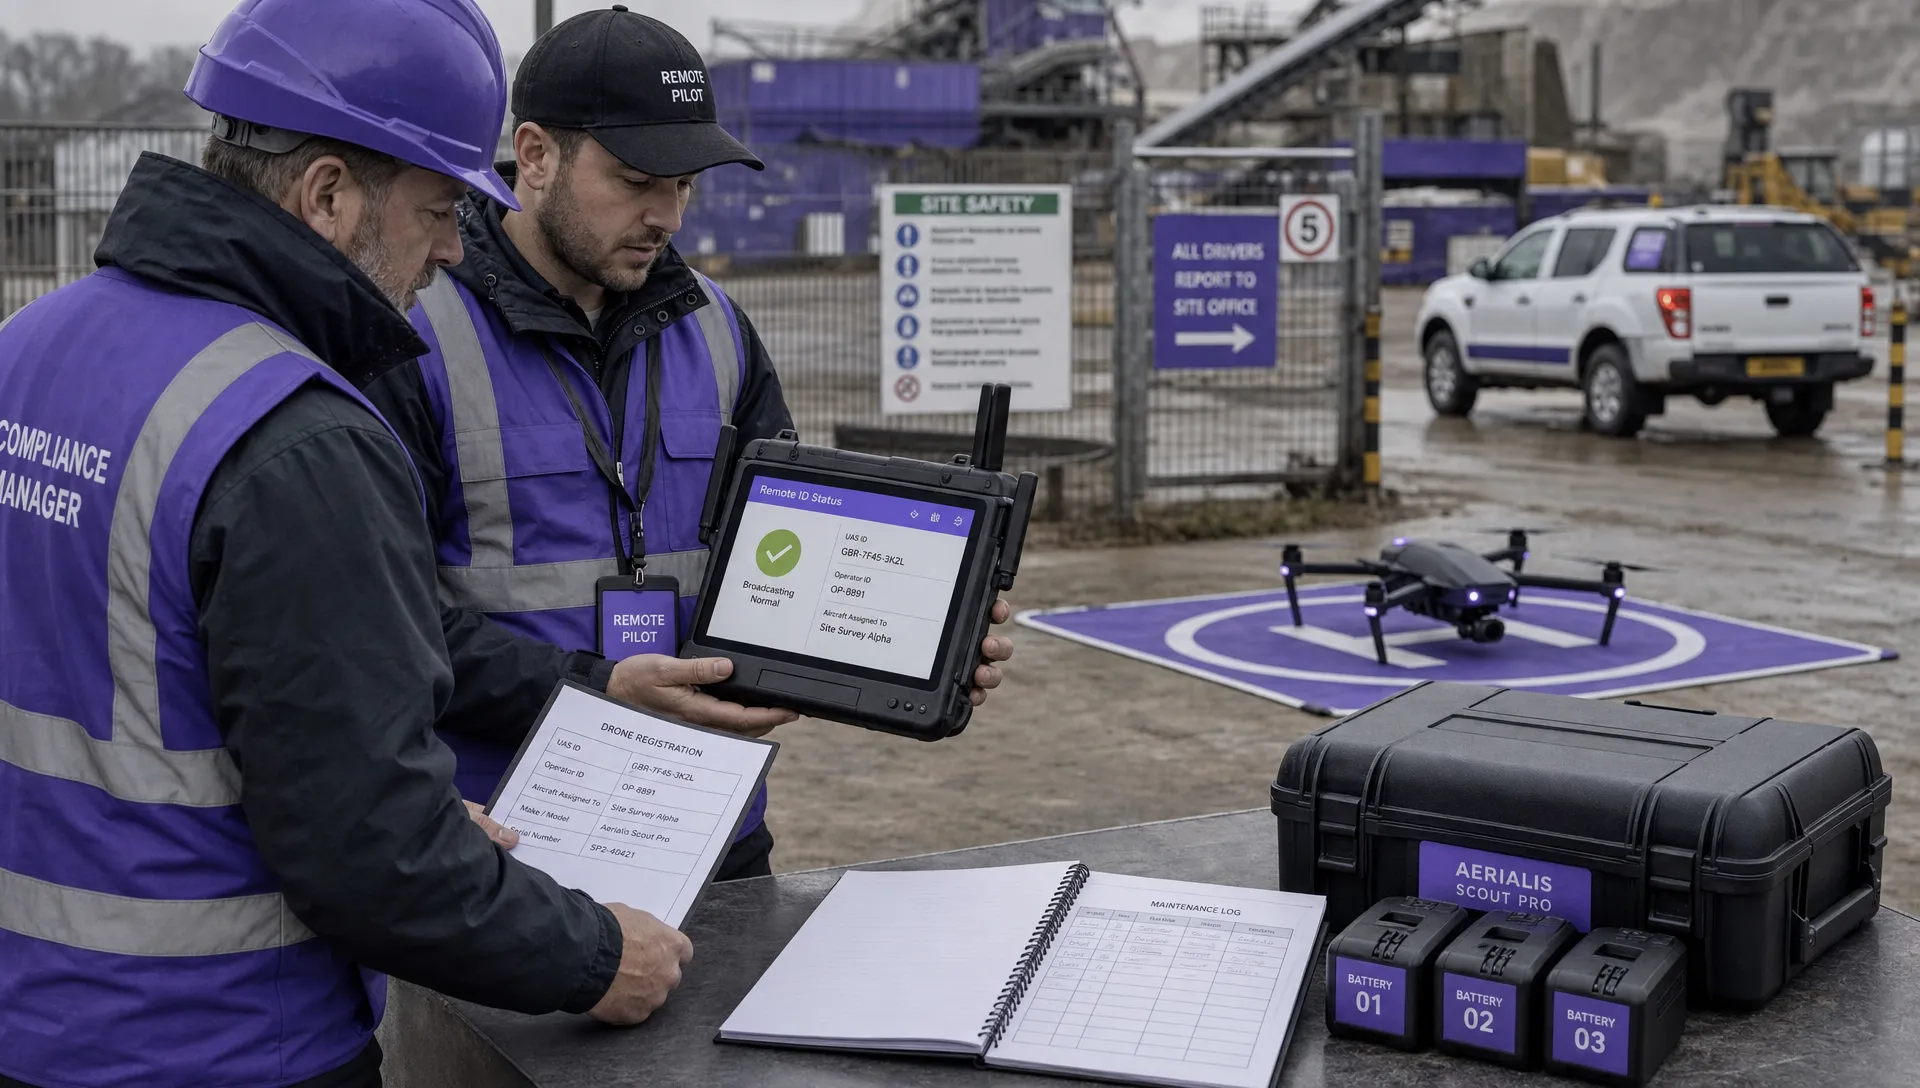 FAA Remote ID Rule Explained for Commercial Pilots →
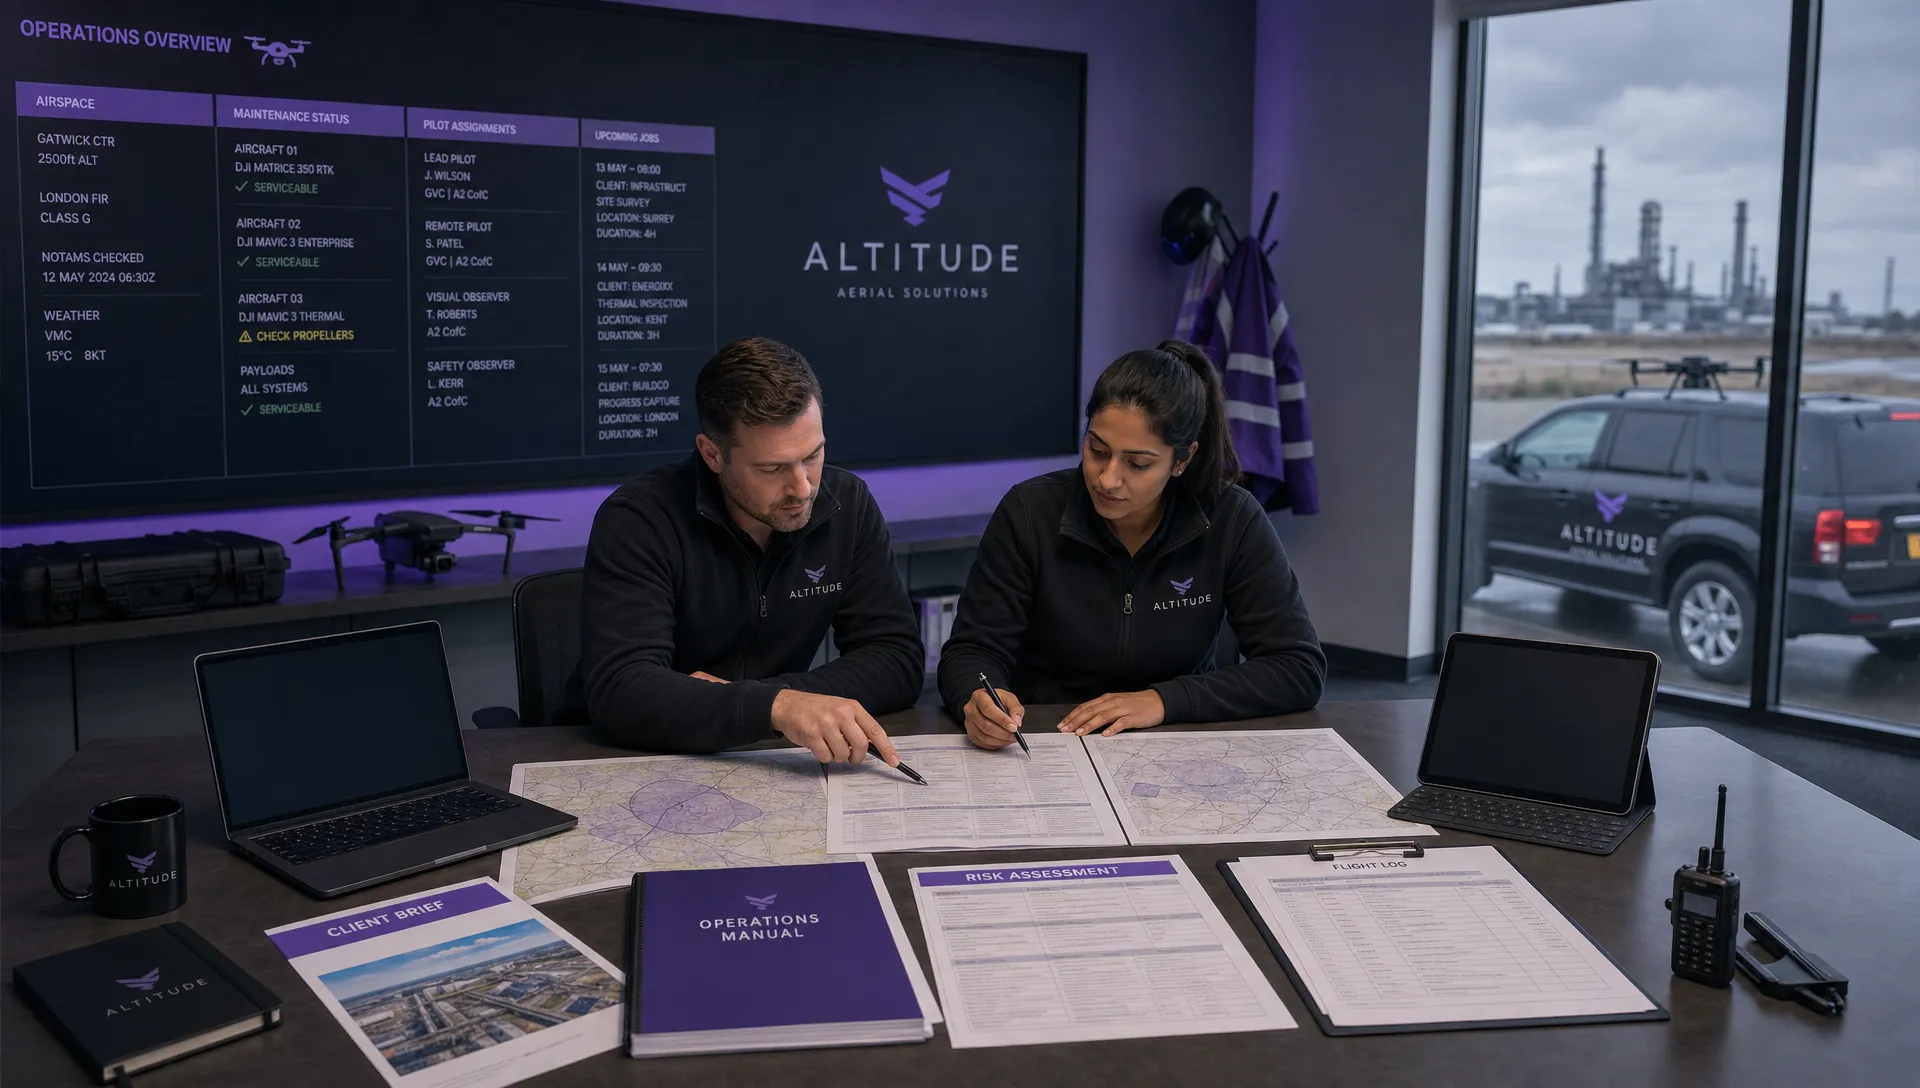 Drone Legal Requirements for Commercial Operations →
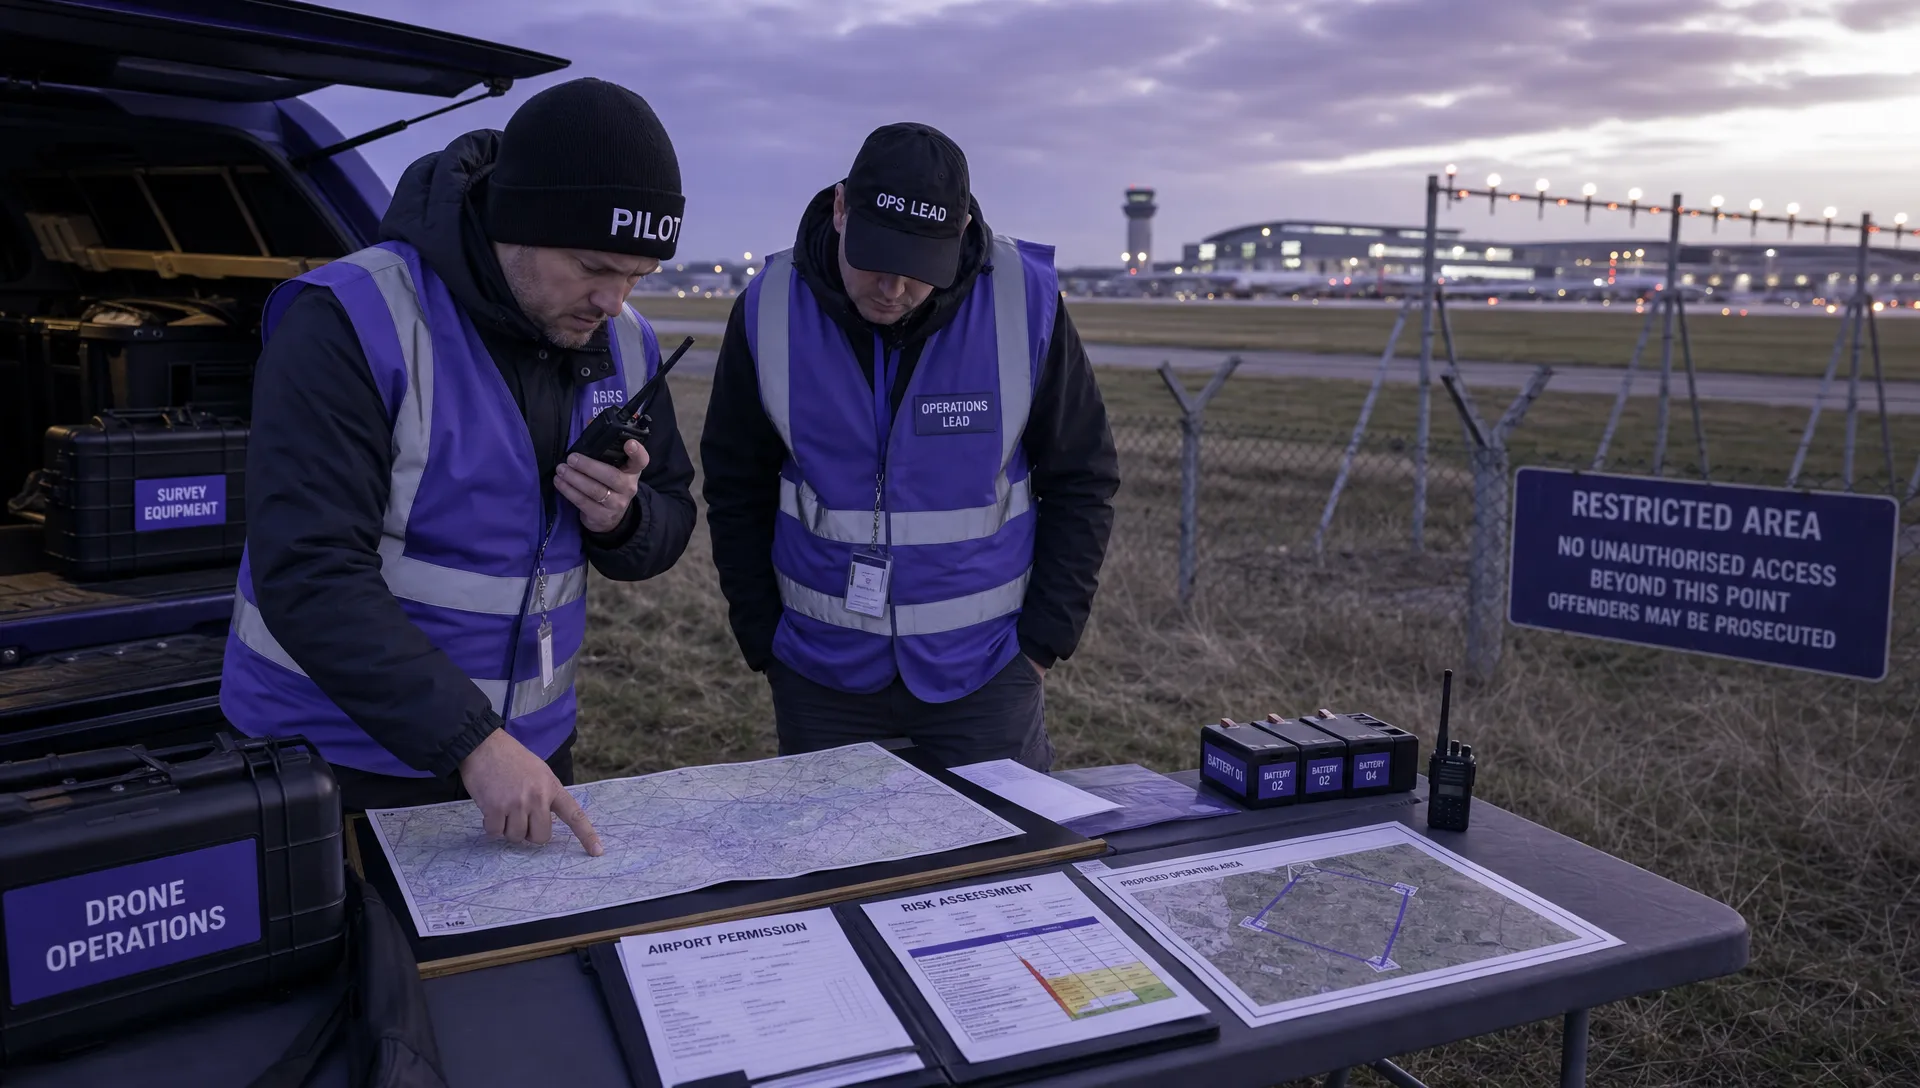 Drone Near Airport Rules Explained for Safer Planning →
 International Drone Regulations Every Global Team Should Know →
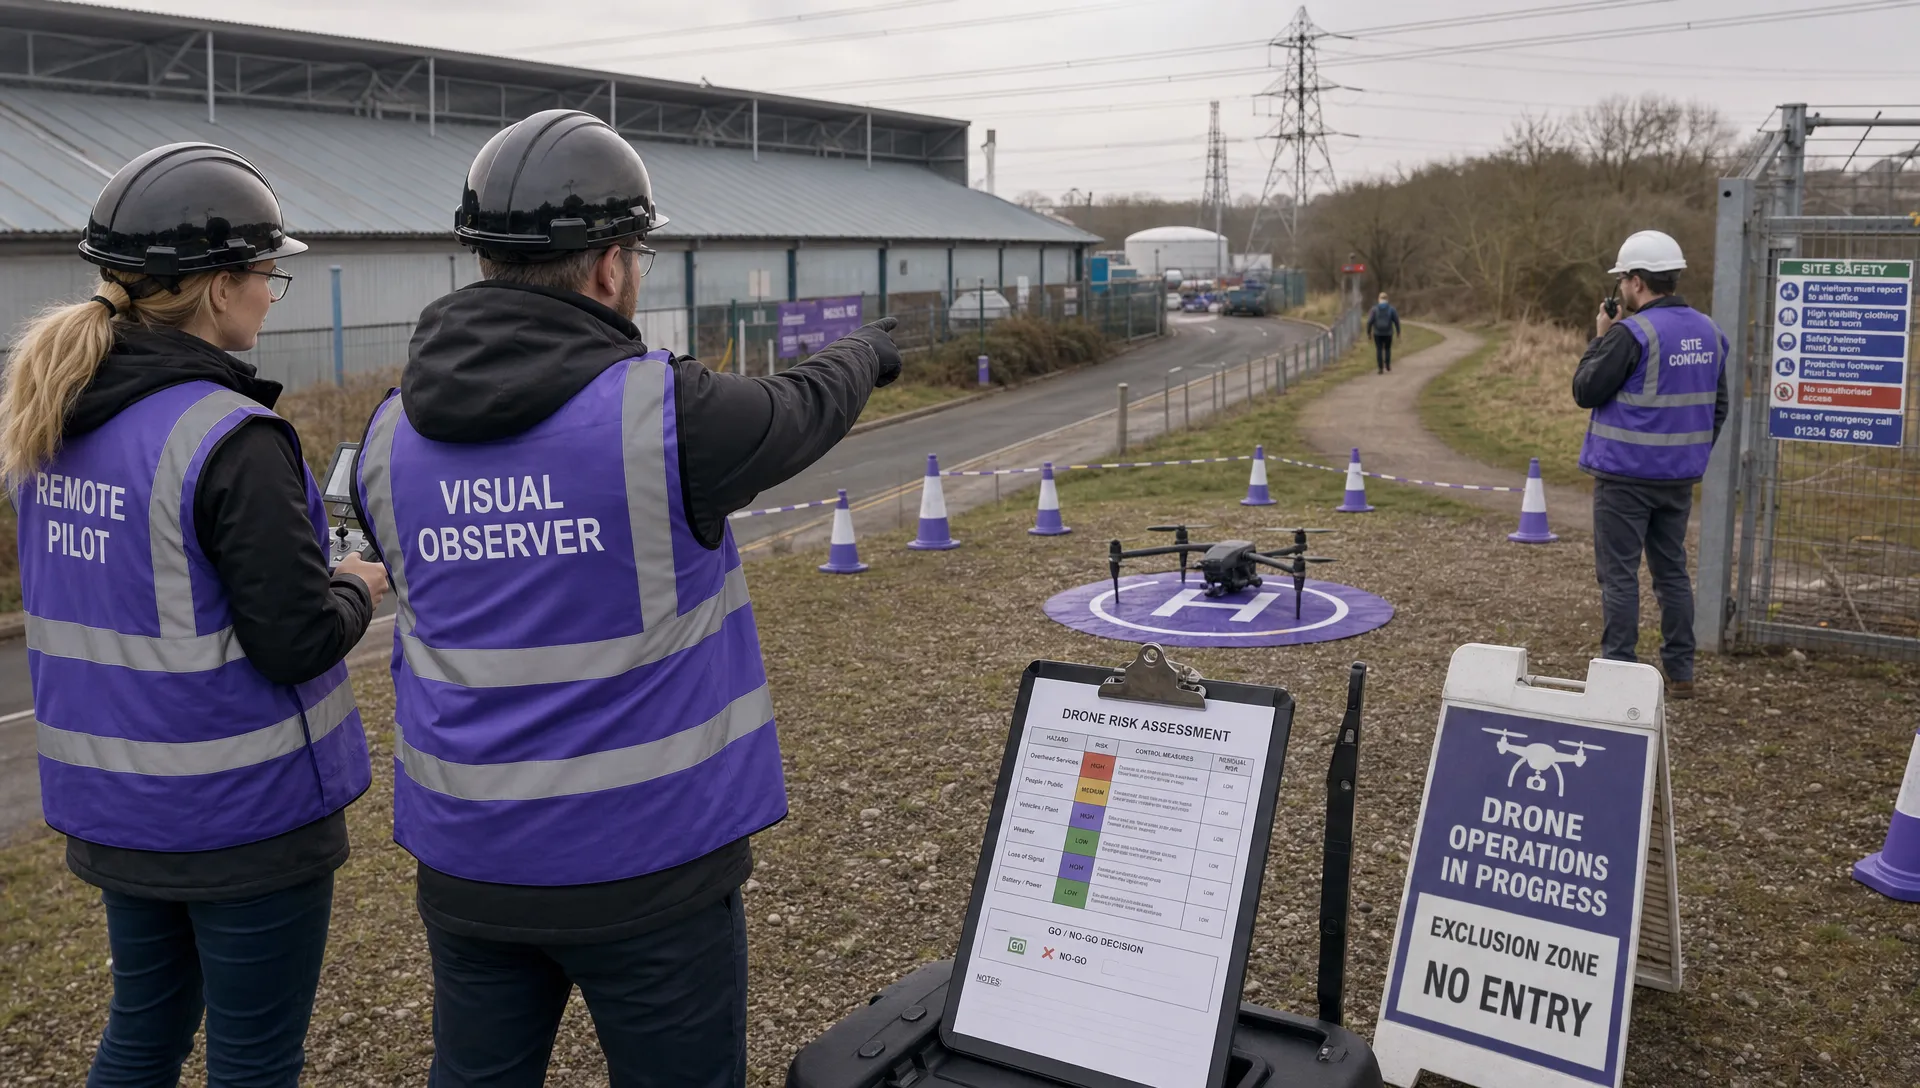 Drone Flight Risk Assessment Example for Safer Missions →
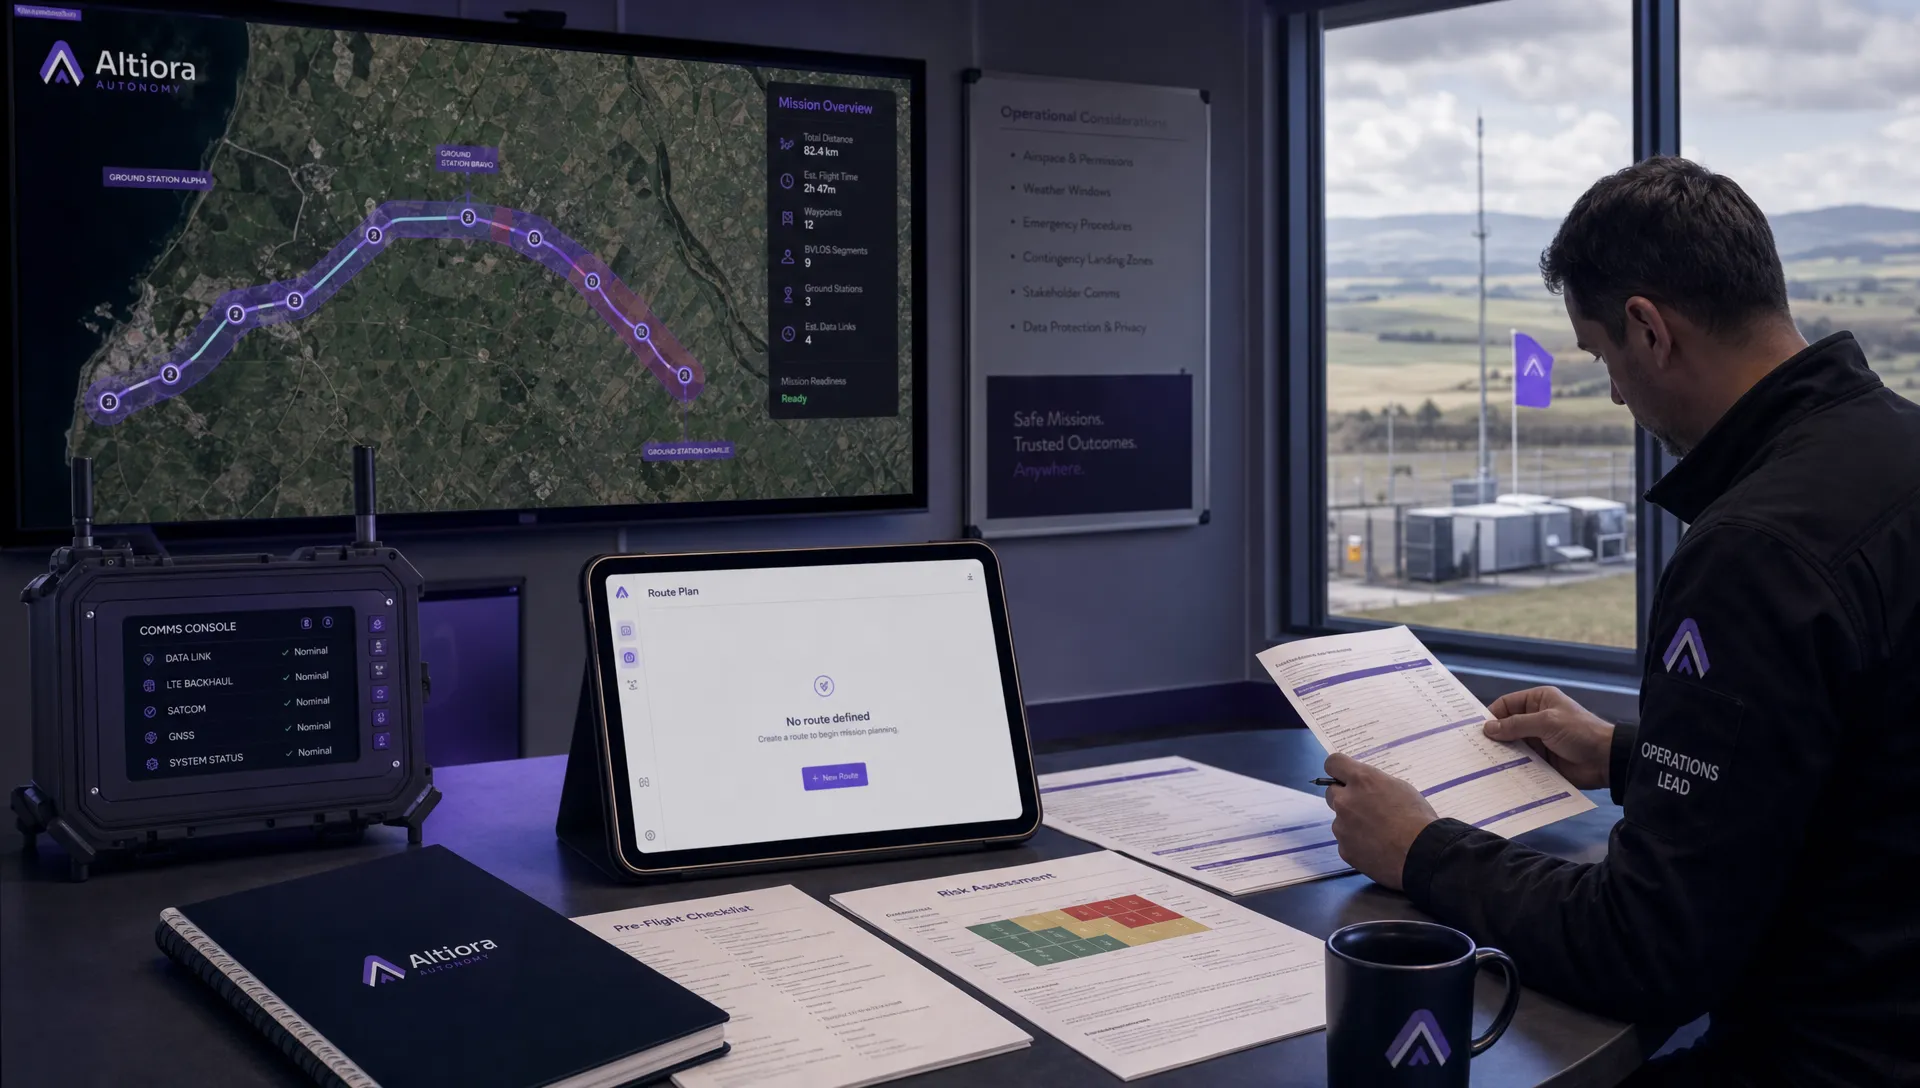 Beyond Visual Line of Sight Explained for Operators →
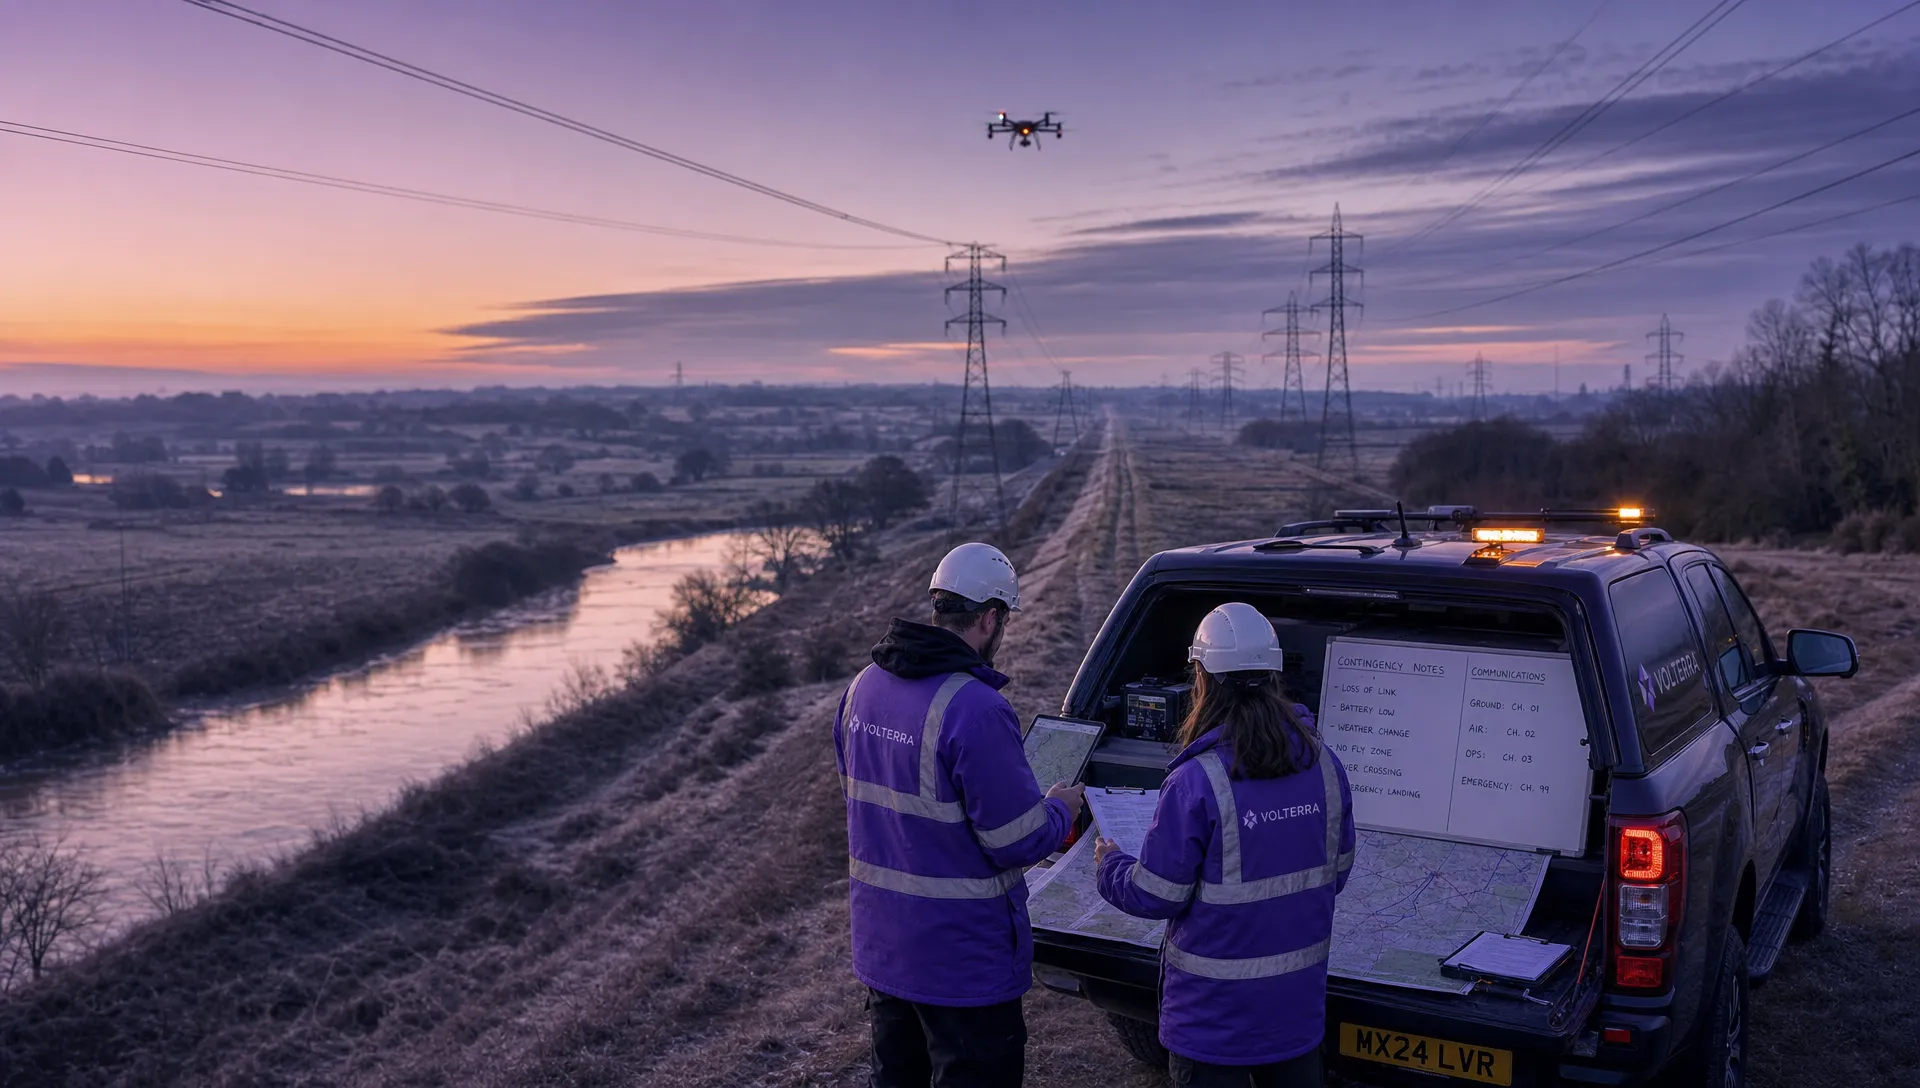 How BVLOS Drone Operations Change Commercial Workflows →
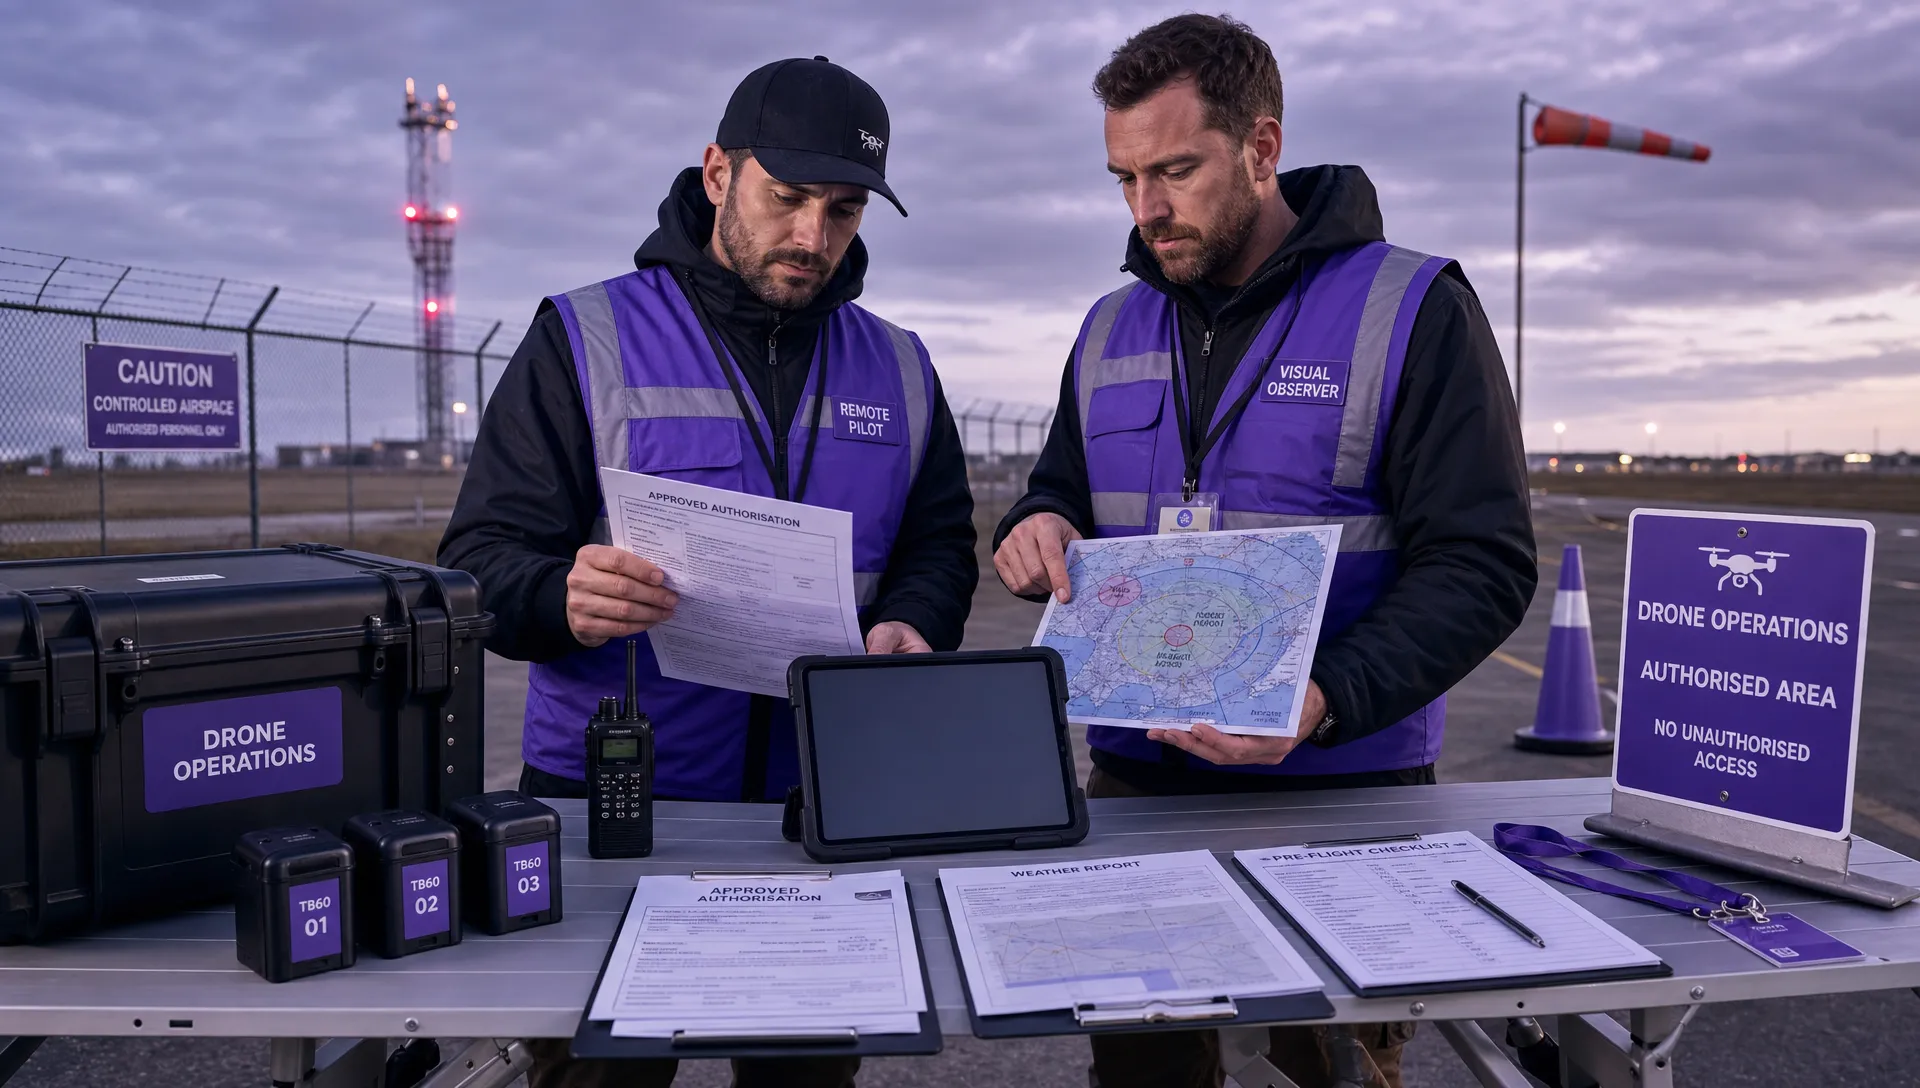 FAA Drone Rules Every Commercial Pilot Should Know →
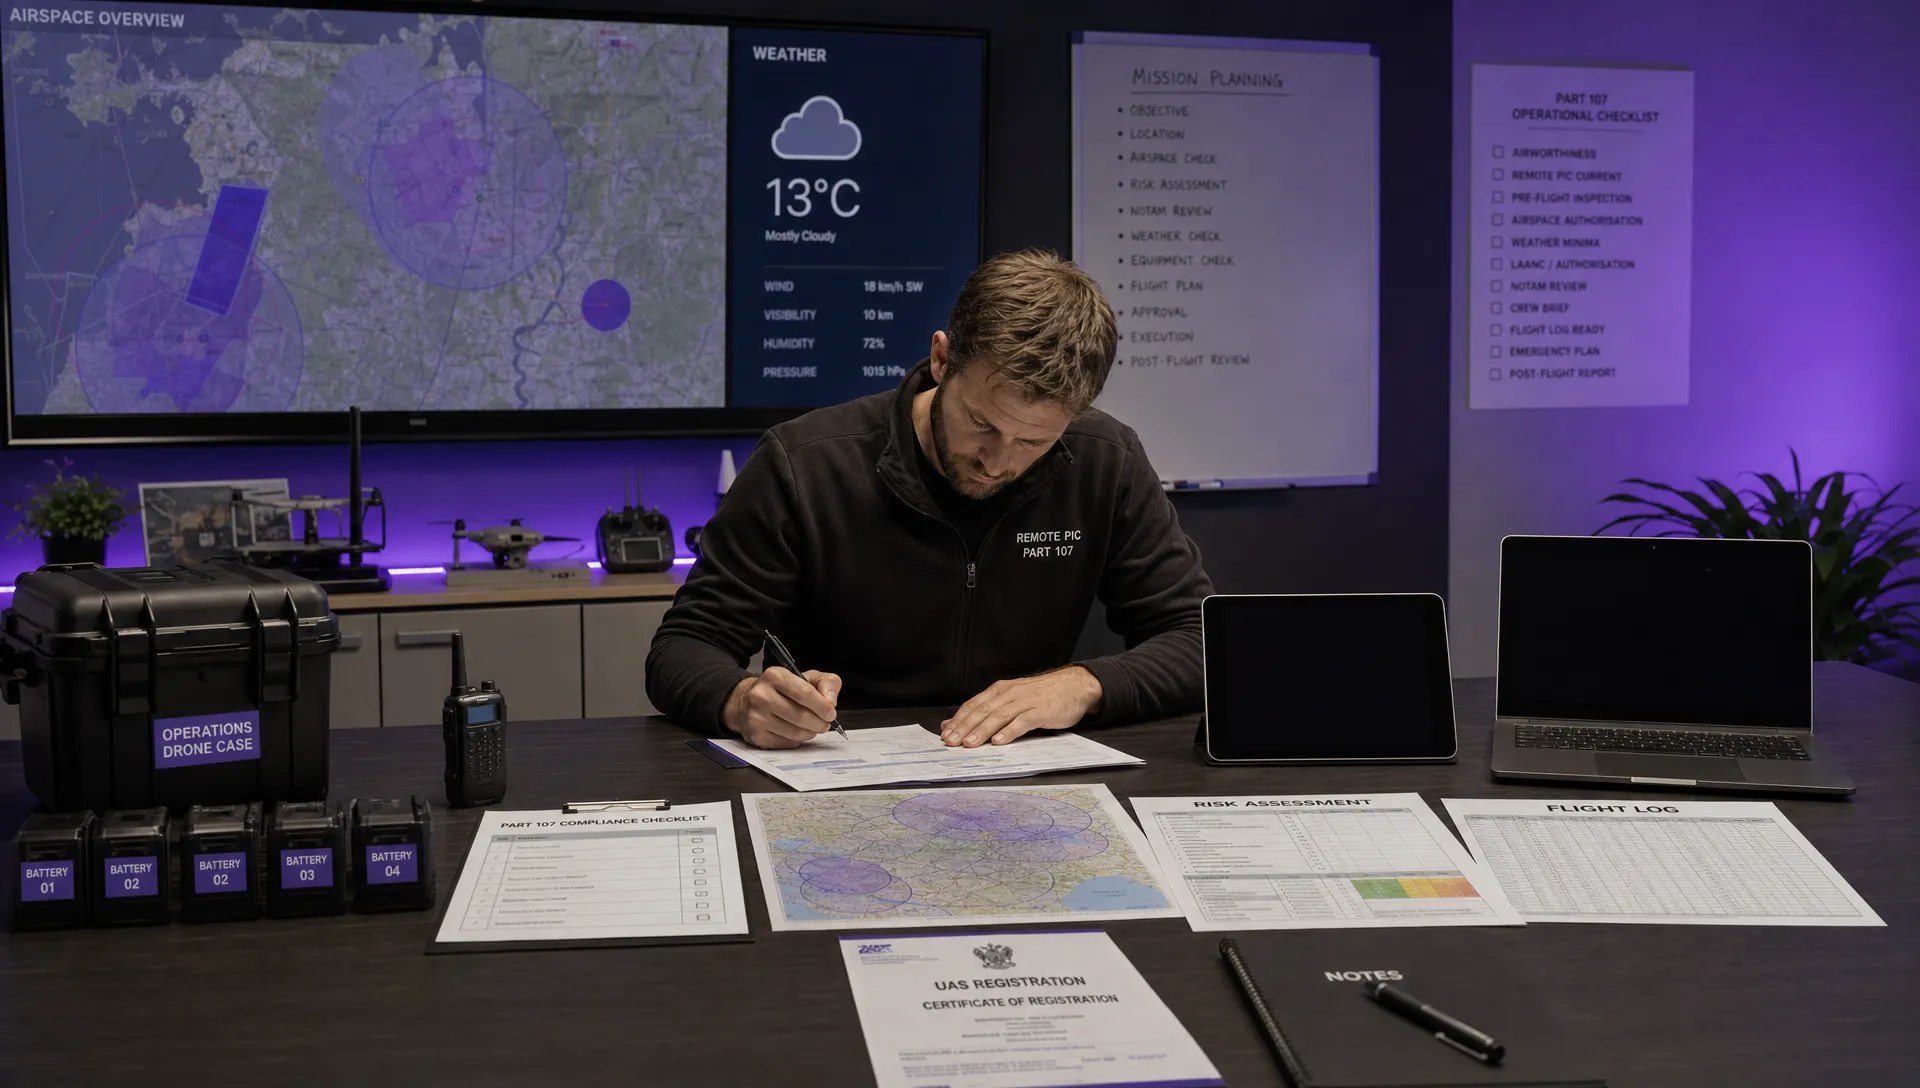 FAA 107 Explained for Commercial Drone Operators →