Your Practical Guide to SORA UK Drone Regulations
The Specific Operations Risk Assessment, or SORA, is a globally recognised way of proving that complex drone operations can be carried out safely here in the UK. It’s best to think of it not as a barrier, but as a structured pathway to getting the green light for those ambitious flights that fall outside the usual rules.
Understanding the SORA UK Framework

Imagine you’re an architect planning a new skyscraper. You wouldn’t just show up with bricks and start building. You’d first draw up detailed blueprints, run soil analyses, and model how the structure will handle high winds. All these steps are designed to prove to the local council that your building will be safe.
The SORA UK framework is the drone operator’s version of this. It’s a comprehensive, risk-based flight plan that you put together and submit to the Civil Aviation Authority (CAA). This isn't for flying a lightweight drone in an open field on a Sunday afternoon. SORA is the key that unlocks advanced commercial drone operations, placing you in what’s known as the 'Specific' category.
Who Needs to Use SORA?
So, who exactly needs to get to grips with this process? The SORA UK framework is your route forward when a mission is just too complex for the pre-defined 'Open' category. If your operational plan includes any of the following, a SORA-based application is almost certainly in your future:
- Beyond Visual Line of Sight (BVLOS): Flying your drone where you can’t physically see it, like for long-range pipeline inspections or large-scale agricultural surveys.
- Operations in Populated Areas: Conducting flights over or near crowds of people, which naturally brings a higher risk to public safety.
- Flying Heavy Drones: Operating an unmanned aircraft system (UAS) that’s bigger or heavier than what’s allowed in the Open category.
- Advanced Airspace Use: Planning missions in controlled airspace or at altitudes that demand special permission and coordination with air traffic control.
In short, SORA is for the innovators. It’s for the operators pushing the boundaries of what drones can do, whether that's delivering medical supplies in cities or inspecting massive infrastructure projects.
The whole point of SORA is to provide a standardized, repeatable method for evaluating risk. It replaces guesswork with a logical process, giving both the operator and the regulator confidence that an operation is safe.
A Foundation for Advanced Operations
Ultimately, the SORA UK framework is much more than a regulatory hoop to jump through; it's what makes advanced operations possible. By providing a clear and internationally accepted methodology for risk assessment, it creates a predictable path for obtaining an Operational Authorisation from the CAA.
This structured approach allows the drone industry to grow up responsibly. It enables more ambitious projects to get off the ground while ensuring that safety is always front and centre. For any professional drone business looking to scale up and take on more challenging contracts, mastering the SORA process isn’t just about compliance—it's a critical business advantage that opens the door to the future of aviation.
Navigating the 10-Step SORA UK Process
At first glance, the SORA framework can feel like a mountain to climb. But in reality, it’s more like a well-marked trail—a logical, repeatable workflow designed to guide you from a mission concept to a solid safety case that will satisfy the CAA. Breaking it down transforms a complex requirement into a series of practical, manageable actions.
Think of it like building a high-end piece of furniture. You wouldn’t just start screwing pieces together at random, would you? Of course not. You’d follow the instructions, step-by-step, to make sure the final product is stable and safe. The SORA UK process is no different, with each step building carefully on the last.
The entire workflow is designed to move you from identifying potential risks to defining clear safety objectives, and finally, to putting the right mitigation measures in place.

This graphic really gets to the heart of SORA’s logic: you have to fully understand the dangers before you can figure out the safety standards you need to meet and the solutions required to get you there.
The SORA process is a detailed, ten-step journey. While we've covered the highlights, this table provides a quick overview of what each step entails.
SORA UK 10-Step Process Overview
| Step Number | Step Name | Key Objective |
|---|---|---|
| 1 | Concept of Operations (ConOps) | Describe the "what, where, and how" of your proposed flight. This is your mission's blueprint. |
| 2 | Initial Ground Risk Class (GRC) | Determine the baseline risk to people on the ground if your drone fails. |
| 3 | Final Ground Risk Class (GRC) | Apply mitigations (like parachutes) to reduce the initial GRC. |
| 4 | Initial Air Risk Class (ARC) | Determine the baseline risk of encountering other aircraft in the operational airspace. |
| 5 | Strategic Mitigations for ARC | Apply operational restrictions or airspace rules to lower the initial ARC. |
| 6 | Tactical Mitigation Performance Requirement (TMPR) | Define the effectiveness of your "detect and avoid" capabilities to further reduce air risk. |
| 7 | Final Air Risk Class (ARC) | Calculate the final air risk after all strategic and tactical mitigations are applied. |
| 8 | Specific Assurance & Integrity Level (SAIL) | Combine the final GRC and ARC to determine the overall risk level (I-VI) for the operation. |
| 9 | Operational Safety Objectives (OSOs) | Identify the specific safety requirements you must meet, based on your SAIL level. |
| 10 | Operational Safety Portfolio | Compile all documentation and evidence to prove you meet the required OSOs for CAA review. |
Each step is a building block, creating a comprehensive safety case that demonstrates your ability to operate safely.
Defining Your Flight Plan
Everything kicks off with your Concept of Operations (ConOps). This is the foundational document that paints the full picture of your proposed mission. You'll detail what you want to do, where you'll be doing it, and exactly how you plan to pull it off safely. A strong ConOps is non-negotiable, as every other step in the process refers back to it.
With a clear ConOps, you dive into the core risk assessment. First up is determining your intrinsic Ground Risk Class (GRC). The GRC is all about evaluating the risk to people on the ground if your drone were to fail and fall out of the sky. This is driven by things like the size of your drone and the population density below your flight path.
A crucial part of this is accurately defining your operational volume and any adjacent areas. For operators wanting to get into the nitty-gritty of this, our guide to the SORA geography calculator offers an in-depth look. This initial GRC sets the baseline for your entire safety case.
Assessing Airspace and Finalising Risk
Once you’ve got ground risk sorted, your focus shifts to the sky. The next step is to figure out the initial Air Risk Class (ARC), which is all about the probability of running into another aircraft where you plan to fly. Here, you’ll analyse airspace classifications, how close you are to airports, and typical air traffic. A flight in the middle of nowhere will have a much lower ARC than one near a busy international airport.
With your initial risk classes established, you then bring in your mitigations. This is where you actively reduce your risk profile. For example, using a drone equipped with a certified parachute system can knock your GRC down a peg. In the same way, using a detect-and-avoid (DAA) system or having trained air observers can lower your ARC.
The goal isn't just to identify risk but to demonstrate how you will effectively manage it. SORA empowers operators to propose creative and robust safety solutions that are appropriate for their specific operation.
These mitigated risk levels are then crunched together to give you your final Specific Assurance and Integrity Level (SAIL). The SAIL is a number from I to VI that sums up the total risk of your operation. A higher SAIL means a riskier operation, which, in turn, means you have to meet a tougher set of Operational Safety Objectives (OSOs).
Finally, you pull all this information together into a comprehensive safety portfolio. This package includes your ConOps, risk assessments, mitigation strategies, and the evidence showing you meet all the necessary OSOs. You then submit this to the CAA, cross your fingers, and wait for your Operational Authorisation.
Decoding Ground Risk and Air Risk
At its heart, the SORA UK framework is all about answering two simple but critical questions. First, what’s the risk to people and property on the ground if your drone suddenly fails? And second, how likely is it that your drone will run into another aircraft while it's up there?
These two pillars of the risk assessment are known as the Ground Risk Class (GRC) and the Air Risk Class (ARC). Getting your head around these is the first, and most important, step to a successful SORA application with the CAA.
Assessing the Risk to People on the Ground
Think about dropping a tennis ball. If you drop it in the middle of a massive, empty field, the chance of it hitting anyone is basically zero. But what if you drop that same tennis ball from a skyscraper onto a packed city street during rush hour? The object hasn't changed, but the situation—and the potential for harm—is completely different.
That's the exact logic behind figuring out your Ground Risk Class (GRC). It’s not just about the drone; it’s about where you're flying it. The SORA process walks you through calculating an initial GRC using two key factors:
- Drone Characteristics: This covers things like the drone's maximum dimension (its biggest size from tip to tip) and how much kinetic energy it would have on impact. A bigger, heavier drone obviously has more potential to do some damage.
- Operational Environment: Here, you're analysing the population density of your flight area. Are you flying over a remote rural landscape, a quiet industrial estate, or a bustling city centre?
Combining these gives you an initial GRC score, usually on a scale from 1 to 10. A low number means minimal risk (our empty field scenario), while a high score points to a serious potential for harm, just like that busy city street. For a closer look at this crucial calculation, you can learn more about how to use the SORA GRC calculator correctly.
Evaluating the Risk in the Air
Once you’ve got a handle on the ground risk, it's time to look up. The Air Risk Class (ARC) is all about measuring the likelihood of your drone crossing paths with a manned aircraft in your planned operational airspace. Basically, you're assessing the "air traffic" in your flight zone.
To pin down the ARC, you’ll need to take a good, hard look at the airspace structure and answer questions like:
- Will the flight be in controlled or uncontrolled airspace?
- How close are you to an aerodrome or airport?
- What's the typical amount and type of air traffic in that specific area?
A low-altitude survey flight in the middle of nowhere, far from any airport, is going to have a very low initial ARC. On the other hand, a job near the approach path of a major international airport will naturally start with a much higher ARC, simply because the chances of an encounter are far greater.
The SORA UK process is methodical. You have to start by working out the intrinsic risk of your operation before you can show how your safety measures will bring that risk down to an acceptable level.
Using Mitigations to Lower Your Risk
This is where the SORA framework really shows its value. It doesn't just ask you to point out risks; it gives you a way to actively reduce them through mitigations. After you've determined your initial GRC and ARC, you can introduce safety measures to prove your operation is safer than that baseline assessment suggests.
These mitigations come in two main flavours: strategic and tactical.
Strategic Mitigations are the plans you put in place before you even think about taking off. They're baked into your operational plan to reduce risk from the outset.
- For Ground Risk: This might be your Emergency Response Plan (ERP) or creating a cordoned-off ground risk buffer zone to keep uninvolved people well clear of the flight area.
- For Air Risk: You could limit your flights to certain times of day when air traffic is known to be low or arrange to operate within a segregated block of airspace.
Tactical Mitigations are your "in-the-moment" safety nets—the dynamic measures you use during the flight to deal with anything unexpected.
- For Ground Risk: The most common one is a certified parachute recovery system. In an emergency, it can dramatically slow a drone's descent, massively reducing its impact energy and, in turn, its final GRC.
- For Air Risk: This usually involves some form of "Detect and Avoid" (DAA) capability. It could be a tech solution, like onboard sensors, or a procedural one, like using trained visual observers to keep a constant watch on the sky.
By applying these kinds of robust mitigations, you can systematically drive down your initial GRC and ARC scores. This is a non-negotiable part of the SORA process, as these final, mitigated risk scores ultimately decide the overall safety requirements for your mission.
Understanding Your SAIL and Safety Objectives
Once you've crunched the numbers and worked out your final Ground Risk Class (GRC) and Air Risk Class (ARC), the SORA UK framework brings these two critical pieces of the puzzle together. The whole point of this process is to translate those risk scores into a single, clear metric that tells you—and the CAA—exactly how solid your safety measures need to be.
This all-important metric is the Specific Assurance and Integrity Level, or SAIL. The simplest way to think about it is as your operation's official "safety score." It’s a rating from I (one) to VI (six) that neatly sums up the overall risk of your mission. The higher your GRC and ARC, the higher your SAIL score will be.
A low SAIL, like a I or II, points to a pretty straightforward operation with minimal risk. On the other hand, a high SAIL, such as V or VI, signals a complex mission with some serious potential risks. For those, the CAA is going to demand the highest level of proof that you know what you're doing.
From a Score to an Action Plan
Getting your SAIL score isn't the finish line; it’s the key that unlocks your specific safety requirements. Your SAIL level directly points to a list of Operational Safety Objectives (OSOs). These are the concrete, non-negotiable safety standards you must meet and, crucially, prove you can meet.
Think of it like planning a hike. A gentle walk in a local park (a low SAIL) requires basic gear—good shoes and a water bottle might be enough. But if you're planning a multi-day expedition up a treacherous mountain (a high SAIL), your checklist is going to be far more demanding: certified climbing gear, emergency beacons, specialised training, and a detailed rescue plan.
The OSOs work exactly the same way, giving you a specific checklist that's perfectly tailored to the risk level of your operation.
The connection between the SAIL and the OSOs is the heart of the SORA UK methodology. It turns an abstract risk assessment into a practical, actionable, and auditable set of safety requirements, making sure the safety measures are always proportional to the risk.
This system cuts out the guesswork. Instead of wondering what the CAA wants to see, the SORA framework gives you a clear roadmap. A SAIL V operation will have a much longer and more demanding list of OSOs to satisfy than a SAIL II operation, and that's exactly how it should be.
What Do OSOs Actually Look Like?
The OSOs cover every conceivable aspect of your drone operation, ensuring you've taken a holistic approach to safety. The exact requirements change depending on your SAIL level, but they generally fall into several key categories. The CAA will expect you to provide solid evidence showing your competence in each area relevant to your SAIL score.
Here’s a quick rundown of the types of safety objectives you’ll need to tackle:
-
Technical Integrity of the Drone: For higher SAIL levels, you might need to prove the drone has specific design features, uses certified parts, or has gone through rigorous third-party testing. This is all about showing the aircraft itself is fit for the job.
-
Containment and Emergency Systems: This involves showing how you’ll keep the drone within its planned operational area. You'll also need to prove your emergency systems, like a parachute or a robust Return-to-Home function, are effective and reliable.
-
Human Factors and Training: You have to show that your remote pilot and any other crew have training that matches the mission's complexity. For a high SAIL operation, this could mean simulator-based emergency training and detailed flight experience logs.
-
Operational Procedures: This OSO demands you have rock-solid procedures for every flight phase, from pre-flight checks and maintenance logs right through to in-flight decision-making and post-flight reviews.
For example, a low SAIL mission might only need you to confirm you're following the manufacturer’s maintenance schedule. A high SAIL mission, however, could require a full-blown maintenance program managed by qualified staff, complete with detailed records for every single component.
Ultimately, by calculating your SAIL and then methodically working through the corresponding OSOs, you are building a comprehensive safety case. You're systematically showing the CAA that you've not only identified all the potential risks but have also put robust, verifiable safety measures in place to control them.
How to Actively Reduce Your Operational Risk

The SORA UK framework isn't just a paper-pushing exercise to identify risks; it’s a practical tool for actively managing and knocking them down. When you thoughtfully build mitigation measures into your operation, you can often lower your SAIL score. That simplifies your application and, just as importantly, shows the CAA you have a proactive safety mindset.
Think of it like getting car insurance. A driver with an advanced safety system, a clean record, and secure overnight parking always gets a better premium. It's the same principle here. A drone operator who can prove they've taken concrete steps to lower their risk profile will find the path to an Operational Authorisation a whole lot smoother.
These risk-reduction strategies generally fall into three buckets: technical solutions, operational procedures, and the human element. A truly robust safety case will almost always pull from all three.
Implementing Technical Solutions
Technical mitigations are all about the hardware and software you use to make your drone inherently safer. These are the tangible safety features that provide a direct, measurable reduction in risk, especially when it comes to containing the fallout from an in-flight failure.
Here are a few common and effective examples:
- Emergency Parachute Systems: This is the classic. A certified parachute can dramatically slash a drone's kinetic energy on impact, which can often be enough to drop your Ground Risk Class (GRC) a notch.
- Geofencing: Using software to create a virtual wall that the drone simply cannot cross is a powerful way to guarantee containment and stop it from wandering into a hazardous area.
- Redundant Systems: Drones built with backups for critical components—like dual GPS modules or multiple batteries—offer a much higher level of reliability, which really strengthens your safety case.
These aren't just shiny add-ons; they are crucial components that demonstrate you’ve engineered safety right into your flight platform from the ground up.
The goal of any mitigation is to provide a "safety buffer." Whether it's a physical system like a parachute or a procedural one like a buffer zone, you are creating layers of protection that make a potential failure far less likely to result in harm.
Refining Your Operational Procedures
Beyond the tech itself, how you fly is just as important. Operational procedures are the rules and processes you follow to manage risk during the mission. They’re the strategic calls you make before you even take off to create a safer environment.
Smart operational planning is a huge part of any SORA UK application. This often involves simple, common-sense adjustments that make a massive difference to your risk profile. For instance, scheduling an urban mapping mission for 6 AM on a Sunday, when the streets are empty, drastically reduces the number of people at risk compared to flying at midday on a busy Tuesday.
Other powerful procedural mitigations include:
- Establishing Clear Buffer Zones: Cordoning off an area on the ground directly under your flight path is a fundamental way to keep uninvolved people out and drive down your ground risk.
- Using Trained Observers: For some operations, having dedicated crew members scanning the sky for other aircraft can be a very effective tactical mitigation for air risk.
- Adhering to Strict Weather Minima: Defining clear go/no-go conditions for wind, rain, and visibility—and actually sticking to them—prevents you from launching into a bad situation.
Following these kinds of procedures shows the CAA you have a mature, disciplined approach to your flights, which is a key part of successfully navigating UK drone regulations.
Focusing on Human Factors
Finally, never underestimate the human element. The most advanced drone in the world is only as safe as the pilot at the controls. A strong emphasis on pilot competency and building a positive internal safety culture is a vital mitigation that supports everything else.
This goes way beyond just having a license. It means investing in rigorous, scenario-based training that prepares pilots for genuine emergencies. It also means fostering a "just culture," where crew members feel empowered to report near-misses or safety concerns without fear of blame. This allows the entire operation to learn and improve.
At the end of the day, a well-trained and safety-conscious team is your single most valuable asset in reducing operational risk.
How Dronedesk Tames SORA UK Compliance
While the SORA UK framework offers a clear path for complex drone operations, let's be honest – working through its ten steps can be a real slog. Manually crunching risk numbers, chasing down documents, and making sure every 'i' is dotted for the CAA takes a mountain of admin effort. This is exactly where modern drone operations software becomes your best friend.
A platform like Dronedesk is built to take the heavy lifting out of compliance. Instead of juggling spreadsheets, risk assessment tables, and separate flight planning documents, it pulls every piece of the SORA puzzle into a single, organised system. Think of it as having an expert co-pilot just for your paperwork.
Automated Workflows and One Central Hub
Dronedesk turns the SORA process from a manual box-ticking exercise into a smart, guided workflow. The platform is designed to walk you through the required steps, automatically handling the complex calculations for Ground Risk Class (GRC) and Air Risk Class (ARC) based on your specific mission details. This doesn't just save a massive amount of time; it also slashes the risk of human error.
Key benefits include:
- Guided Risk Assessments: The software prompts you for the right information at each stage, making sure no critical detail gets missed.
- Centralised Documentation: All your flight plans, risk assessments, team qualifications, and drone maintenance logs live in one place. No more hunting through folders.
- Automated Document Generation: Dronedesk helps you produce the polished, professional documents you need for your final submission to the CAA.
The real advantage of using a dedicated platform is efficiency and accuracy. By automating the repetitive and complex parts of the SORA UK process, operators can focus their energy on what really matters—planning safe, effective missions—instead of getting bogged down in admin.
Ultimately, tools like Dronedesk act as a force multiplier for your operations. By simplifying compliance, you can get your advanced missions approved and airborne faster, more reliably, and with total confidence that every regulatory box has been ticked.
Your SORA UK Questions Answered
Whenever a new set of regulations comes along, it's natural to have a bunch of questions. To help you get your head around it all, we've put together some straightforward answers to the things operators ask us most about the SORA UK process.
When Do I Actually Need to Use SORA?
You’ll need to roll up your sleeves and get into the SORA process anytime your planned drone flight falls into the 'Specific' category. This is for anything that goes beyond the straightforward rules of the 'Open' category but doesn't quite need the full 'Certified' category treatment.
So, what does that look like in the real world? It's for the more complex missions that naturally carry more risk, such as:
- Flights Beyond Visual Line of Sight (BVLOS)
- Operations above 400 ft from the ground
- Flying anywhere near crowds or groups of people
- Using drones that are designed to drop or release things during flight
Basically, if you're pushing the boundaries of standard drone flying, SORA is the path you'll take to get the green light from the CAA.
What’s the Difference Between SORA and an Operational Authorisation?
This is a classic point of confusion, but it's actually quite simple when you break it down. Think of it like a driving test. The SORA is the test itself—the practical and theory parts where you prove you know what you're doing. The Operational Authorisation (OA) is the driver's license you get in the post afterwards.
SORA is the risk assessment method the CAA requires you to use to build your safety case. The Operational Authorisation is the official permission you get from the CAA once they're happy with your SORA application.
In short, you use the SORA framework to make your argument, and if it's a good one, you'll be granted an OA.
How Long Does the SORA Application Process Take?
This is a "how long is a piece of string?" question. The timeline can vary wildly, and it all comes down to two things: the complexity of your proposed flight (your final SAIL level) and how well you've put your application together.
A really solid, well-documented application for a lower-risk mission might sail through the CAA review in just a few weeks. On the other hand, if you're planning something highly complex and risky, like a BVLOS flight in controlled airspace, you could be looking at several months of prep work and intense back-and-forth with the regulator before you get a decision.
Ready to get a handle on your drone operations and make compliance feel less like a chore? Dronedesk gives you the tools to plan flights, manage risks, and keep all your paperwork in one tidy place. Find out how it all works at https://dronedesk.io.
 Drone Near Airport Rules Explained for Safer Planning →
 International Drone Regulations Every Global Team Should Know →
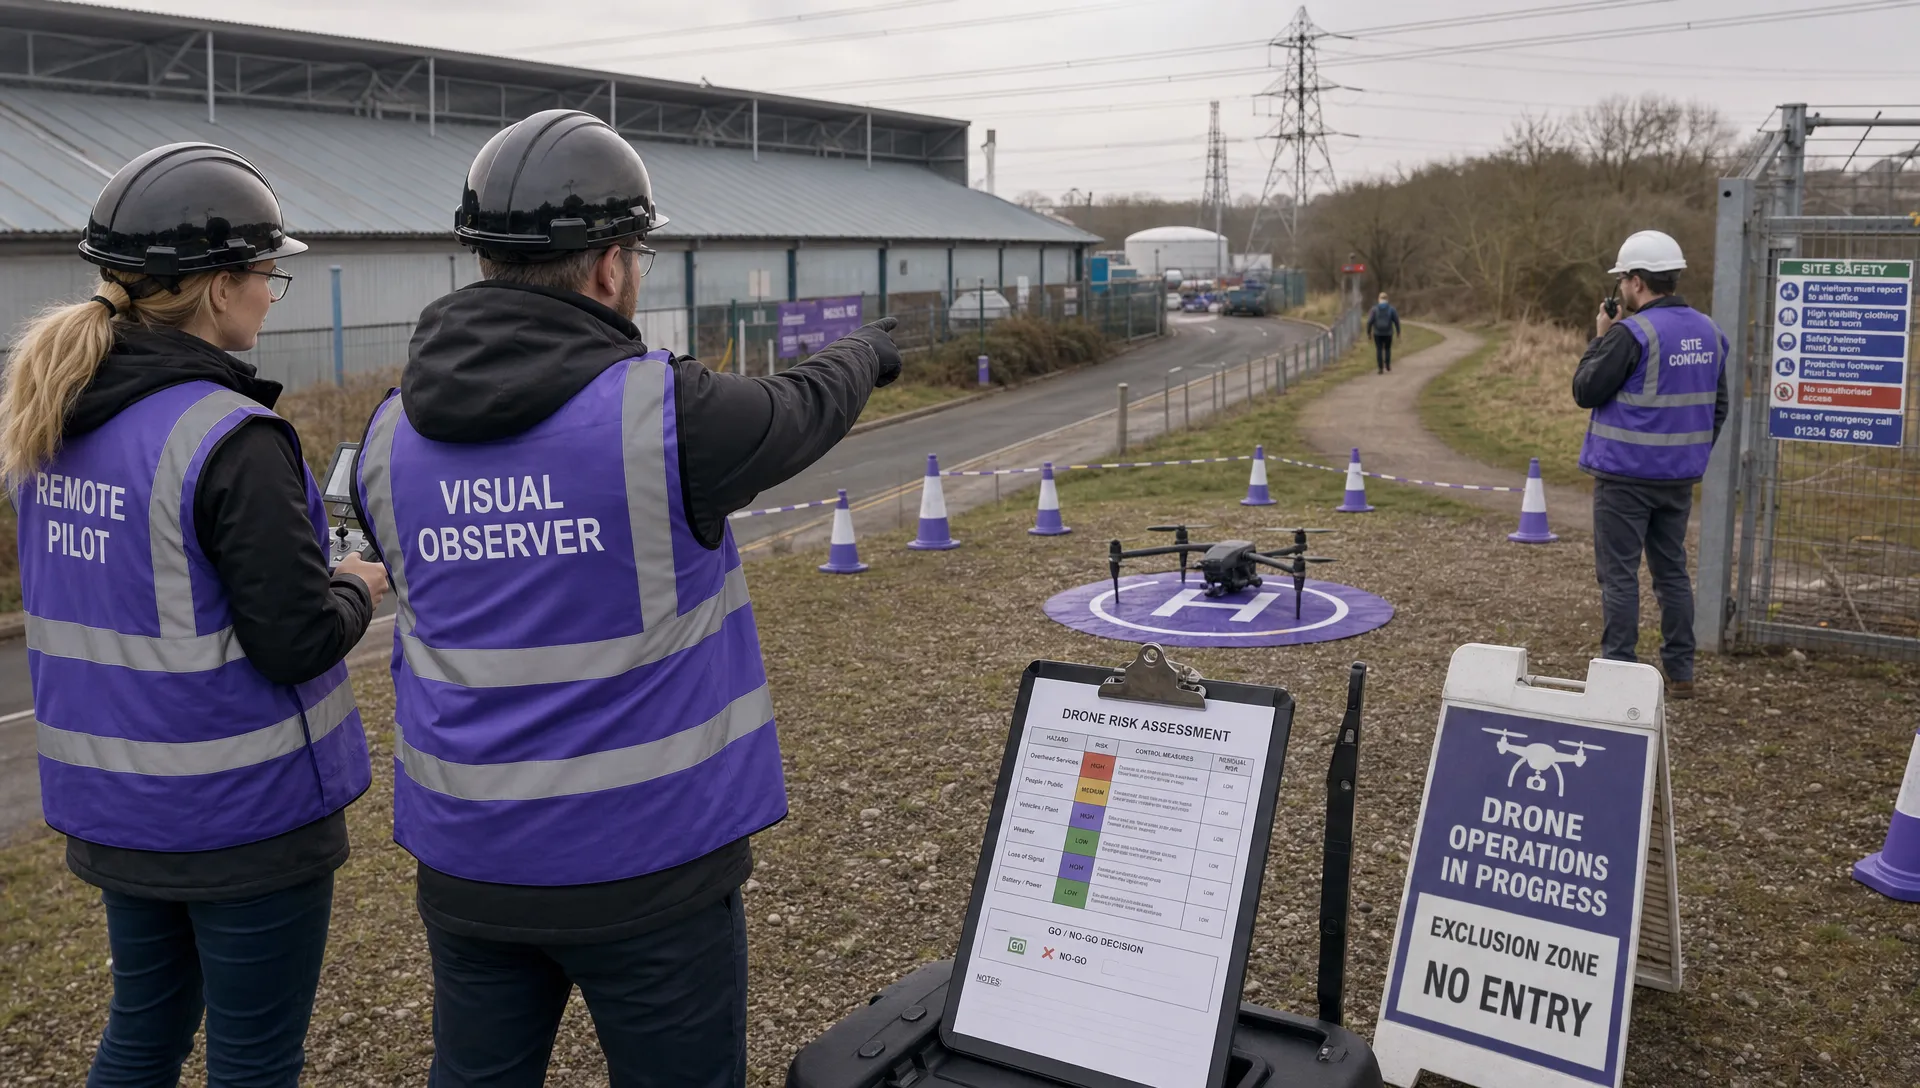 Drone Flight Risk Assessment Example for Safer Missions →
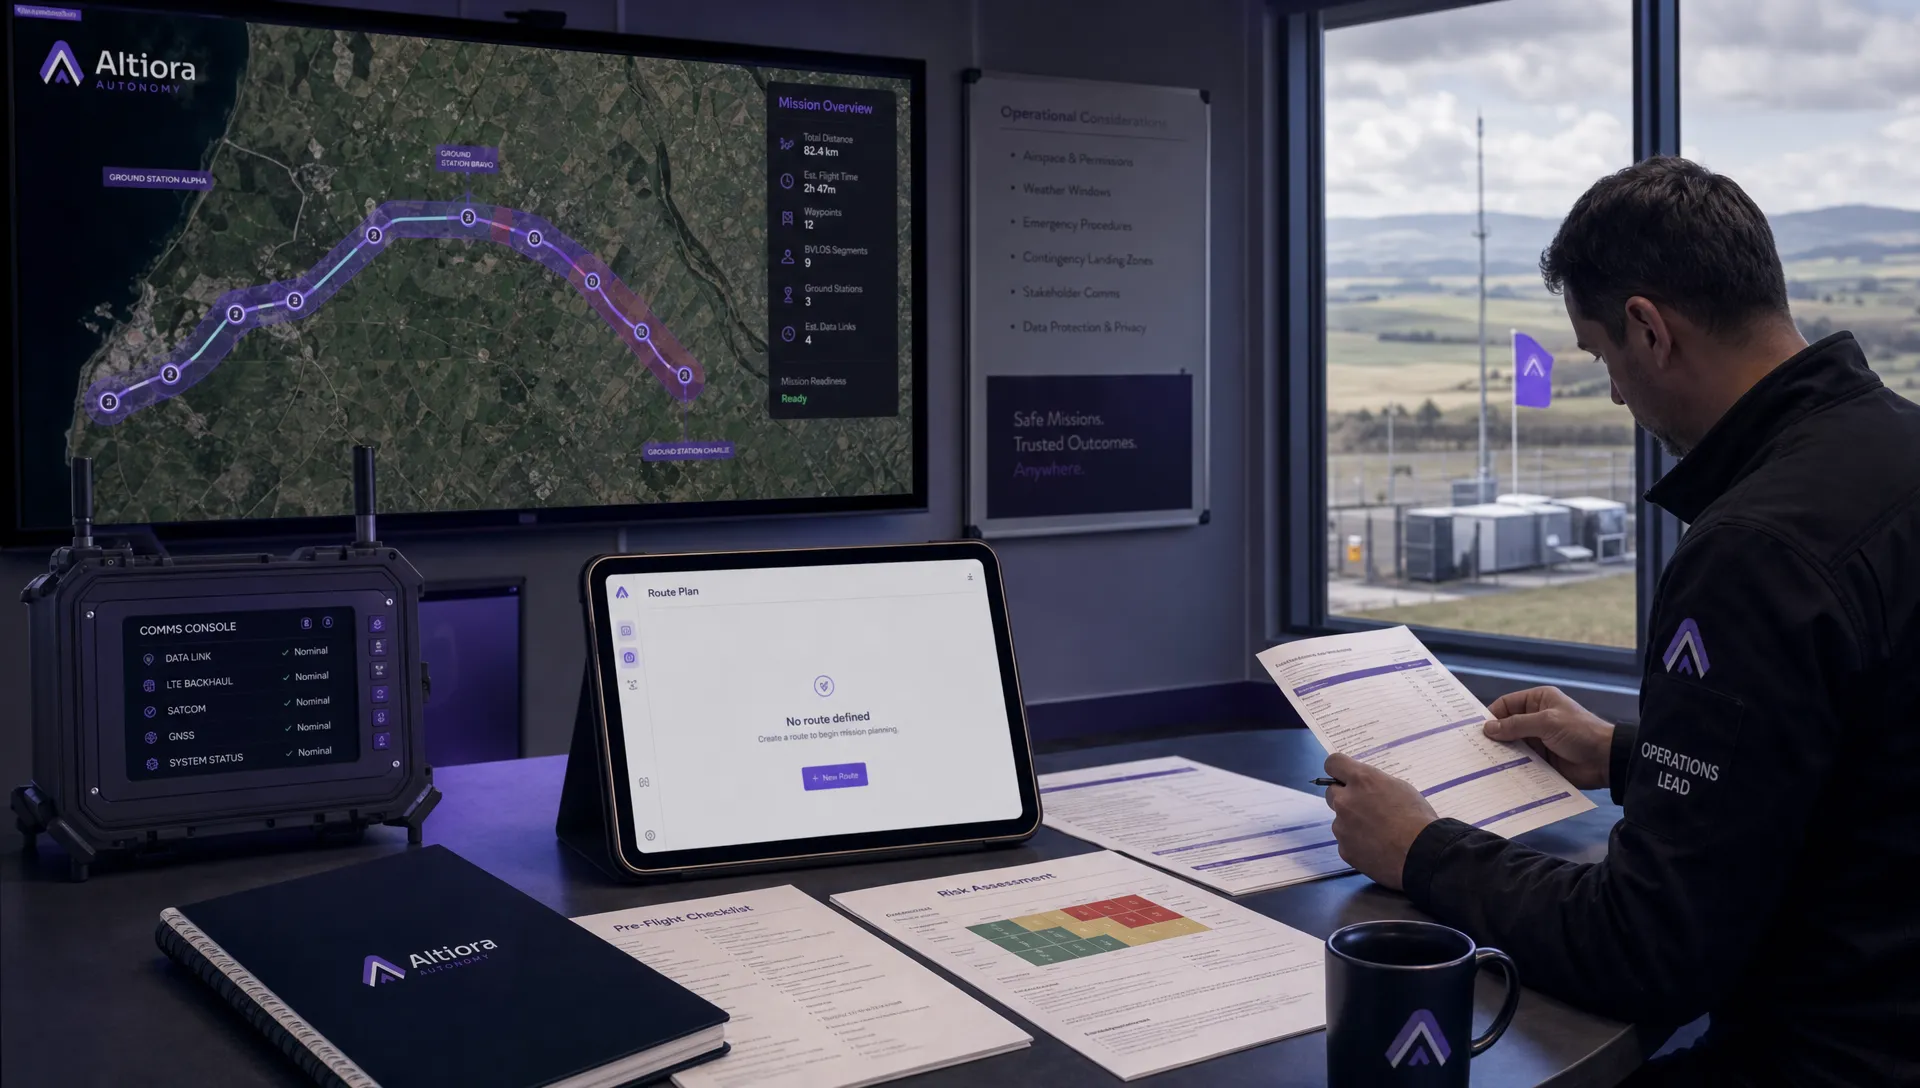 Beyond Visual Line of Sight Explained for Operators →
 How BVLOS Drone Operations Change Commercial Workflows →
 FAA Drone Rules Every Commercial Pilot Should Know →
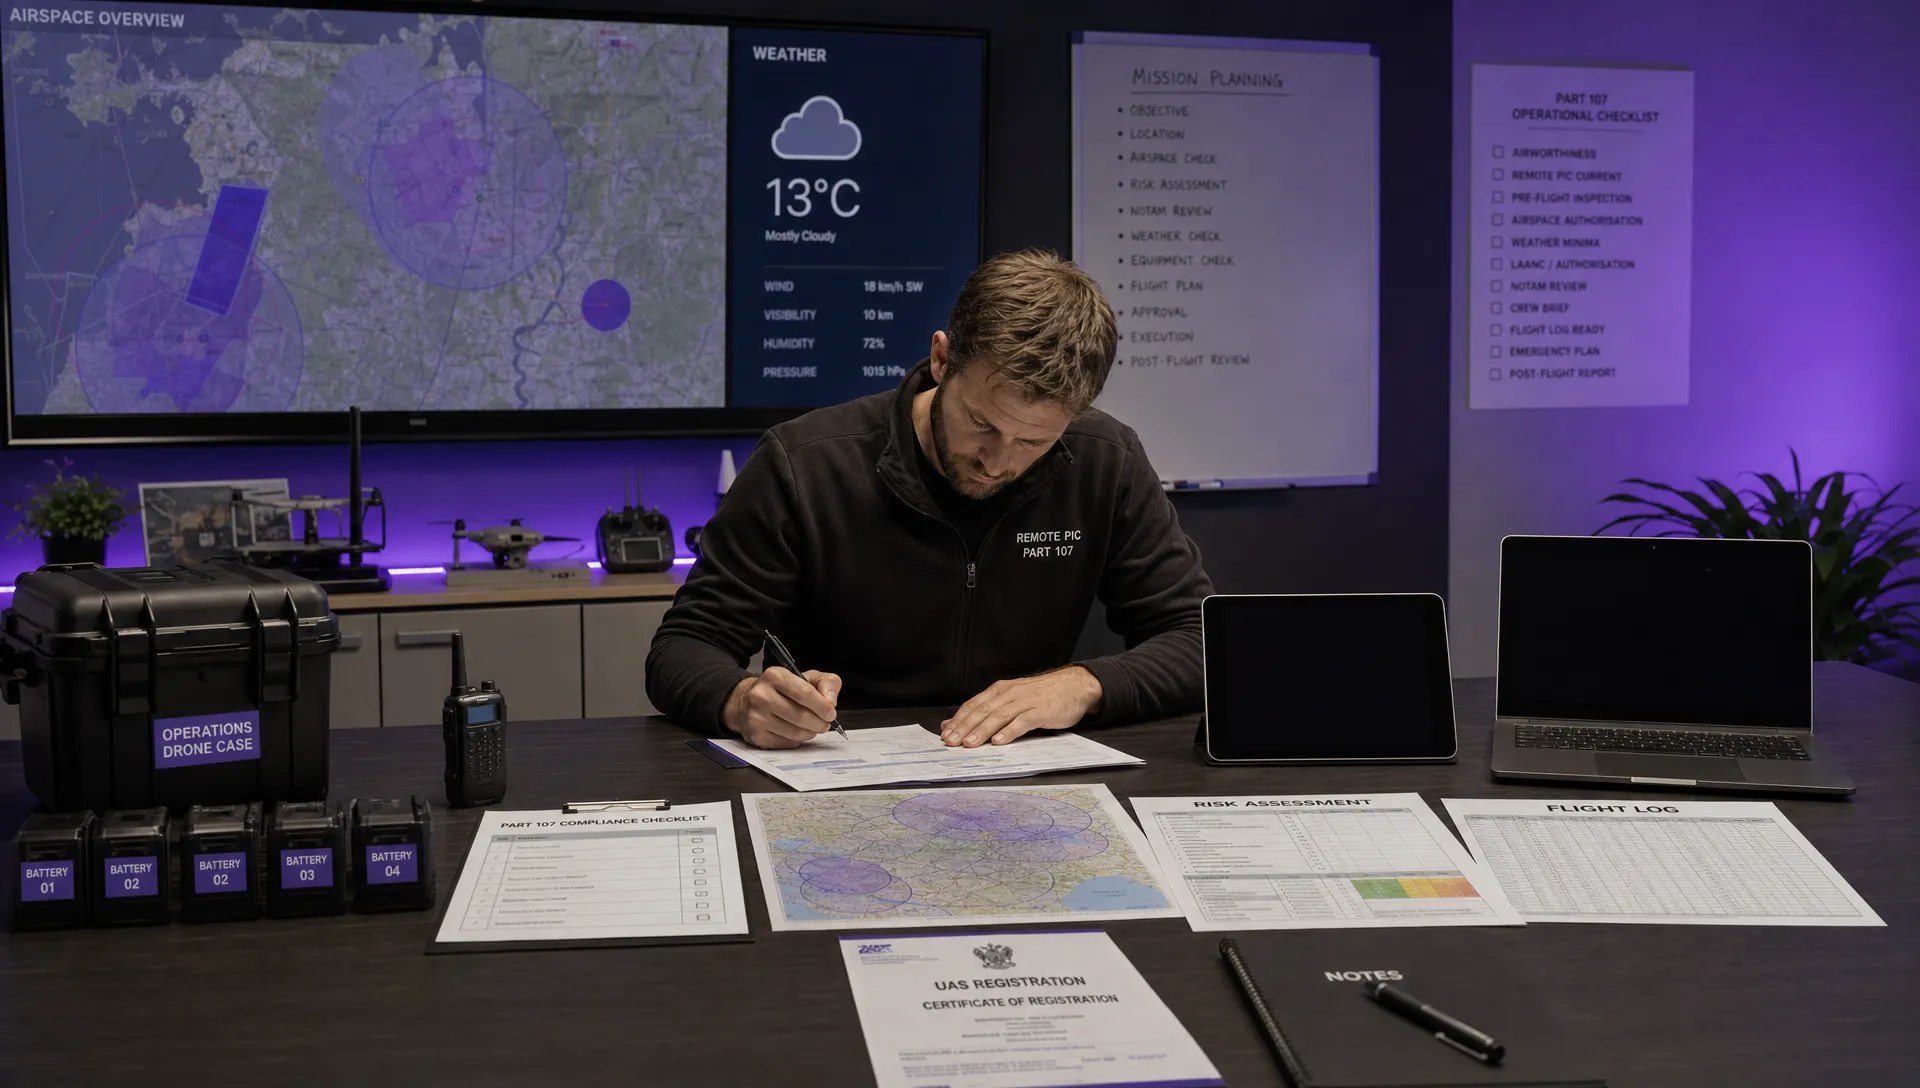 FAA 107 Explained for Commercial Drone Operators →
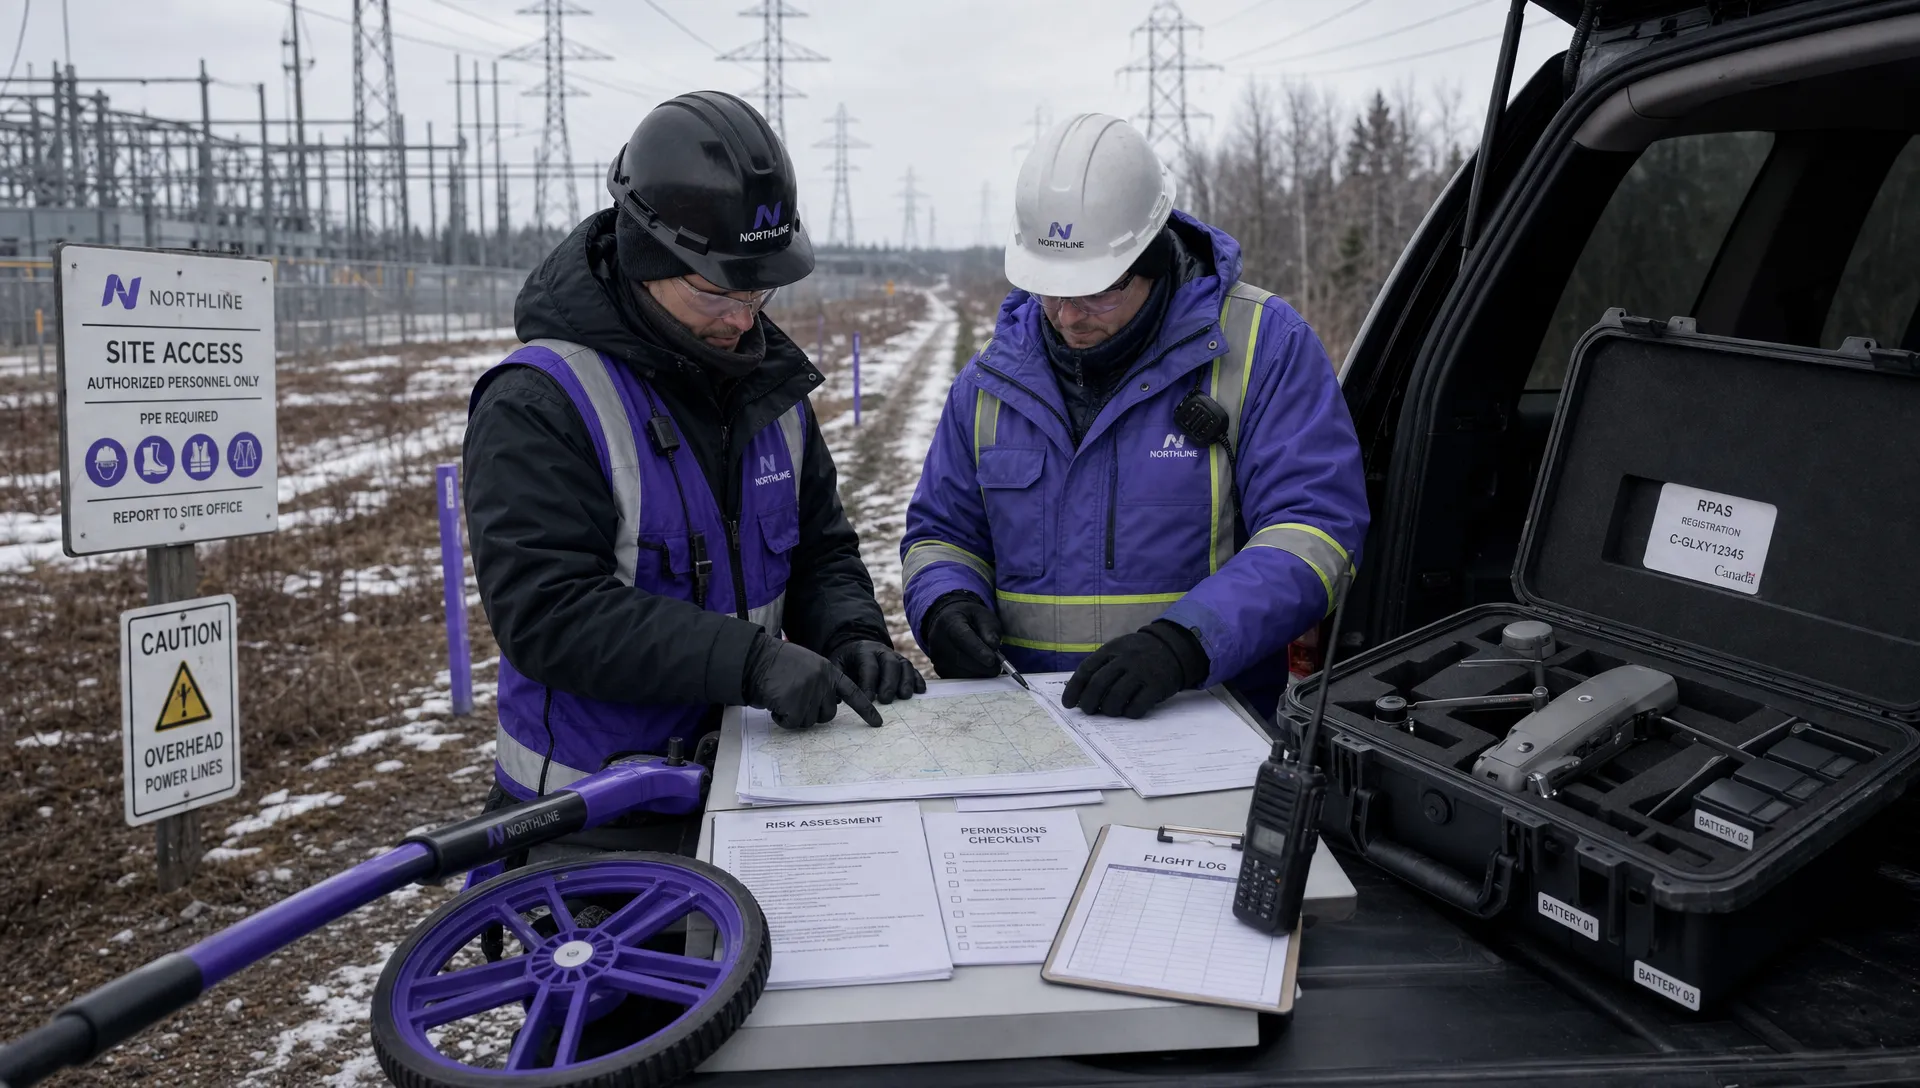 Canadian Drone Regulations Explained for Business Use →
 FAA Part 107 Drone License Explained for Beginners →
 How to Review a DJI Drone Flight Log Step by Step →