A Practical Guide to Mapping with Drones
At its core, mapping with drones is all about capturing hundreds, sometimes thousands, of overlapping photos of an area from above. Using specialized software, we stitch all those individual images together to create incredibly detailed and accurate outputs, like orthomosaic maps, 3D models, and digital elevation models.
It's a world away from traditional ground-based surveying. We can cover huge areas faster, it keeps boots off the ground in potentially hazardous sites, and it’s almost always more cost-effective.
Your Essential Drone Mapping Toolkit

Before you even think about launching, you need to have the right gear packed. Great mapping results don't just happen; they come from an entire ecosystem of hardware and software that works seamlessly together. Honestly, your final map is only as good as the weakest link in your setup, so choosing the right tools from the very beginning is crucial.
Choosing the Right Drone Hardware
First up is the most obvious piece of the puzzle: the drone itself. The right choice here really hinges on the size and complexity of the jobs you plan to take on.
- Multi-rotor Drones: These are the workhorses for most mapping projects. Think of models like the DJI Phantom 4 RTK or Mavic 3 Enterprise. Their agility is a massive advantage for detailed inspections or mapping tricky, smaller sites like construction zones and quarries. The ability to just stop, hover, and capture images from different angles is a game-changer for building detailed 3D models.
- Fixed-wing Drones: When you need to cover a lot of ground, fixed-wing is the way to go. For massive agricultural fields or long corridors like highways and pipelines, these drones are unbeatable. They trade some of that close-quarters maneuverability for incredible endurance, letting them stay in the air longer and map way more terrain in a single flight.
A classic rookie mistake is getting hung up on megapixels. While a high-resolution camera is good, it’s the sensor quality and lens that truly make or break your map’s clarity and geometric accuracy.
The sensor your drone carries—its payload—is what determines the kind of data you can collect. A standard RGB camera is your go-to for creating the visual maps and models we all recognise. But for more specialised work, you might need a multispectral sensor to check crop health or even LiDAR to see through vegetation and create hyper-accurate terrain models.
To get a deeper dive into the options, our guide on the best drones for land surveys breaks down the top models out there for professional use: https://blog.dronedesk.io/best-drones-for-land-surveys/
The Software That Brings It All Together
Your drone is just a flying camera without the right software to tell it what to do and make sense of the data it collects. You’ll need two main types of software in your workflow.
First is the mission planning app. This is where you lay out the game plan. The software automates the entire flight, making sure the drone flies a perfect grid pattern and captures every photo with the exact overlap needed for processing. You define your survey area, set your flight altitude, and dial in all the camera settings before the drone even leaves the ground.
Second is the photogrammetry software. This is where the real magic happens. Powerful programs like DJI Terra or other third-party options take the massive collection of individual photos from your drone. Using their overlapping areas and geotags, the software stitches them all together into a single, seamless, and—most importantly—measurable final product.
Designing a Flawless Mapping Mission
Great maps are born on the ground, not in the air. Meticulous planning is what separates amateur results from professional-grade data, and it's what ensures every minute in the air is efficient, safe, and productive. The entire mission really hinges on the decisions you make long before the drone's rotors even start spinning.
And this field is booming. The global drone market, estimated at USD 73.06 billion, is projected to more than double to USD 163.60 billion by 2030. That growth is powered by better tech, smarter software, and more professionals like you realizing the power of aerial data.
The infographic below lays out the essential steps for a successful mission, from defining your goals to dialing in the right flight parameters.

This visual blueprint just reinforces the idea that a successful outcome is a direct result of a structured, ground-based strategy, not just what happens during the flight.
Define Clear Project Goals
First things first: what are you actually trying to create? Are you mapping a construction site to generate a detailed 3D model for progress tracking? Or do you need a high-resolution 2D orthomosaic map of a farm to analyze crop health?
The answer dictates your entire approach. A 3D model, for instance, requires images captured from multiple angles—often called an oblique flight—to get the sides of buildings and structures. A 2D orthomosaic, on the other hand, relies on a consistent top-down (nadir) perspective. Knowing your end goal from the get-go prevents wasted time and ensures the data you collect is actually fit for purpose.
Conduct a Pre-Flight Site Assessment
Never, ever fly a site blind. A proper on-the-ground assessment is non-negotiable for both safety and data quality. Get your boots on the ground, walk the perimeter, and identify potential hazards that simply aren't visible on a satellite map.
You'll want to look for things like:
- Hidden Obstacles: Tall, thin structures like radio antennas, newly installed power lines, or even lone, tall trees can be mission-killers.
- Sudden Terrain Changes: Steep drop-offs or hidden hills can mess with your flight altitude relative to the ground, which can compromise the consistency of your data.
- Launch and Landing Zones: Find a safe, flat, and clear area for takeoff and landing. Make sure it's away from public access and any potential sources of magnetic interference.
A thorough site walk helps you anticipate problems before they become problems. I once discovered a flock of birds nesting on a rooftop that was right in my planned flight path—something no digital map would ever show. Finding that early saved the mission, my drone, and probably gave the birds a much calmer afternoon.
Set Your Critical Flight Parameters
With your goals locked in and the site assessment complete, you can start dialing in the technical settings that directly influence the quality of your final map. If you want to go really deep on this, check out our guide on comprehensive drone flight planning.
To get the best results, you need to balance several key settings. Getting these right is fundamental to capturing high-quality, usable data.
Key Flight Parameters For Mapping Missions
| Parameter | Recommended Setting | Impact on Data Quality |
|---|---|---|
| Altitude | Varies by GSD requirement | Higher altitude covers more ground but yields lower resolution. Lower altitude provides high detail but takes longer and creates more data. |
| Front Overlap | 75% or higher | Ensures sufficient common points between consecutive images for successful photogrammetric stitching. |
| Side Overlap | 70% or higher | Crucial for creating a cohesive map across flight lines. Insufficient side overlap is a common cause of failed projects. |
| Camera Angle | Nadir (90°) for 2D, Oblique (45-85°) for 3D | Nadir is best for orthomosaics. Oblique angles are necessary to capture vertical surfaces for detailed 3D models. |
| Flight Speed | Slow to moderate | A slower speed reduces motion blur and allows the camera's shutter to keep up, ensuring sharp, crisp photos. |
These settings are your starting point. You may need to tweak them based on the specific site, lighting conditions, and the drone you're using.
Altitude, for example, is a constant balancing act. Flying higher covers more ground faster but results in a lower ground sampling distance (GSD), which means less detail in your final map. Flying lower gives you incredible detail but requires more flight time, more batteries, and generates a massive amount of data to process later.
Image overlap is just as critical. The standard recommendation is at least 75% front overlap and 70% side overlap. Insufficient overlap is one of the most common reasons photogrammetry software fails to stitch images together correctly. Skimping on this to save a few minutes of flight time is a classic rookie mistake and a recipe for a failed map.
Executing the Flight and Capturing Quality Data

With a solid plan in your pocket, it's time to head out to the field. This is where all that meticulous preparation pays off, turning a theoretical flight path into a real-world data capture mission.
Arriving on-site is about more than just finding a spot to take off. You need to methodically verify every piece of your system to make sure the operation goes smoothly.
Your first move on site should be to run through a final, field-tested checklist. This isn't just a quick glance at battery levels; it's a full-on sequence to confirm every last detail before your drone even thinks about leaving the ground.
- Confirm a Strong GPS Lock: I never launch without at least ten satellites locked. This is the absolute foundation of accurate geotagging.
- Calibrate the Compass and IMU: Always do this on-site. If you've travelled a significant distance, you need to account for local magnetic variations. Don't skip it.
- Inspect Propellers and Motors: Give them a quick visual and physical check. Look for any nicks, cracks, or debris that could lead to a catastrophic failure mid-flight.
- Verify Camera Settings: The last thing you want is to fly a whole mission with the wrong focus or exposure. Double-check that your camera settings match what you decided on in your plan.
Running through this systematic check minimizes the risk of common field errors and gives you the confidence you need before hitting "start."
The Power of Ground Control Points
For projects that demand the highest level of precision, relying on the drone's onboard GPS just isn't going to cut it. This is where Ground Control Points (GCPs) become your secret weapon for achieving survey-grade accuracy.
So, what is a GCP? It's simply a physical marker on the ground with a precisely known geographic coordinate.
You'll place several of these markers across your survey area and then measure their exact location with a survey-grade GPS rover. By doing this, you're giving the photogrammetry software fixed, real-world reference points. During processing, the software ties your aerial images to these known locations, correcting for any minor GPS drift from the drone. The result is a dramatic improvement in the map's absolute accuracy—often taking you from meter-level down to a few centimeters.
Think of GCPs as anchors holding your map firmly to the real world. Without them, your map might be internally consistent but could be "floating," slightly offset from its true position on Earth. With GCPs, you lock it down.
Monitoring the Mission and Adapting on the Fly
Once the drone is airborne, your job shifts from planner to active monitor. Keep a close eye on the mission's progress through your flight planning app. Pay attention to telemetry data like battery voltage, signal strength, and wind speed. This constant vigilance is key because, let's be honest, the real world rarely cooperates perfectly with a digital plan.
A sudden shift in weather, unexpected signal interference from a cell tower you didn't see, or even a curious bird can disrupt a mission. A true pro is always prepared to pause the flight, bring the drone back home, and reassess the situation. Remember, the goal isn't just to complete the flight; it's to bring home high-quality, usable data.
The importance of this data is clear when you look at industry trends. Mapping and surveying consistently remain the top applications in the commercial drone market. This whole sector is projected to hit nearly USD 57.8 billion by 2030, a boom driven by the immense value of accurate aerial data in construction, agriculture, and energy. You can dig into more insights about this growing market on Droneii.com.
Being able to adapt and overcome challenges in the field is what ensures your mapping with drones delivers the reliable results these industries are counting on.
Turning Drone Photos into Actionable Maps

So, the flight is done and your SD card is packed with high-resolution images. The data capture part might be over, but this is where the real magic of drone mapping truly begins. Now it's time to transform that big folder of individual photos into a precise, cohesive, and incredibly valuable digital asset.
This process is called photogrammetry, and it’s a bit like assembling a high-tech, automated puzzle where each photo is a single piece. Specialized software takes over, sifting through thousands of common points across all your overlapping images to digitally reconstruct the entire area you just surveyed.
From Images to a Point Cloud
The first step in any photogrammetry workflow is getting your images into the software and making sure the data is solid. The program scans the EXIF data of each photo to confirm it has a valid geotag—that's the GPS coordinate that was recorded the instant the shutter clicked. This spatial information is the bedrock of the whole process.
Next up is the initial alignment. The software starts identifying unique features that appear in multiple photos, like a specific rock, the corner of a building, or a painted line on the pavement. By matching these features across the entire dataset, it can calculate the exact position and orientation of the drone for every single shot.
This alignment produces the first major output: a dense point cloud. Think of this as the 3D skeleton of your map. It’s a massive collection of millions of individual points, each with its own XYZ coordinate, giving you a raw but powerful representation of the site's topography and structures.
Creating Your Final Map Deliverables
The point cloud is impressive, for sure, but it’s rarely the final product clients are looking for. The real value comes from turning this cloud of points into more usable, tangible assets. Your software uses this point cloud as the foundation to generate several key deliverables.
- Textured 3D Mesh: The software connects the dots in the point cloud, forming a continuous surface of tiny triangles. Then it drapes the original photo textures over this mesh, creating a photorealistic, navigable 3D model of your site.
- Orthomosaic Map: This is the big one for many projects—a single, high-resolution 2D map stitched together from all your top-down photos. Unlike a simple satellite image, an orthomosaic is geometrically corrected, which means every pixel is in its correct geographic location. You can take accurate distance and area measurements directly from it.
- Digital Elevation Model (DEM): A DEM is a bare-earth model showing just the topography. It strips away buildings, trees, and other objects to give you a clear view of the terrain's shape, which is essential for understanding drainage, slopes, and elevation changes.
A common headache during processing is image alignment failure. If the software can't find enough common points between photos, the whole process can grind to a halt. This is almost always caused by insufficient image overlap (below 70%) or blurry photos from flying too fast.
The demand for these outputs is driving some serious growth. The global market for drone analytics—a core part of this whole process—was recently valued at USD 5.2 billion. Projections show it soaring past USD 13.2 billion within four years, which tells you just how much industries are starting to rely on this tech.
Choosing the right tool for the job is critical, as processing can be incredibly resource-intensive. For a detailed breakdown, check out our guide on the best drone mapping software available today: https://blog.dronedesk.io/best-drone-mapping-software/
You've nailed the flight, captured the data, and your drone map is processed and looking sharp. It's easy to think the job is done here, but honestly, this is where the real value starts. A beautiful map is one thing, but a map that provides actionable insights for your client? That's the goal.
This final leg is all about pulling the crucial data out of those pixels and getting it into the right hands.
Turning Pixels into Paydirt
Modern photogrammetry platforms are much more than just fancy processing engines. They're packed with powerful analytical tools you can use right in your web browser, no clunky third-party software required.
For a construction site manager, this is a game-changer. Imagine they need to know how much material is in a specific stockpile. You can simply draw a polygon around the base of the pile, and the software instantly crunches the numbers from the underlying elevation data. A precise volume measurement, in cubic meters or yards, is ready in seconds.
The same goes for quick linear and area measurements. Need to verify the length of a newly paved road or calculate the exact footprint of a building foundation? It’s just a few clicks away. You can even compare datasets from different dates to track progress over time.
This is how you move from just showing data to providing answers. Instead of just sending a client a picture of a stockpile, you can tell them it contains exactly 4,350 cubic meters of gravel. That’s a hard number they can use for logistics, ordering, and planning.
Getting Your Data Where It Needs to Go
While the on-platform tools are fantastic for quick analysis, many professional workflows demand that your drone data plays nice with specialized GIS or CAD software. Getting a handle on the key export formats is essential for making that happen smoothly.
- GeoTIFF: This is your go-to for the orthomosaic map. It's not just a high-res image; it’s embedded with critical geographic information. This means when you drop it into a program like ArcGIS or QGIS, it lands exactly where it should on the globe.
- LAS/LAZ: These are your point cloud files. Engineers and surveyors live in this data. They need the raw 3D points to create detailed topographic surveys, surface models, and other complex deliverables.
- OBJ/FBX: These are standard formats for your 3D textured mesh. They're perfect for creating stunning visualizations, dropping into presentations, or for use in 3D modeling and animation software.
Sharing and Working Together
Forget the days of trying to email massive data files or messing around with FTP servers. Today's cloud-based platforms have completely overhauled how we share the results of mapping with drones.
All it takes is sending a simple web link to your clients, project managers, or anyone else on the team.
They can open that link in any browser, whether they're on a desktop or a tablet out in the field, and see the full-resolution map and 3D model. This unlocks real-time collaboration. Team members can drop pins, make comments, and discuss specific features right on the map, making sure everyone is looking at the same thing and totally on the same page.
Even with the best-laid plans, questions always pop up when you're in the middle of a project. Getting the right answers can be the difference between a beautiful, accurate map and a long, frustrating day in the field. Let's dig into some of the most common questions and hurdles I see operators face.
What Level of Accuracy Can I Actually Expect?
This is probably the number one question I get, and honestly, it all comes down to your gear and your methods.
If you're flying a decent drone without any ground references, you can usually expect a relative accuracy of about 5-10 cm. That means measurements within the map are consistent and reliable relative to each other.
But if you need survey-grade results that tie your map to the real world, you've got to step up your game. By using precisely measured Ground Control Points (GCPs) and flying a drone with RTK or PPK capabilities, you can nail down an absolute accuracy of 1-3 cm horizontally and 3-5 cm vertically. This is the level of precision required for serious engineering, construction, and land surveying jobs.
How Much Does Weather Affect a Mapping Mission?
Weather isn't just a factor; it's a make-or-break element for any mapping flight. High winds, which I'd classify as anything over 25 mph (40 kph), are a huge problem. They push the drone off its flight path, which leads to inconsistent image overlap and blurry photos—two things that will absolutely kill your photogrammetry processing.
An overcast, cloudy day is the holy grail for drone mapping. The soft, diffuse light gets rid of the harsh shadows that can hide crucial ground details or trick the processing software. The result is a much cleaner, more uniform final product.
Flying in rain or snow is a complete non-starter. It’s not just about risking the expensive electronics on your drone; water droplets on the lens make the data totally useless for building an accurate map. Always, always check the forecast religiously before heading out.
Orthomosaic Maps vs. 3D Models: What's the Difference?
Both of these are created from the same batch of images, but they're built for entirely different jobs.
-
Orthomosaic Map: Think of this as a geometrically perfect, distortion-free 2D aerial photo. It’s been corrected so you can take true-to-scale measurements of distances and areas right off the image. It’s flat, just like a classic map, but with photographic detail.
-
3D Model: This is a full, three-dimensional digital twin of your site. It starts as a point cloud and becomes a navigable model where you can view buildings, terrain, and stockpiles from any angle. It’s what you need for measuring volumes or analyzing vertical structures.
Your project's end goal dictates which one you’ll need. A land developer might use an orthomosaic for initial site planning, whereas a construction manager will live in the 3D model to track the progress of a new building.
Trying to manage every piece of your drone operation—from pre-flight checks to final deliverables—can feel like juggling chainsaws. Dronedesk brings everything into one place, simplifying your planning, logging, compliance, and client management. Stop wrestling with spreadsheets and start flying smarter. Check out how Dronedesk can transform your workflow.
 International Drone Regulations Every Global Team Should Know →
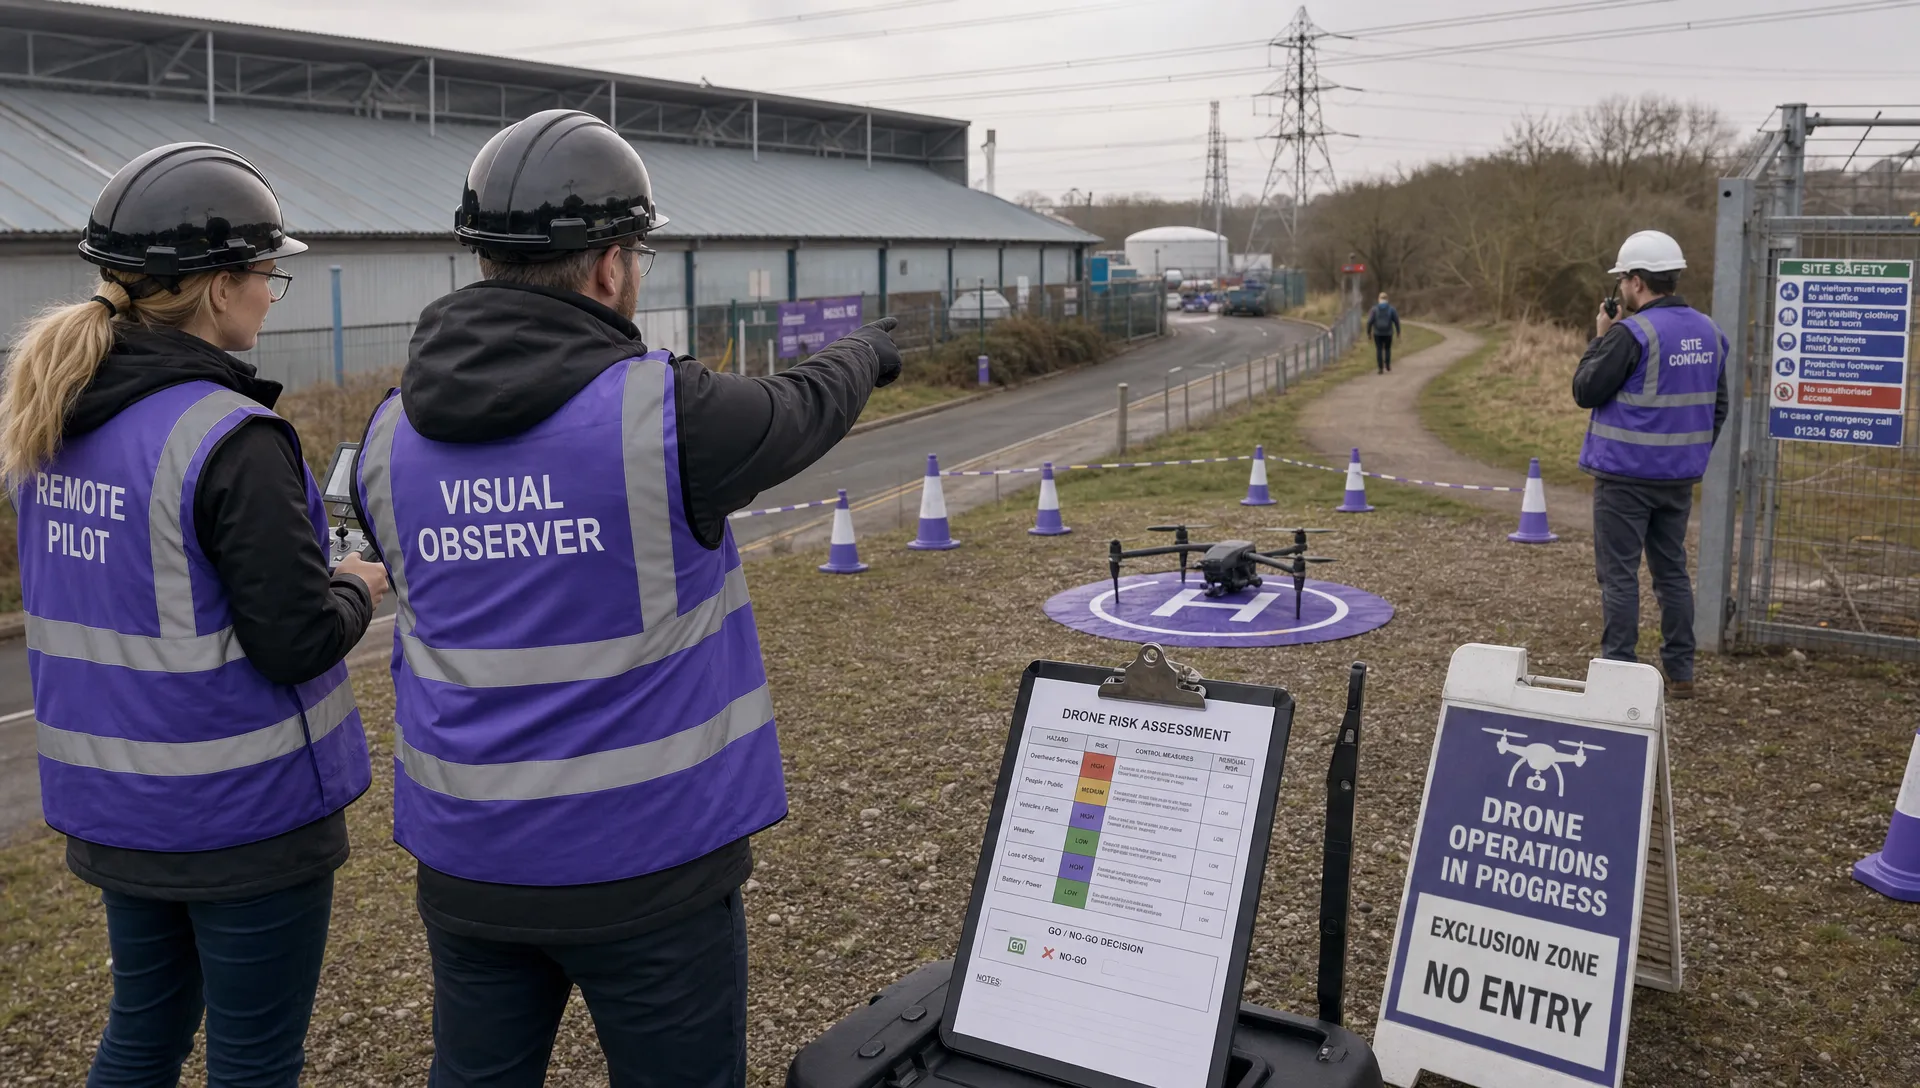 Drone Flight Risk Assessment Example for Safer Missions →
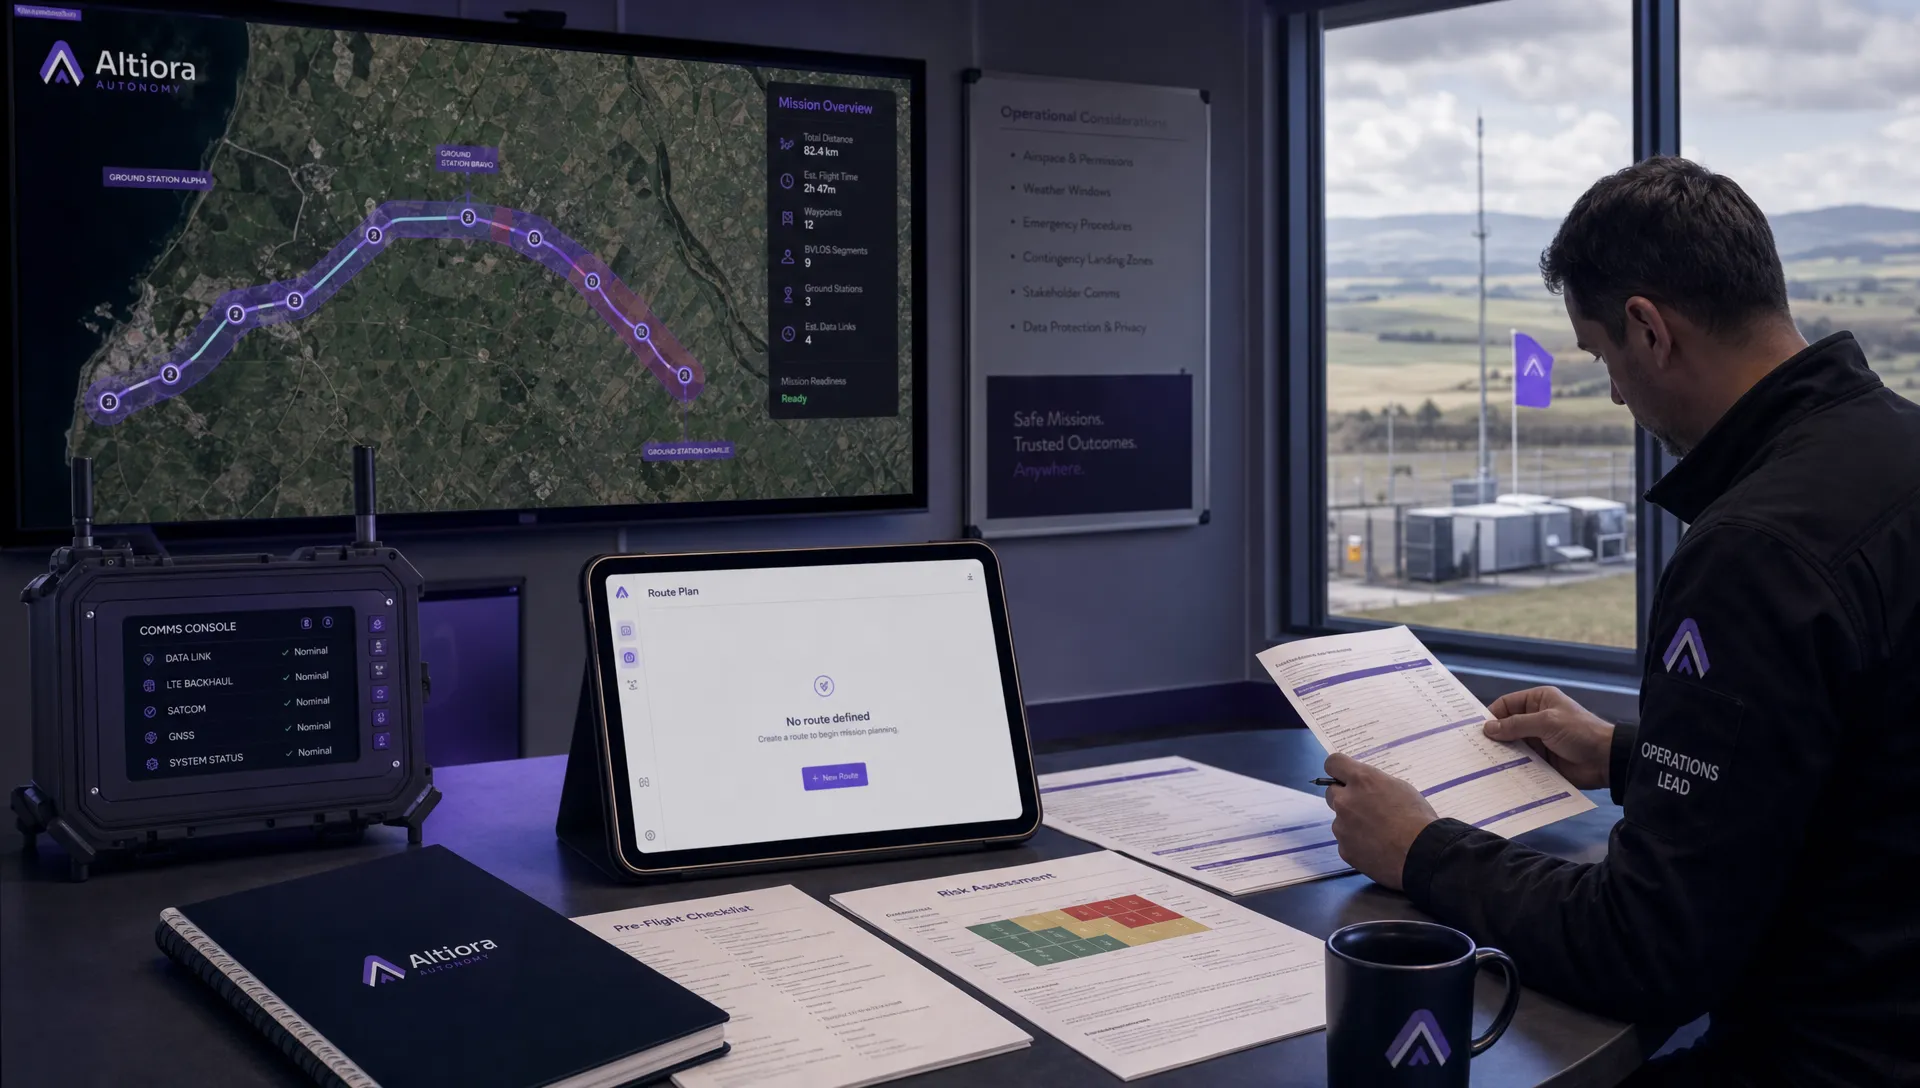 Beyond Visual Line of Sight Explained for Operators →
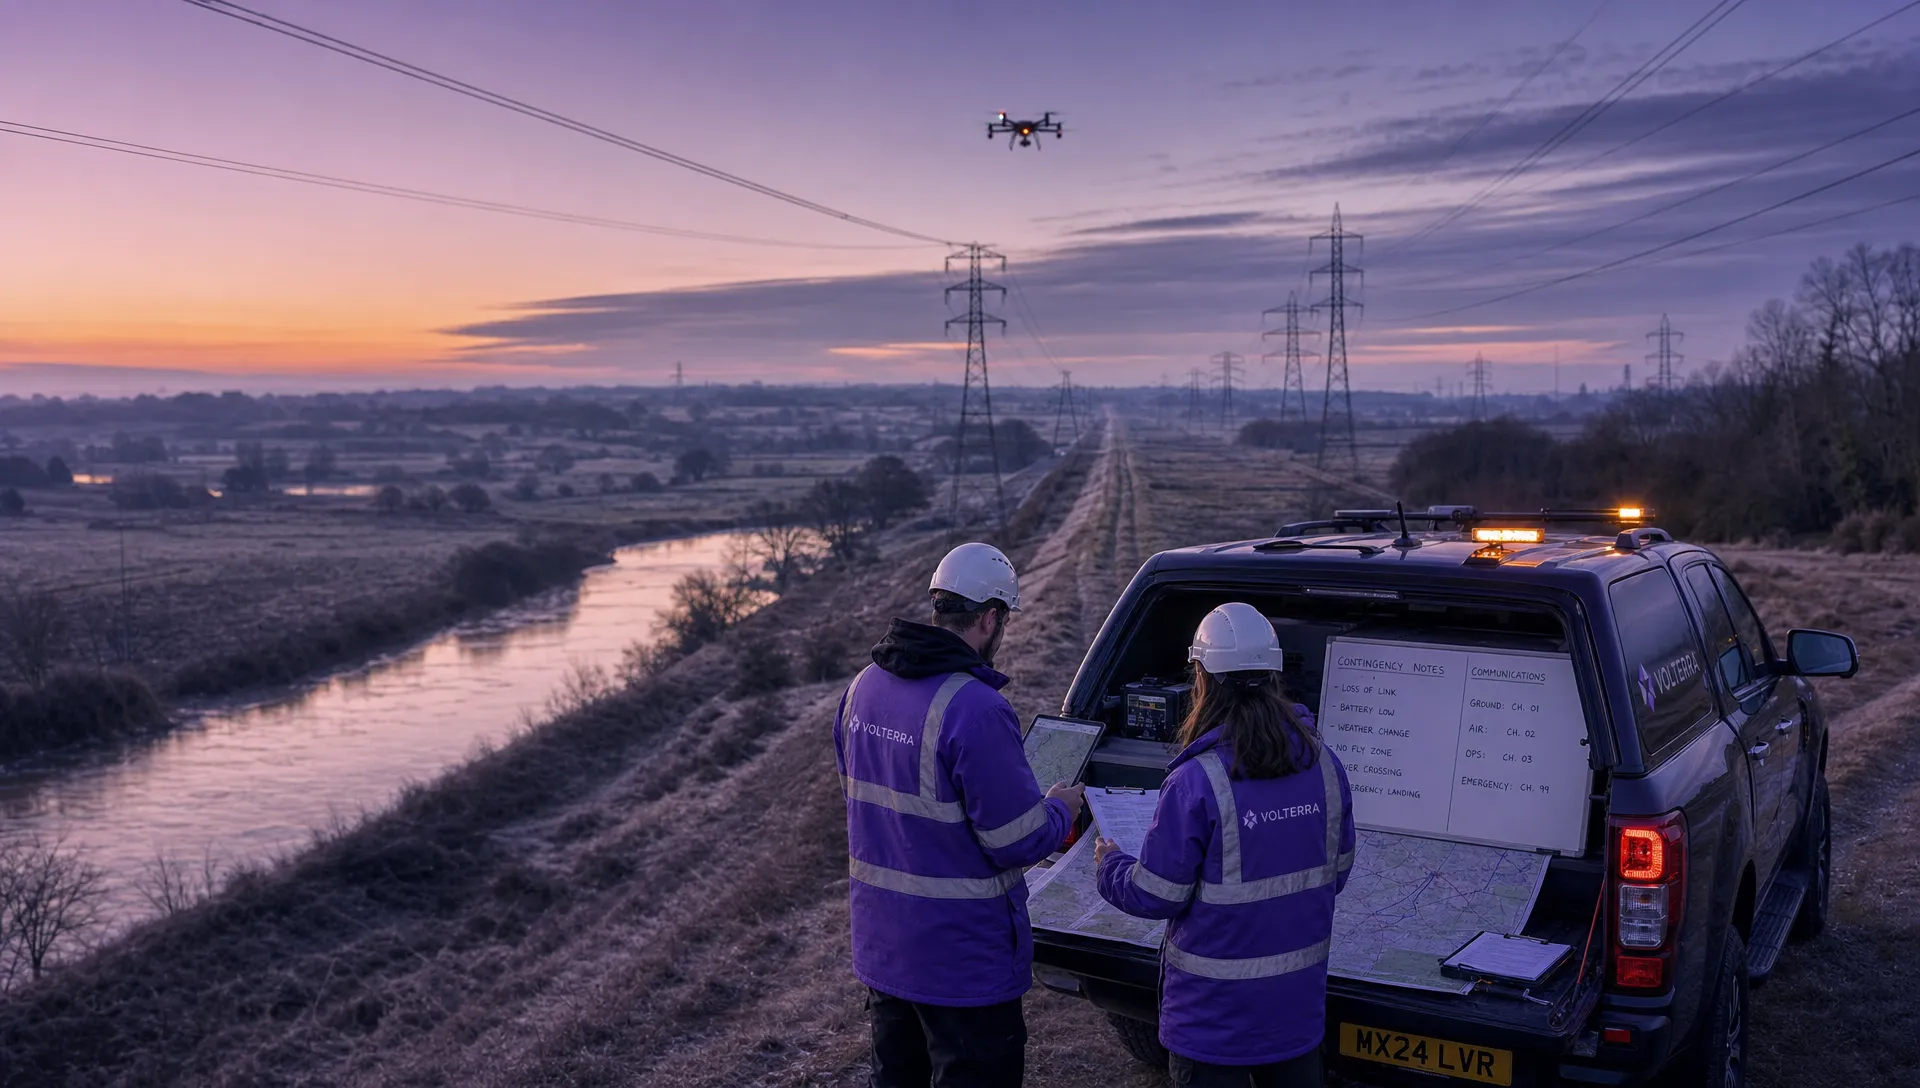 How BVLOS Drone Operations Change Commercial Workflows →
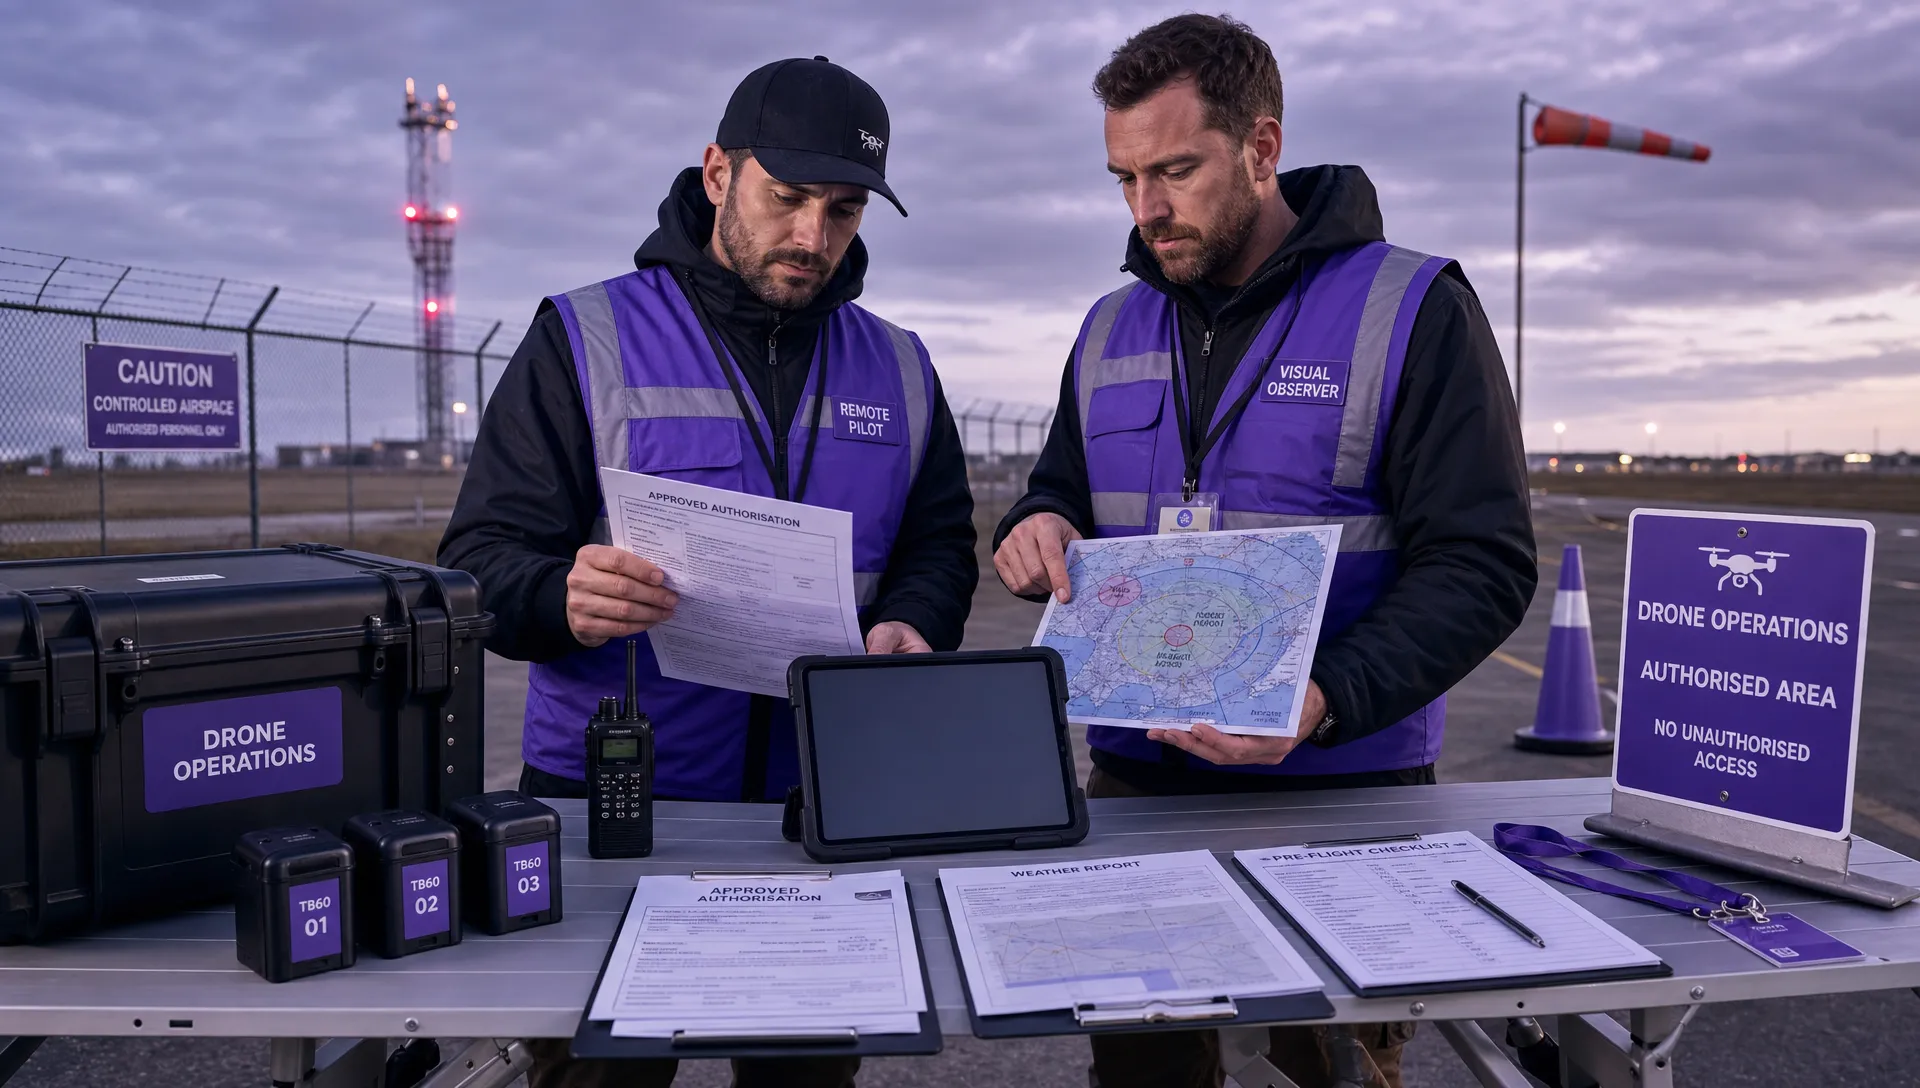 FAA Drone Rules Every Commercial Pilot Should Know →
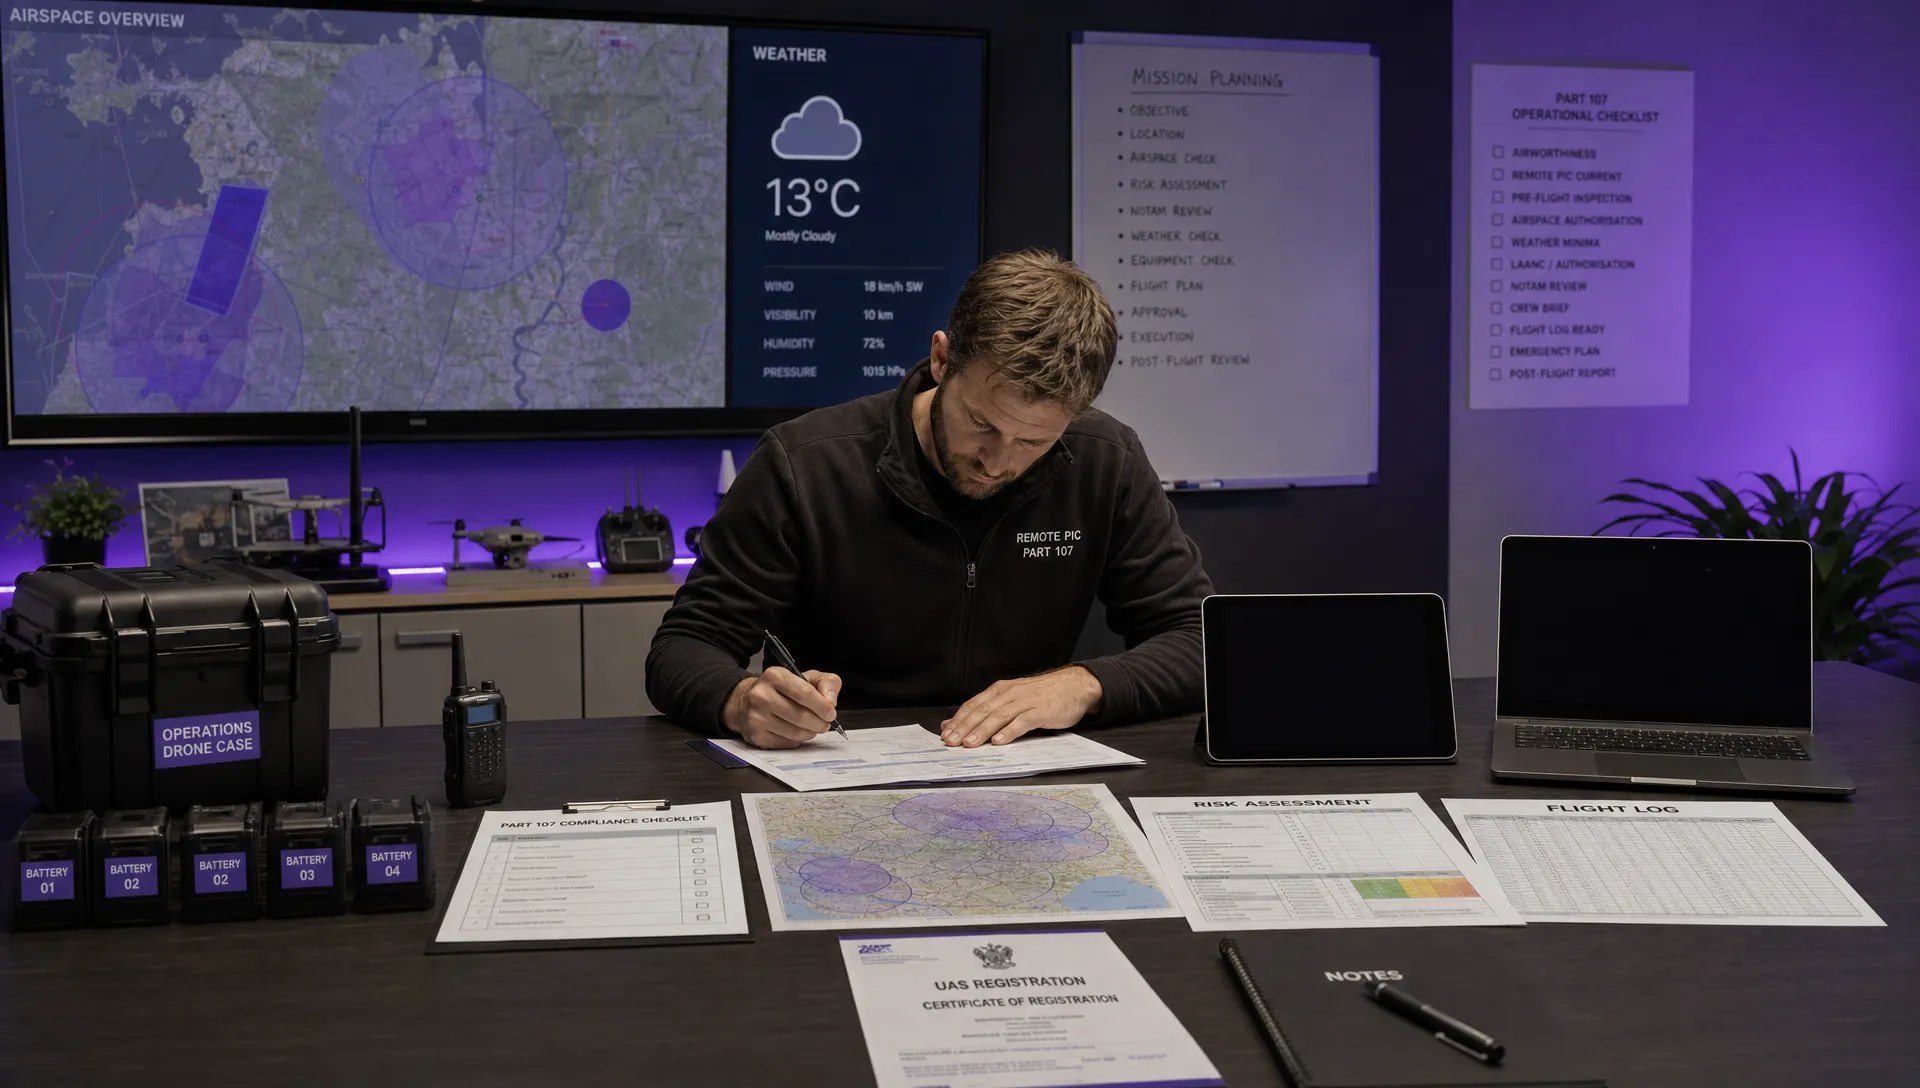 FAA 107 Explained for Commercial Drone Operators →
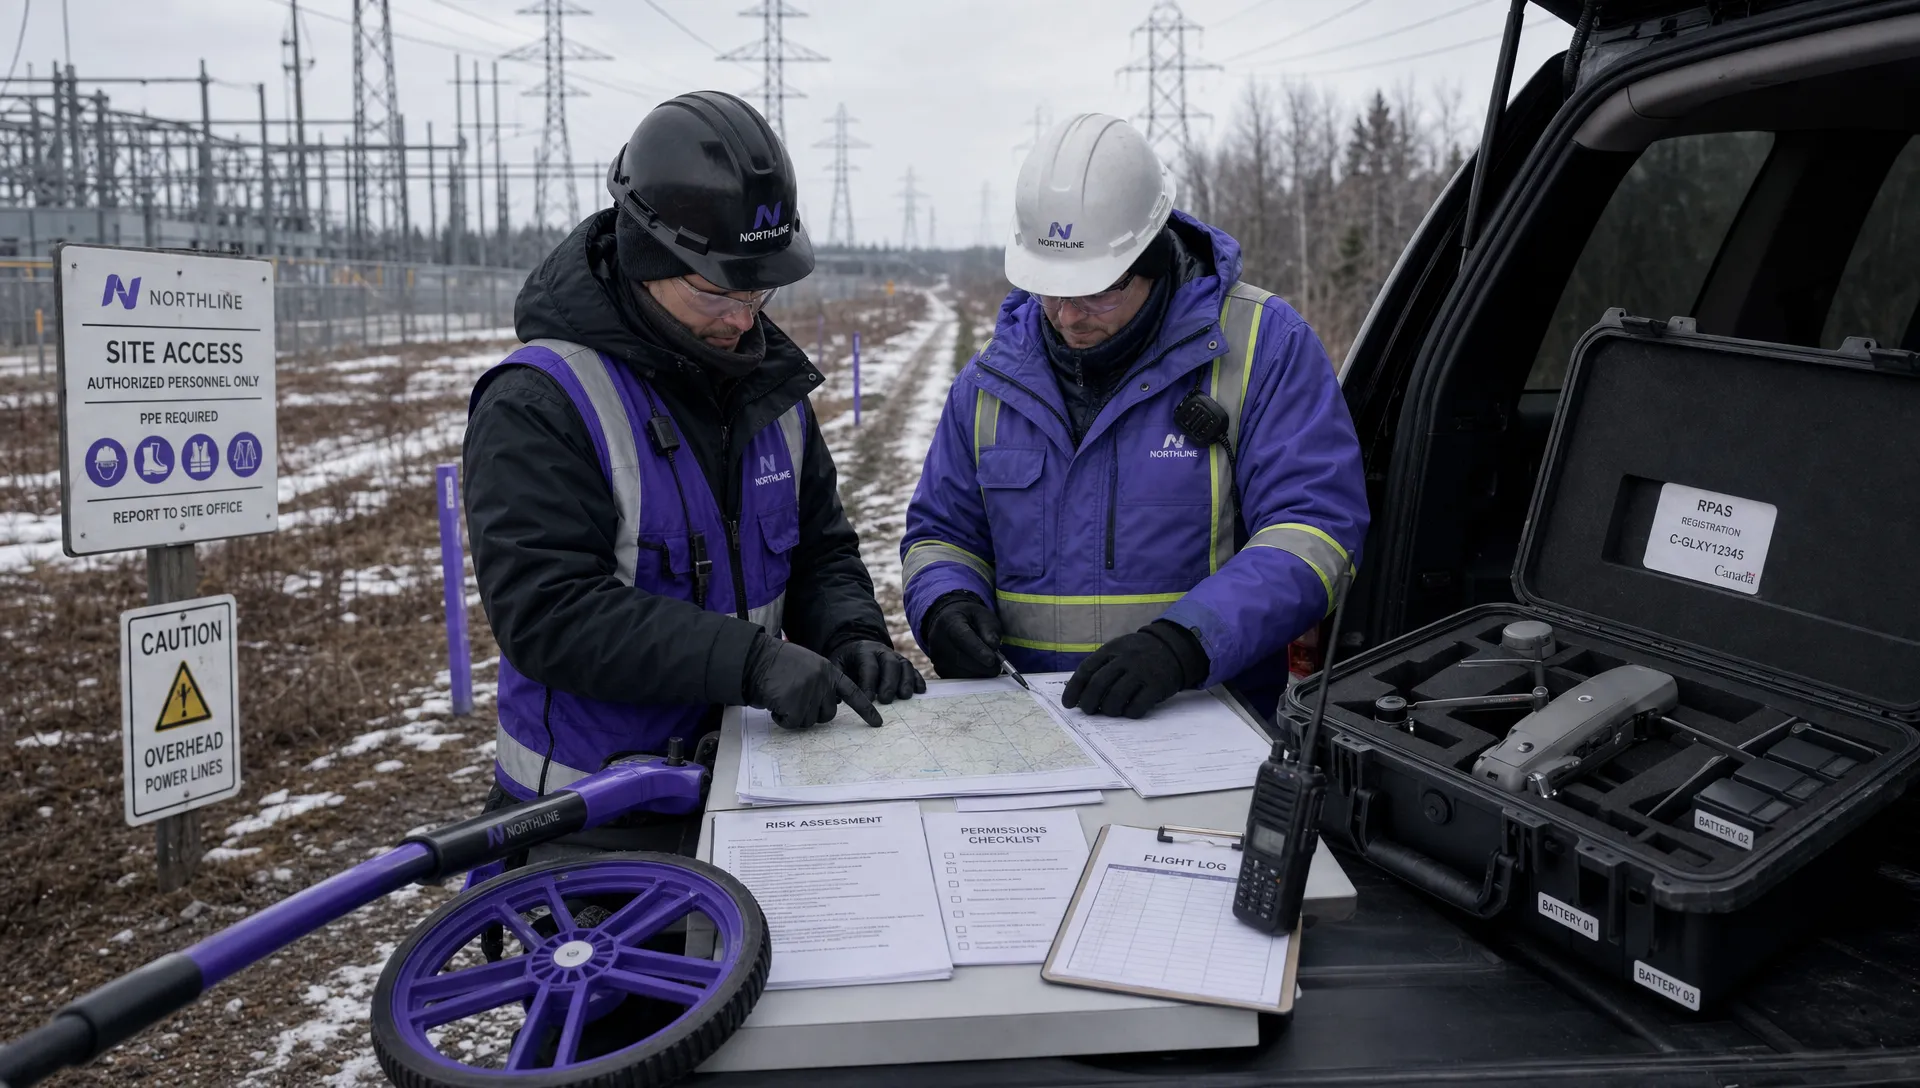 Canadian Drone Regulations Explained for Business Use →
 FAA Part 107 Drone License Explained for Beginners →
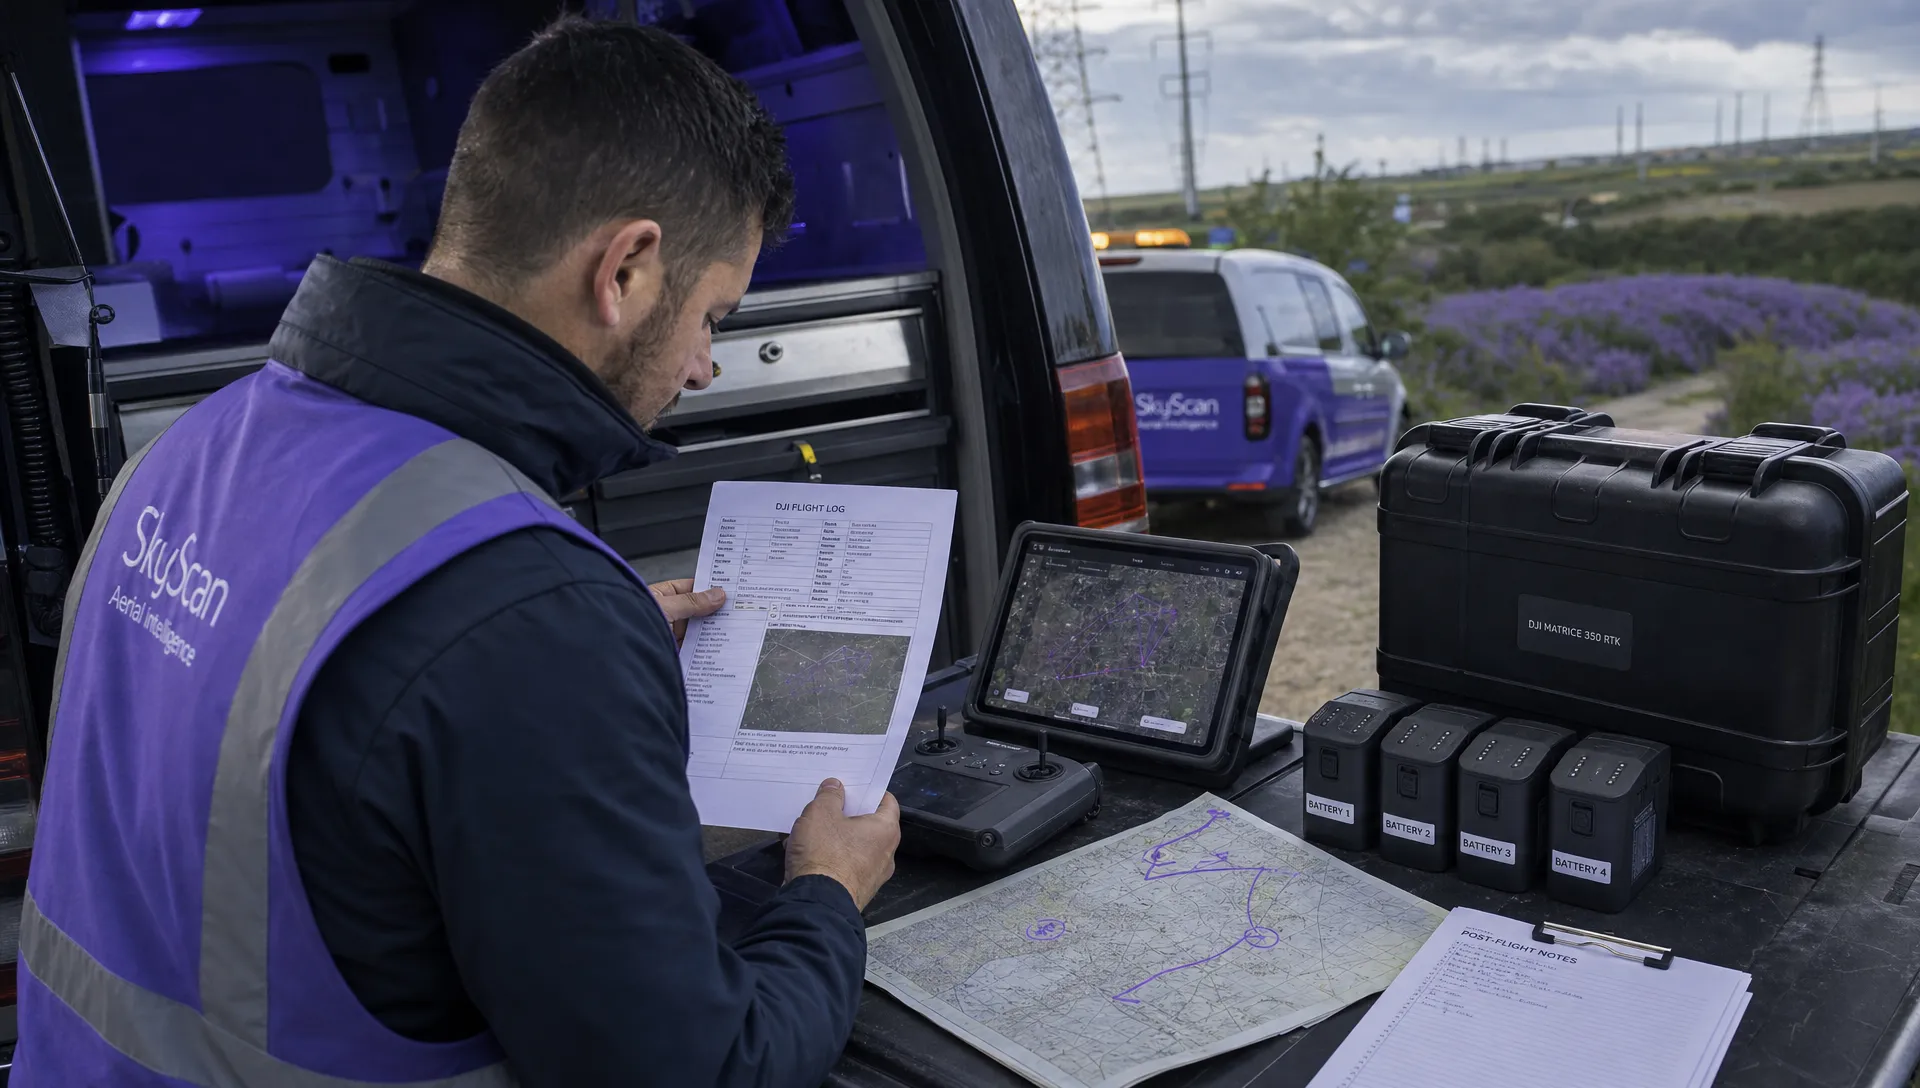 How to Review a DJI Drone Flight Log Step by Step →
 Drone Registration Law Explained for Commercial Pilots →