How to Use a Drone Flight Restrictions Map Safely
A drone flight restrictions map is one of the most important tools in a safe planning workflow. Used well, it helps you spot controlled airspace, airport Flight Restriction Zones, temporary restrictions, NOTAMs, danger areas and other constraints before a pilot gets anywhere near the launch point.
Used poorly, it can create a false sense of security.
The key is to treat the map as a decision-support tool, not as a single source of permission. For commercial drone operators, survey teams, utility inspection crews and emergency services, safe use means checking the right layers, understanding what they mean, cross-checking where necessary and documenting your decisions as part of the operation.
This guide explains how to use a drone flight restrictions map safely, with a practical UK-focused workflow you can apply before and during an operation.
What a drone flight restrictions map actually shows
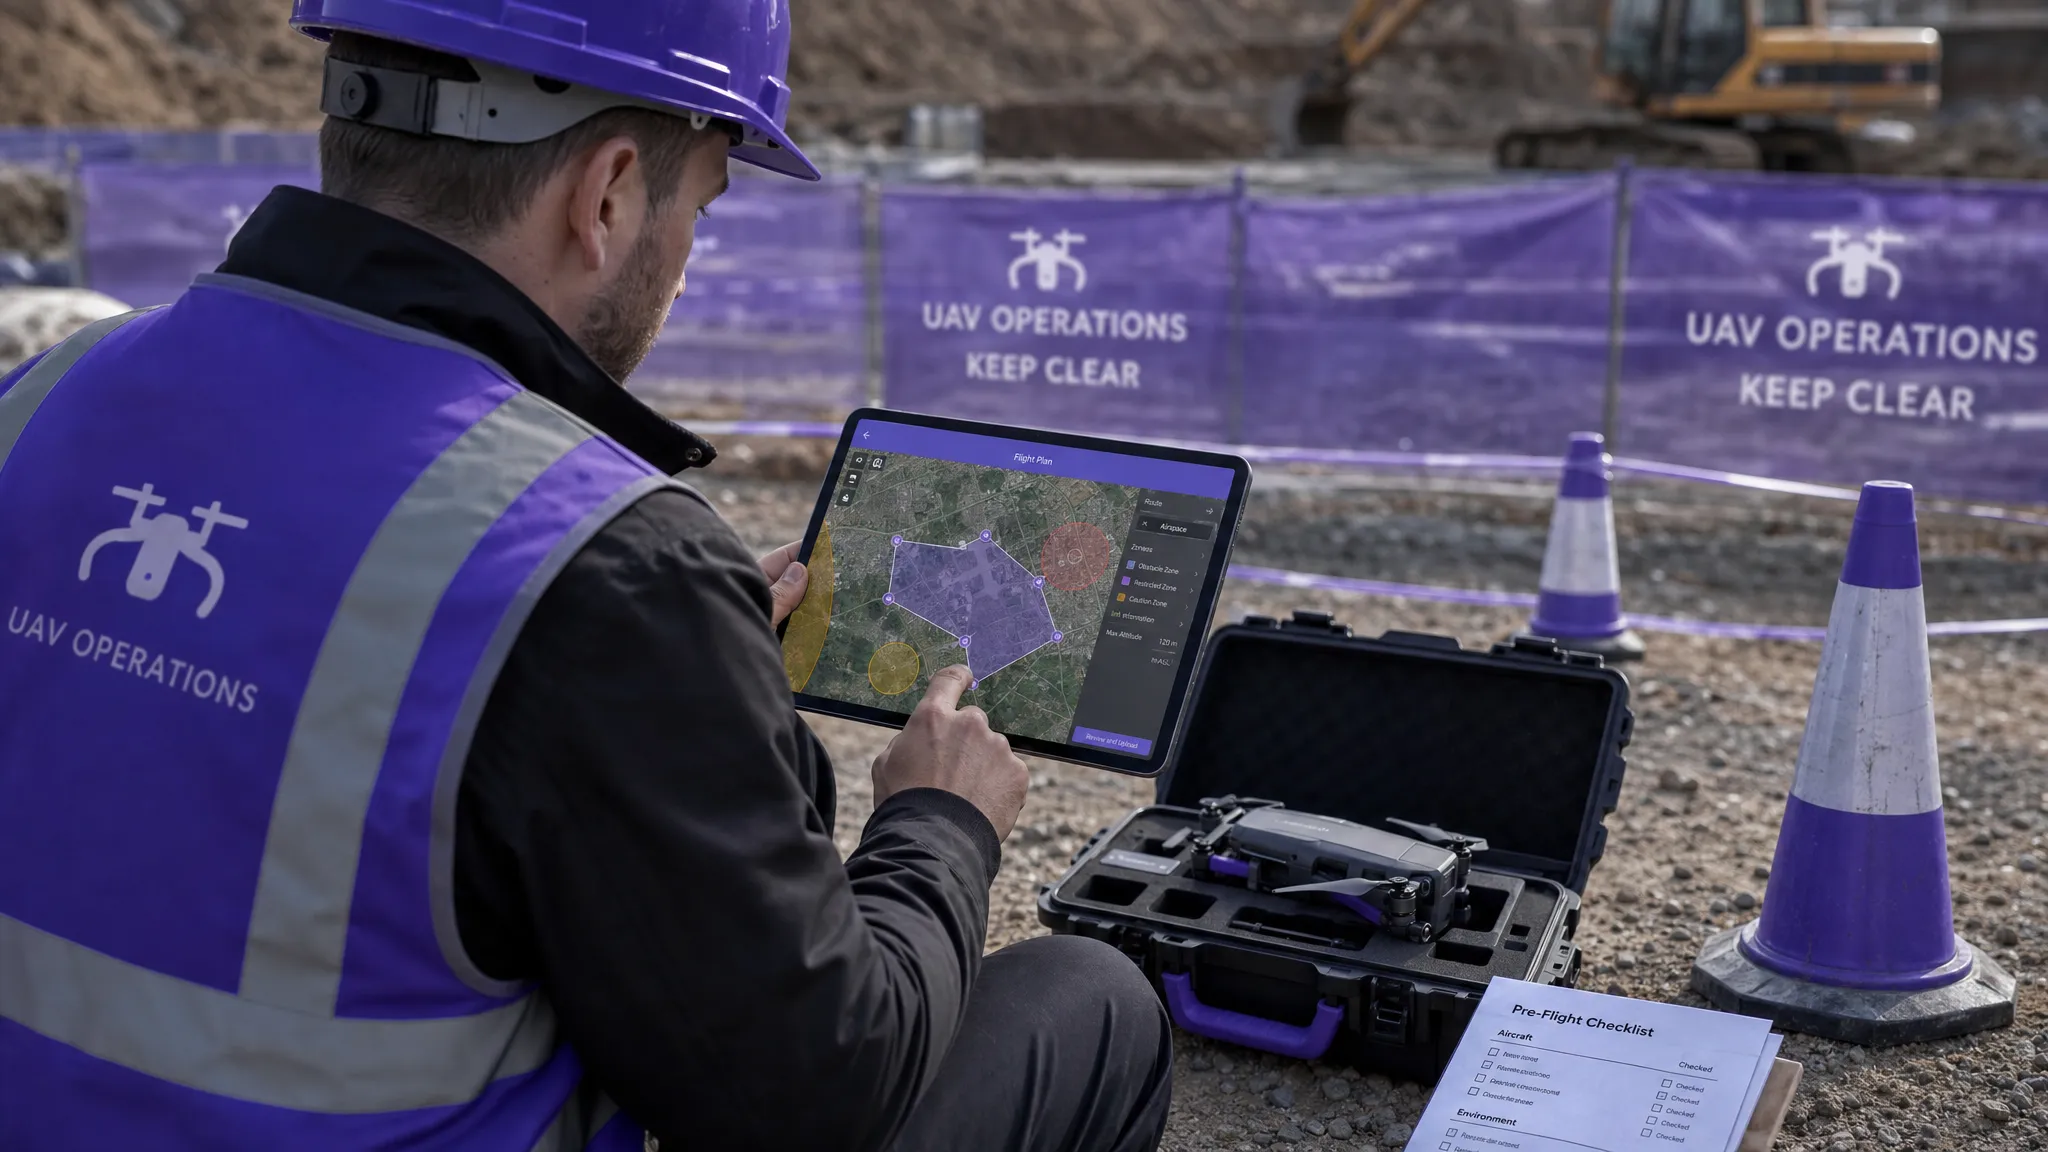
A drone flight restrictions map brings airspace and operational constraints into a visual format. Instead of reading airspace tables or coordinates in isolation, you can see where your proposed launch point, flight path and operating area sit in relation to known restrictions.
Depending on the tool and data sources, a map may show:
- Airport and aerodrome Flight Restriction Zones, often called FRZs
- Controlled airspace boundaries
- Prohibited, restricted and danger areas
- Temporary airspace restrictions, including restrictions published by NOTAM
- Military air traffic zones or other defence-related areas
- Sensitive sites and infrastructure alerts
- Obstacles, ground hazards or proximity warnings
- Suggested contact details or permission routes for some airspace managers
In the UK, the Civil Aviation Authority Drone and Model Aircraft Code remains a key reference for legal and safety responsibilities. A map can help you identify where restrictions may apply, but it does not remove the need to understand the rules behind those restrictions.
For example, a map may show that your survey site is outside an airport FRZ, but that does not automatically mean the flight is safe. You still need to consider people, roads, railways, emergency activity, weather, local permissions, ground control, take-off and landing areas, crew positioning and the operating category under which you are flying.
Why “green on the map” does not always mean “safe to fly”
One of the most common mistakes is treating an unrestricted area on a map as a go-ahead. A drone flight restrictions map is focused mainly on airspace and proximity data. It may not tell you whether you have landowner permission, whether a school is using a playing field nearby, whether a temporary crane was installed that morning or whether a crowd has gathered unexpectedly.
This matters because drone safety is always contextual. The same location can be low risk at 07:00 and unsuitable by lunchtime. A quiet utility site can become busy when contractors arrive. A rural launch point can become a livestock issue if animals enter the operating area. A blue-light deployment may involve time pressure, but it still needs a proportionate airspace and site safety check.
So the safest mindset is this: the map tells you what to investigate, not what to ignore.
The main map layers to understand
Different platforms use different colours and symbols, so always read the legend before making decisions. The table below summarises common layers and the practical question each one should trigger.
| Map layer | What it usually indicates | Safe planning action |
|---|---|---|
| Flight Restriction Zone | Protected airspace around an aerodrome | Check whether your planned area enters the FRZ and obtain permission from the relevant authority before flying if required |
| Controlled airspace | Airspace where air traffic control services operate | Check whether drone-specific restrictions apply and consider nearby aviation activity, especially close to aerodromes |
| Prohibited area | Airspace where flight is generally not allowed | Do not fly unless a clear legal permission or exemption applies |
| Restricted area | Airspace with specific conditions or limitations | Check the published conditions, active times and permission requirements |
| Danger area | Airspace where hazardous activity may occur | Confirm active status and avoid unless you have verified it is safe and permitted |
| NOTAM or temporary restriction | Time-limited aviation notice or restriction | Check date, time, altitude, coordinates and controlling authority before deciding |
| Obstacles or proximity alerts | Hazards such as masts, infrastructure or sensitive sites | Adjust route, altitude, separation and contingency planning |
The table is not a substitute for official information. It is a way to train your planning process so every map layer leads to a specific safety question.
Step-by-step: how to use a drone flight restrictions map safely
A repeatable workflow is especially important when multiple pilots, vehicles, aircraft or sites are involved. It reduces the chance that one person checks the map one way while another checks it differently.
1. Start with the full operating area, not just the launch point
Many incidents of poor planning begin with checking only the take-off location. For mapping, inspection and emergency response, the aircraft may travel well beyond that point. You should check the complete operating area, including:
- Launch and recovery point
- Planned route or survey polygon
- Maximum lateral extent of the flight
- Emergency landing areas
- Flyaway direction risks
- Buffer zones around the operation
- Vehicle access and crew positions
For corridor surveys, such as powerlines, pipelines, roads or rail assets, this is critical. A route can pass in and out of different airspace constraints over a short distance. Checking only the first asset location may miss a restriction further along the corridor.
2. Set the correct altitude and time window
Airspace restrictions are often altitude-specific or time-specific. A temporary restriction may apply only during an event. A danger area may be active only at certain times. A NOTAM may have a defined vertical limit that affects some operations but not others.
Before you interpret the map, set or note:
- Planned maximum height
- Operating date
- Start and finish time
- Local time versus UTC where relevant
- Expected contingency time if the job overruns
Do not plan to “just stay low” unless you have confirmed that the restriction allows it. Some restrictions apply from the surface upwards, which means even a very low-level flight may be affected.
3. Read the map legend before interpreting colours
Colour coding is helpful, but it can be misleading if you assume every map uses the same scheme. Red might mean prohibited in one tool, while another may use red for a warning that needs further investigation. Yellow may mean caution, conditional permission or simply nearby airspace.
Open the layer details and read the description. Look for the formal name of the airspace, active times, altitude limits and any linked contact or authority information. If your map allows you to click into a restriction, do it. The pop-up detail is often more important than the colour.
4. Cross-check official sources for higher-risk operations
For low-risk operations in familiar areas, a well-maintained map may be enough to identify what you need to check. For higher-risk, complex or time-sensitive work, cross-checking becomes more important.
Useful UK sources include the UK Aeronautical Information Service for official aeronautical information and NOTAM data, as well as CAA guidance. If a restriction appears close to your site boundary, do not rely on visual judgement alone. Confirm coordinates, dimensions and distances.
Cross-checking is particularly important when:
- Flying near an aerodrome, heliport or known aviation route
- Operating close to a temporary restriction
- Supporting emergency services or incident response
- Flying long linear routes
- Conducting repeat work at different times of day
- Planning work that may require permission from an airspace authority
5. Identify who can grant permission, if permission is needed
If the map shows a restriction, your next question is not “can we work around it?” but “who controls it and what permission process applies?”
For an airport FRZ, you will usually need permission from the relevant air traffic control unit or aerodrome operator. For a temporary restriction, the NOTAM or official notice should identify the controlling authority or conditions. For restricted or danger areas, the Aeronautical Information Publication may provide the details you need.
Keep a record of permission requests and responses. If approval is granted verbally, record who granted it, when, for what location, what height, what time window and under what conditions. If approval is written, store it with the job file so the pilot and operations manager can access it on the day.
Turning map information into a safe flight plan
A map check only becomes useful when it changes the plan. If your drone flight restrictions map identifies nearby controlled airspace, a heliport, a railway line, a prison, a stadium event or a temporary restriction, that should feed into your operational controls.
Those controls might include a lower maximum height, a smaller operating area, an additional observer, a revised launch point, a delayed start time or a decision not to fly. In some cases, the safest and most professional decision is to reschedule the work.
This is where the map connects directly to your risk assessment. A restriction is not just a compliance issue. It may also indicate increased air traffic, public presence, emergency activity or communication requirements. If you want a deeper framework for documenting those decisions, Dronedesk’s guide to building a drone flight risk assessment that works is a useful companion to this map-focused workflow.
What to do when a restriction affects your route
When a restriction overlaps your planned flight, avoid making quick assumptions. A structured response helps you decide whether to proceed, amend or cancel.
First, confirm the restriction details. Check the boundary, vertical limits, active times and controlling authority. If it is temporary, confirm whether it is active during your exact operating window. If it is permanent, check whether any permission route exists.
Next, assess whether the task can be changed without reducing safety or data quality. For a roof inspection, a revised launch point might solve the problem. For a mapping job, clipping the survey area may affect deliverables. For a utility inspection, shifting the route might introduce new hazards, such as roads, overhead lines or poor emergency landing options.
Finally, document the decision. If you proceed with permission, attach the permission evidence to the operation record. If you amend the plan, update the flight plan, briefing and risk assessment. If you cancel, log the reason. This creates an audit trail and helps future planning, especially for repeat sites.
On-site checks before take-off
A map check completed in the office is not enough on its own. Conditions can change, and some hazards never appear on a digital map.
On arrival, compare the map-based plan with the real site. Look for temporary obstacles, vehicles, pedestrians, animals, cranes, emergency activity, pop-up events and unexpected aircraft activity. Confirm mobile signal or communications arrangements if your workflow depends on live updates. Recheck the map and NOTAMs if there has been any delay since planning.
For team operations, make sure the remote pilot, observers and any client representatives share the same understanding of the operating boundary. It is easy for a client to point at an asset just outside the agreed area and ask for “one quick shot”. If that area has not been checked, it should not be added casually.
A good pre-flight briefing should cover:
- The mapped restrictions and how they affect the flight
- Maximum height and operating boundary
- Take-off, landing and emergency landing areas
- Communication procedures
- Abort criteria
- Any permissions or conditions attached to the flight
This keeps the map from becoming a forgotten planning artefact. It becomes part of the live safety briefing.
During the flight: keep the map in context
During operations, the remote pilot’s primary responsibility is to fly safely. Do not let map checking become a distraction during critical phases of flight. If live monitoring is useful, allocate that task to a competent crew member rather than overloading the pilot.
For longer missions, repeated flights or dynamic deployments, periodic rechecks can be valuable. Emergency services may face changing cordons, helicopter activity or temporary restrictions. Utility teams may move along a route and need to confirm the next segment before launching again. Survey crews may need to adapt if the original flight area is blocked or unsafe.
If the plan changes materially, pause and reassess. A new launch point, added survey area or different height limit may require another map check and risk assessment update.
After the flight: record what was checked
Safe map use is not complete when the aircraft lands. Post-flight records help demonstrate that the operation was planned and conducted responsibly. They also help your organisation improve future decisions.
Record the map source used, time of check, key restrictions reviewed, permissions obtained and any changes made on site. If you captured screenshots, make sure they are dated and stored with the operation record. Screenshots alone are not a complete compliance system, but they can support a clear audit trail when combined with flight plans, risk assessments, checklists and logs.
For organisations managing multiple aircraft or crews, consistent record-keeping becomes a safety issue as much as an admin issue. If every pilot stores map checks differently, it is harder to prove what was done and harder to learn from recurring site constraints. If your operation is scaling beyond ad hoc files and spreadsheets, this is closely linked to wider drone fleet management and operational governance.
Common mistakes to avoid
The most dangerous map-related mistakes are rarely technical. They are usually process failures.
One common mistake is checking too early and never checking again. A map review at quotation stage is helpful, but it may be out of date by the time the work happens. Always recheck close to the flight date and again on the day if the operation is complex or sensitive.
Another mistake is relying on a single map screenshot without reading the restriction detail. The boundary may look clear at one zoom level but overlap at another. A NOTAM may sit nearby but apply only above a certain altitude, or it may apply from the surface and make the flight impossible without permission.
A third mistake is assuming that the map covers every legal issue. It does not. Privacy, data protection, land access, local bylaws, client site rules and operating category requirements still matter. The map is one part of safe planning, not the whole plan.
Using Dronedesk in a safer restrictions-check workflow
For professional operators, the safest approach is to bring airspace checking into the same workflow as planning, risk assessment, checklists and logging. Otherwise, important decisions can become scattered across emails, screenshots, messages and separate spreadsheets.
Dronedesk’s features include flight planning, airspace intelligence, proximity intelligence, configurable checklists, risk assessments, flight logging, fleet management, team management, client management and data reporting. Used as part of a defined operating procedure, those tools can help drone teams keep restriction checks connected to the wider job record rather than treating them as a separate task.
The principle is simple: if a map finding affects the flight, it should also affect the plan, the risk assessment, the crew briefing and the final record.
Quick safety checklist for map-based planning
Before committing to a flight, ask these questions:
- Have we checked the whole operating area, not just the launch point?
- Have we reviewed date, time and altitude-specific restrictions?
- Have we opened the map layer details rather than relying on colours alone?
- Have we cross-checked official sources where the operation is complex or close to restricted airspace?
- Have we identified and recorded any required permissions?
- Have we updated the risk assessment and briefing to reflect map findings?
- Have we rechecked on the day of flight if conditions or timings have changed?
- Have we stored evidence of checks and decisions with the operation record?
If the answer to any of these is no, the map has not yet been used safely enough.
Frequently Asked Questions
What is a drone flight restrictions map? A drone flight restrictions map is a visual planning tool that shows airspace constraints and related warnings that may affect drone operations. It can include airport FRZs, controlled airspace, restricted areas, danger areas, NOTAMs and temporary restrictions, depending on the data source.
Can I fly if the map shows no restrictions? Not automatically. A clear map is only one part of the decision. You still need to comply with drone regulations, maintain safe separation, check weather, manage ground risk, obtain any necessary land or site permissions and complete a suitable risk assessment.
How often should I check a drone flight restrictions map? Check during initial planning, again close to the flight date and on the day of operation where appropriate. Recheck if the time, route, altitude, launch point or operating area changes.
What should I do if my route enters an airport Flight Restriction Zone? Do not fly inside the FRZ unless you have obtained the required permission from the relevant air traffic control unit or aerodrome operator. Record the permission details and ensure the flight stays within any conditions given.
Are screenshots enough to prove I checked restrictions? Screenshots can help, but they are not enough on their own. A stronger record includes the map source, time of check, restrictions reviewed, decisions made, permissions obtained, risk assessment updates and flight logs.
Make the map part of the operation, not a last-minute check
A drone flight restrictions map is most valuable when it is used early, interpreted carefully and connected to the rest of your operational planning. It should shape your route, permissions, risk controls, briefing and records.
For professional drone teams, the goal is not simply to find out whether an area looks clear. The goal is to make a defensible, well-documented decision that keeps people, aircraft, clients and crews safe.
If you want to manage that process in one place, Dronedesk brings flight planning, airspace and proximity intelligence, risk assessments, checklists and flight logging into a single drone operations management platform. Explore how it supports safer, more organised planning at Dronedesk.
 Atypical Airspace Explained for UK Drone Operators →
 FAA Unmanned Aircraft Regulations Made Simple →
 Part 107 Test Tips to Pass With Confidence →
 How to Pass the FAA Drone Written Test First Time →
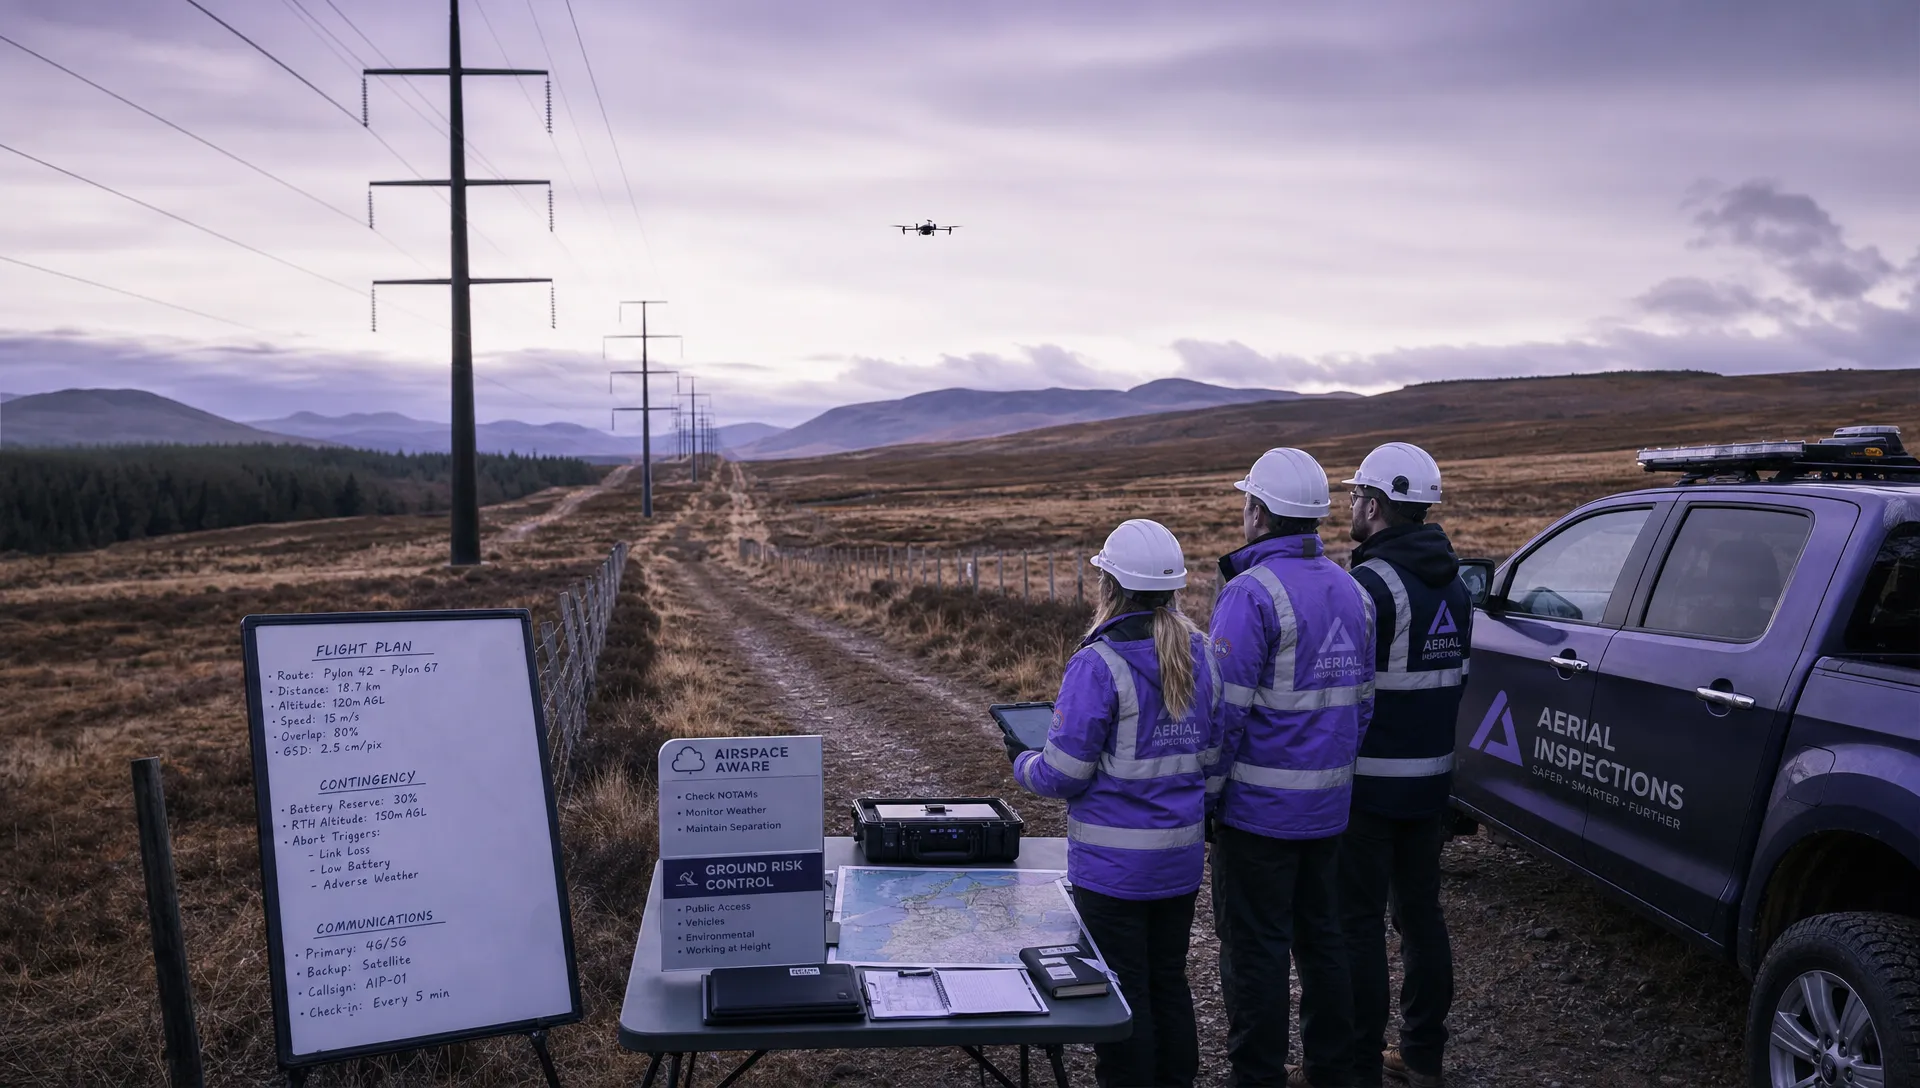 What a BVLOS Flight Means for Risk and Compliance →
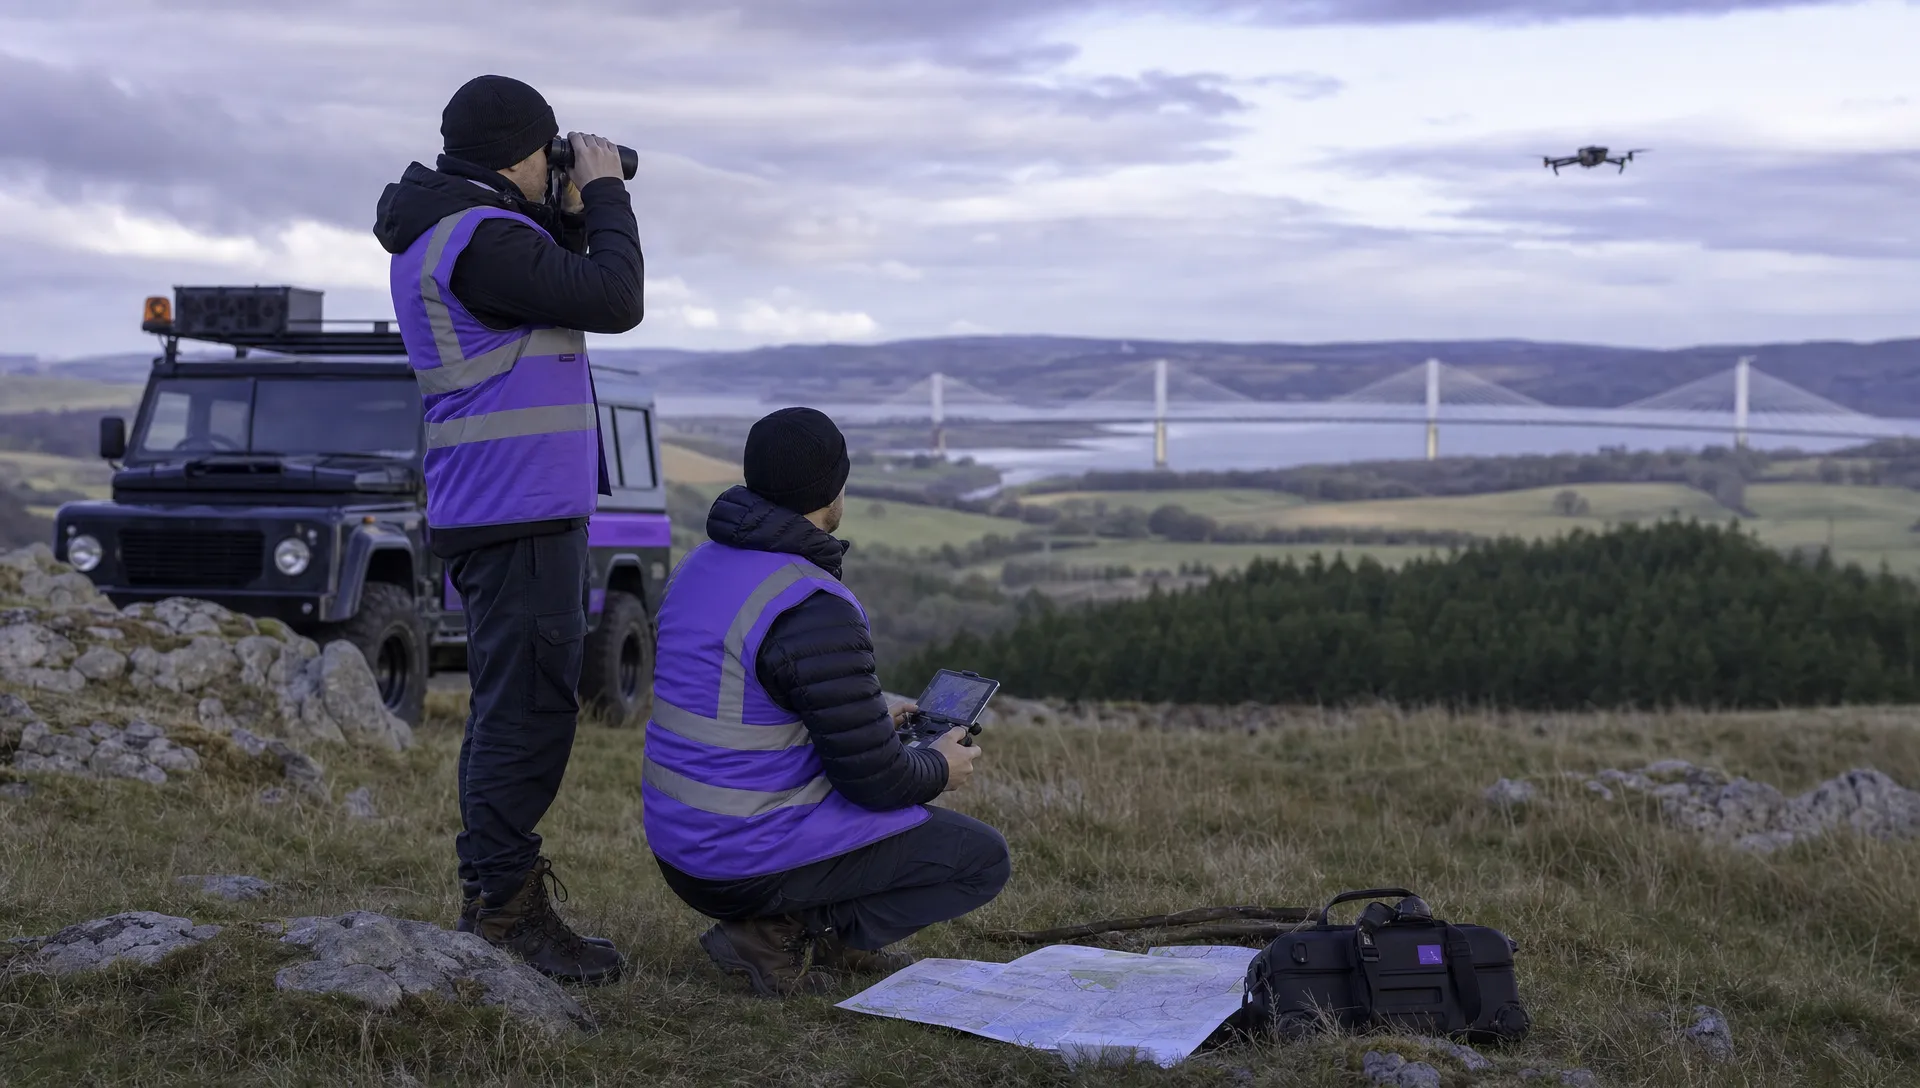 Drone VLOS Rules Explained for Commercial Teams →
 FAA Remote ID Rule Explained for Commercial Pilots →
 Drone Legal Requirements for Commercial Operations →
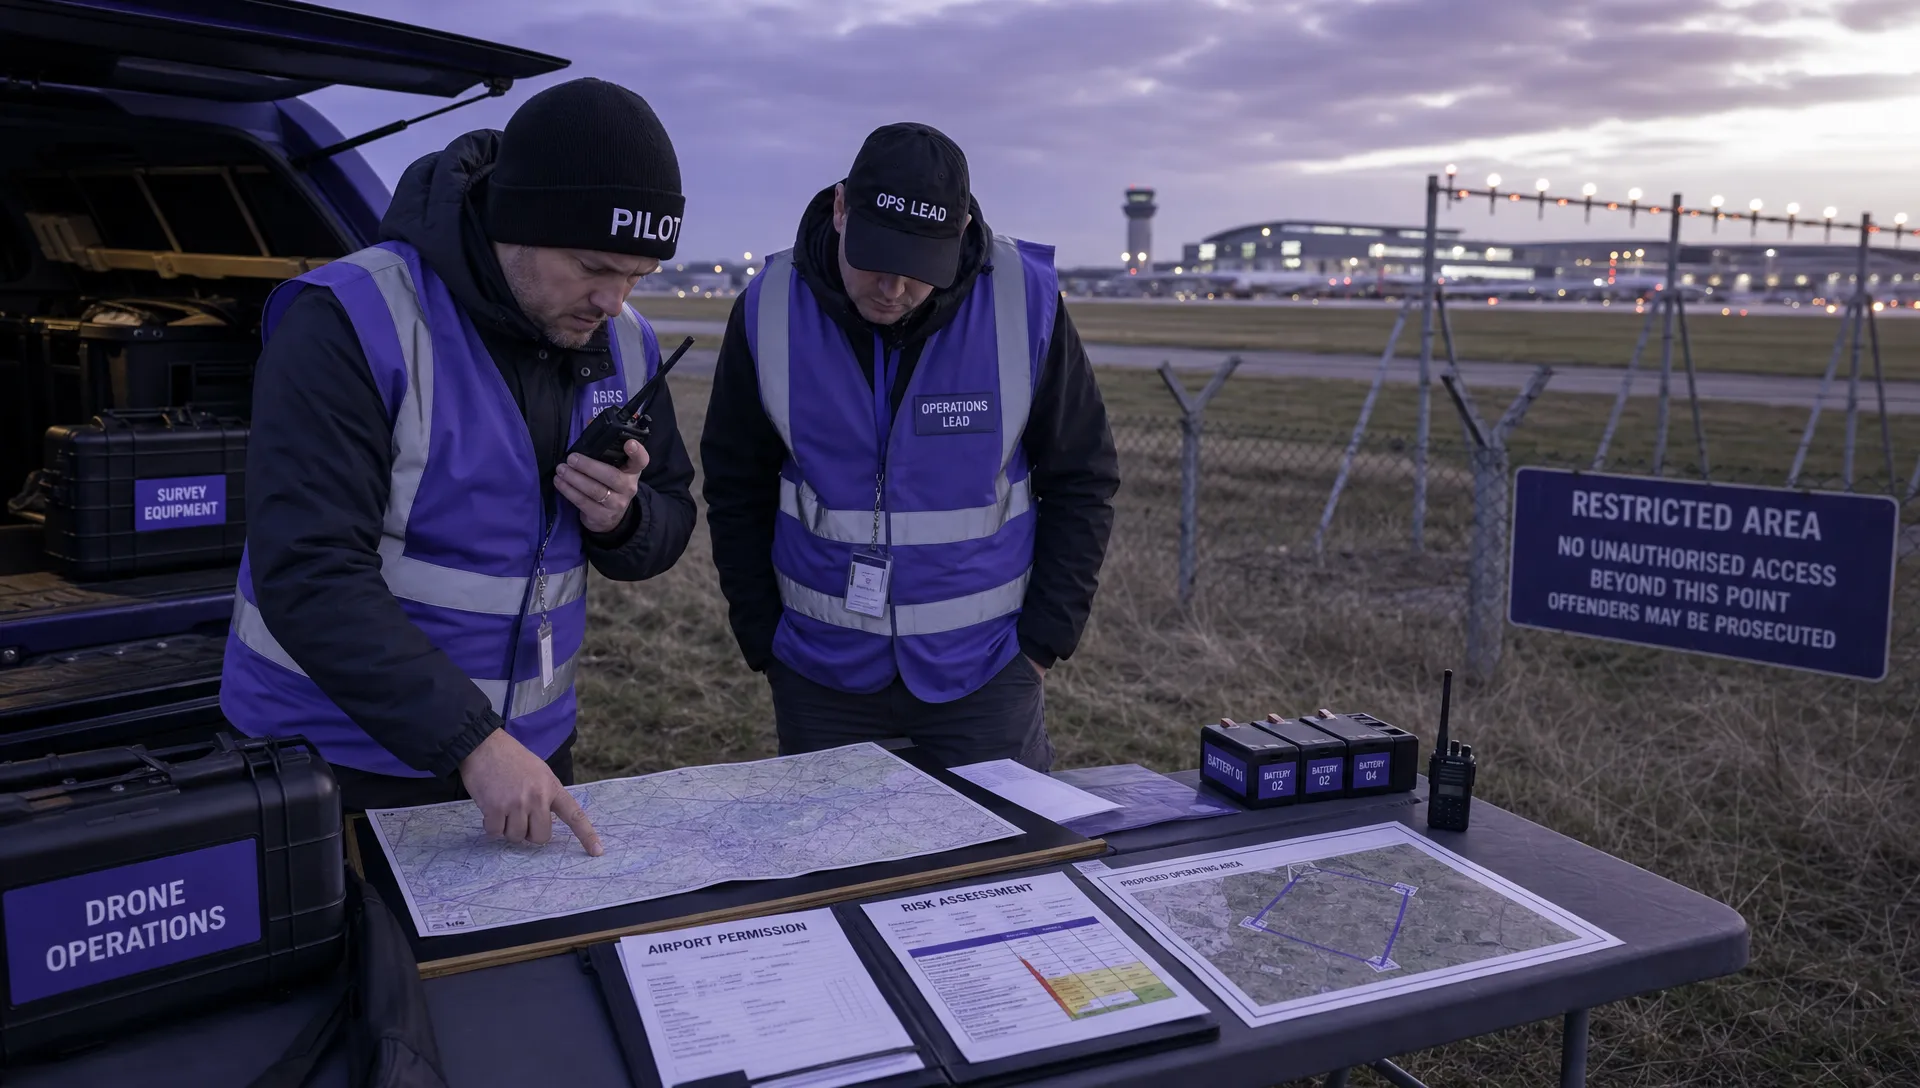 Drone Near Airport Rules Explained for Safer Planning →
 International Drone Regulations Every Global Team Should Know →