Understanding your drone camera settings
For non-photographers who take up drone flying as a hobby, or professionally, getting your head around the photography side of things can often be a challenge. And some of the most challenging aspects can be understanding the relationship between aperture, shutter speed, and ISO, let alone 'stop" and "f-stop".
Fear not! In this article, I'll explain these concepts in layman's terms to try and take some of the mystery out of it.
The exposure triangle
Aperture, shutter speed, and ISO make up the three sides of the exposure triangle. They work together to produce a photo that is properly exposed, i.e. is not too dark or bright and has the intended subject in focus. If one of the three changes, at least one of the others must also change to maintain the correct exposure.
Study this infographic for a few minutes; I promise it will help your understanding tremendously!

What's a "stop"?
A stop refers to the doubling or halving of the amount of light that makes up an exposure.
Understanding what a stop is will help you understand the exposure triangle.
Every photo you take needs a certain quantity of light to expose it correctly. Adding a stop of light by doubling the exposure will brighten an underexposed image. Conversely, decreasing an exposure by one stop - i.e. halving the amount of light - will darken an overexposed image.
The question is, how do you add or take away a stop of light? Well, you change the aperture, shutter speed, and/or ISO.
Let's look at each of those…
What is aperture?

Aperture refers to the size of the circular hole in the lens that lets in light and it's measured in f-stops; f/1.4, …, f/1.8, …, f/8 etc.
Confusingly, the larger the f-stop number, the smaller the aperture and the less light will be let in. So, photos taken with a smaller f-stop let in more light, allowing you to take pictures in situations where there is not a lot of light e.g. indoors or at night.
The bigger the aperture, the more light reaches the sensor. In fact, each time you double the area of that opening, you double the amount of light or increase the exposure by one stop.
A small aperture will also give you a shallow depth of field. A shallow depth of field is what creates that blurry background called bokeh (pronounced bow-ke!).
Depth of Field (DoF) is the distance between the closest objects in focus and the furthest point of focus. The distance can be increased or decreased by changing the aperture of the lens.
Shutter speed

Shutter speed is the length of time light is allowed to hit the sensor and it's measured in seconds.
Shutter speed is probably the easiest of the exposure triangle sides to understand. To double the amount of light, you need to double the length of the exposure. For example, moving from a shutter speed of 1⁄60 s to 1⁄30 s will add a stop of light because the shutter will remain open twice as long.
Changing from a shutter speed of 1s to 1/8 s will decrease the exposure by three stops. Why? From 1s to 1⁄2 s is one stop. Then 1⁄2 s to 1⁄4 s is another stop. Finally, 1⁄4 s to 1⁄8 s is a further halving of the time the shutter remains open or the third stop.
ISO

ISO is also known as film speed. The ISO number indicates how quickly a camera sensor absorbs light – or how sensitive it is.
A higher ISO means that the sensor doesn't need to collect as much light to make a correct exposure so you can use a faster shutter speed. Great for when there is little light. But if you"re outside on a sunny day, you generally will have your ISO set to 100.
A lower ISO is always recommended for cleaner images and more detail. Once the ISO starts going up, you will find your images become grainy and you lose the crispness in your images that you would have otherwise had.
Doubling the ISO equates to a one stop increase in exposure. Halving the ISO leads to a reduction of the exposure by one stop.
How do they all work together?
For any photograph, there is only one mathematically correct exposure. However, there are hundreds of combinations of aperture, shutter speed and ISO that can be used to create that exposure. The combination you choose depends on what your artistic vision for that image is.
For any given exposure, if one of the three variables change, you must adjust one (or both) of the others in the opposite direction. For example, if you decided to decrease your shutter speed by two stops, you will need to increase your aperture or ISO by two stops. You could also change both aperture and ISO by one stop with the same effect.
As another example, say you increased your ISO by four stops. Then you'd need an equivalent decrease of four stops in aperture or shutter speed (or a combination of the two).
Final note - ND Filters
One last thing - make sure you invest in some decent Neutral Density (ND) Filters too! In the very simplest of terms, Neutral Density (ND) filters are sunglasses for your camera.
They’re designed to reduce the amount of light entering the camera. And that enables a longer exposure time than would otherwise be possible. This can help emphasise motion, or make an otherwise tumultuous scene appear serene and peaceful.
ND filters also enable you to use larger apertures and a larger aperture will produce a shallower depth of field, or achieve a sharper photo. ND filters are one of the easiest filters to use and their effect can’t be replicated digitally — at least not with a single shot.
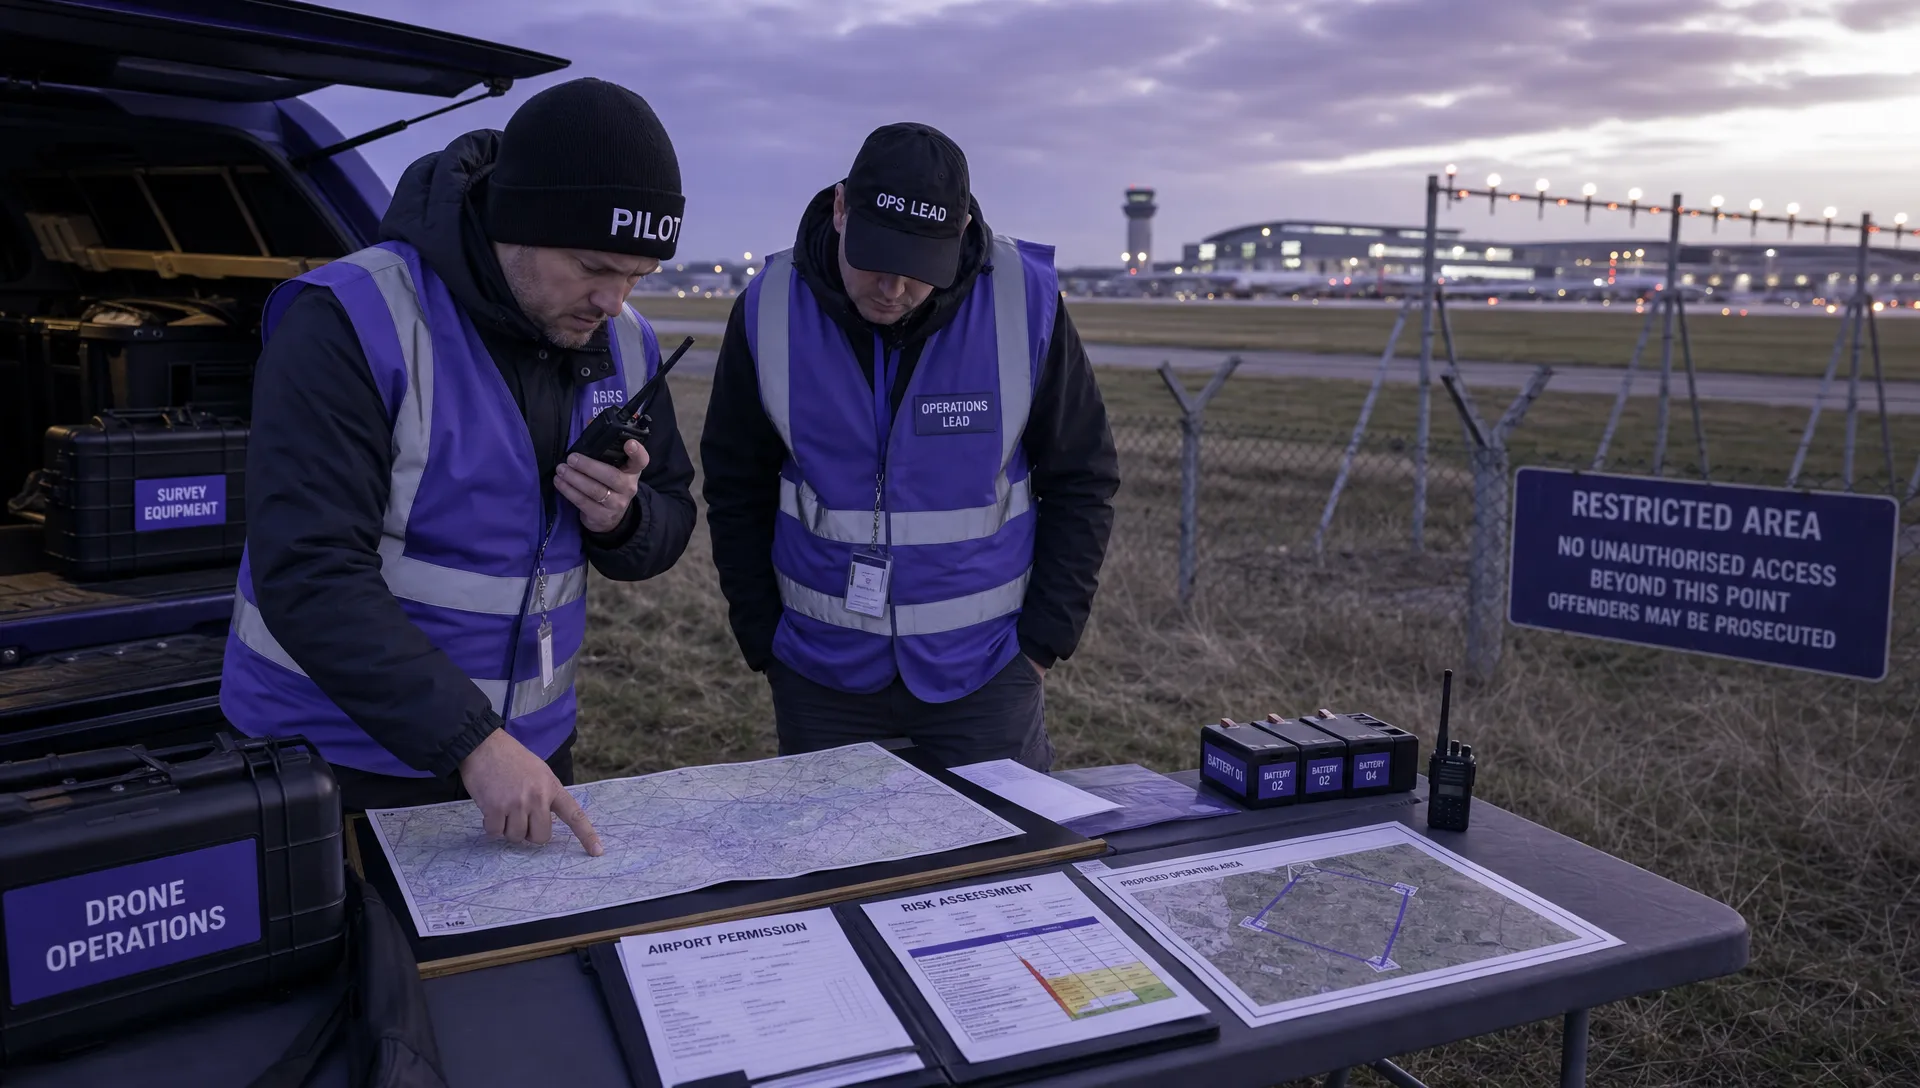 Drone Near Airport Rules Explained for Safer Planning →
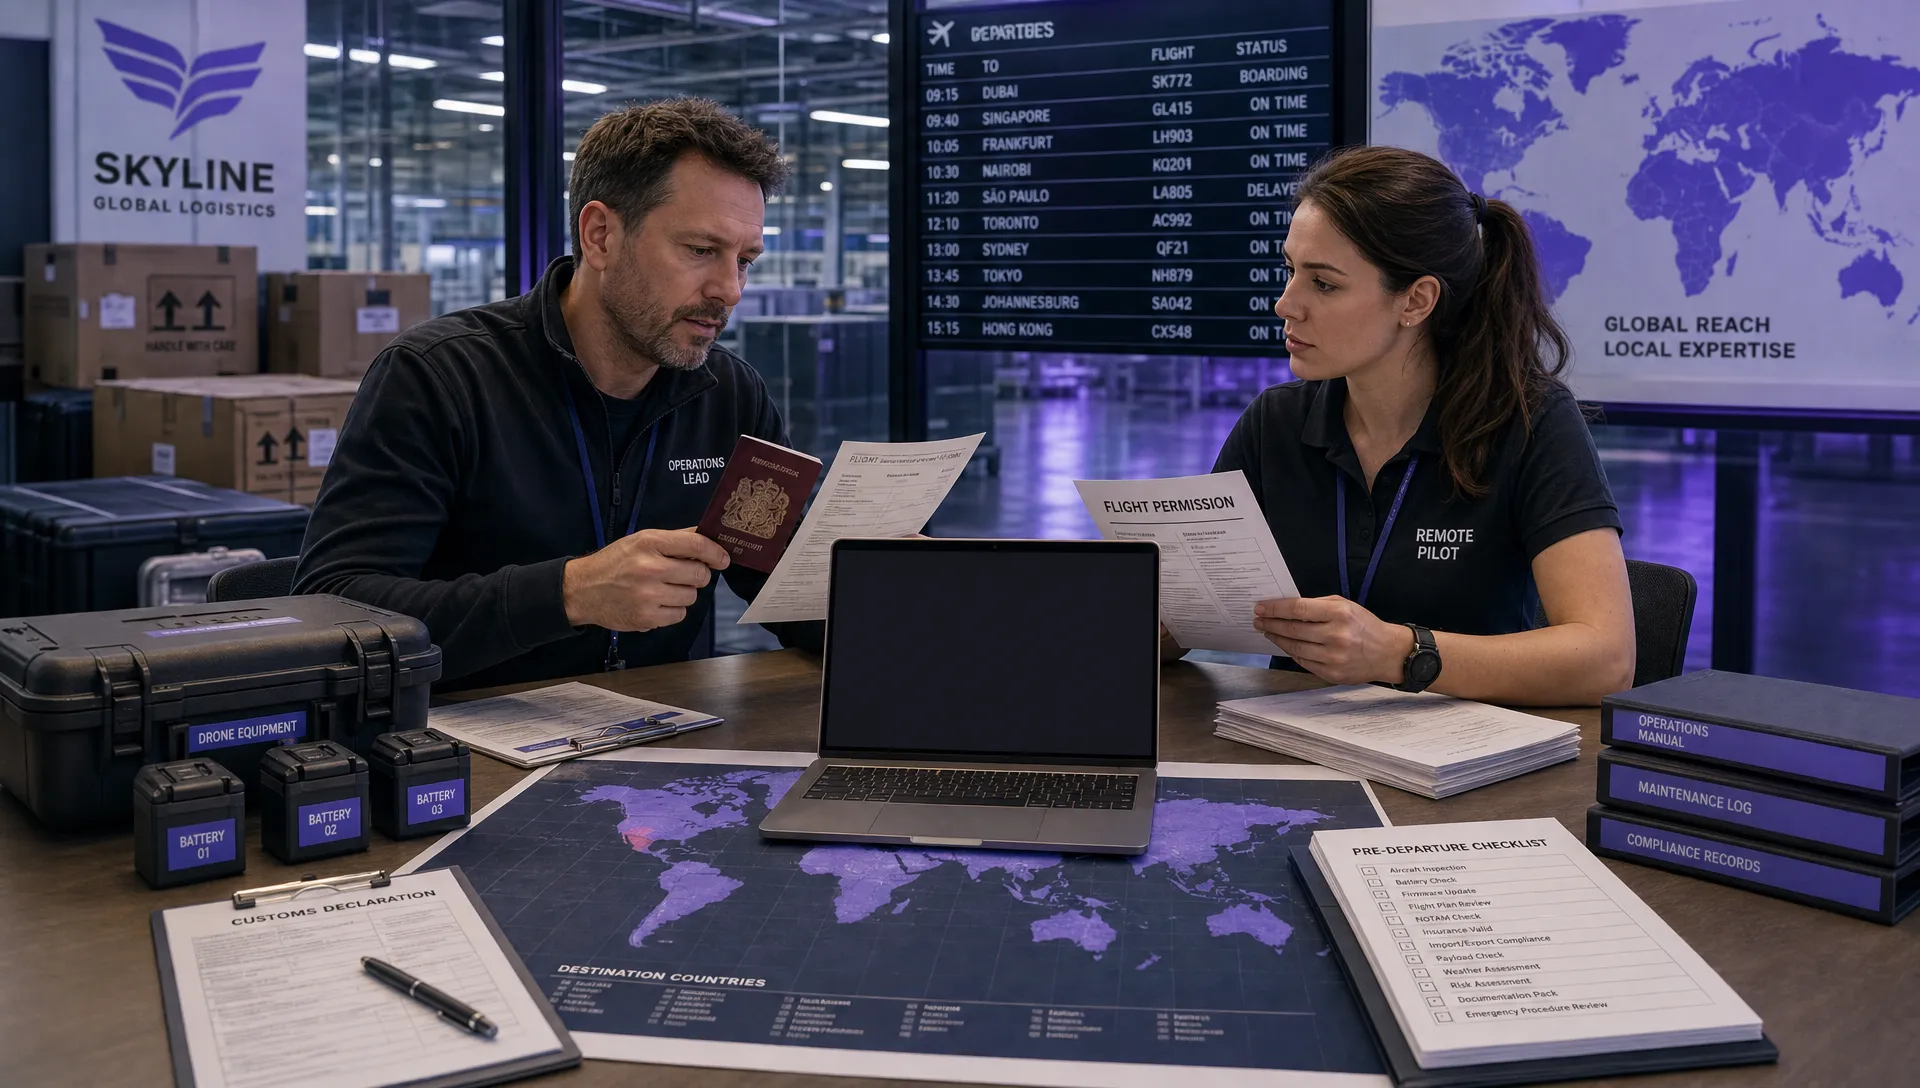 International Drone Regulations Every Global Team Should Know →
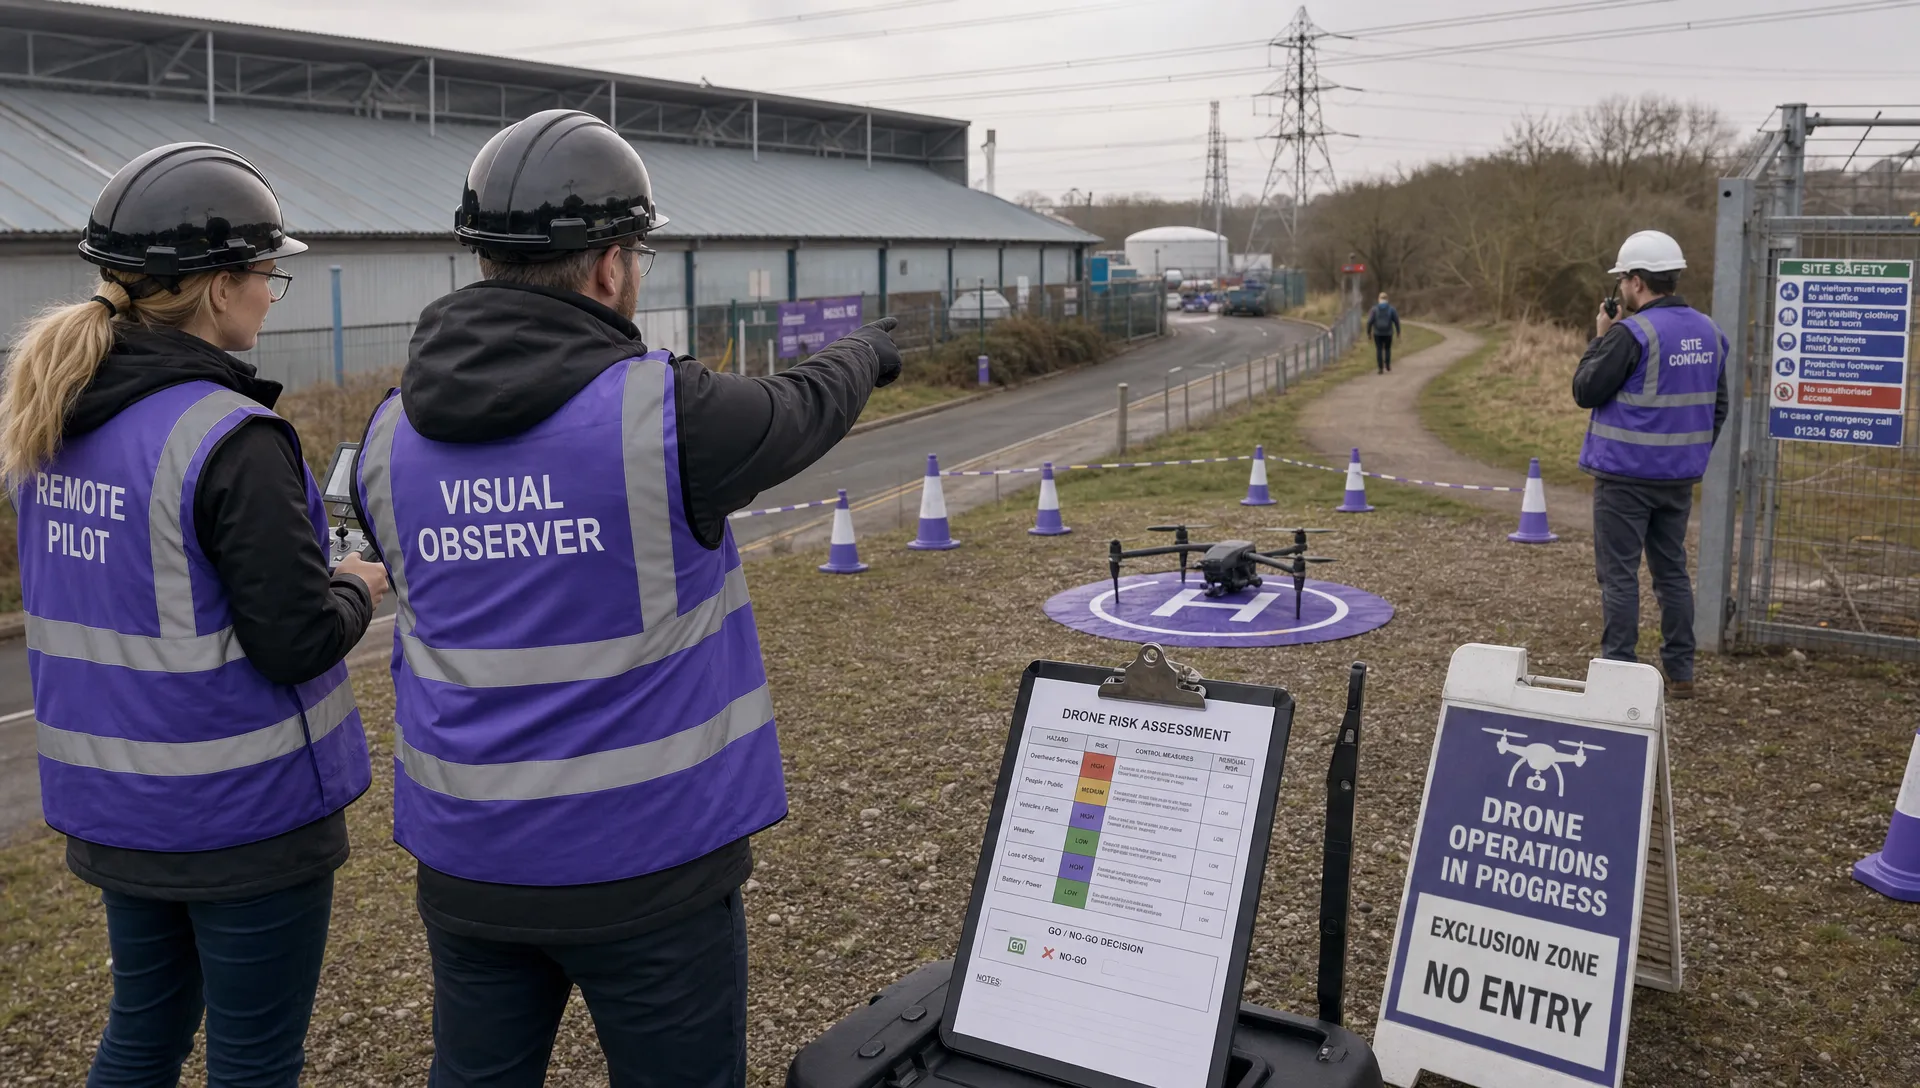 Drone Flight Risk Assessment Example for Safer Missions →
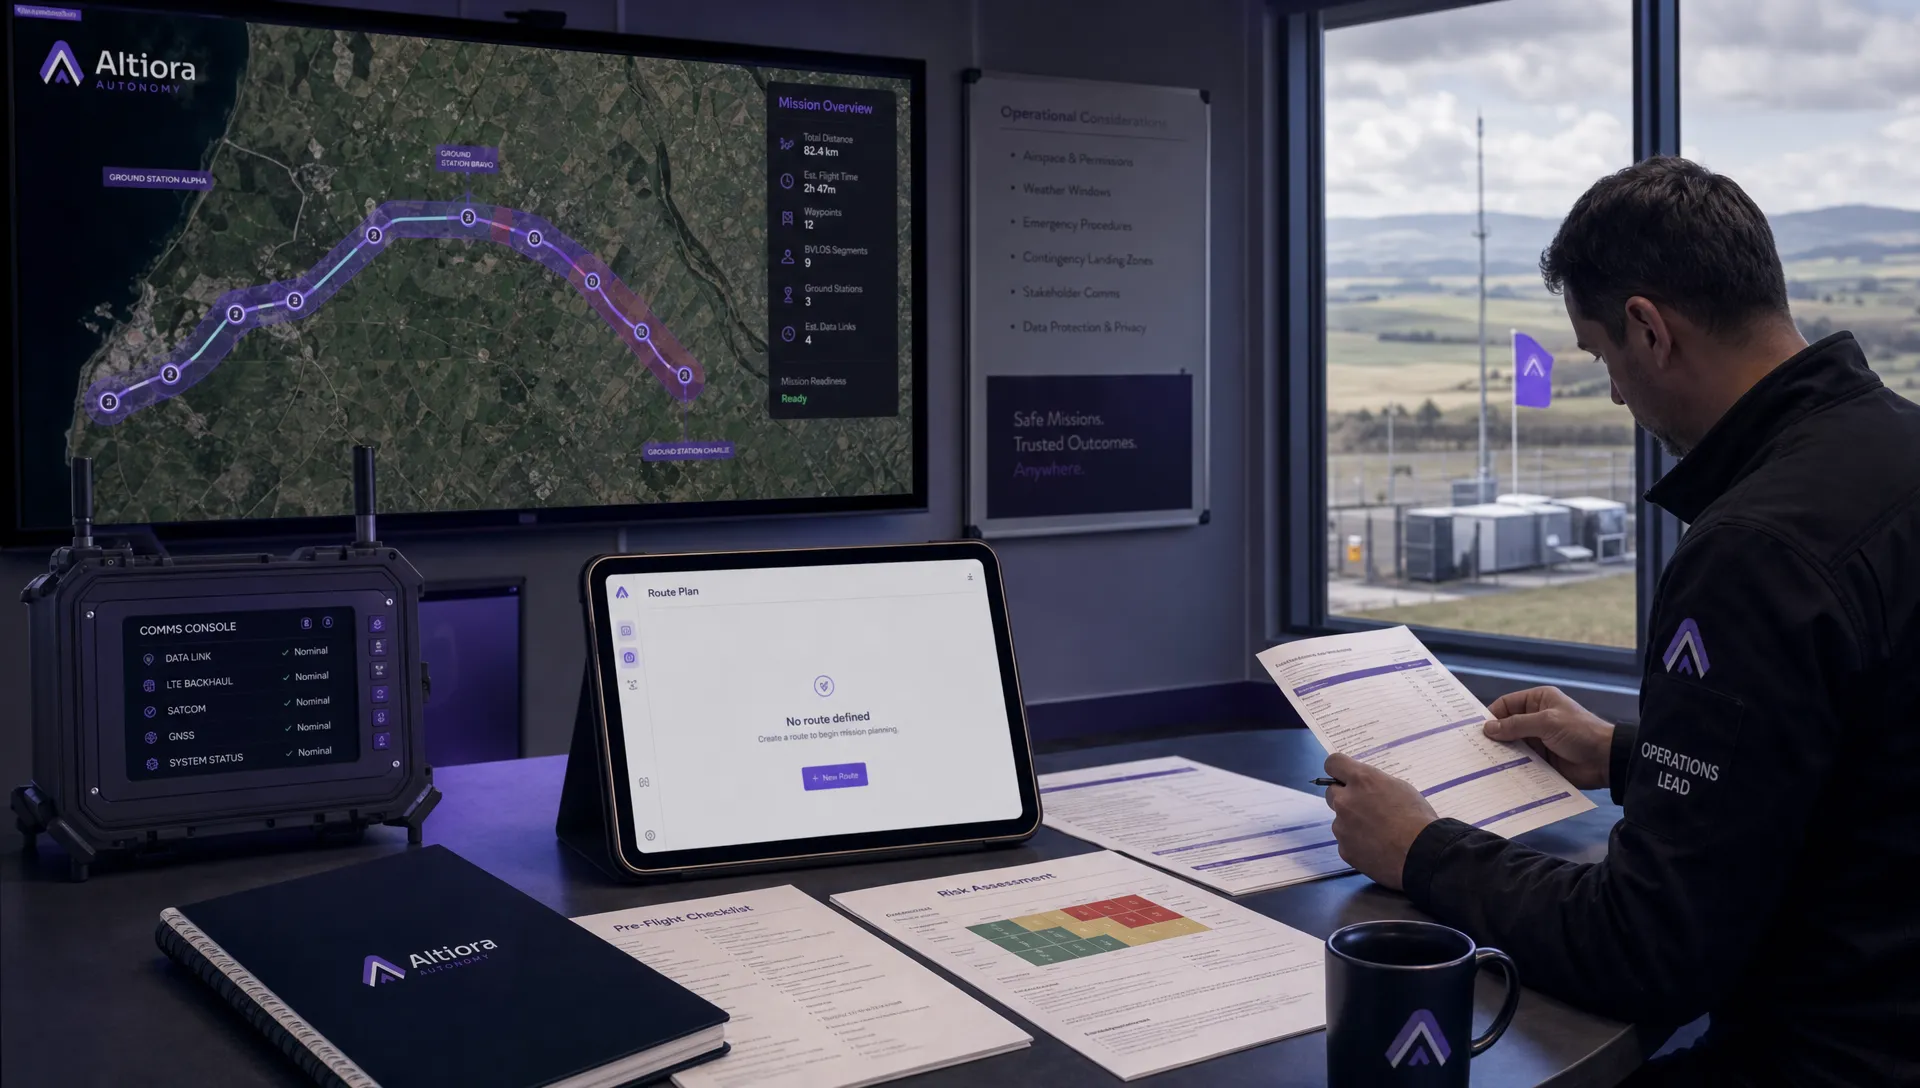 Beyond Visual Line of Sight Explained for Operators →
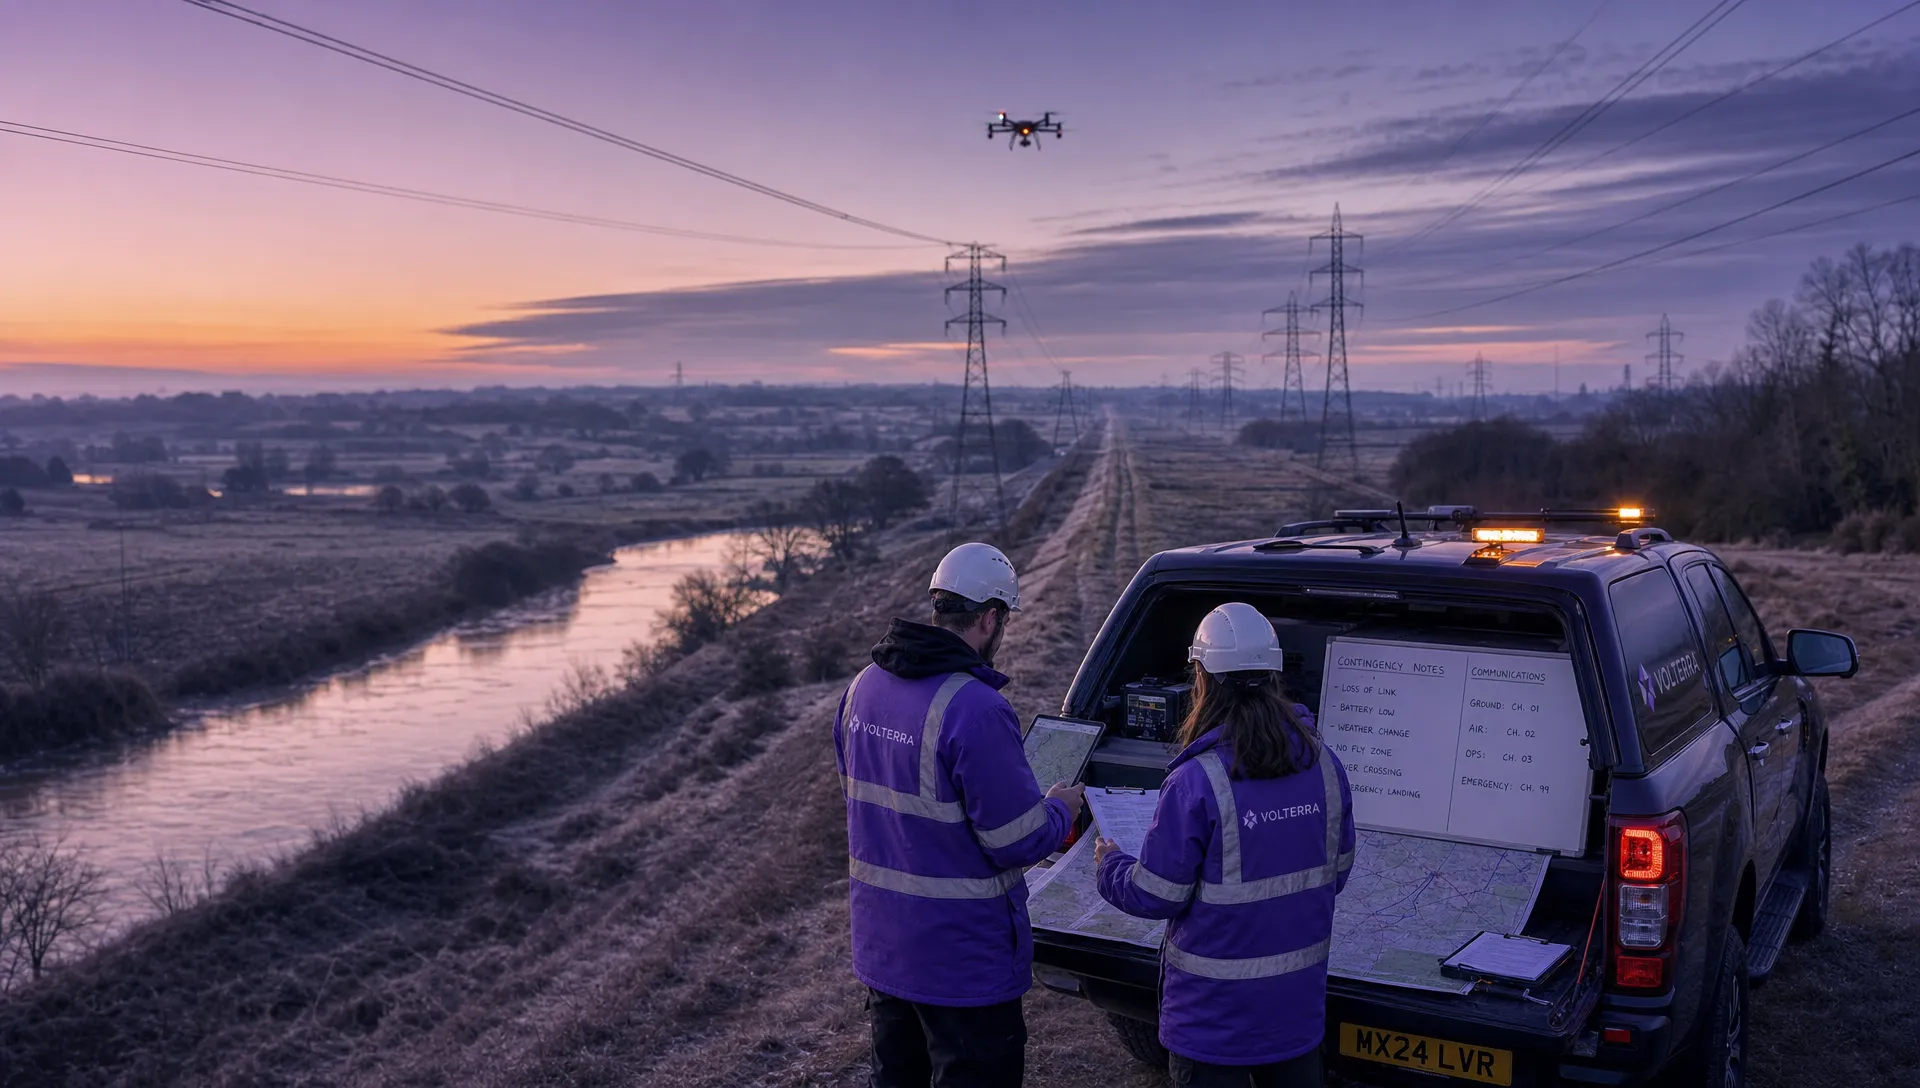 How BVLOS Drone Operations Change Commercial Workflows →
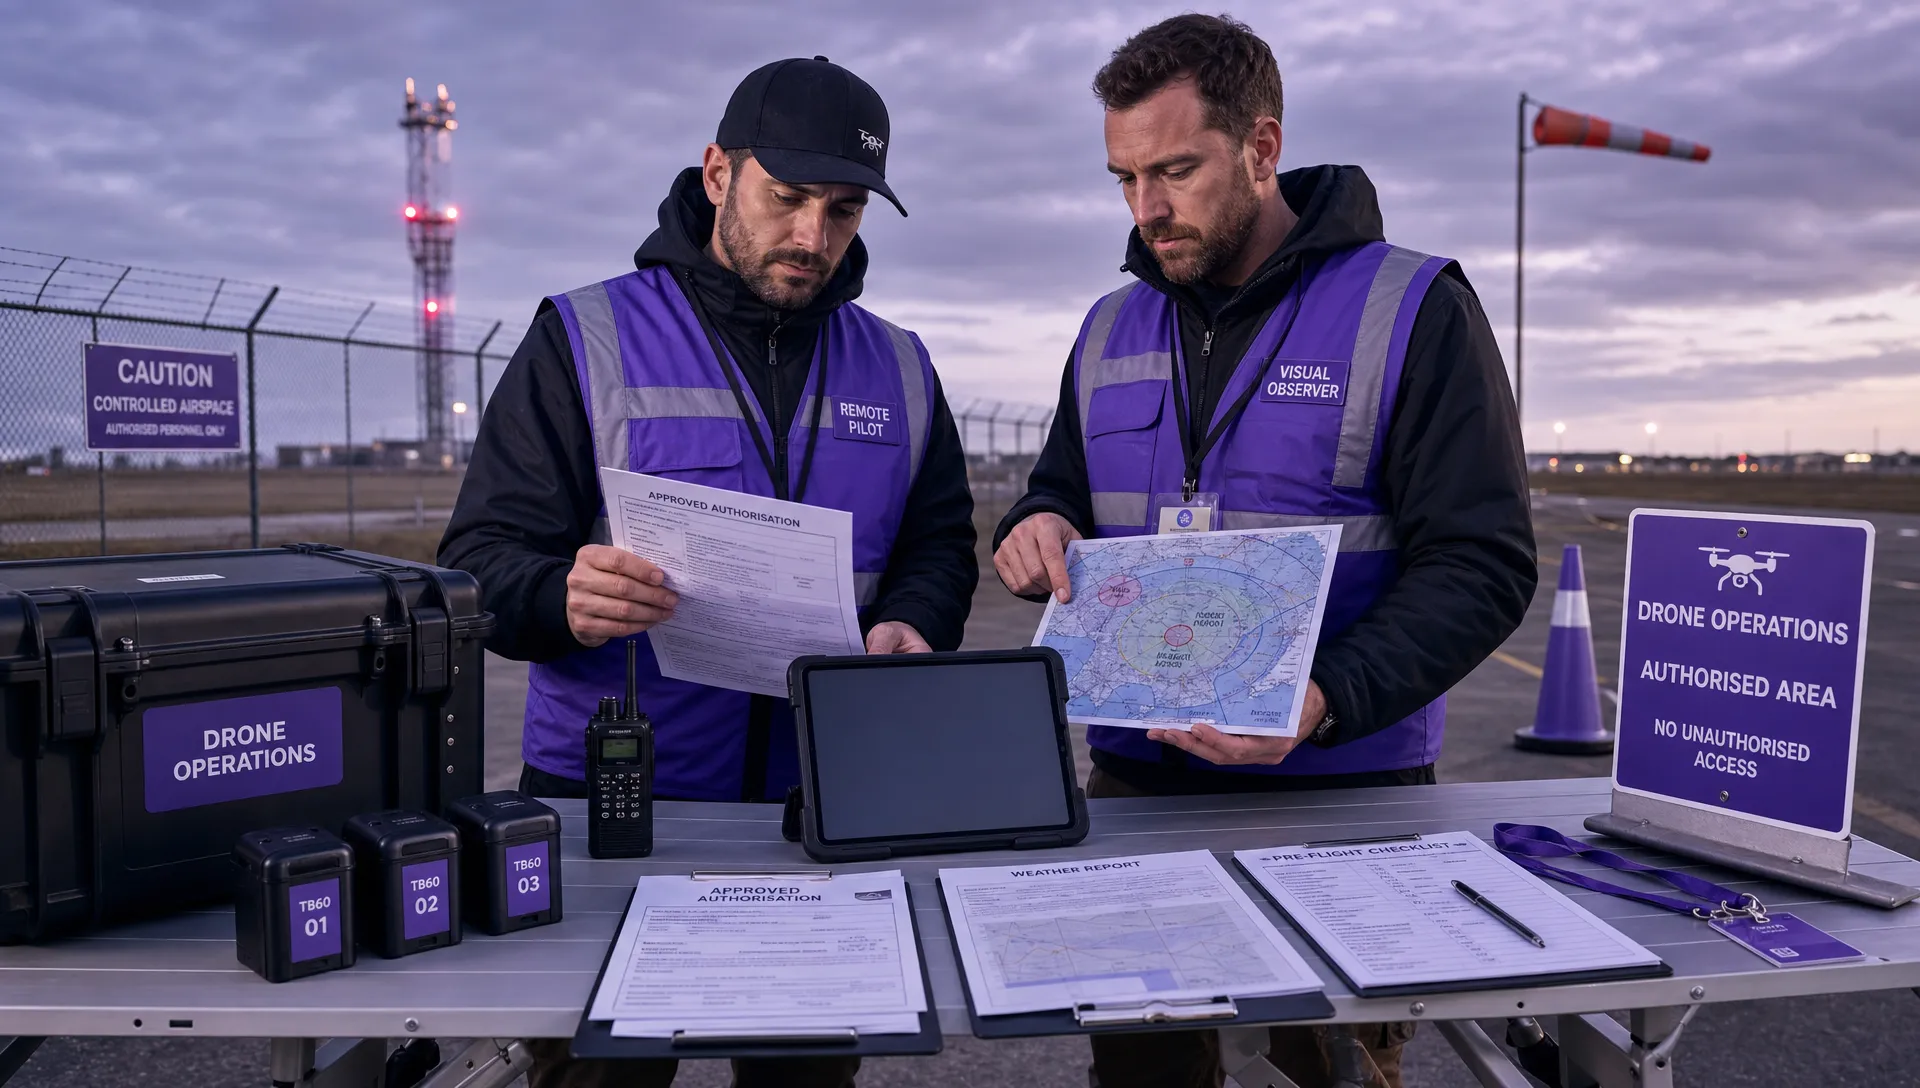 FAA Drone Rules Every Commercial Pilot Should Know →
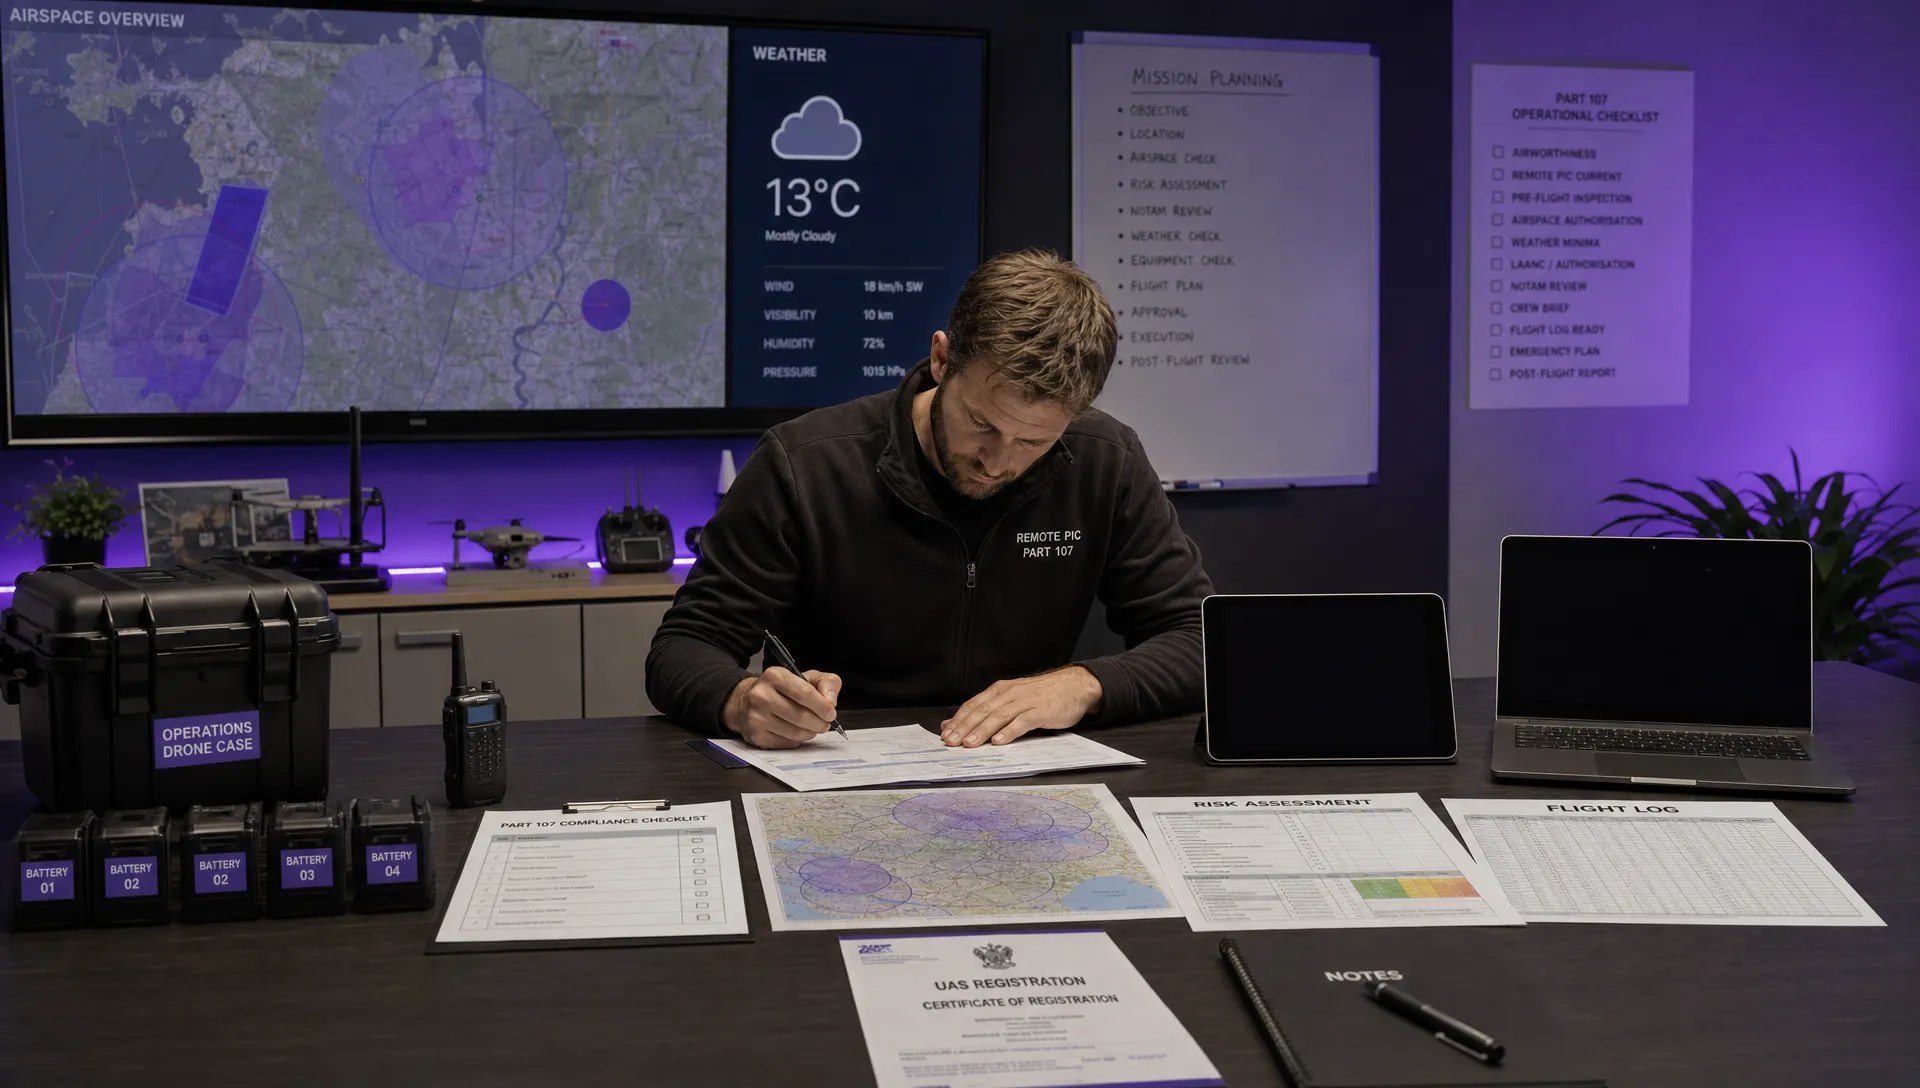 FAA 107 Explained for Commercial Drone Operators →
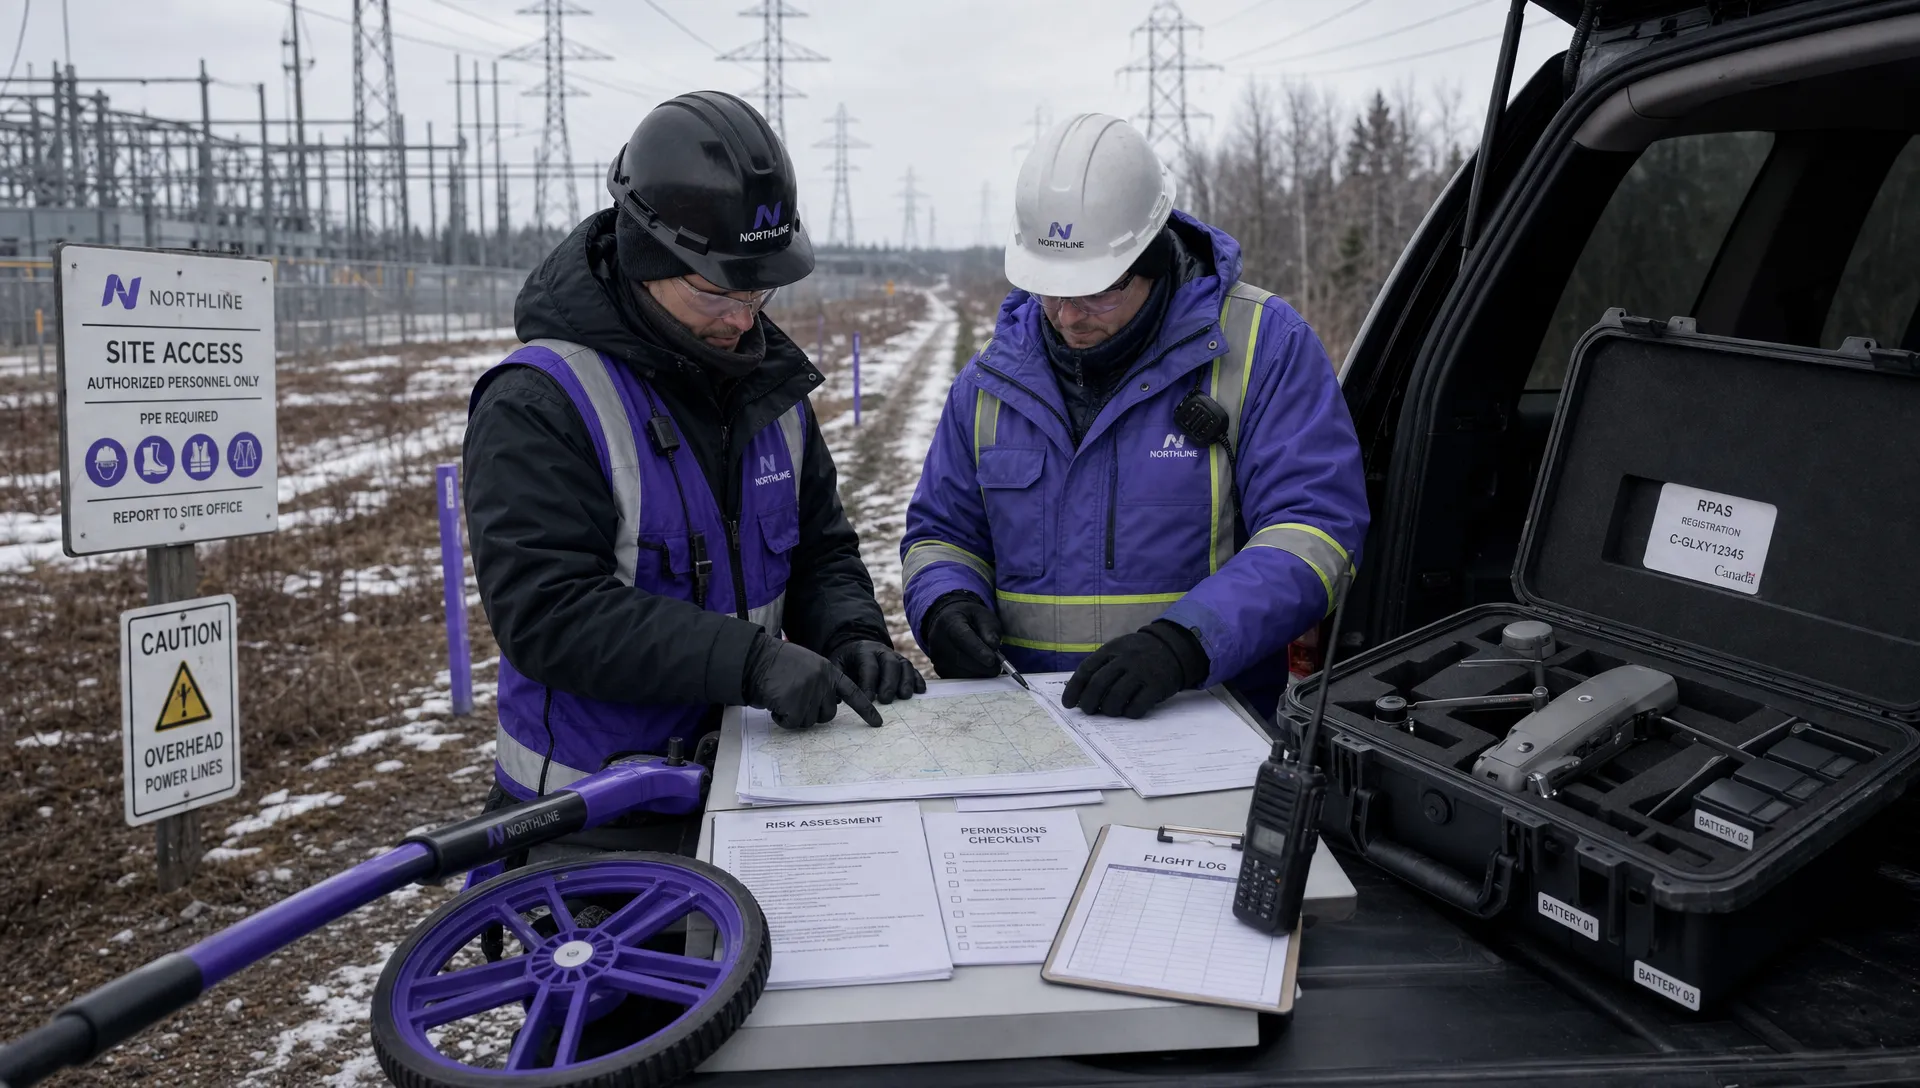 Canadian Drone Regulations Explained for Business Use →
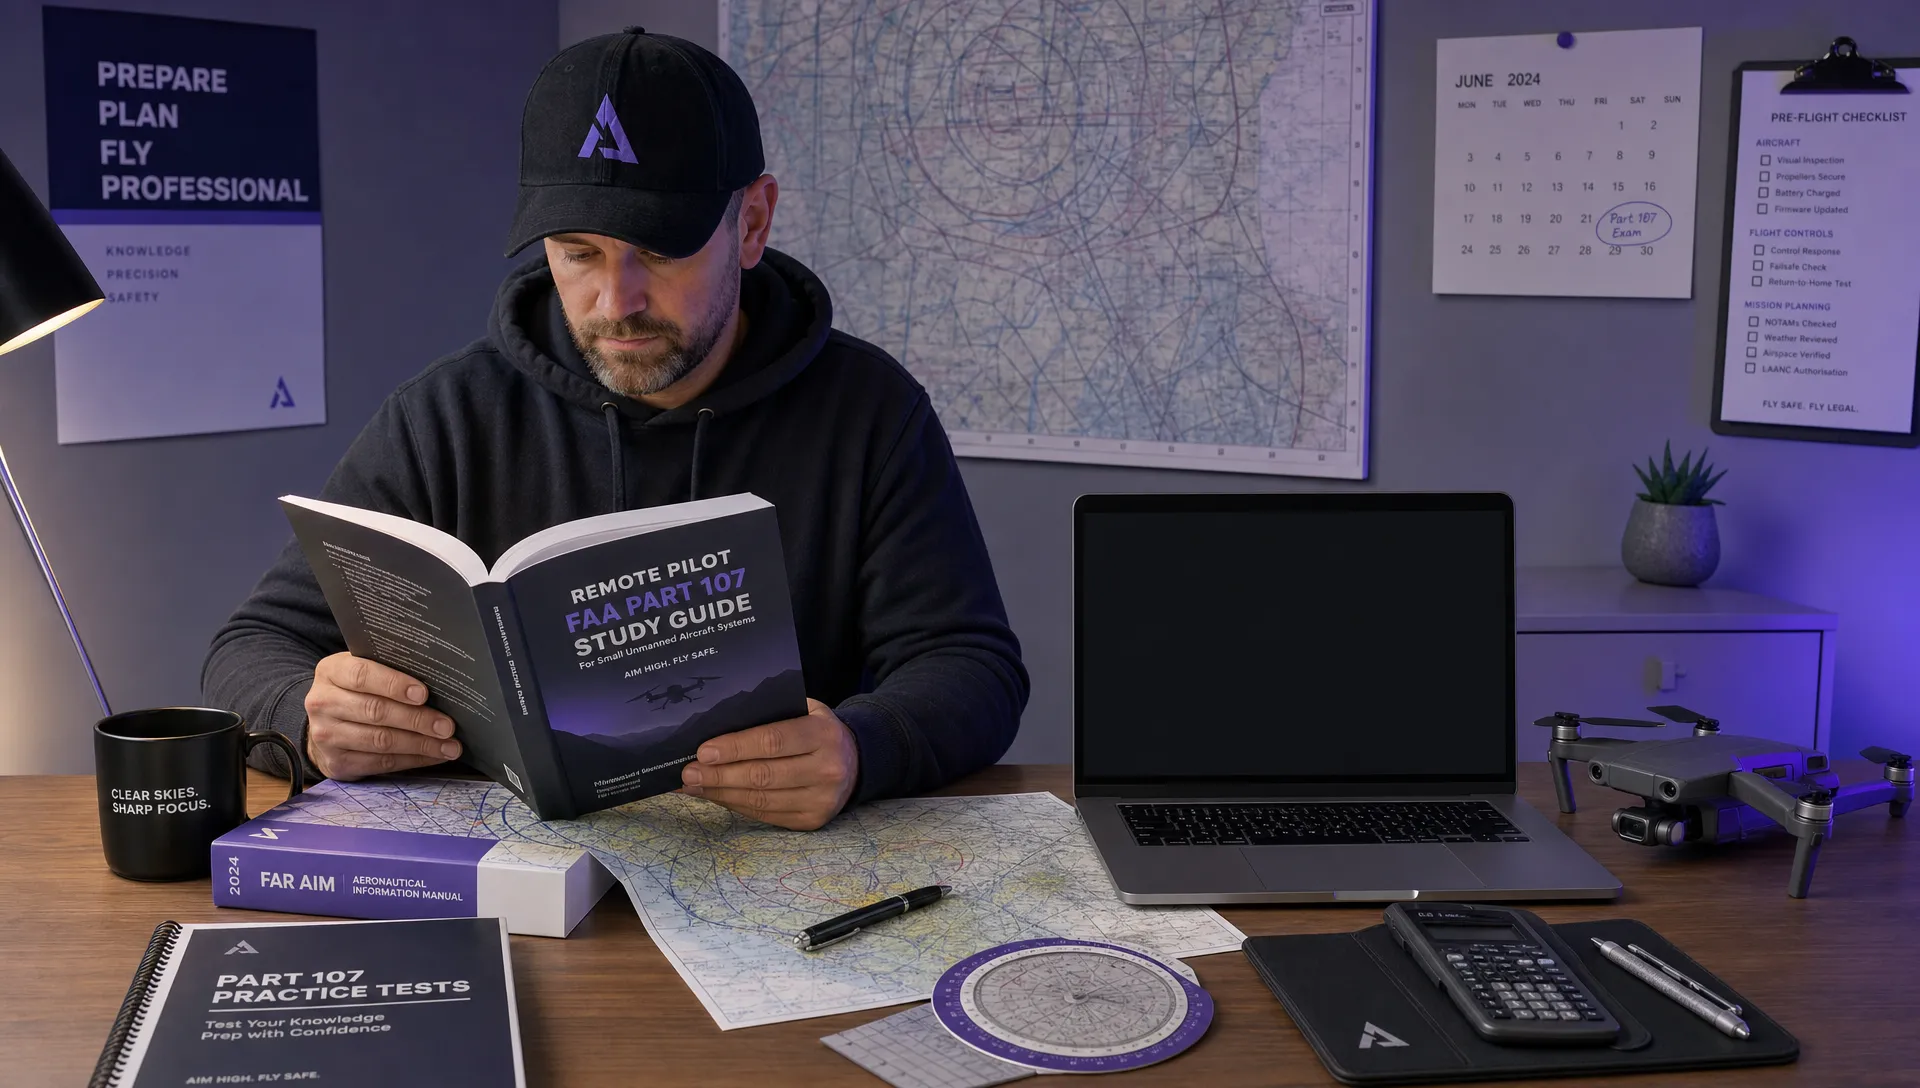 FAA Part 107 Drone License Explained for Beginners →
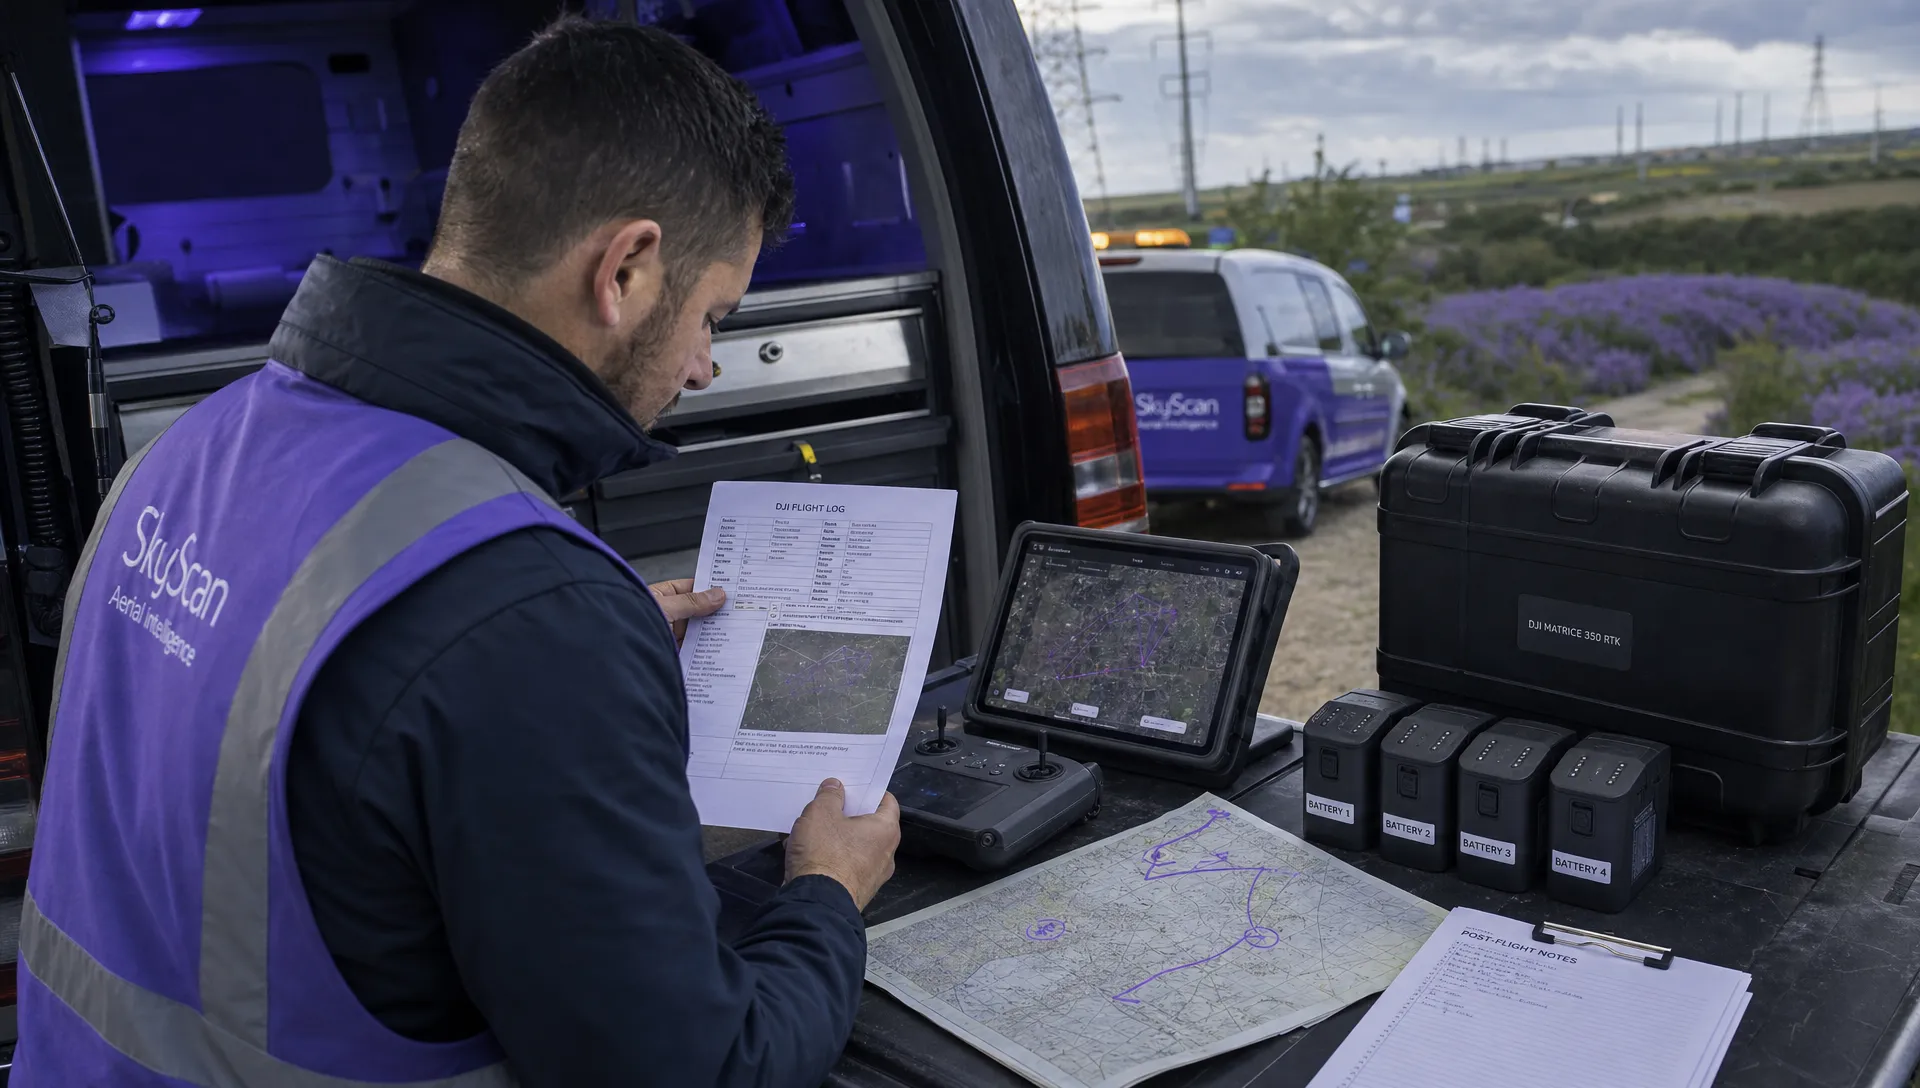 How to Review a DJI Drone Flight Log Step by Step →